
Ayoob: How to Find the Red Dot on Your EDC
![]() February 8th, 2023
February 8th, 2023
![]() 8 minute read
8 minute read
The ever-popular red dot sight — also known as a “carry optic” — on service pistols and concealable self-defense handguns is easily one of the hottest trends today. But trends can create controversy, and new equipment always requires new approaches.

For shooters new to the concept, it’s not as easy to learn to run as is a red dot sight on a long gun. The stabilizing point of buttstock-to-shoulder and the cheekweld on the comb of the stock, all in line with the optical sight, are absent with an optic-sighted handgun. Hence, it requires a little bit more effort to master.
My primary occupation is that of firearms/deadly force instructor and, like anyone else in the business, I can tell you stories of the new carry optic shooter wiggling his or her head around behind the pistol when they should be shooting because they haven’t been able to find that darn red dot.

In the firearms training world, I feel that carry optics have triggered a controversy on the level of the old “revolver versus autoloader,” “9mm versus .45” and “Weaver stance versus Isosceles stance” debates. Ego gets invested in one concept or another, and the next thing you know it becomes acrimonious. The fact is, the revolver and the auto pistol each have pros and cons, as does each caliber of firearm, and so does each shooting stance. The same is true of methods for teaching the use of carry optics.
Old School Adaptations
When I started shooting optical-sighted handguns in competition in the 1980s, what I found worked best for me was a technique I came to call a Bridge Index. I dubbed it thusly because it was a bridge between the body position index of “point-shooting” and the visual index of aimed fire. If I brought my head to my arm or shoulder and found a spot where that brought my eye in line with iron sights, it got the draw-to-the-shot just a little bit faster, and worked great with a red dot sight.

For me, normally right-handed and right eye dominant, the side of the lower mandible against the bicep was the index point. Shooting cross-dominant, right-handed but left master eye or vice-versa, chin to bicep did the trick. These days, with carry optics, I’ve found it to be a very effective quick fix for the new adopter who is having trouble “catching the dot.”
Tim Chandler is a rising star in the training business (you can see about studying with him here, here and here.) He remarked, “Mas’ point about using the cheek to bicep with locked-out arms actually seems to work as an ‘I can’t find my dot’ quick fix if they tend to go to full lockout on their arms habitually. (Lots of people do.) Frankly, it works better than one would expect in unconventional positions, too.”
Chasing The Irons
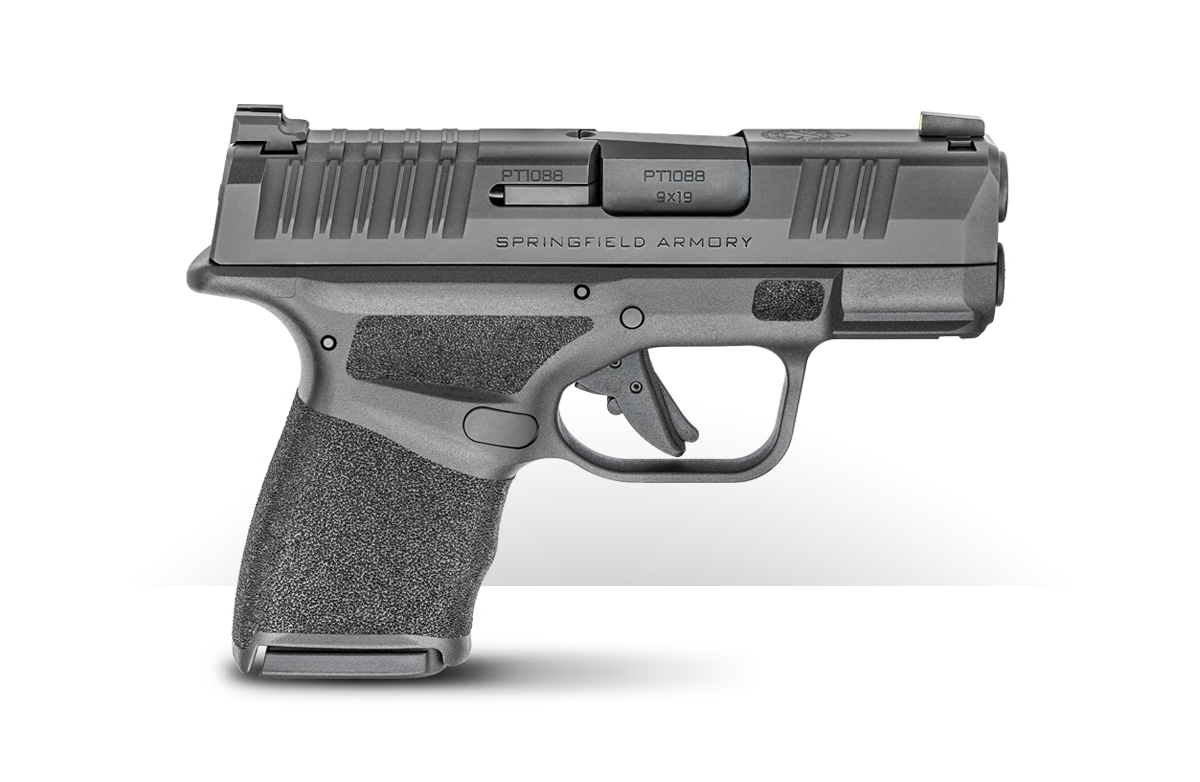
Because a defensive firearm is life-saving emergency rescue equipment and red dots are battery-operated and can fail, I think we’d all agree that carry optics demand BUIS (back-up iron sights) that can co-witness with the optic, such as you will find on the Hellcat series of pistols from Springfield Armory. Simply co-witnessing the irons and the red dot allows the shooter, particularly one who has been shooting iron sights a long time, to take his familiar iron-sight aim. With this system, he or she will find the red dot quickly and simply go on from there.

However, as always, there are “cons” to go with the “pros.” For my Bridge Index, some body shapes (short, thick necks and/or very broad shoulders, for example) simply don’t allow it. Moreover, it requires at least the gun arm to be locked straight out while shooting, and some gunners can’t do that because of arm injuries or simply won’t because of personal preference.

A downside of the “find the irons” approach is that one is really taking two sight indices instead of one, and no matter how fast you can do that it’s very slightly slower than the single dot index, assuming that you can in fact find the dot by itself very quickly.
Head Forward and Down
Most of the time when the shooter can’t find the dot, it’s hiding above his field of view. Bringing the head forward and down is one way to find it. Some people fear they’ll be struck by lightning from the Shooting Gods if they do so, for in the marksmanship manuals It Is Written that thou must never bring thine eyes to the sights, but rather, thou shalt always keep the head erect and raise the sights to thine eyes. Whatever your feelings on this topic, I suggest giving it a try if you haven’t been able to catch the dot. You might just be pleasantly surprised at the results.
Other Approaches
Some experienced red dot users not only don’t use the BUIS to find the dot, but are dead-set against the practice. One who doesn’t care for it is a master shooter who has reasons to go by his initials, GJM, even when he wrote a guest chapter for one of my books.

Here’s his take on teaching new shooters to “find the dot”:
The advice I recently gave to a friend transitioning to the red dot was to shoot the first 500 or 1,000 rounds with the red dot on a slide that had no back-up iron sights. This forces you to learn the presentation without the crutch of the iron sights. Anytime you present the pistol and the dot is not there, stop and figure out what is wrong with your presentation and fix it.
I believe going without reserve sights accelerates the learning curve on acquiring the dot. Without reserve sights, it is also useful to turn off the dot and shoot with just index and determine what level of accuracy is possible without seeing the dot in case the dot or your index fails.
Live The Armory Life. The latest content straight to your inbox plus an automatic entry to each of our monthly gun giveaways!
The Four P’s
Scott Jedlinksi is one of the leading instructors in pistol shooting in general today, and red dot sight shooting in particular. He favors a presentation of the gun that begins with the muzzle in a high-ready where it can catch the eye early. He describes his method as The Four P’s: present, prep, pinkie, press.”

To be specific, the gun comes up a bit muzzle high in the “present” stage. As the target and sight picture are acquired, he “preps” the trigger with about 80% of an intended press. (Remember, this is draw-to-the-shot, not a precautionary draw or a draw-to-gunpoint.)

When Scott says “pinkie”, he means he wants that bottom finger to tighten up at the bottom of the grip frame, pulling the muzzle down and better guaranteeing the eye finds the dot.

“Press”, in this context, means applying the last few pounds of trigger pressure to launch the bullet.

You can catch Jedlinski’s excellent lecture in much greater detail below:
Having audited one of his classes at the Rangemaster Tactical Conference, I look forward to taking the same. Scott teaches all over the country; so be sure to check out his website.
Nose Behind Backplate
A grandmaster shooter who goes by the initials JCN gave the following advice on one of our very best shooter forums, pistol-forum.com. He wrote, “My favorite shortcut is from Aaron Cowan at Sage dynamics. His saying is: ‘nose to backplate.’ If you have your nose lined up to the backplate, the height of your eye to nose is about the height of the mid-slide to optic window.”

Another gun expert I’ve come to respect is Tamara Keel, who writes for Shooting Industry, Recoil, and other publications. She responded to JCN, “That was the one that really clicked with me. Since then if I’ve had to explain it to someone, it’s: ‘Don’t go moving your head around looking for the dot. Look at the target. Now stick the gun in front of your face so the back of the slide is right in front of your nose. The dot will be there like magic. You can do this because of a 50-cent word called proprioception, which means you know where your hand is because it’s attached to the rest of you, and the gun is in your hand.’”
The Choice Is Yours
Each of the above techniques for teaching a shooter to “catch the dot” on a carry optics handgun has worked for some people, and may work for you. A small buffet of “catch the dot” techniques have emerged from modern training with carry optics, and one or more will better suit your particular taste. Keep your mind open, and your training will progress faster. Good luck.
I would like to finish with a shout-out to pistol-forum.com, from which much of the above advice derives thanks to this particular discussion thread: https://pistol-forum.com/showthread.php?55354-Mas-Ayoob-on-red-dots.
Editor’s Note: Please be sure to check out The Armory Life Forum, where you can comment about our daily articles, as well as just talk guns and gear. Click the “Go To Forum Thread” link below to jump in and discuss this article and much more!
Join the Discussion
Featured in this article


Share


Continue Reading
Did you enjoy this article?

 465
465
Springfield Armory® recommends you seek qualified and competent training from a
certified instructor prior to handling any firearm and be sure to read your owner’s manual. These
articles and videos are considered to be suggestions and not recommendations from Springfield Armory. The views
and opinions expressed on this website are those of the authors and do not necessarily reflect the
views and opinions of Springfield Armory.
Product prices mentioned in articles and videos are current as of the date of publication.

Massad Ayoob
Massad Ayoob is a renowned firearms expert with decades of experience in the firearms community. He's the author of more than a dozen books and hundreds of articles and has extensive experience as a law enforcement officer, competitive shooter and expert witness.
