1-2-3: The Carbine Baseline Drill
September 27th, 2023
7 minute read
Rifle and carbine drills tend to fall on either side of a spectrum. On one end are precision drills designed to emphasize the fundamentals of marksmanship and use positions to gain stability. On the far side are aggressive “tactical” style drills.
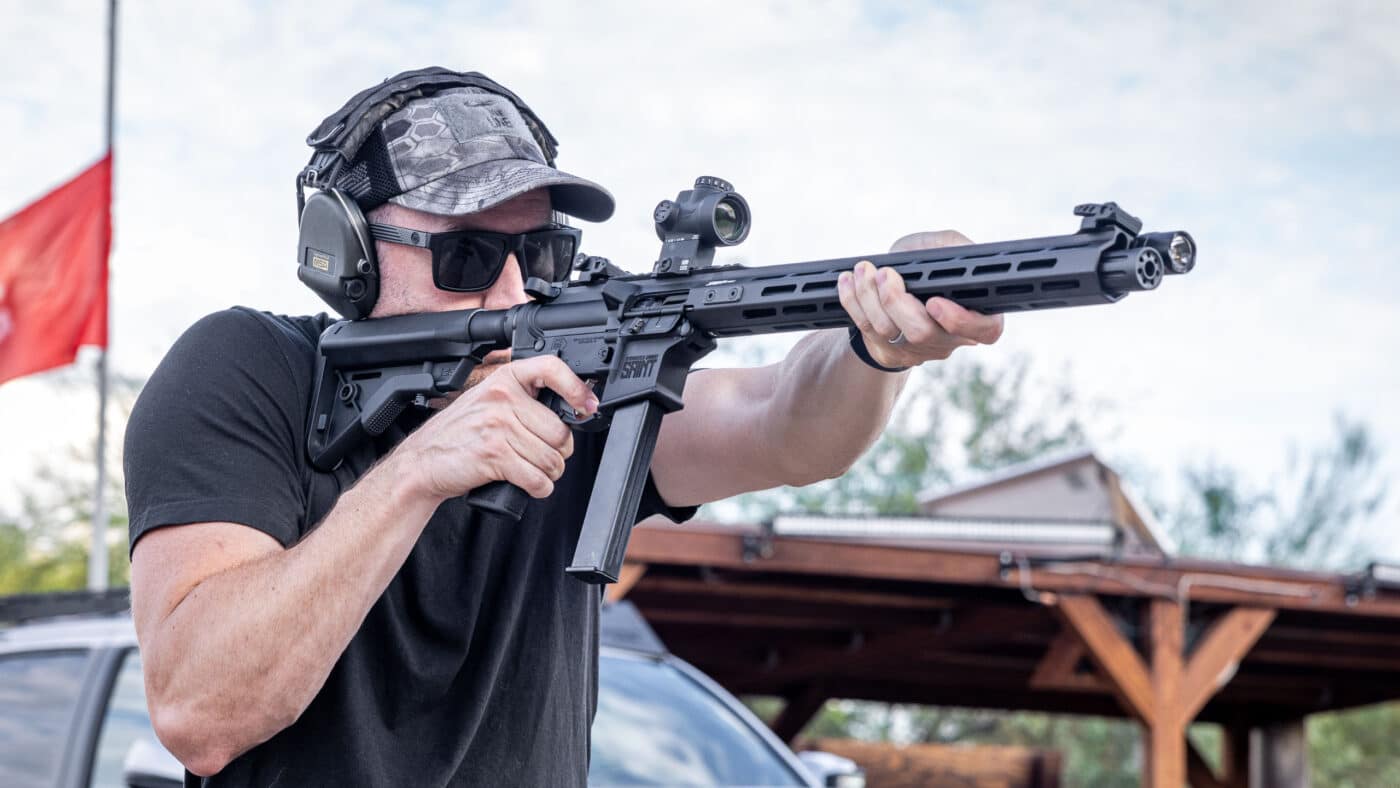
The average citizen who keeps an AR for home protection may draw lessons from either end, but there are not an awful lot of simple drills appropriate to just their needs. The Carbine Baseline Drill is intended to fill that gap for the armed citizen as a foundational starting point.
Make It Count
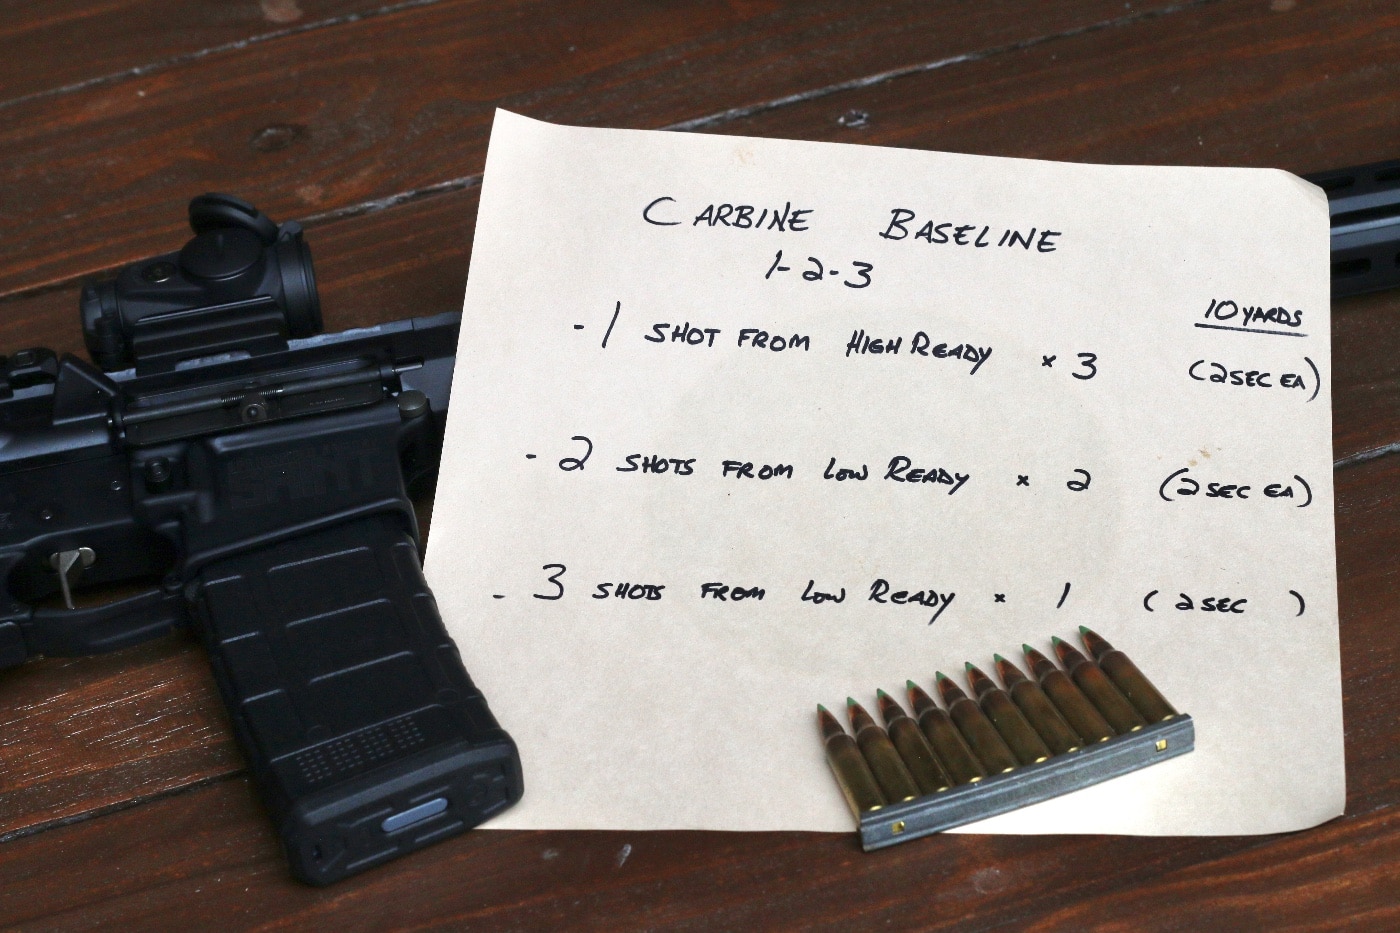
The Carbine Baseline, or 1-2-3, is a simple drill that focuses on the main things a defensive rifle user needs in only ten rounds. The Baseline gives a shooter measured reps in mounting the rifle and breaking a shot, firing pairs from the low ready, and a rapid-fire string of three shots from the ready. The drill consists of three stages and six total strings; three reps of one shot (the ‘1’ in the name), two repetitions of two shots (the ‘2’), and one final string of three shots (the ‘3’).
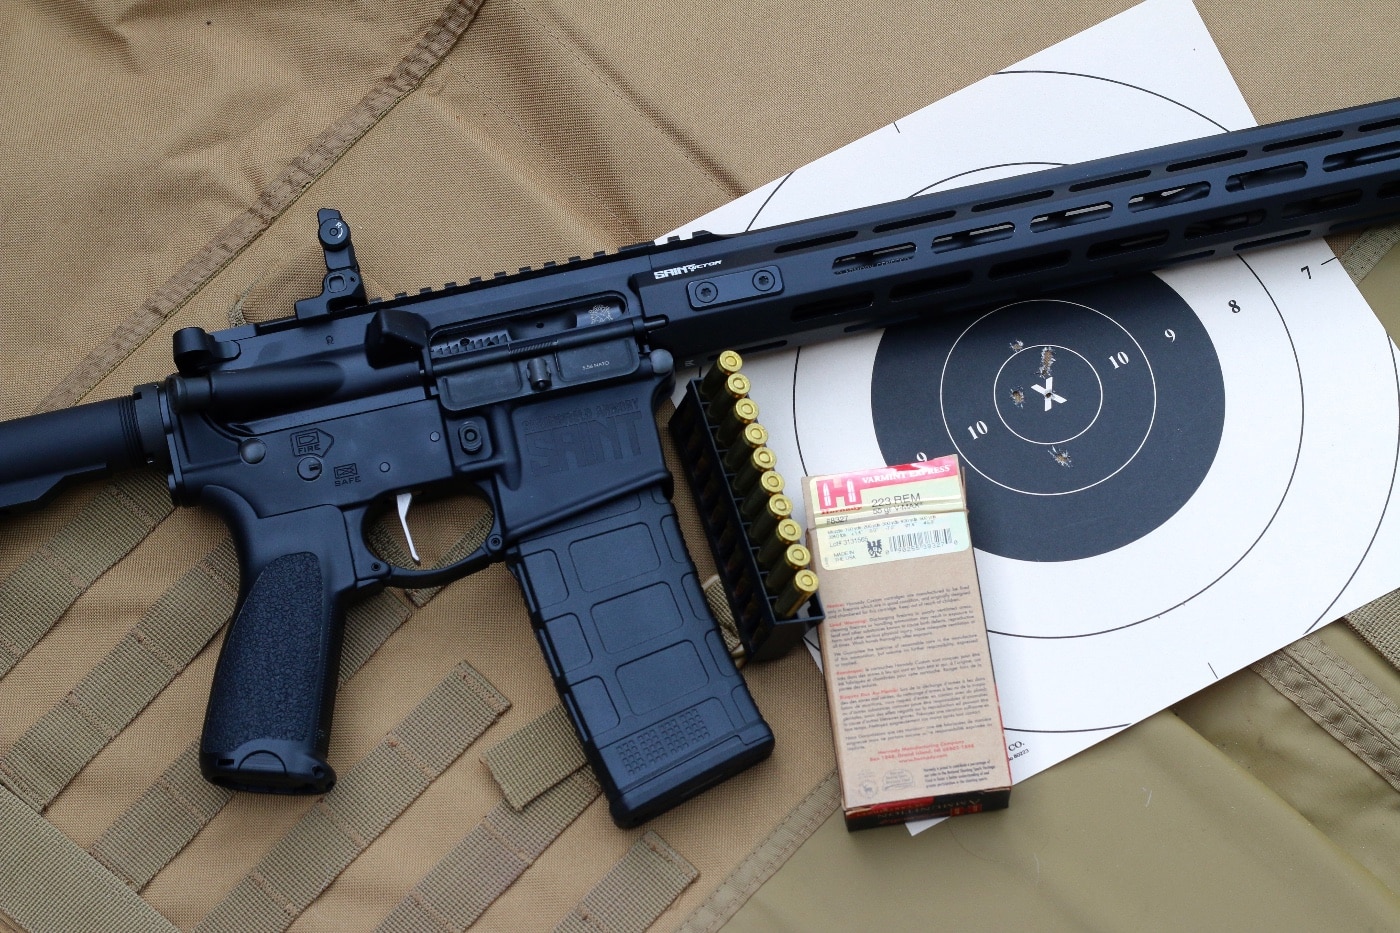
The 1-2-3 is fired at 10 yards. There are several reasons for this. A distance of 10 yards represents a relatively long but realistic indoor shot inside most residential structures. ARs are relatively easy to shoot, so 10 yards is also a distance just far enough out where proper stance, trigger, and aiming begin to have a larger role in shot placement. Finally, 10 yards on a challenging target is still close enough that the shooter must compensate for the offset between the height of the sights over the bore.
The standard NRA 25-yard pistol bullseye, the ubiquitous B-8 repair center, is the prescribed target for the drill. A shooter with no B-8s can scribe a 5.5″ circle with a sharpie, or even simpler, fold a standard 8.5″ x 11″ inch” piece of letter-sized paper in half and then halve it again. The roughly 4” x 5.5” rectangle has a quite similar area to the black bull.
Each string is fired within a time limit, or par time, of two seconds. Two seconds translates well to many defensive scenarios and may push some shooters out of their comfort zone. However, there is just enough time to do things correctly and with deliberate confirmation. The time limit also translates well to the turning target systems in many indoor ranges and is likely long enough for a shooting partner to use the stopwatch on a smart phone for those who do not own a shot timer.
Stage One
In this stage, the shooter mounts the rifle to a single shot, then repeats twice for a total of three shots.
The shooter begins with the rifle, carbine, or large-format pistol out of the shoulder and in both hands with a round chambered and the safety on. Most shooters will be best served to start at the “high ready” with the buttstock near the beltline and the muzzle tip upwards between the eyeline and the target.
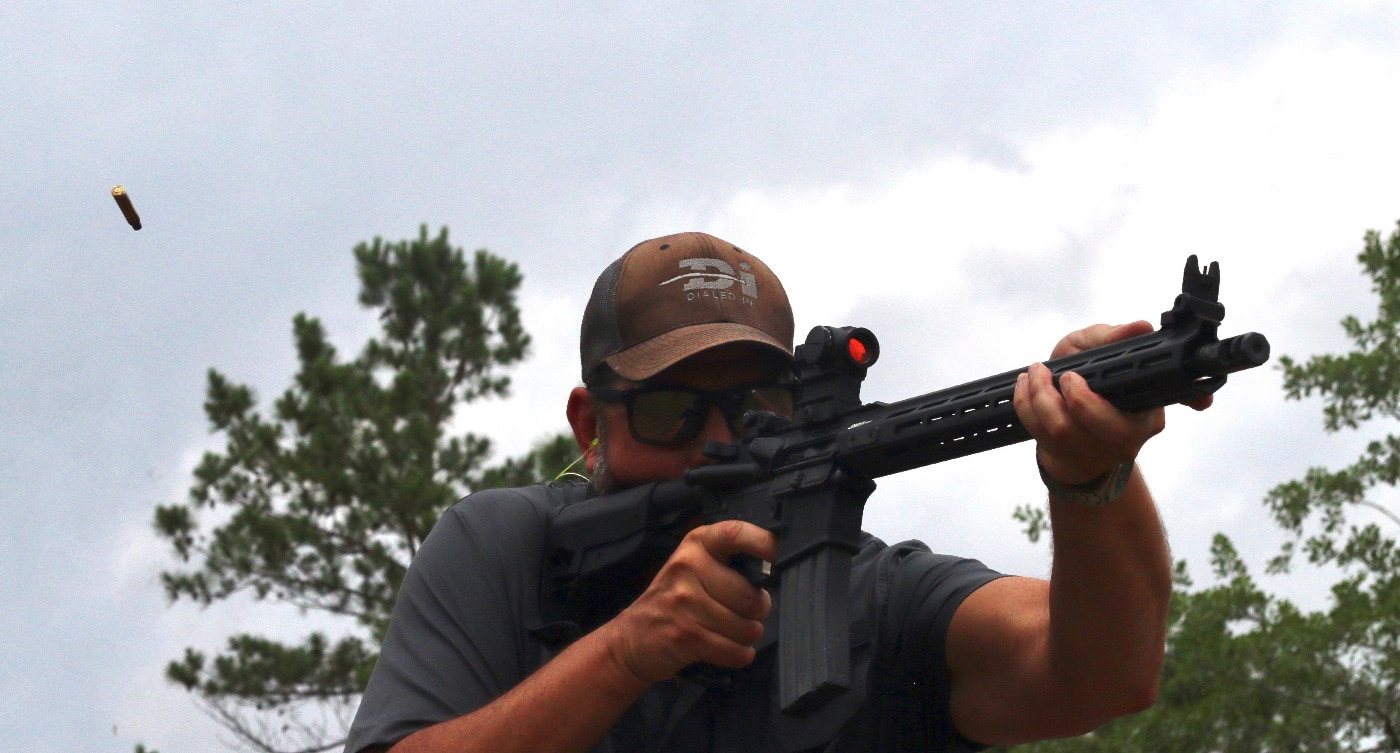
The object is to cleanly present and mount the rifle into the shoulder, focusing on bringing the rifle’s cheekpiece to a consistent spot on the face rather than crunching the face down to find the sights. As the rifle’s sights or optic settles onto the target, the shooter swipes the safety off and has time to press the trigger straight to the rear cleanly.
Two seconds is somewhat generous here; there is ample time for the shooter to mount the rifle deliberately, align the sights or center a reticle and consciously aim at the required offset spot within the bullseye. If the time feels rushed, investigate which part of the sequence costs time.
In most cases, it will be a combination of mounting the buttstock to an inconsistent place within the shoulder and crunching the face down to the stock, leading to more time and effort to find the sights. In some cases, the shooter may find that their starting stance is not actually pointing to the center of the target and the rifle is coming up off target and having to be driven to the bull, costing time.
I sometimes get questions as to why I emphasize mounting the rifle from the high ready. The mount is to the rifle what the draw is to the pistol. If you look at the motions a shooter makes when picking up a rifle from the closet, a safe, a trunk, etc., the intermediate space between picking the rifle up and getting it in the shoulder looks an awful lot like high ready.
A very similar position is what many shooters end up in when grabbing a carbine out of concern for some unknown noise or unknown situation but when there is not yet a specific threat to have mounted the rifle and come to the low ready.
Stage Two
At this point, the shooter presents the rifle from low ready and fire two shots. They then repeat once for a total of four shots.
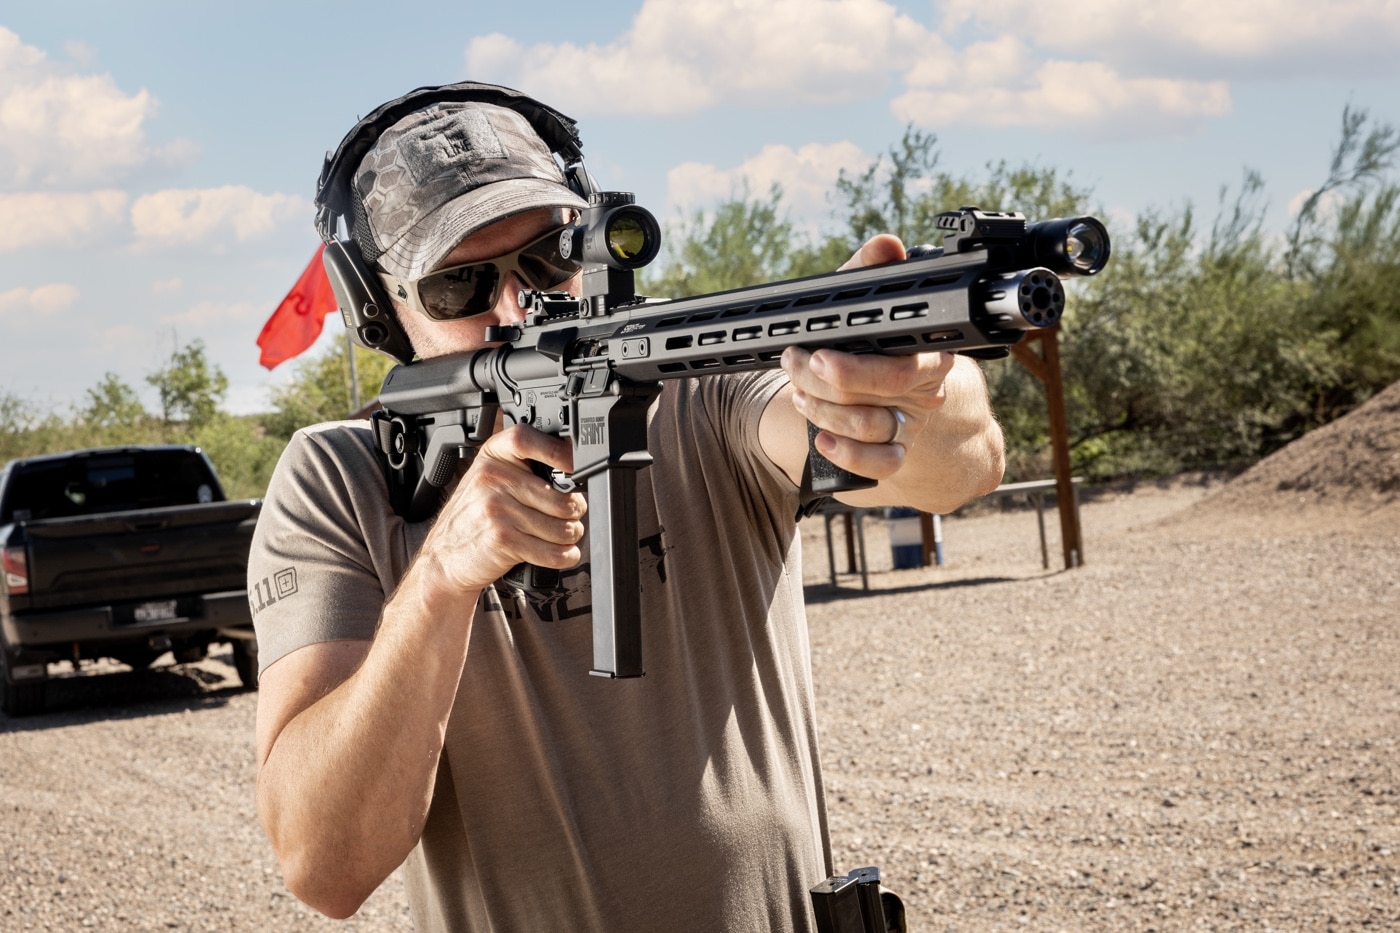
The shooter begins with the rifle in their shoulder, pointed at the target’s base, round chambered and safety on. On the signal, the shooter smoothly raises the rifle to a consistent cheekweld, disengages the safety and deliberately places two aimed shots. Here again, the time limit puts pressure on aggressive execution but allows time for conscious effort and confirmation.
The two seconds can go by fast in the first few attempts. Time robbers here are likely to be not snapping the rifle to the face aggressively, an inconsistent cheekweld, or putting unneeded caution into breaking the trigger. In no time, shooters will find that they are doing “more with less” as they have an incentive to become more efficient and sharp in their movements.
Stage Three
The shooter will present the rifle from low ready and fire three shots, with just one repetition for a total of three shots.
The shooter again begins with the rifle in the shoulder, on safe, and pointed at the base of the target. At the signal the shooter snaps the long gun up and fires three shots inside of that two second limit.
Here the shooter must execute as before but with much less confirmation, accepting movement in the sights or a red dot that may be more or a streak of color than a well-defined dot.
Here, many shooters are likely to feel rushed. Shooters may try placing the first two shots with “confidently aggressive” speed and then accepting much more movement on the third until they gain confidence in the stage. Shooters attempting to rattle three off as fast as possible may find none of the hits are well-placed.
Shooters will quickly realize that with a long gun the sights or dot need never fully stop to place hits solidly in the 10 ring at 10 yards. Shooters who struggle to get their hits within the time are often looking for the front sight or red dot to fully stop perfectly on the point of aim and then begin to work the trigger.
Scoring
The 1-2-3 has scalable scoring. For a less-experienced shooter, the drill can be scored as simple hits within the black, with late hits subtracting half points per. So, a possible would be 10 hits within the black all under the par time.
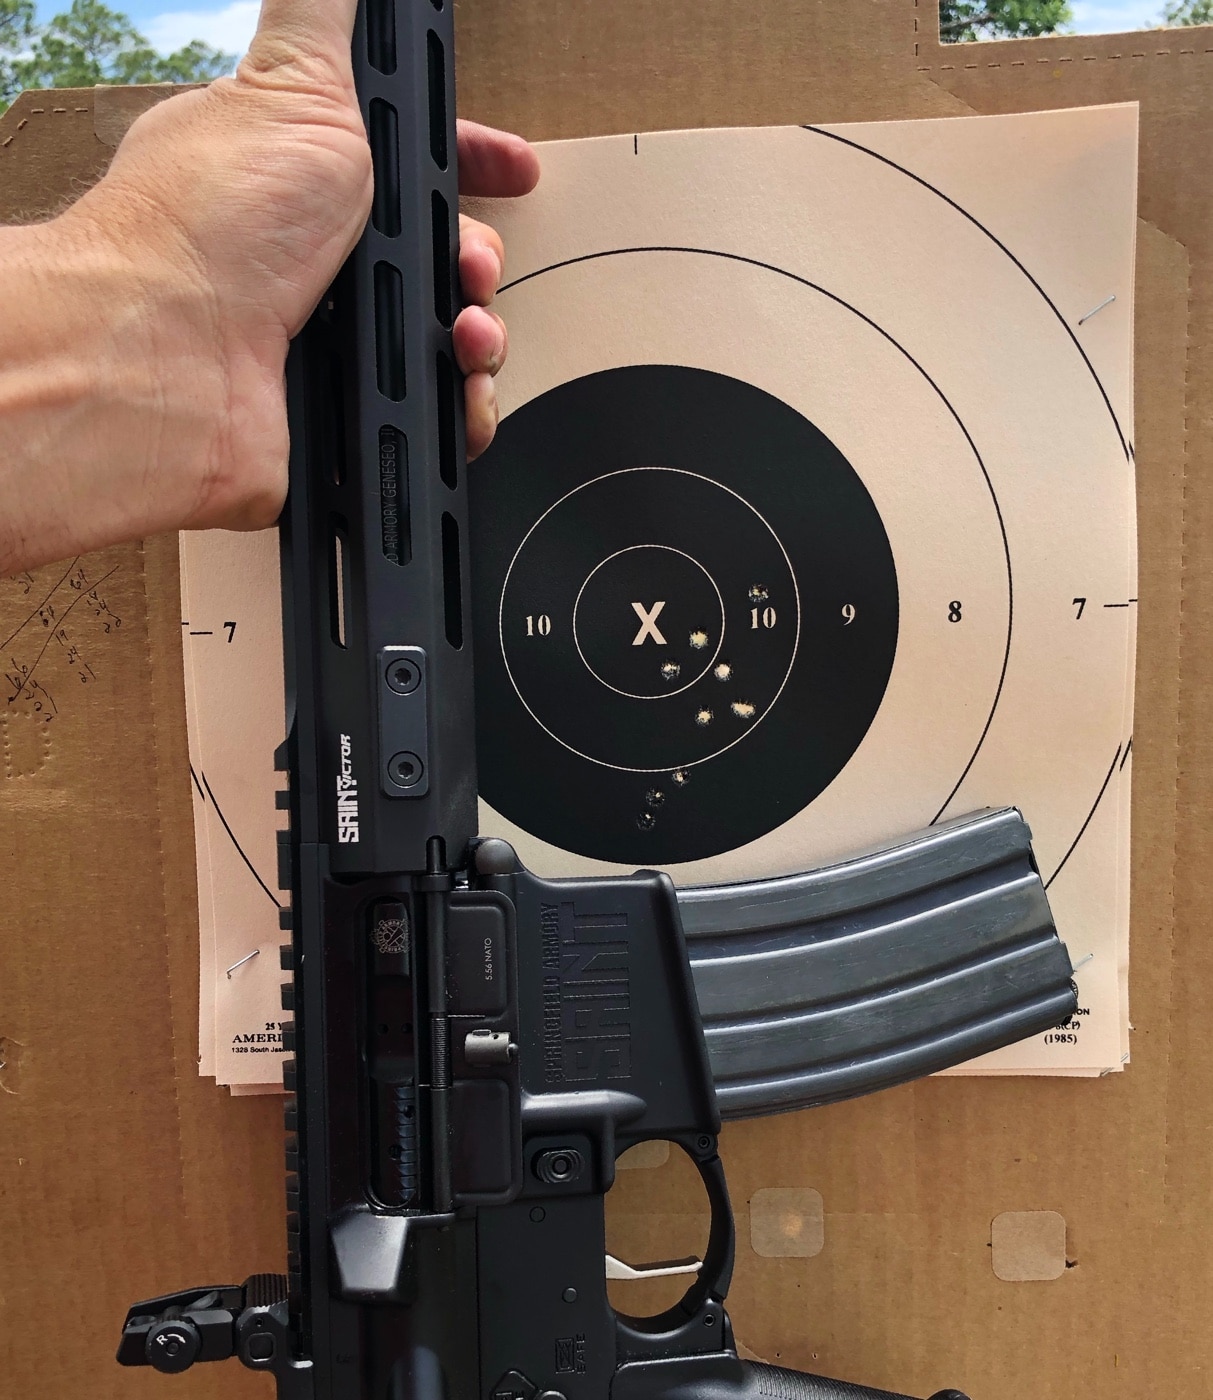
Nine hits inside the black with one late shot on Stage 3 would score an 8.5. For someone just getting into (or back into) defensive carbine shooting, a score of 8 or higher would be solid work.
More-experienced shooters can simply score the drill by the rings, with a possible of 100 points. Late hits deduct five points each. At a more advanced level, I would expect to see a shooter scoring in the high 90s.
The drill is geared toward the average guy, but I have found it also serves well as a refresher or check-up for more experienced shooters. There are a great many folks who have quite a bit of carbine time but may have laid off of training for a bit due to the cost of ammo or lack of time. An occasional 10-shot drill is a great way to stay in better practice than overly long dry spells.
Shooters may also find that once they consistently score well on the baseline layout of 10 yards/two seconds, they may either cut time or add distance. For example, a shooter may want to try the strings in only 1.5 seconds or run them at two but with the target at 15 or 20 yards. Most shooters will find the two-second and 10-yard layout to be plenty challenging.
The Carbine Baseline will be predominantly shot with AR-style long guns, but it is also a good match for large-format pistols, pistol-caliber carbines, and traditional semi-autos like the M1 Carbine. I have not tried it with an M1 Garand or M1A, but I suspect the shooter might have to bump the time up a little — but will likely have great fun in the process!
Editor’s Note: Please be sure to check out The Armory Life Forum, where you can comment about our daily articles, as well as just talk guns and gear. Click the “Go To Forum Thread” link below to jump in and discuss this article and much more!
Join the Discussion
Featured in this article
Continue Reading
Did you enjoy this article?

 70
70


