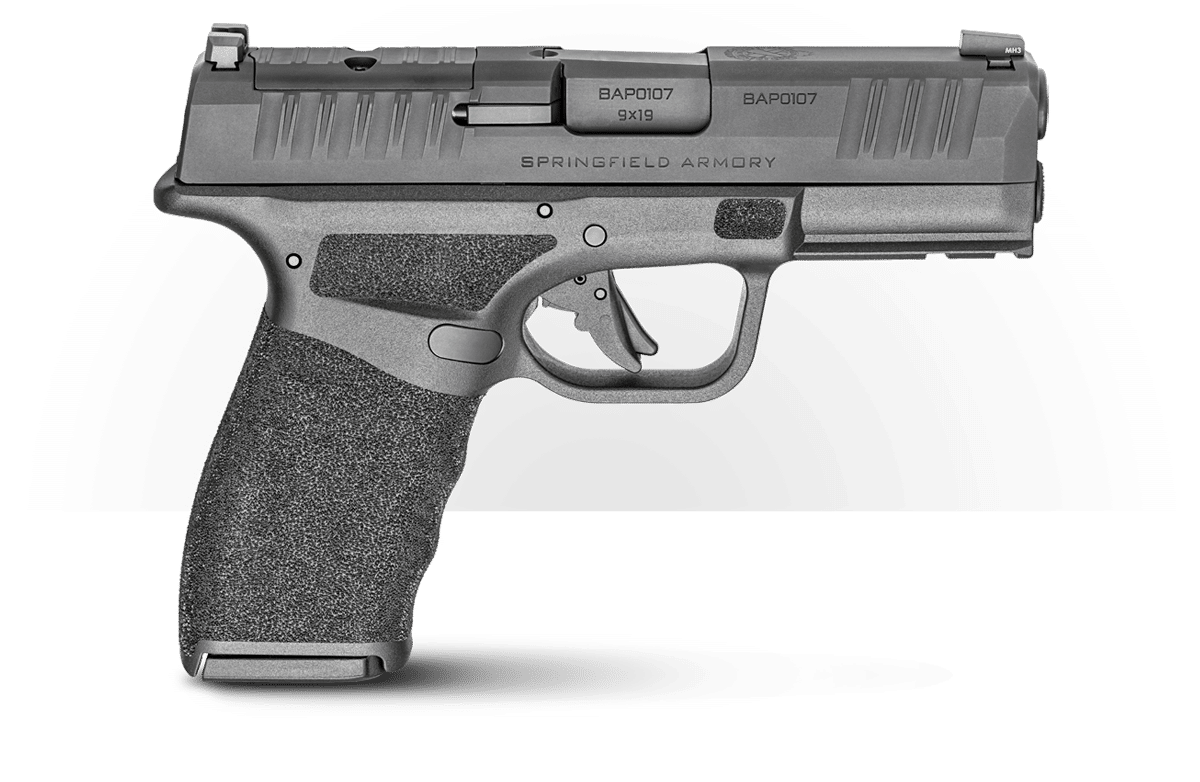
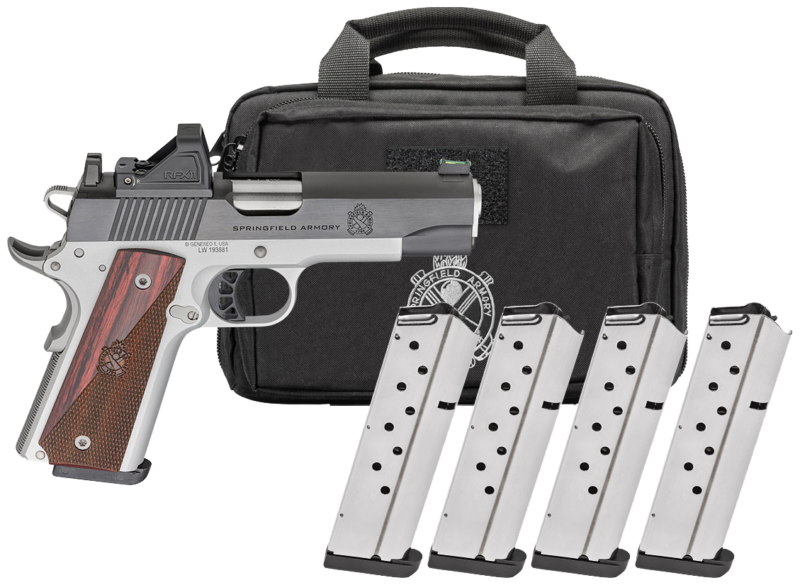
In the Maximum Life Expectancy Pistol Training Classes that GunSpot’s Grant LaVelle offers, he often puts students through a drill he calls the 10×10 Transition Drill. The drill is a beginner-level shooting drill that does not require an advanced skill set. The drill also does not require an advanced level of fitness or mobility. So, this is a great skill-builder for new shooters.
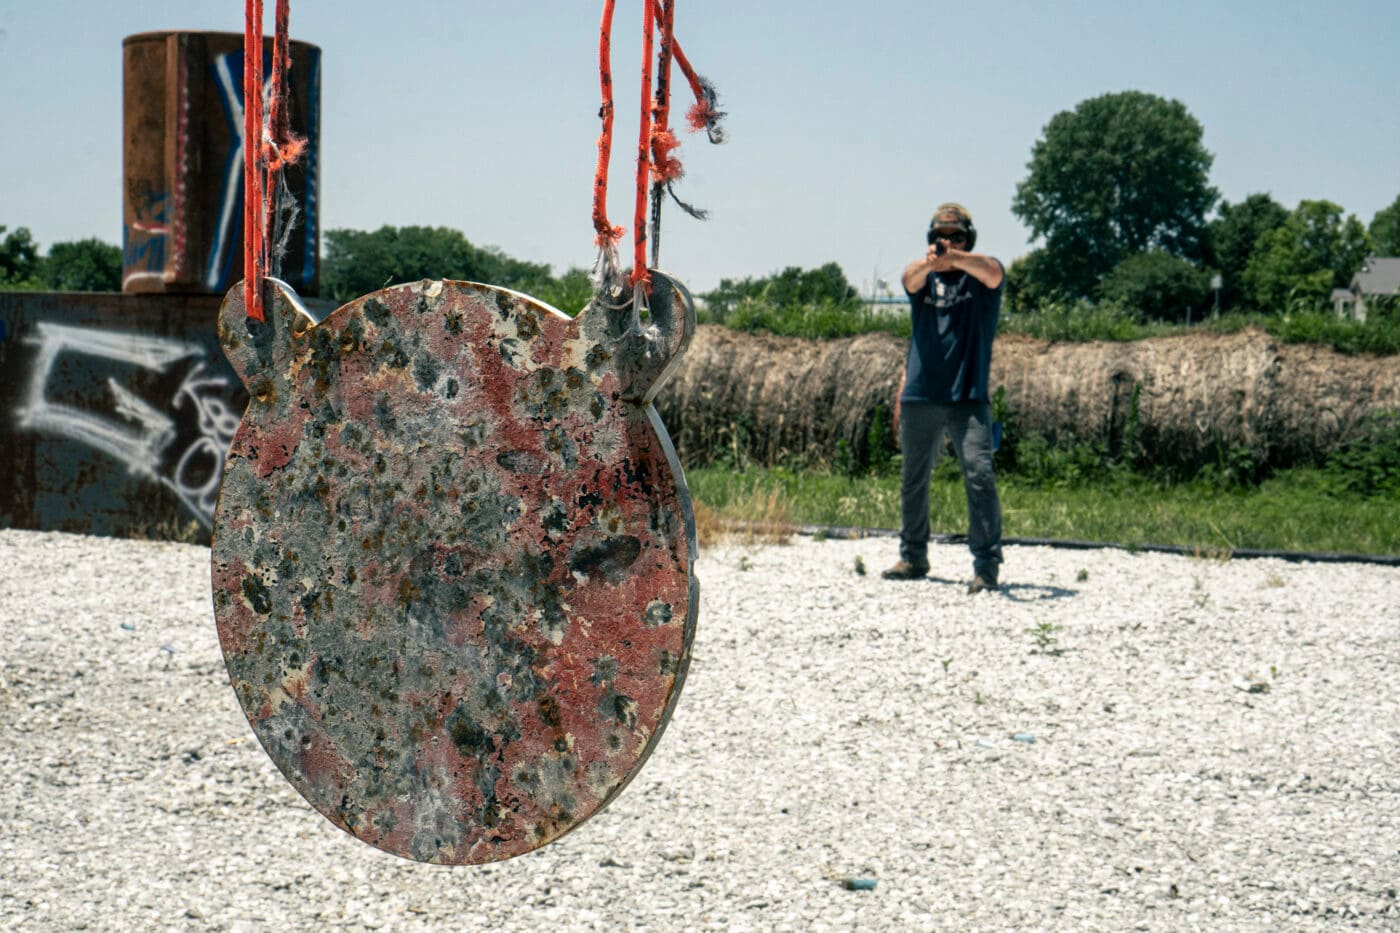
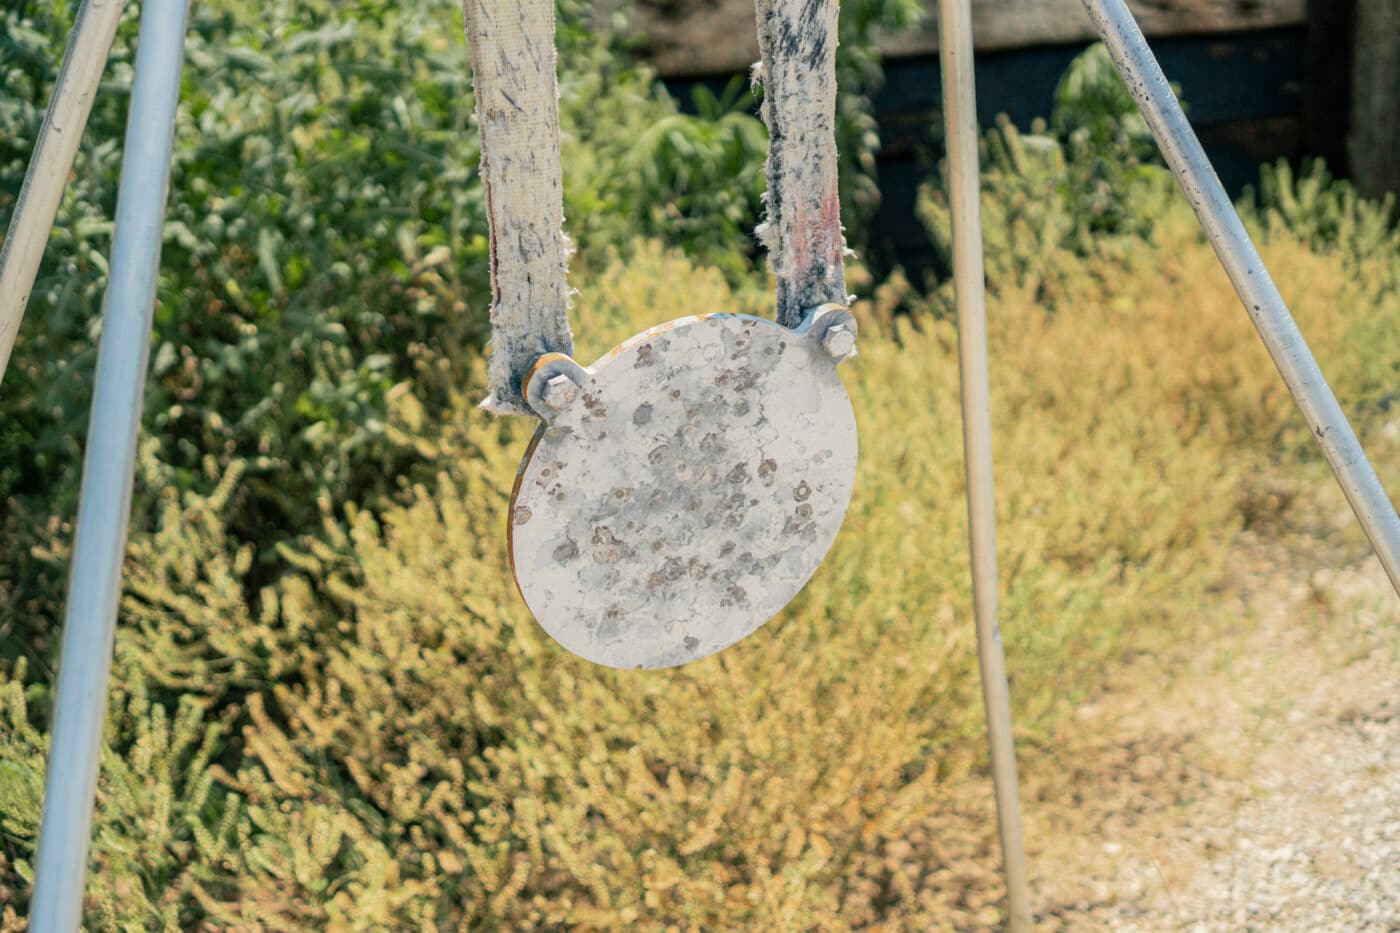
For this drill you will, of course, need your firearm, either pistol or carbine. Second, you will need not one but two targets. The targets can be either steel or paper — it will really depend on what caliber you are shooting. Next, you will need some space to shoot and a safe/solid backstop.
Last but not least, our optional piece of gear is a shot timer. If you have one, it will be most beneficial to use the random start feature to keep you on your toes. However, you obviously could use it to simply record how fast you complete the drill.
10×10 Transition Drill: The Details
Here is how the drill is actually set up. The 10×10 Drill gets its name because the two targets should be placed 10 yards apart, and you should position yourself 10 yards away from the targets. Now, if you want the drill to be more challenging, then you can make that 10-yard difference greater by scooting the targets farther away, or backing up, or both.
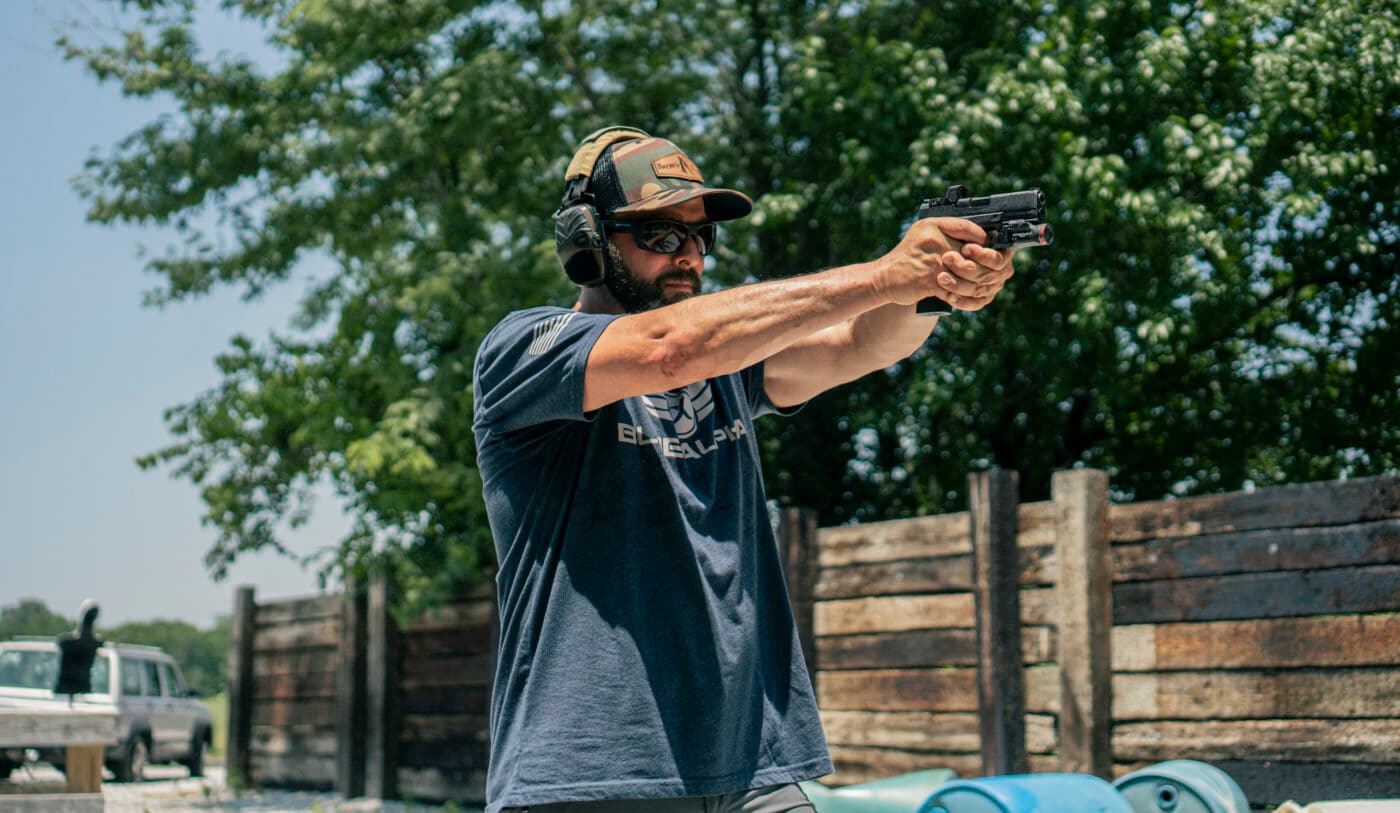
In our demonstration in the above video, we shot this drill from concealment using our Hellcat Pro. In this case, it is safe to use steel targets that can swing and have an appropriate angle to direct spall downward.
In our opinion, this drill really works best with steel targets because of the immediate report of the steel. However, if you are shooting rifle rounds out of your PDW or carbine, you need to be at a distance of at least 50 yards away to shoot safely. We suggest just using paper targets with your rifle rounds and keeping the distance at 10 yards.
Keeping in Practice with 10×10
The way the drill works is the shooter presents the gun onto one target, fires and hits the target, then transitions to the other target, fires hitting that target, and then transitions back to the first. Basically, each time the shooter hits the target, he will then transition to the next target. The goal is to hit each target as many times as your magazine capacity will allow. Strike, transition, strike, transition — bouncing back and forth the whole time.
If you have a shot timer, you can let the random beep announce your start of the drill, or if you have a training partner, you can have them randomly call out “right” or “left,” allowing them to randomly select which target is fired upon first. If you actually shoot and miss the target, then you will keep firing until you hit it again. Then once you hit it, you move on. Grant runs the drill until his magazine is out. For a little extra skills training, you can even practice a reload at the end.
Since we ran this drill from concealment, we were able to practice getting a good grip, drawing and presenting to the target. Shooters will also, of course, get reps to control recoil and trigger pull. The biggest thing that shooters will get training with on this drill is target transitions. The proper way to transition from one target to another is by moving at the hips and rotating the entire upper body. If you are only moving your arms, you will notice your eyes do not keep in line with the sights.
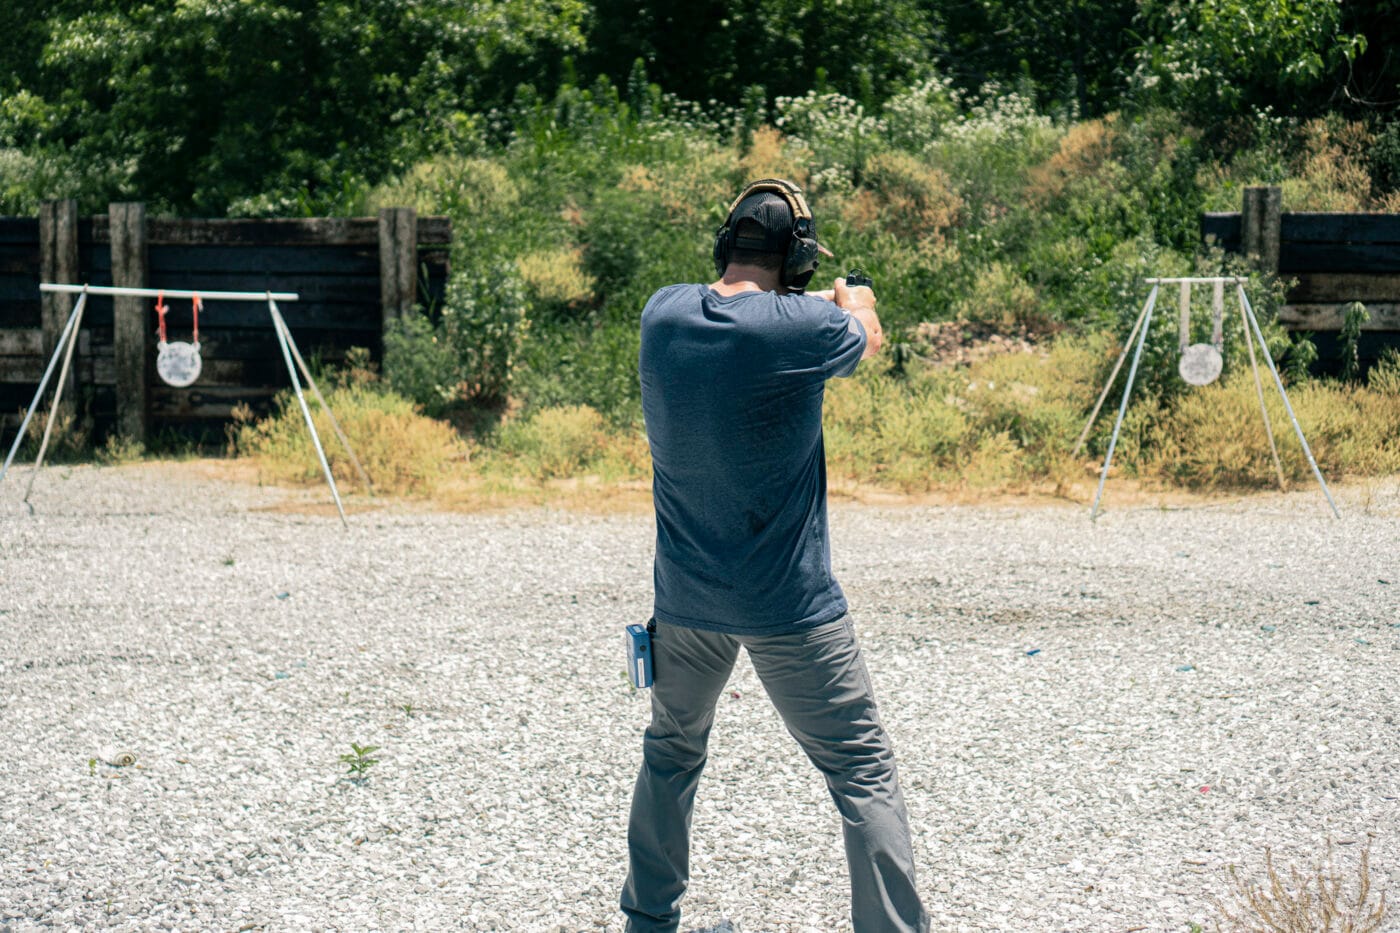
Grant reminds us that as we practice these transitions, to be mindful of leading with our eyes as we do the transition. That means as you start rotating your hips, your eyes should be moving at a pace a bit quicker than where your gun is pointing. Doing this, you can stop your sights on your target. He also reminds us to keep our eyes focused on the targets and not our sights (or red dot).
You must maintain focus on your target to have awareness and to be able to stop the sights on the target. Aiming with a red dot can make this easier due to the fact you can focus your eyes on the target easier and still see the dot in focus.
Conclusion
This is an easy-to-set-up drill and an easy enough drill to run, but it will still challenge you. Grant encourages those who do this drill to really be intentional about shifting to transition at the hips. He mentions that after completing the drill, you should feel as if you’ve done a workout. Your hips will constantly be moving to rotate as you bounce between the targets. The rotation at the hips is key to a successful target transition.
The 10×10 transition drill is a fantastic start to getting yourself good practice on the range. Be sure to mix it up by trying this out with carbine and paper targets or pistol and steel targets. You can also add some flair to it by forcing yourself to reload in the middle of the drill, either from an empty chamber or by practicing a tactical reload in the middle of the drill.
Again, if the drill gets too easy for you, then bump your distances either out or back, or both, to really challenge yourself. Next time you are out, give this drill a shot to work on your transitions. You won’t regret it! Also, be sure to check out the other pistol shooting drills here at The Armory Life.
Editor’s Note: Be sure to check out The Armory Life Forum, where you can comment about our daily articles, as well as just talk guns and gear. Click the “Go To Forum Thread” link below to jump in!
Join the Discussion
Featured in this video
Continue Reading
Did you enjoy this video?

 75
75


