Ayoob: Are You Ready to Perform an Emergency Draw?
April 16th, 2025
7 minute read
Editor’s Note: Always ensure any gun handling during training such as this is done with a safe and empty firearm. Never point the firearm at something that is not a threat. As always, seek professional training.
What happens when lethal danger strikes and demands that you draw your gun and return life-saving defensive fire … but you’re injured? Do you have the skillsets to deal with this situation — to apply deadly force to save your life?
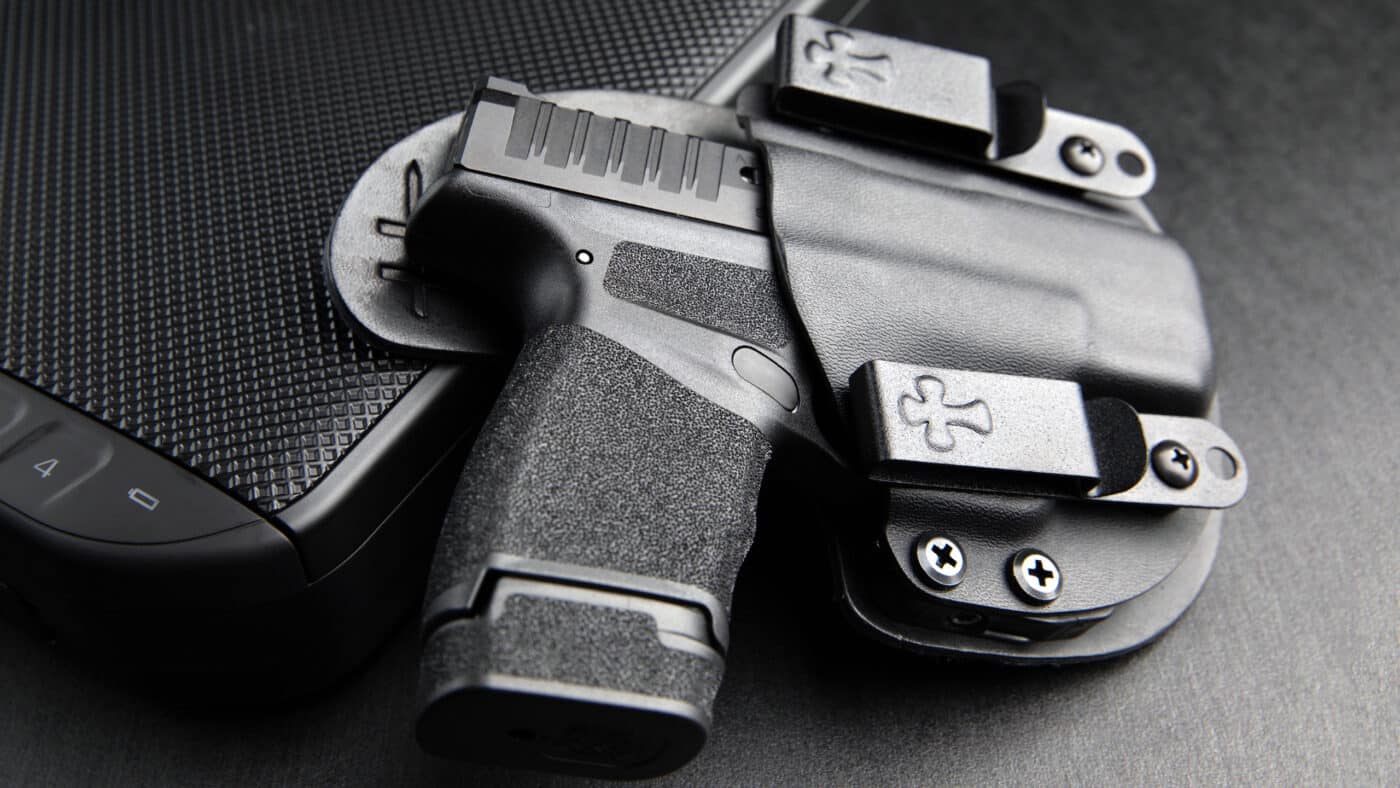
What if your injury has rendered your dominant hand immobile? A draw with the non-dominant hand, the support hand, the weak hand — whatever you want to call it — is now your lifeline to survival. The first question is: exactly where is that pistol your one remaining hand must now reach?
The Solutions?
One option for hard-core pistol packers goes back to Wyatt Earp and beyond: a left-hand gun holstered on the left hip, and a right hand gun holstered on the right. Last time I saw gunfighting guru John Farnam, he was carrying twin 9mms, mirrored on each side. However, most folks will have a single gun in a single spot, so let’s start there.
The most readily accessible carry is cross-draw — that is, butt forward on the hip opposite the gun hand. The support hand simply turns palm outward, thumb to the rear, and pulls the gun in a twisting movement taking care not to cross one’s own body. (Keep the butt up until the muzzle is clear of you, then turn the sights upright).
This is called “Cavalry Draw,” the carry favored by Wild Bill Hickok and used when the U.S. Cavalry issued a right-handed trooper a butt-forward holster on his right hip to leave the hand free to cross-draw the saber from its scabbard on the left hip. However, in concealed carry cross-draw has to be far enough back that it’s a long reach for the primary hand, which is most likely to be what’s reaching for it.
It turns out that the currently popular appendix carry allows the same type of non-dominant hand Cavalry Draw: back of hand against abdomen, lift, turn the muzzle away before you bring the pistol upright and extend toward the threat.
A More Traditional Take?
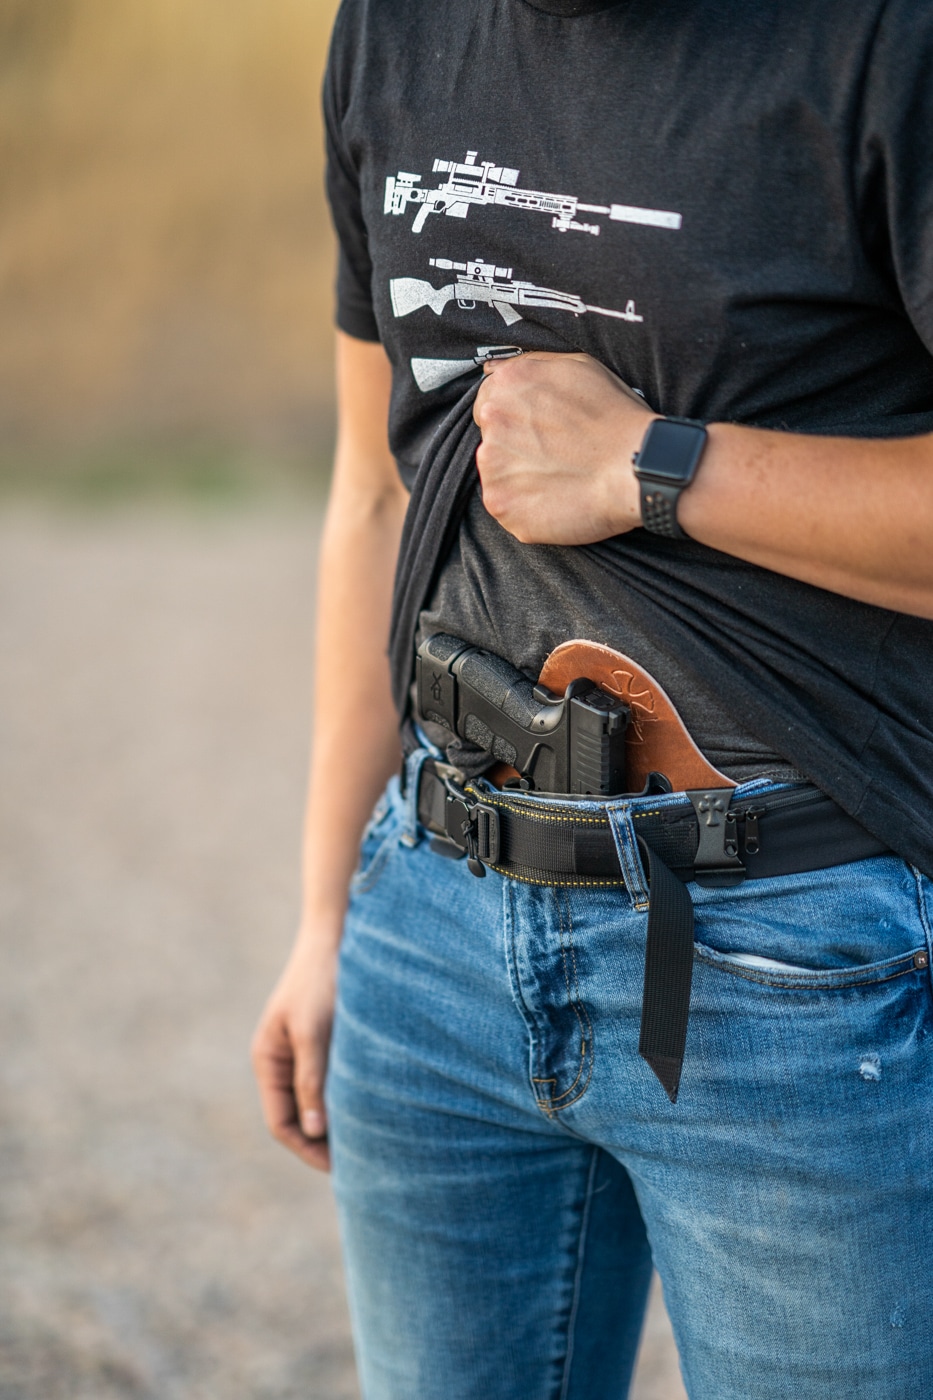
The most common location for a “belt gun” is still strong side hip, or just behind it. Let’s look at that. Because the gun is at our side, we have to be able to reach it from behind or from around the front, depending on whether we’re seat-belted in a car or have our back to the wall, or alternatively have fallen face down after our gun arm was wounded.
In either case, if at all possible, pivot the pistol toward the reaching hand with a turn of the hip. That is, for a behind the back draw if you’re facing 12 o’clock in a standing position and your holster is at 3 o’clock, turn that hip to 6 o’clock. That will greatly reduce the length to which you must reach. If you can raise the wounded “strong arm’s” shoulder and lower the shoulder of the reaching arm, that will give you even greater reach.
Hip Draw, From Rear
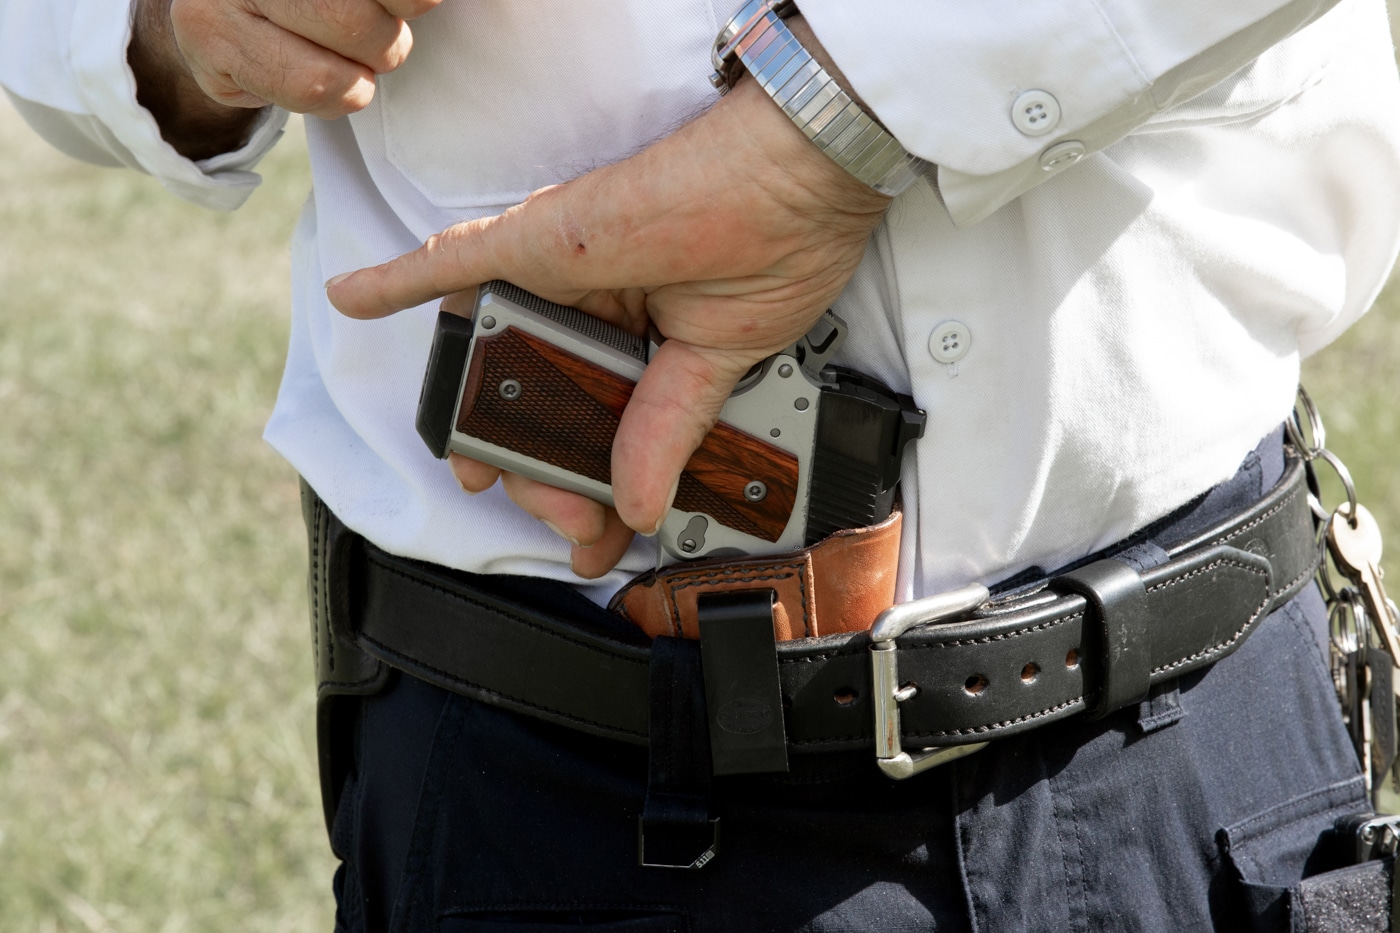
Assuming an open top, straight draw holster, bring the “good hand” around your back and push upward on the front of the pistol’s grip-frame. Be sure to push forward and up on a forward tilt holster and up, not rearward, on a holster that keeps the barrel parallel to the leg. Unless you are very flexible, you won’t be able to get a perfect drawing grasp. That’s OK. For now, we just have to get the damn thing out of the holster.
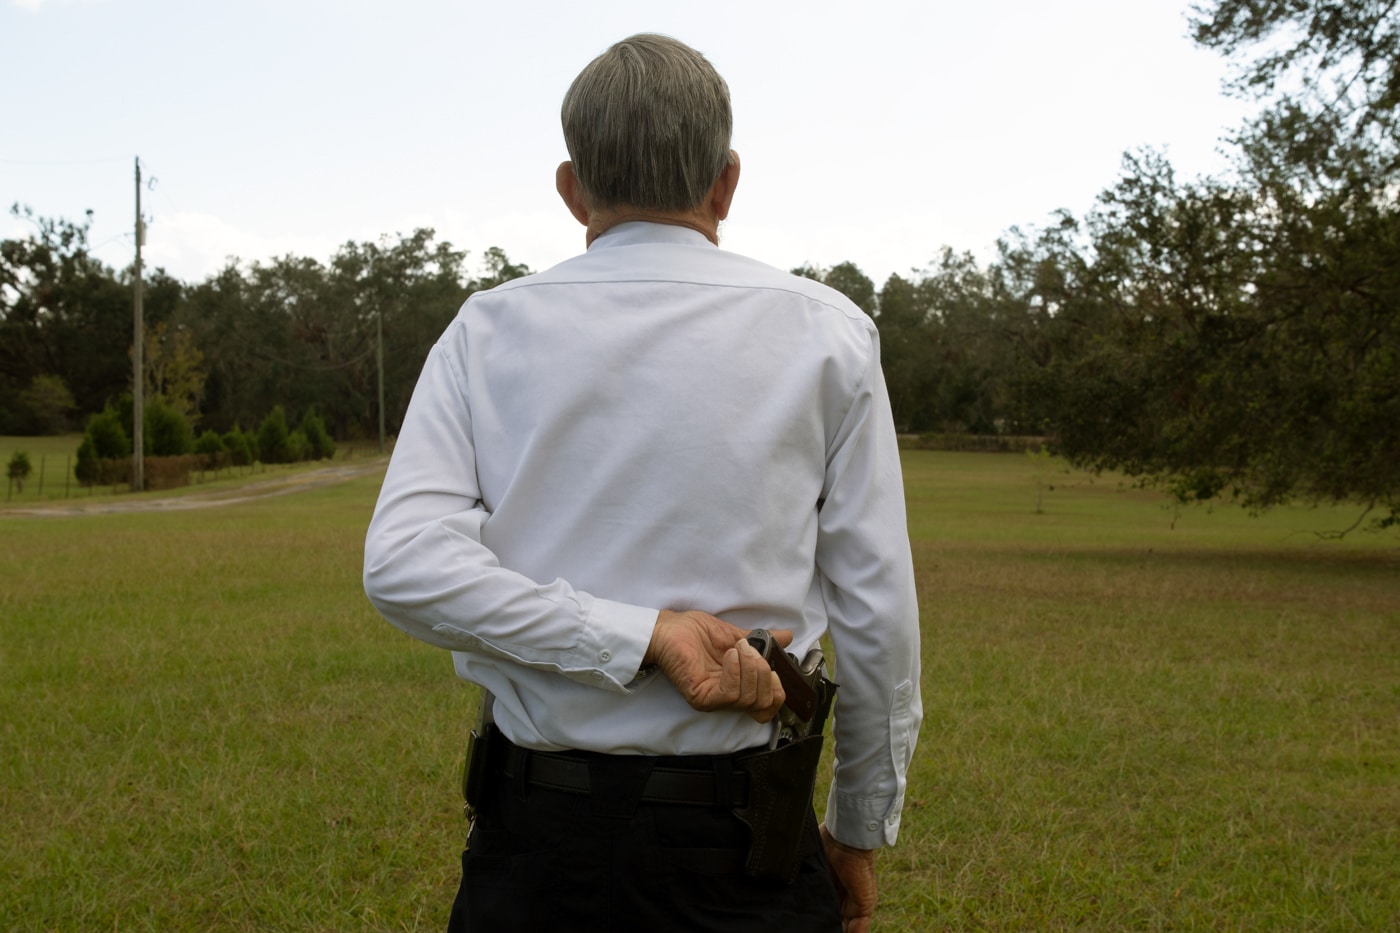
When the gun clears, grasped as firmly as you can, keep the muzzle pointed down as you bring it around front so it doesn’t cross your own body. (If you’ve been shot in the gun arm, there are already too many guns pointed at your body.) Don’t try to re-grip yet.
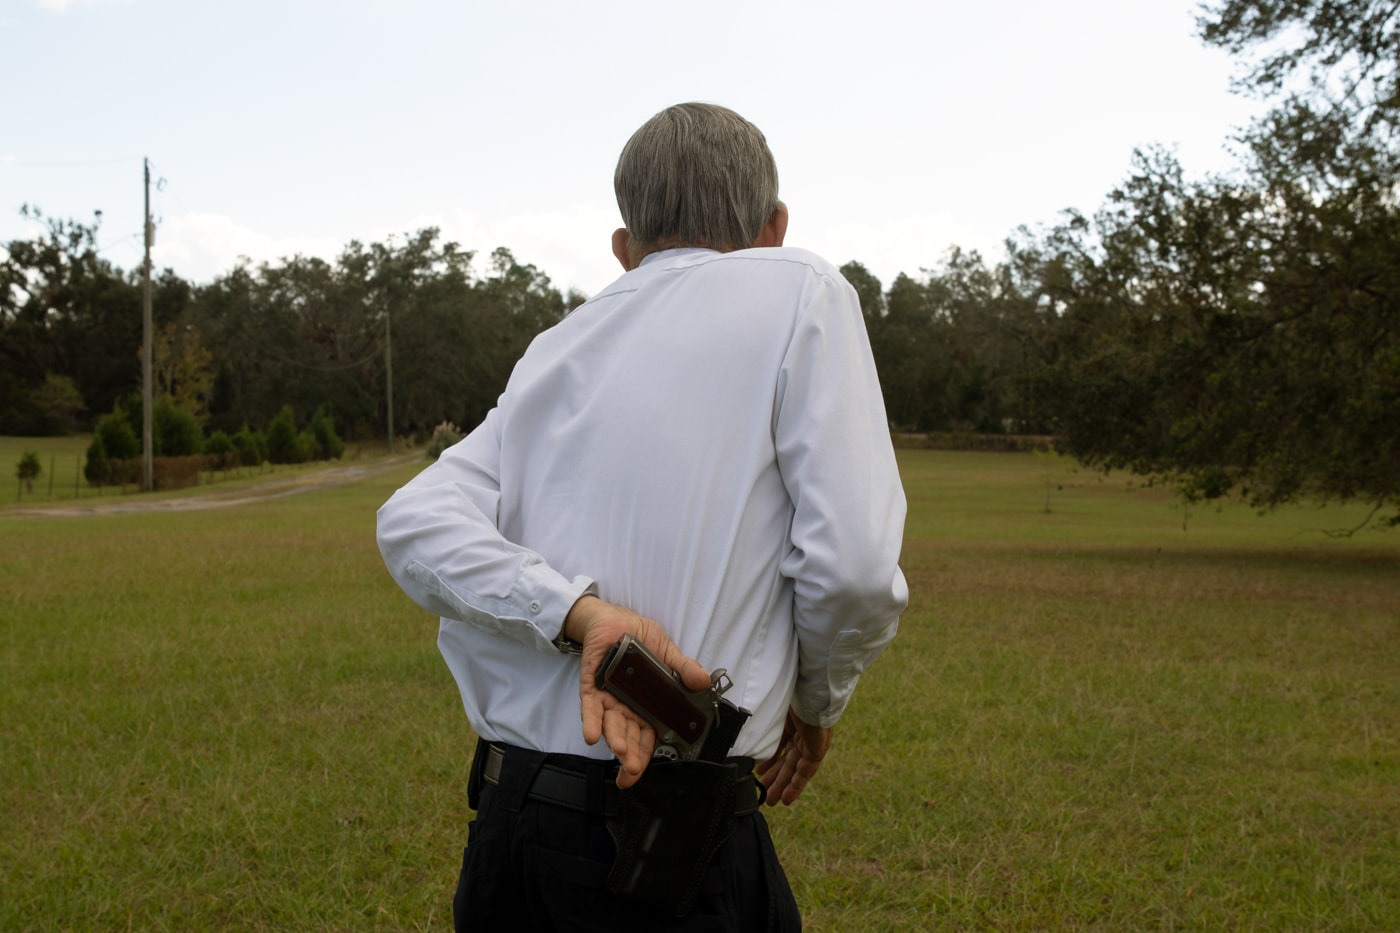
Once the gun is in front of you, now take a proper grasp. With the gun barrel parallel to the ground, all you have to do is slightly relax your grasp and the pistol will fall into place. If there is a manual safety to disengage, you now benefit greatly from an ambidextrous safety lever.
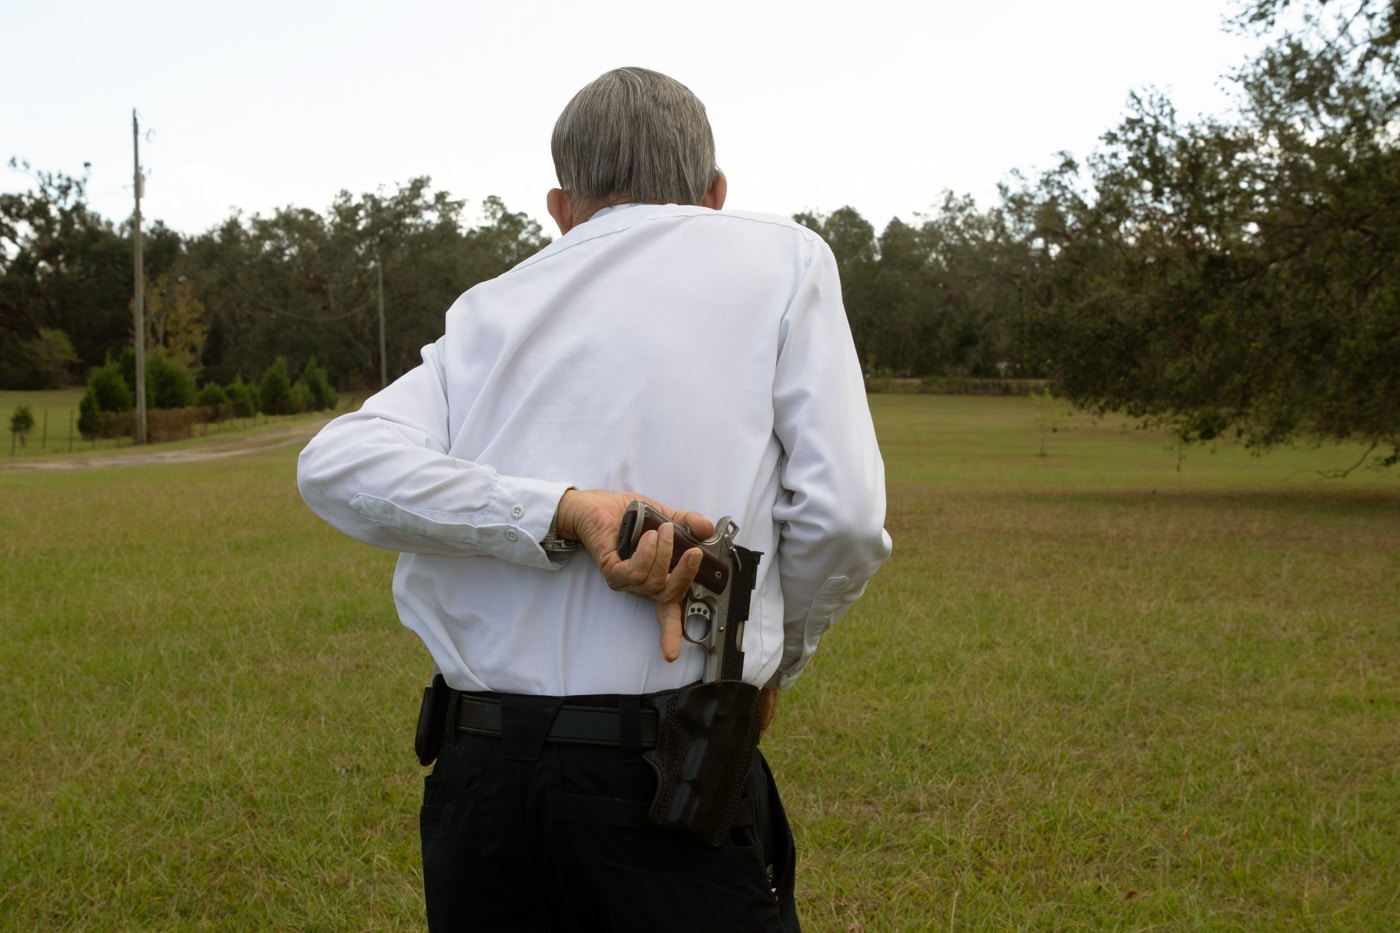
If not, I don’t care for the commonly taught technique of flipping the gun in your hand so you can use your trigger finger to release the safety: it’s very dexterity intensive, and you can expect adrenaline tremor in the hands.
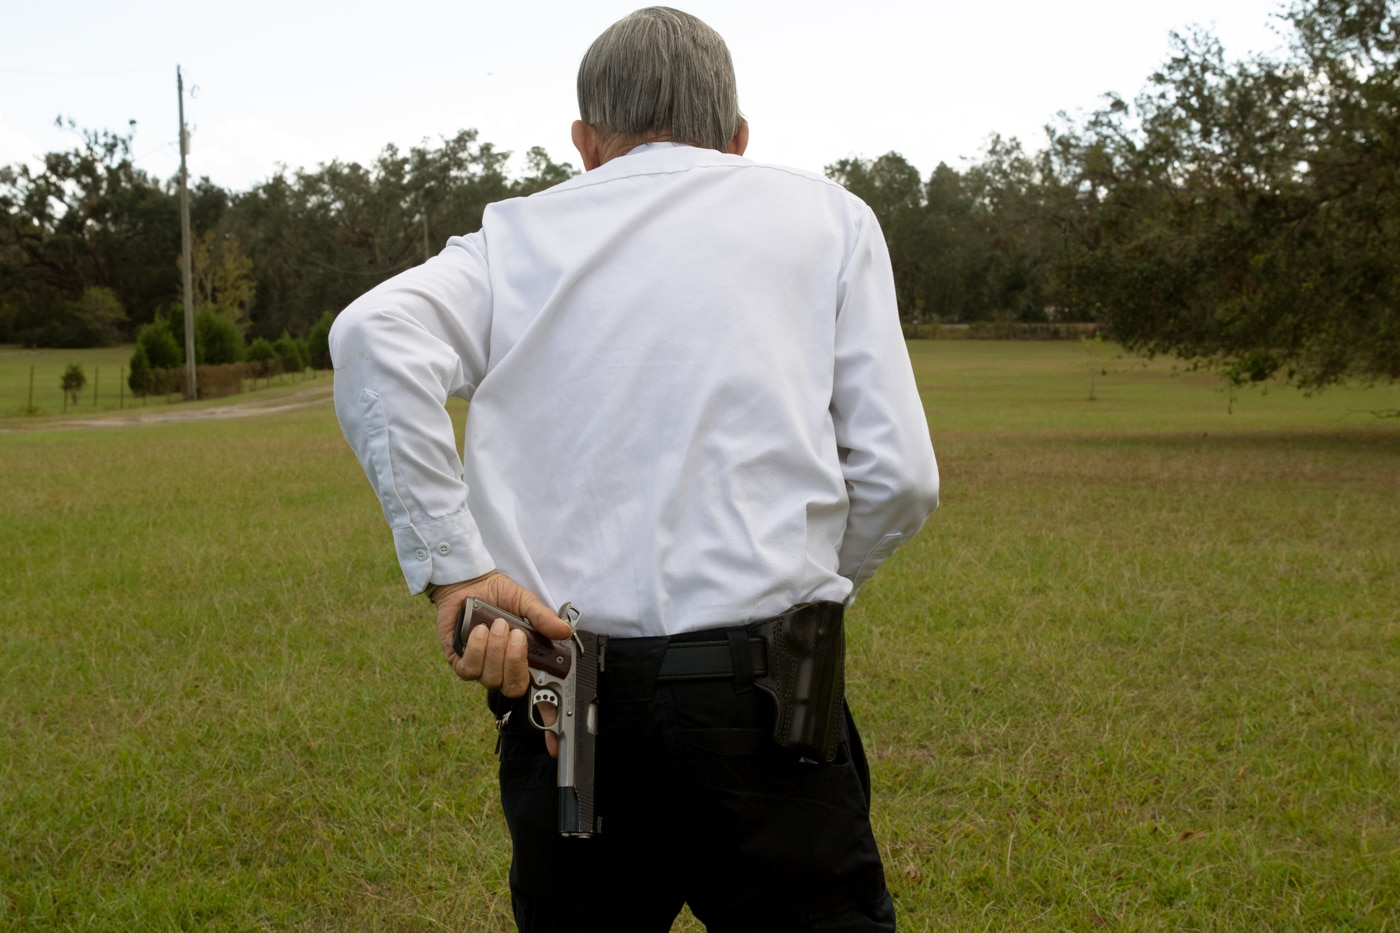
With something like a 1911 and a single-side safety, grasp tight with the lower three fingers, bring the thumb around behind the gun, pop the safety off with that, and then properly regrip. You’re now ready to return fire.
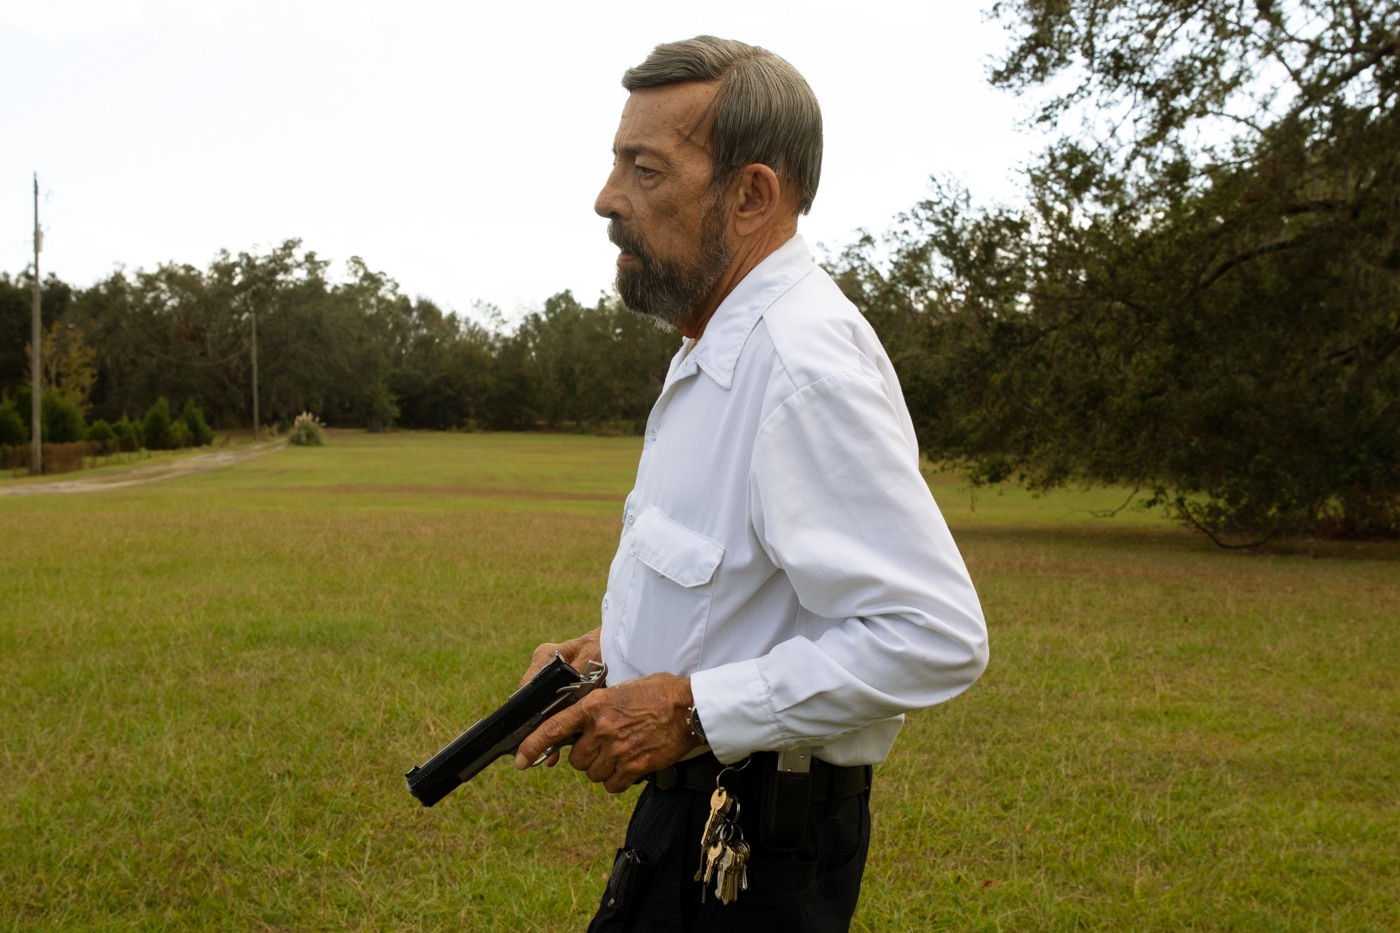
If the holster has a thumb-break safety strap, release it with a “chop” of your fingertips before you begin the draw.
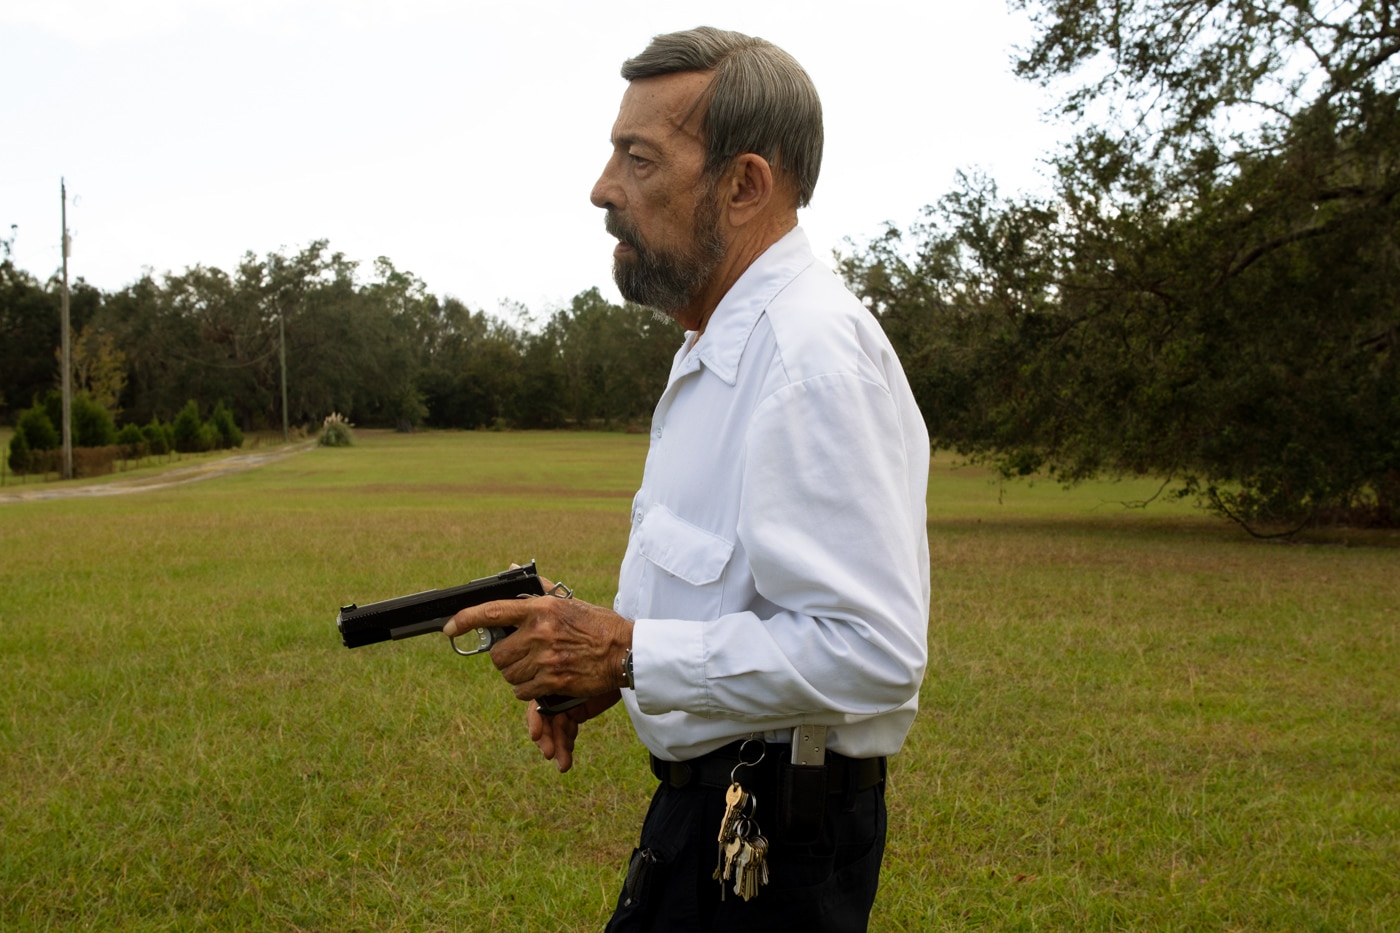
Hip Draw, From Front
A very few people are flexible enough to just reach around the front with the “wrong hand,” take a firing grip in the holster, and draw. One advantage of a tactical thigh holster for open carry is that it is more accessible to the non-dominant hand.
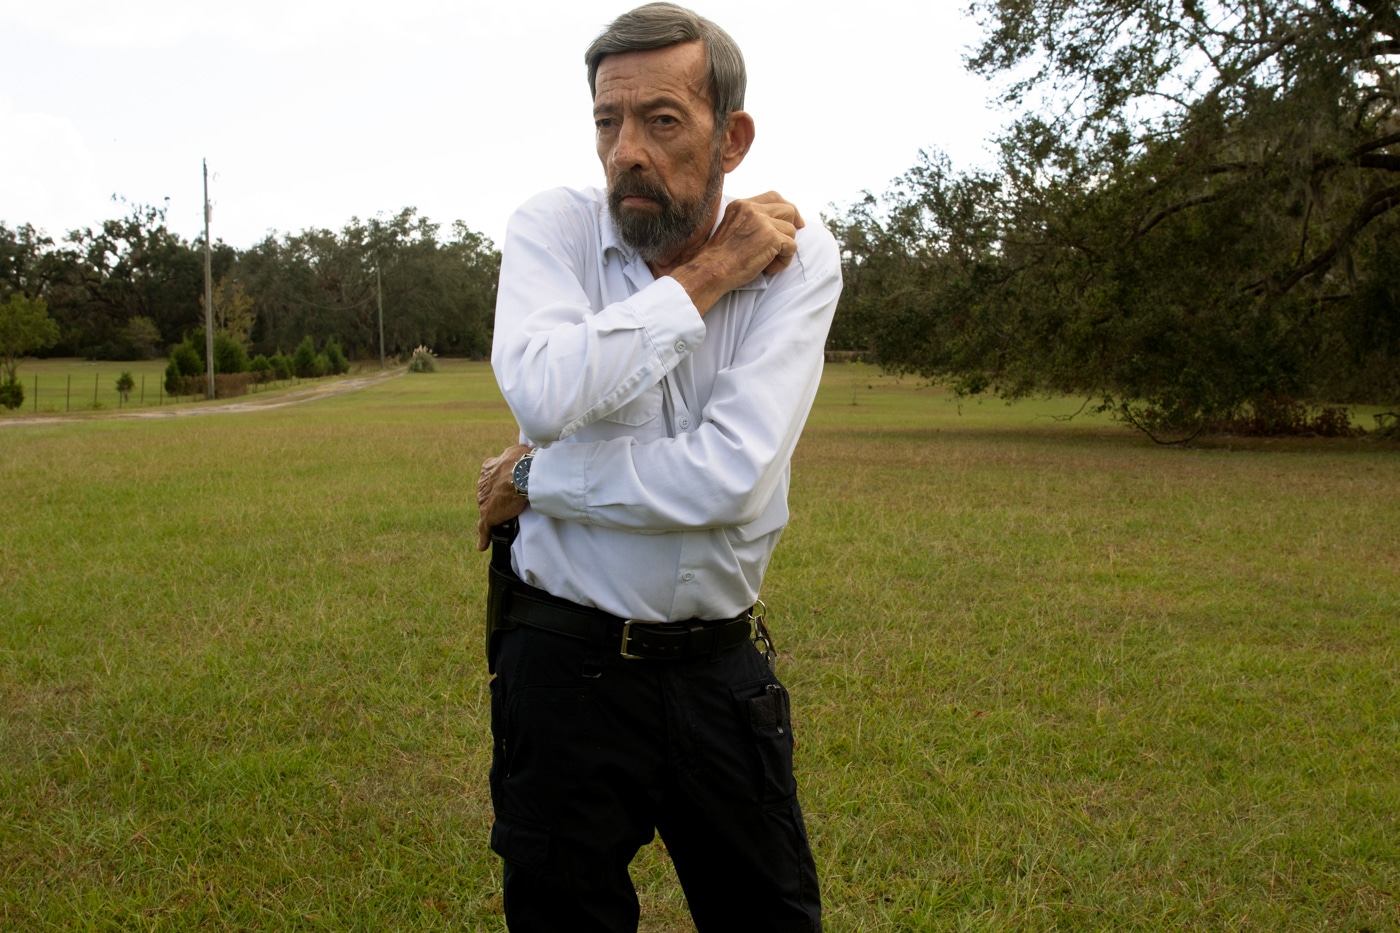
For most people the single easiest universal weak-hand draw — from strong side holster from the front — is the “upside down” draw. Grasp the pistol’s grip-frame with your thumb, pointing toward the butt. As the gun comes out, bring the top of the gun across your abdomen, parallel to the ground.
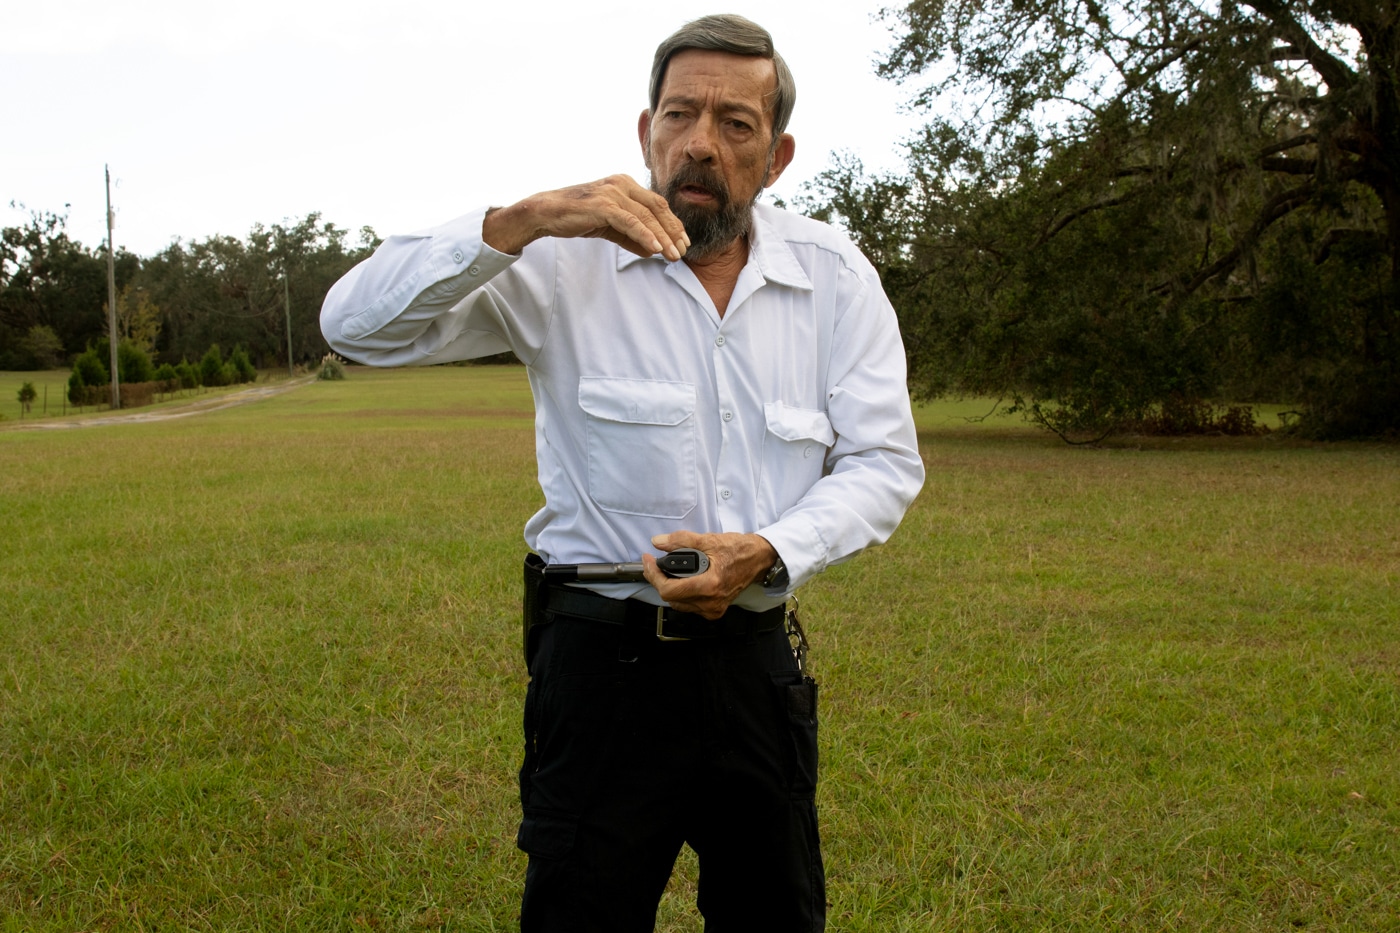
Now, keep the fingertips under the gun to support its weight, and swing your palm across the butt. This is the surest way to bring the hand to a firing grasp: the gun is at no time unsupported. Now it can be brought to bear against the threat with return fire. A thumb safety would be released as explained above.
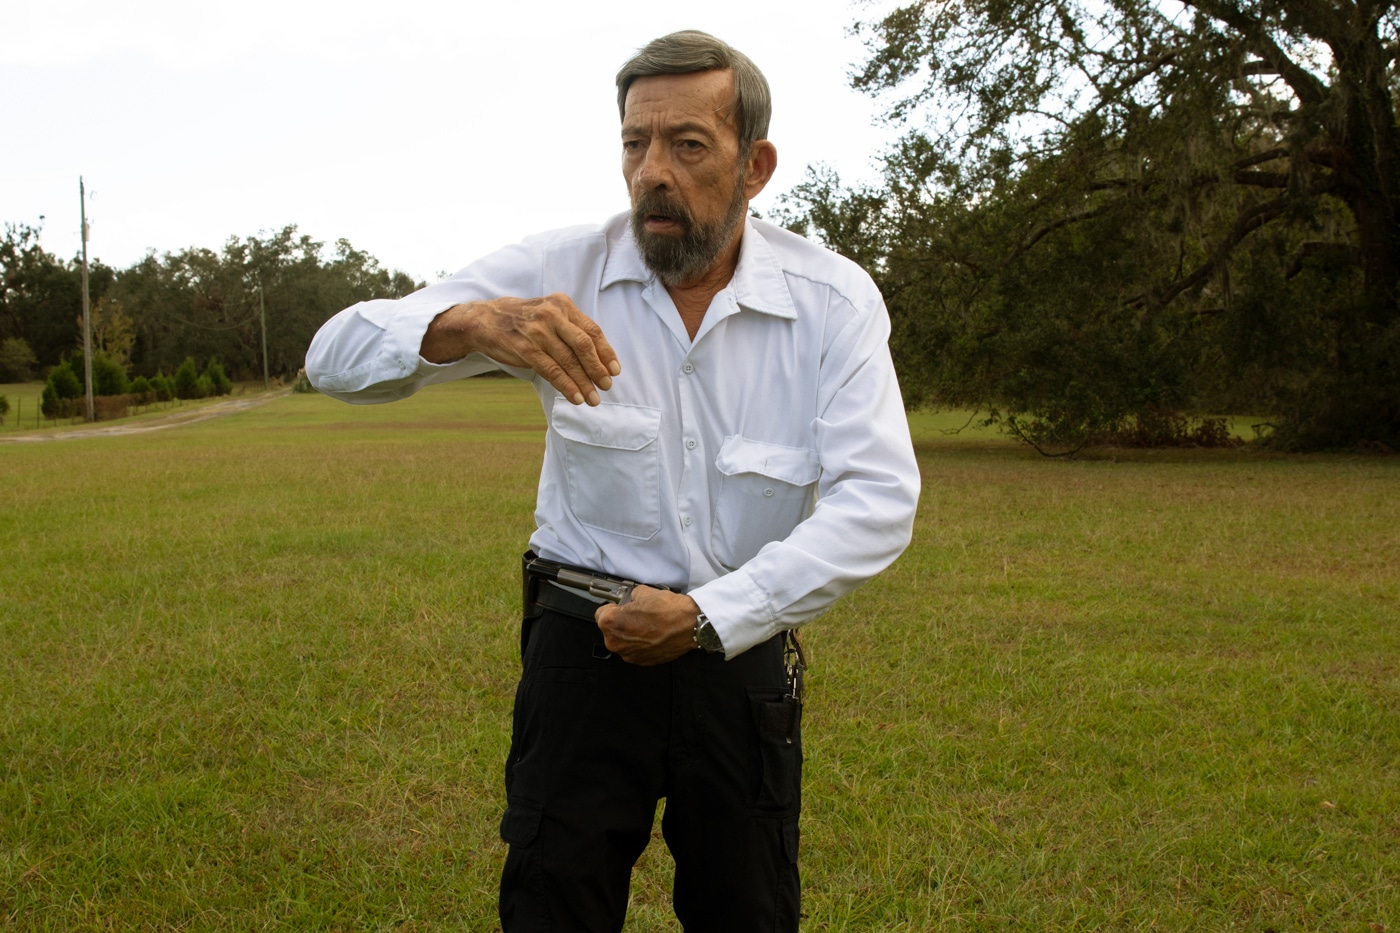
This sort of draw — particularly from the front — is almost impossible to do safely with functional guns without crossing partners on the firing line and “breaking the 180” during training. It is best learned initially with dummy guns and then with empty guns.
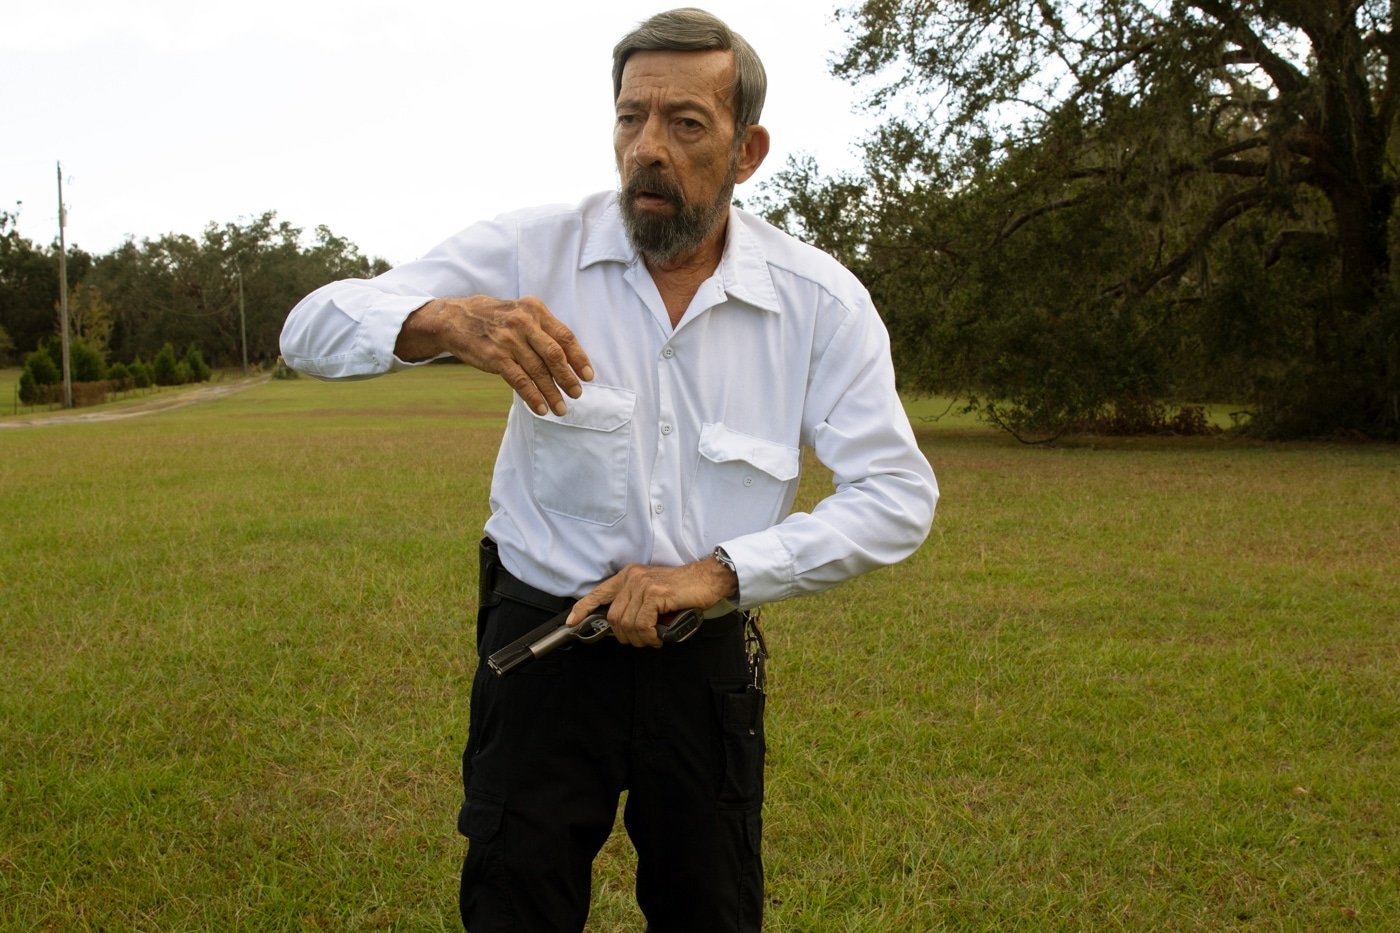
For the around the front draw in particular, “muzzling” others is minimized by starting with the holster side toward the target.
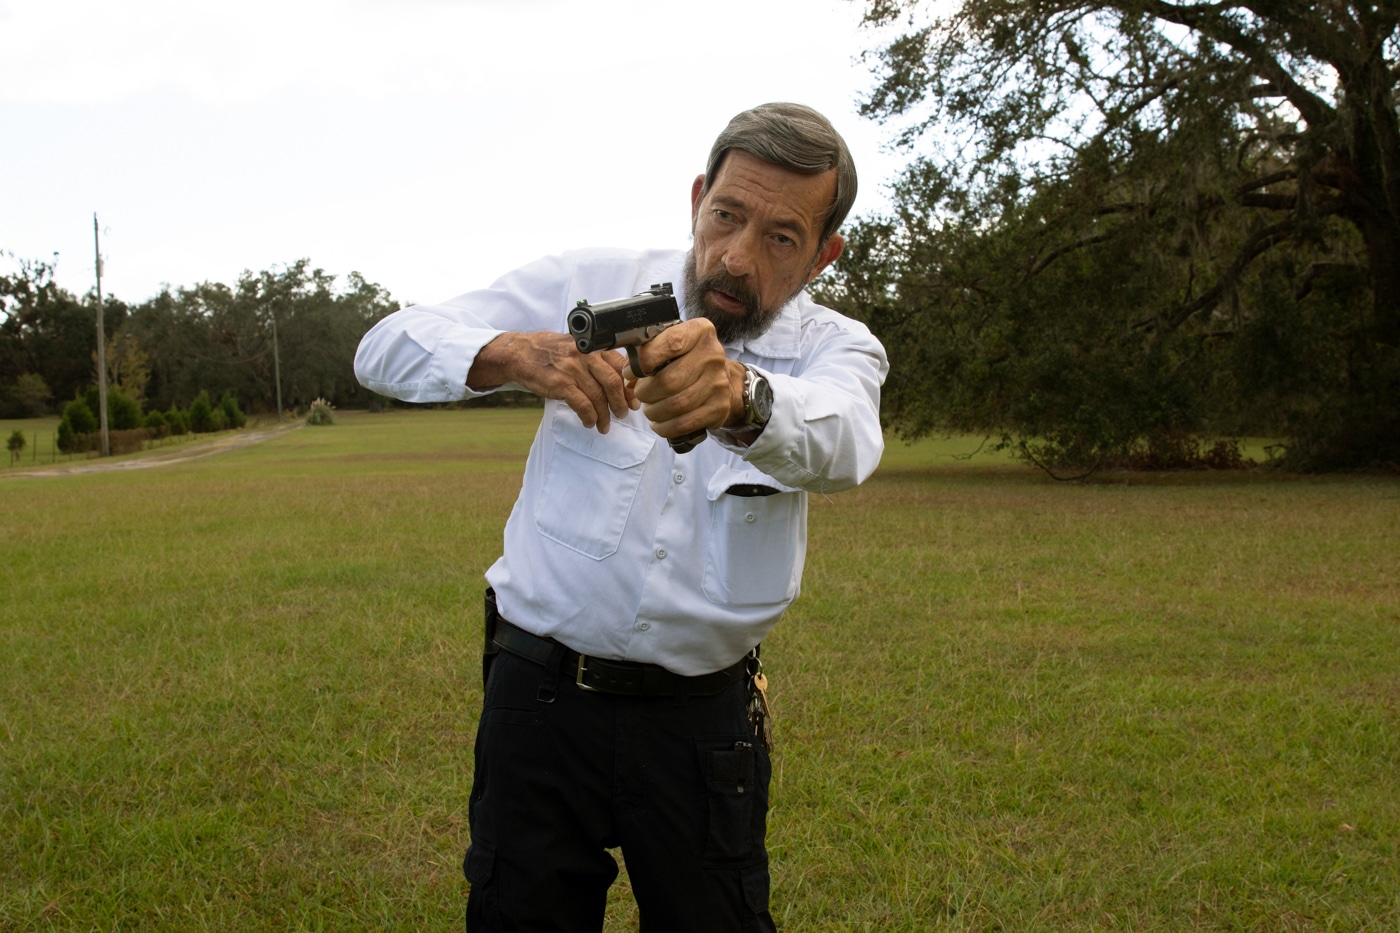
And If You Can’t Do It…
Fact of life: not everyone is built for reaching their right hip with their left hand or vice-versa. Injuries, broad shoulders, weight issues etc. make it simply impossible for some people.
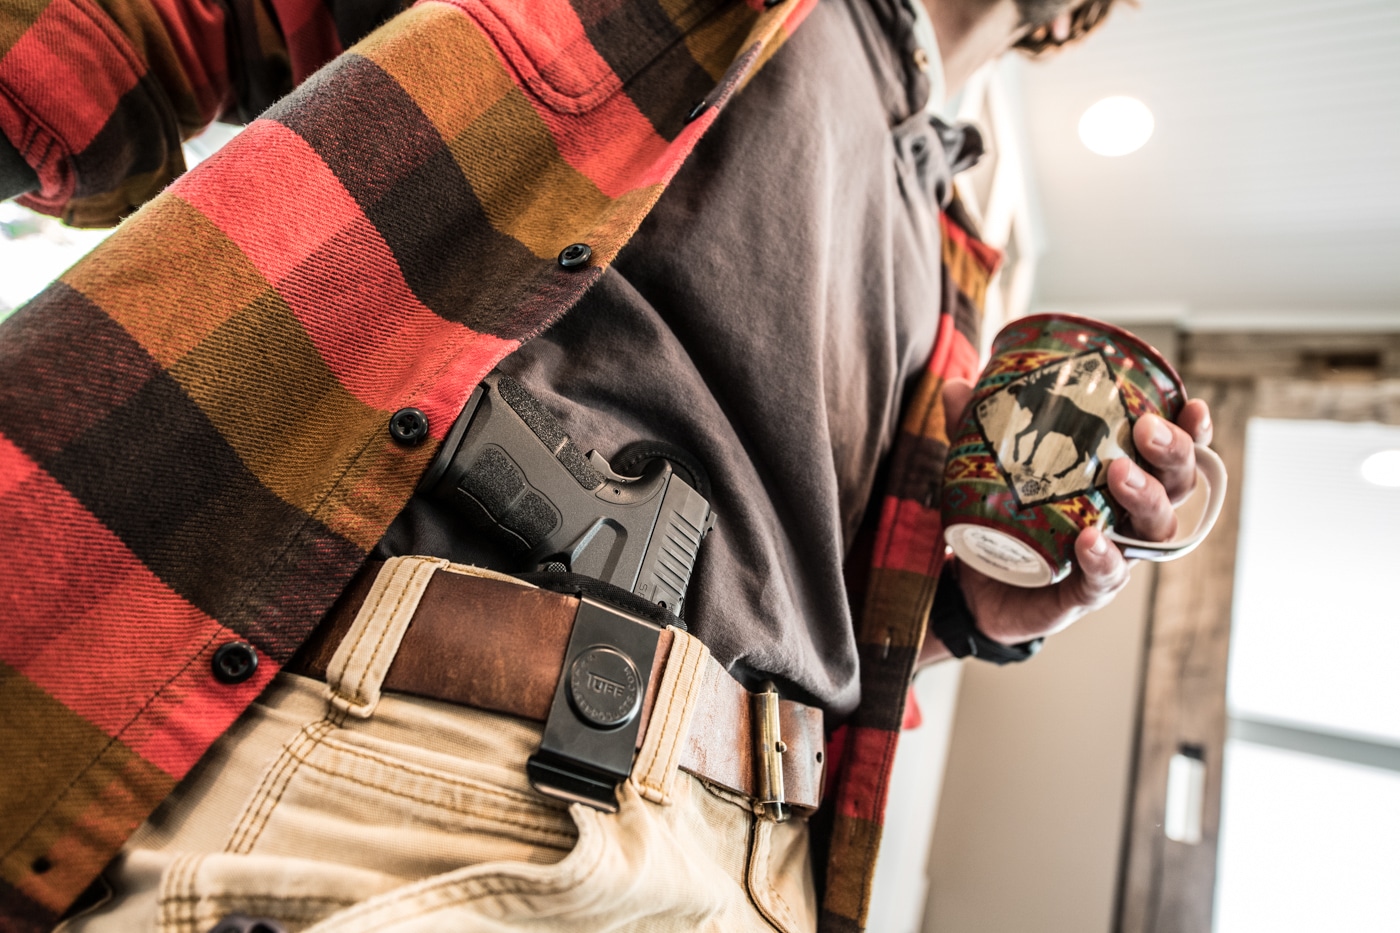
If that is the case, two suggestions: (1) Consider a different location for your primary handgun that could make it accessible to either hand. (2) Consider carrying a back-up handgun placed where your non-dominant hand can reach it.
All of us who’ve studied gunfights have noticed that, on both sides of the incident, wounds cluster on gun hands and gun arms of opponents. The great expert on witness dynamics, Dr. Elizabeth Loftus, called it “Weapon Focus.” The eye focuses on the perceived threat, the gun. Where the eyes and the head go, the body follows.
We have to bear that in mind and be consciously programmed to aim for the vital parts of the thing trying to kill us, not on its weapon. But this well-known phenomenon means that it’s highly likely we’ll have to respond to a deadly attack with only our non-dominant arm with which to draw our gun — hence the purpose of this article and this type of training.
Editor’s Note: Please be sure to check out The Armory Life Forum, where you can comment about our daily articles, as well as just talk guns and gear. Click the “Go To Forum Thread” link below to jump in and discuss this article and much more!
Join the Discussion
Continue Reading
Did you enjoy this article?

 56
56


