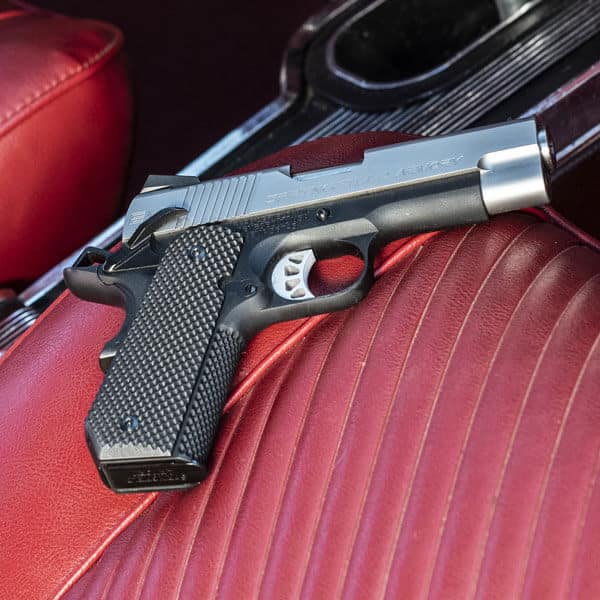
Editor’s Note: This is the fourth entry in our 12-part Armed & Ready series from Richard Nance and Handguns magazine. The series covers a range of personal defense and CCW topics. See links below for the other entries:
- CCW Mistake That’ll Get You Killed
- Do You Carry Enough Gun?
- Carry Guns in Gun-Free Zones
- When You Can’t Pull the Trigger
- Don’t Aim in a Gunfight
- Why Does the 2nd Amendment Matter?
- Don’t Make a Cop Shoot You
- Hammer vs. Striker: Which Do You Need?
- Don’t Fight Blind
- Family Held Hostage: Do You Shoot?
- Why You Need an AR for Home Defense
You’ve got your carry gun, a good holster and your CCW permit. Done. You’ve taken care of everything needed to be prepared for carrying a gun for self-defense, right? Wrong. There’s a lot more to CCW than simply buying your gear; you should also be well-versed and trained on how to employ it effectively. And one of the most important skills is effectively drawing your firearm in a close quarters conflict.
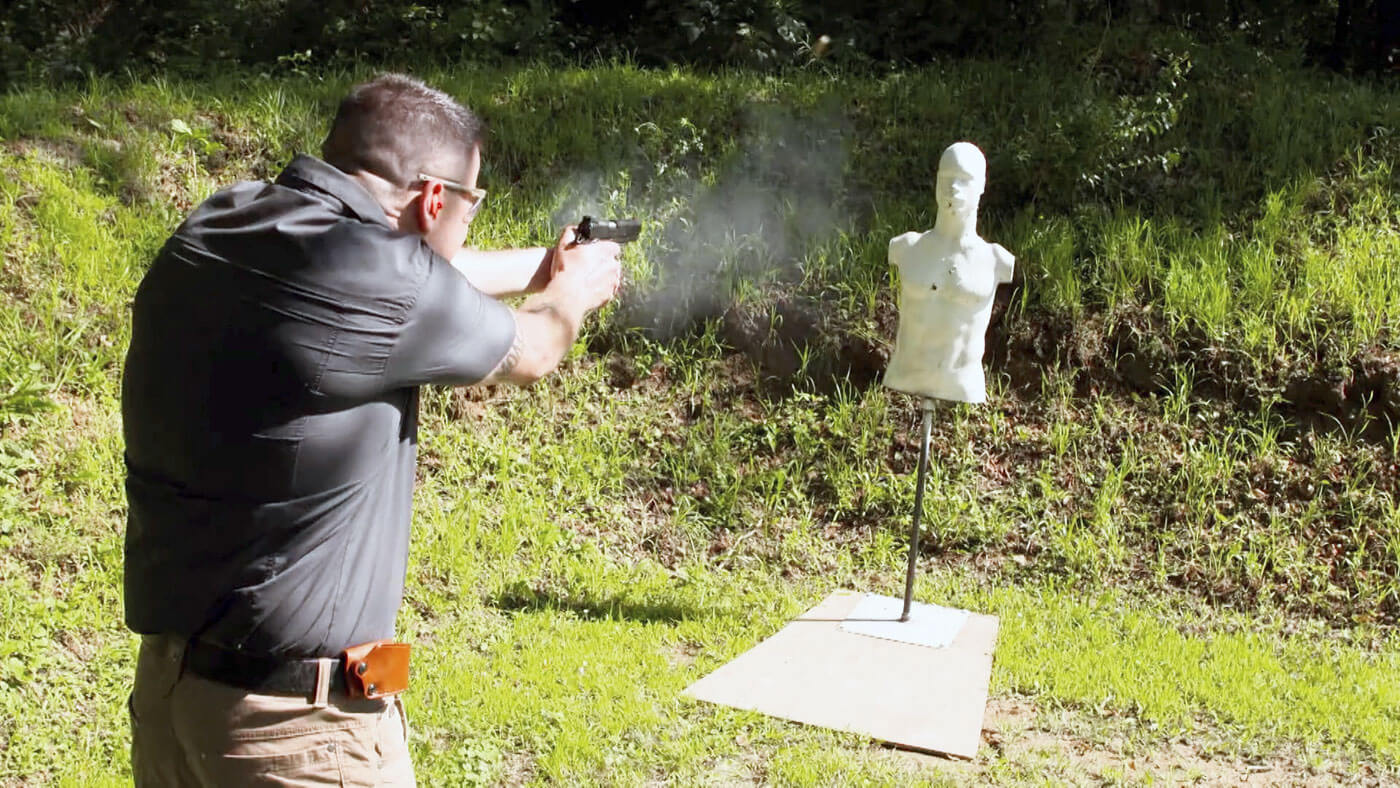
Steps to Success
What you can do on the range will not necessarily translate to what you will do when push comes to shove and you’re overloaded with stress. What you will do is revert to ingrained skills, or muscle memory. Skill sets repeated over and over until they are ingrained in your muscle memory is what you will fall back to when the rubber hits the road. So, learning your draw step-by-step offers a lot of advantages.
There are a lot of components at play in the draw stroke, and the ultimate goal is to bring your defensive weapon to bear in the most efficient manner possible. To make it as simple and repeatable as possible, I’ll be breaking down a close-quarters draw stroke into five steps.
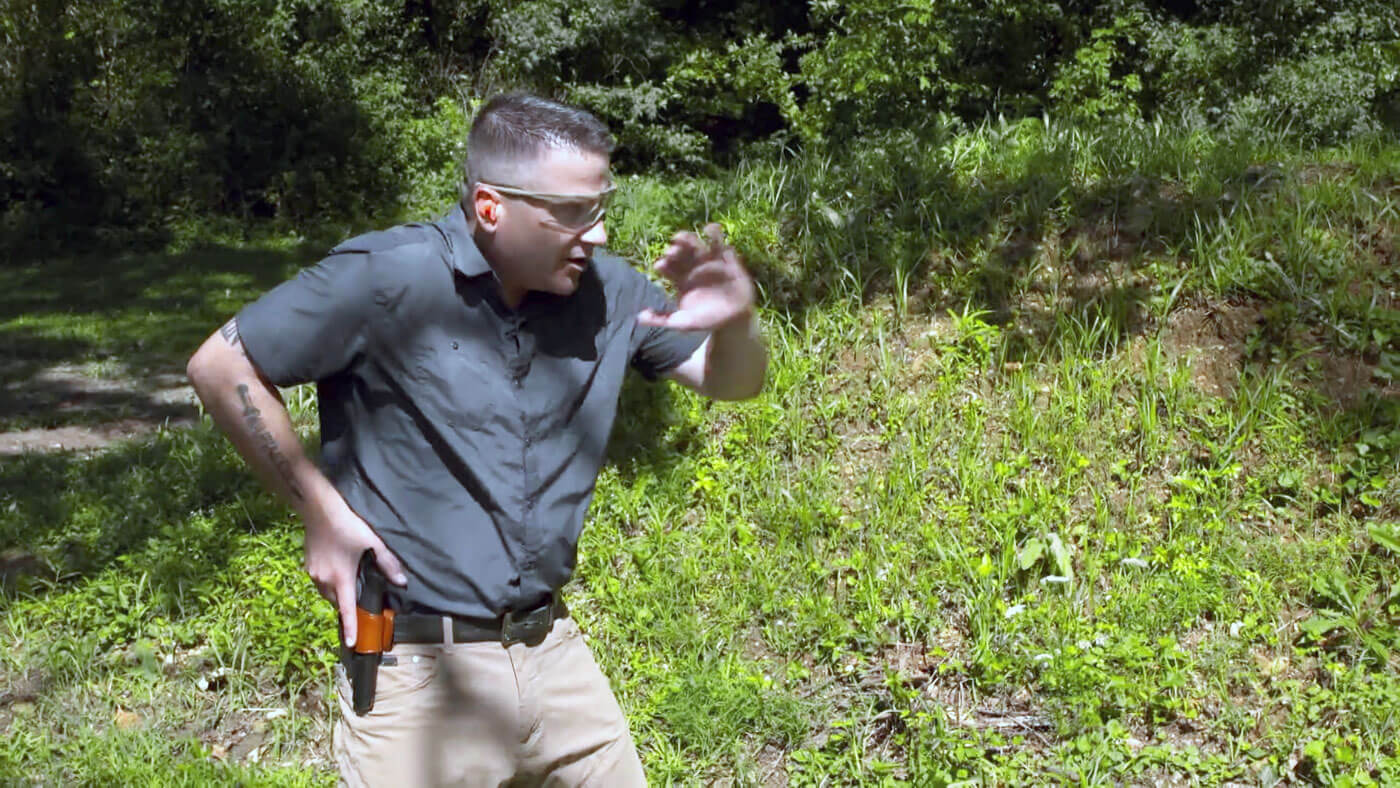
Step 1:
Move your dominant hand toward your pistol, with your support hand moving up to your chest to block potential attacks (and be clear of your muzzle when you complete the draw).
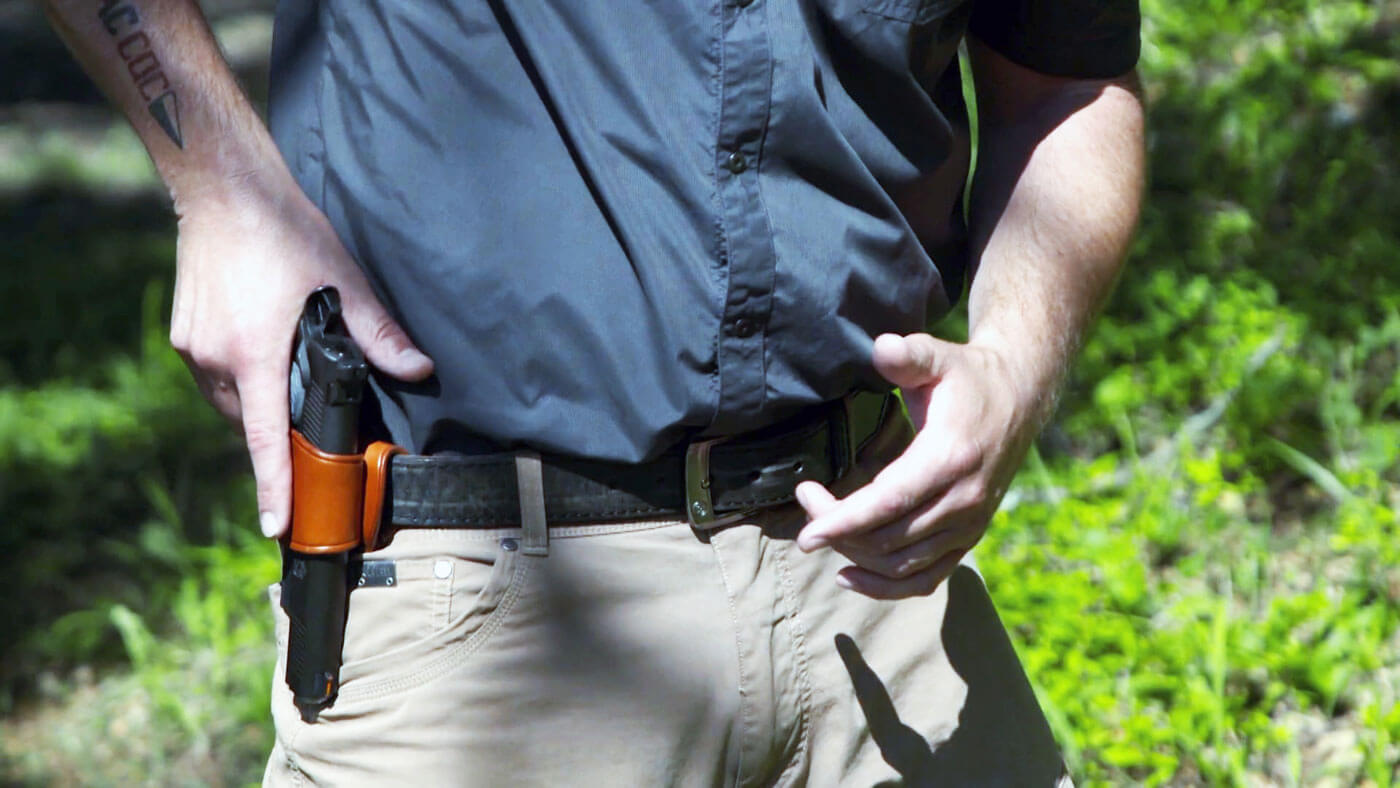
Step 2:
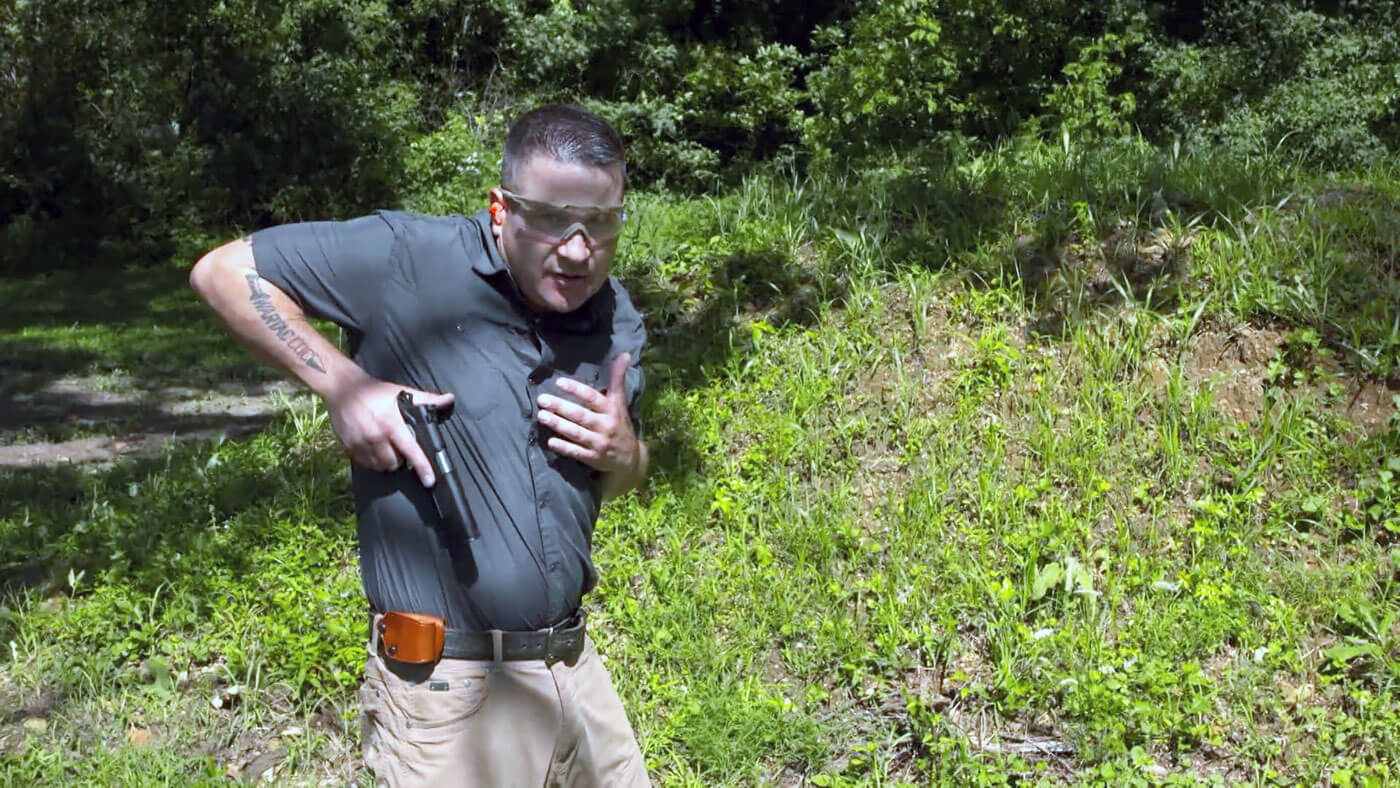
Hook the dominant hand down and get a good three-finger grip on the pistol.
Step 3:
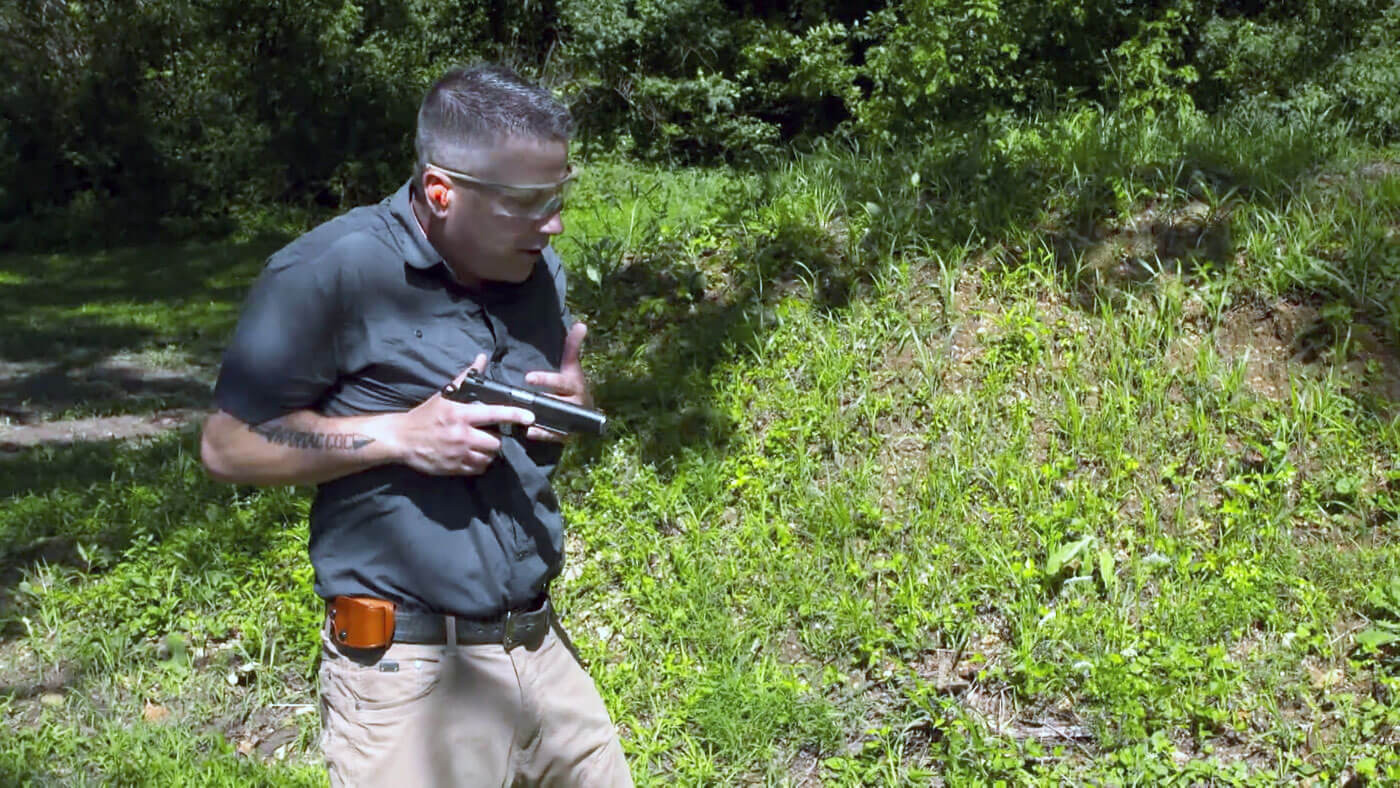
Draw the elbow of your dominant arm all the way up comfortably, while keeping your wrist locked.
Step 4:
Drop your elbow and orient the muzzle of your pistol toward the target.
Step 5:
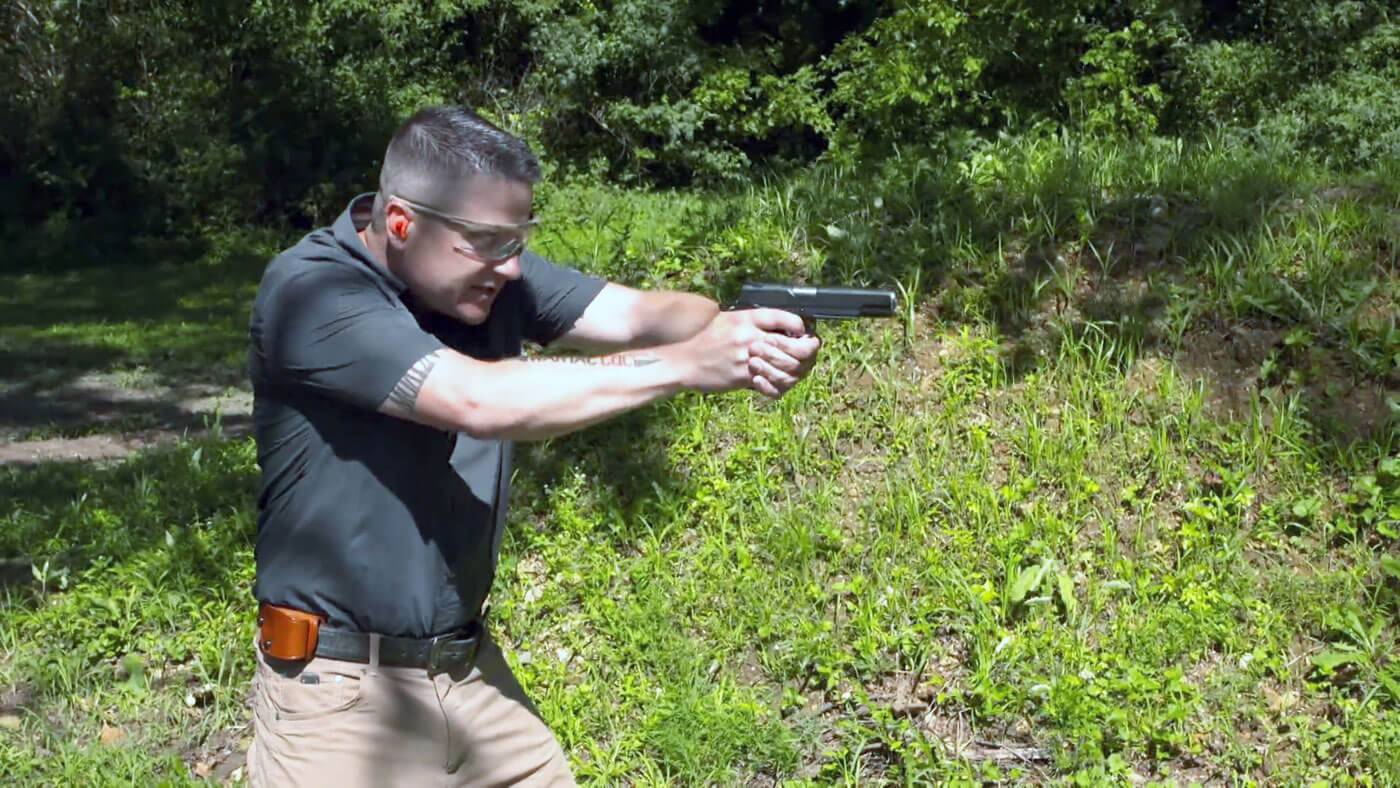
Push out toward the target, while joining with your support hand which you have brought to your chest. As you push out, flick off any manual safeties your pistol may have.
Dos and Don’ts
It is very important during the draw that you orient the muzzle toward the threat as quickly as possible. This will allow you to engage the threat earlier if needed, and it also keeps the muzzle pointed toward the threat rather than the ground.
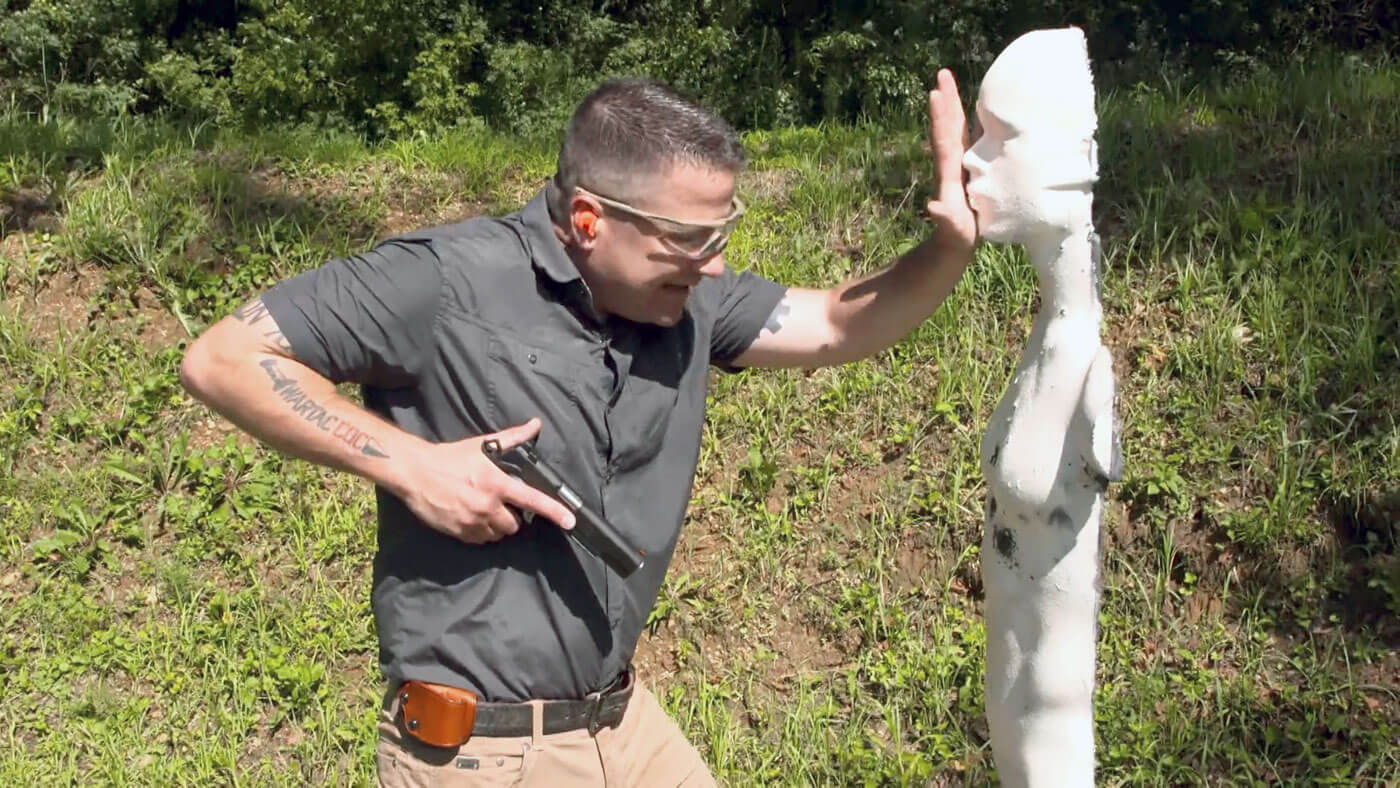
It’s easy to “scoop” up during the draw, where you point down and then swing the muzzle up as you push forward. This is a mistake as it might allow a close attacker to push down the muzzle. It’s also not the most efficient way to get your muzzle on target.
If a threat is right on top of you, your support hand will come into play. Keep it high and away from the muzzle, and it can be used to strike the threat or deflect an attack.
Conclusion
If you get these skills down and have a good quality pistol like the Springfield Armory Range Officer Elite 5″ .45 and a good holster, you will be prepared to respond to a threat effectively. Make sure you practice the steps until it’s second nature. If you ever need it, you’ll be grateful you spent the time refining this skill.
Join the Discussion
Continue Reading
Did you enjoy this video?

 72
72


