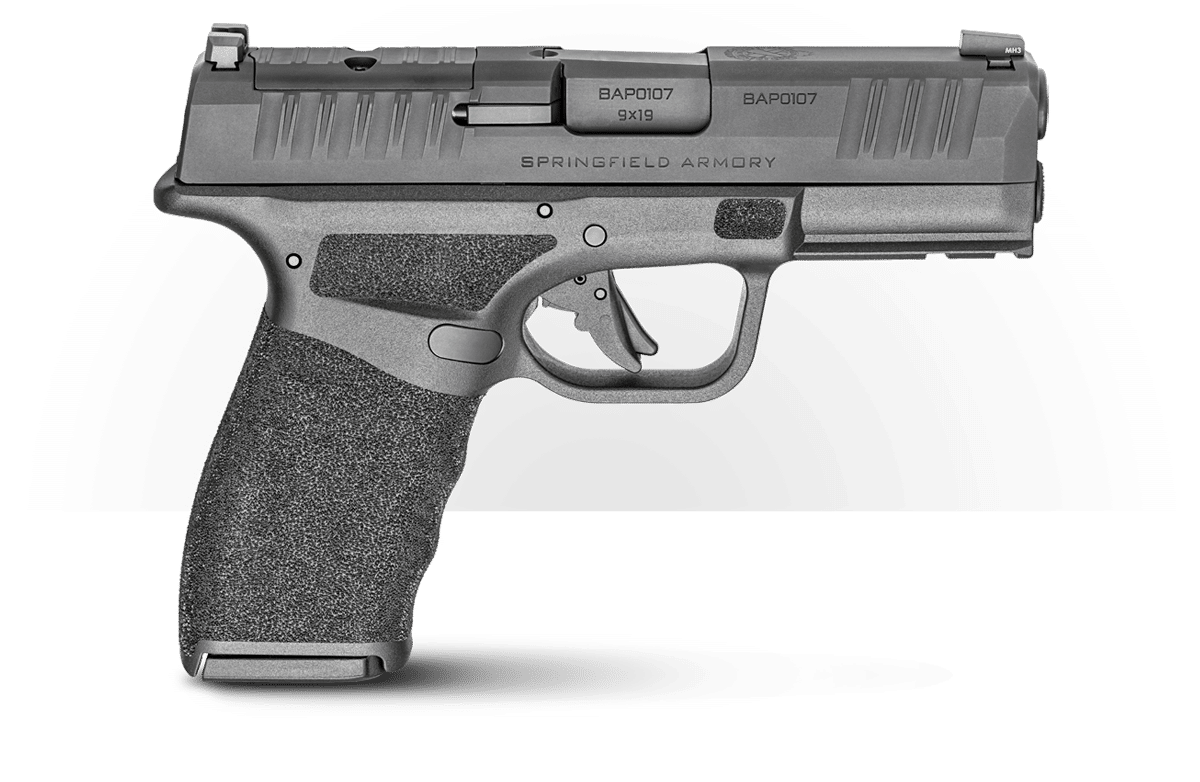
In today’s article, Justin Opinion checks out the latest Hellcat Pro accessories from Tyrant CNC. The parts were sent to the author for review by Tyrant CNC.
There are a lot of ways to dress up a firearm to make it a more personal gun. While some are cosmetic, others are mechanical or performance related. Some offer a combination of the above. Tyrant CNC makes parts for many popular models, including the Springfield Armory Hellcat and Hellcat Pro. In this piece, I’ll take a look at many replacement parts that Tyrant offers — installed on my own personal Hellcat Pro.
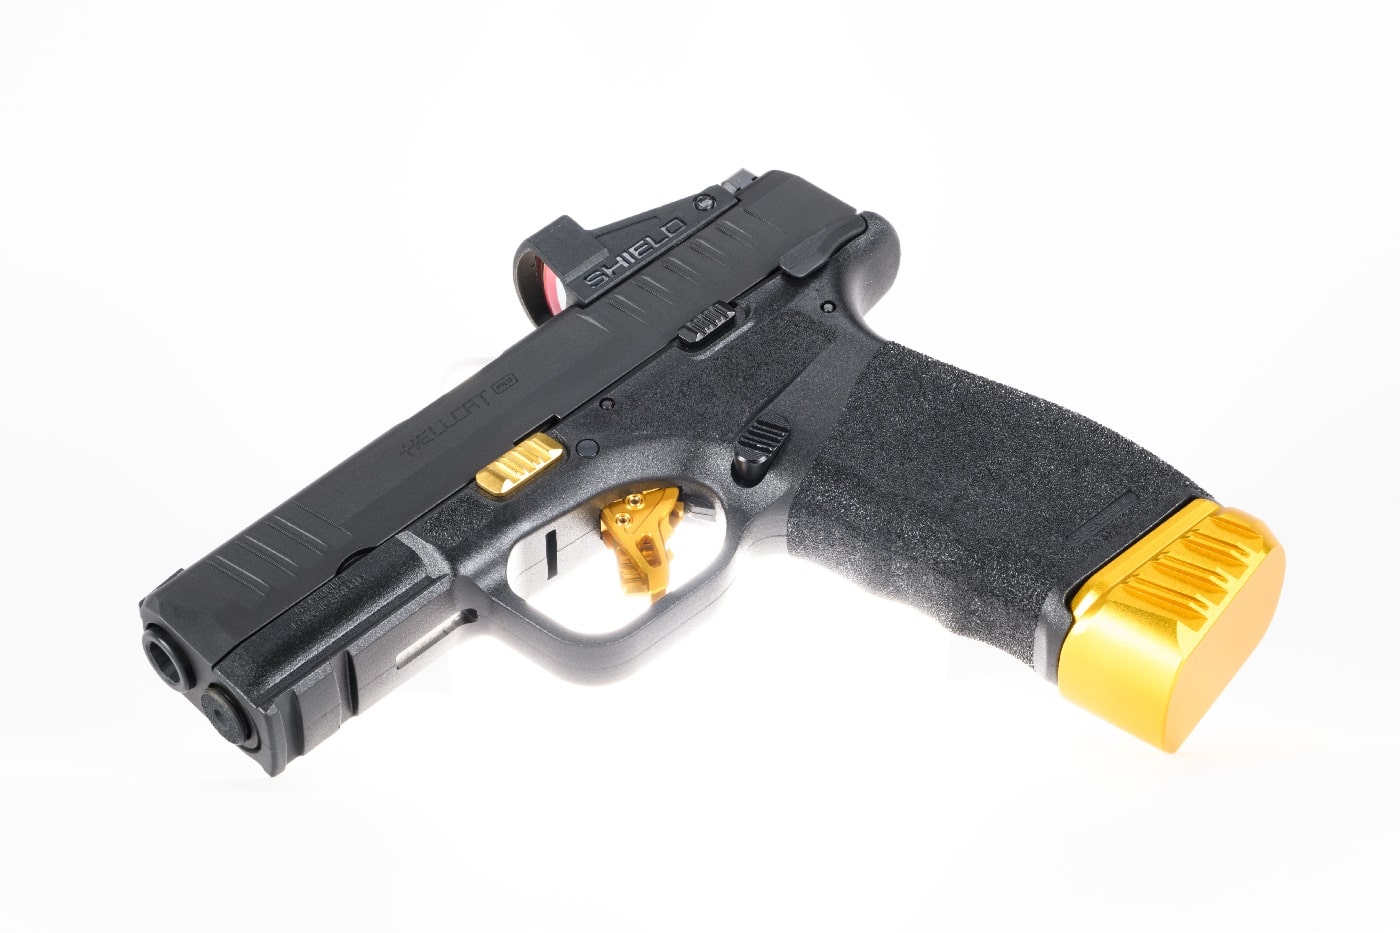
I replaced a whole handful of parts — all visible on the outside of the pistol, most of which are controls that perform important operational function. This means that even if the objective is strictly cosmetic, these parts have to be precisely made.
[Looking for another Hellcat Pro upgrade option? Check out Yamil Sued’s article on the Hellcat Pro Threaded Barrel Kit.]
Standing Out
Tyrant CNC has many parts available in a wide variety of colors. I asked for gold parts because I thought that would offer the most visible contrast for video and photos. A couple of the Tyrant parts were not available in gold at the time, but might be in the future — something to watch for.
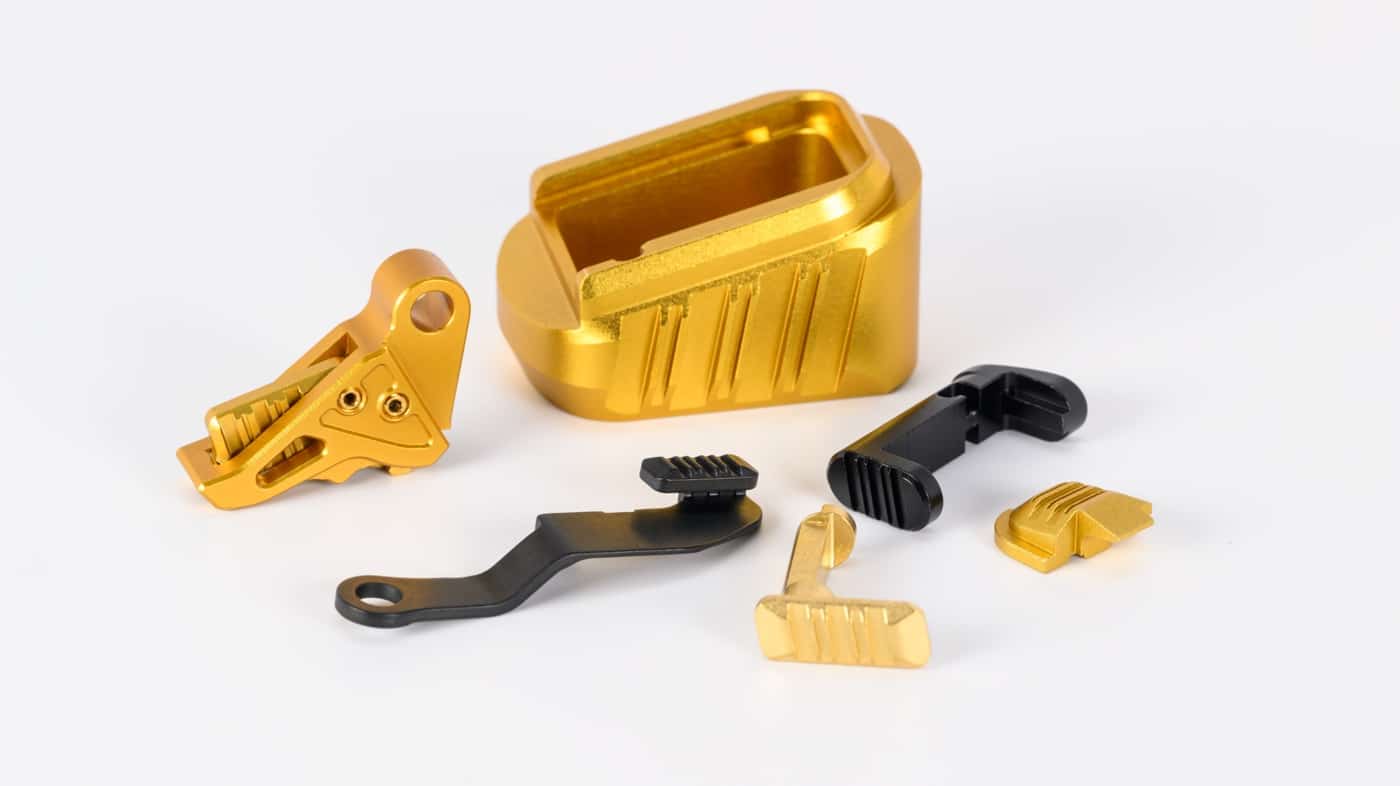
Here’s the list of parts I replaced:
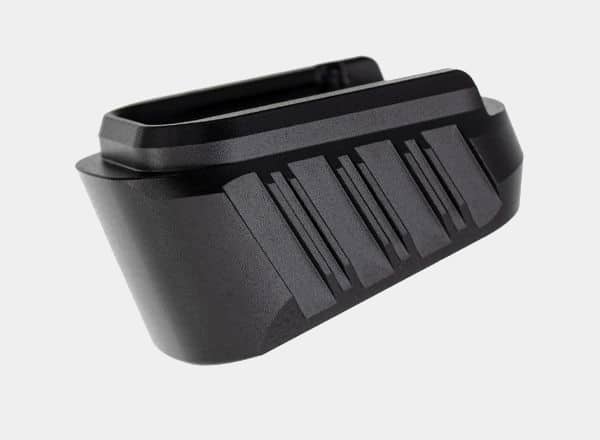
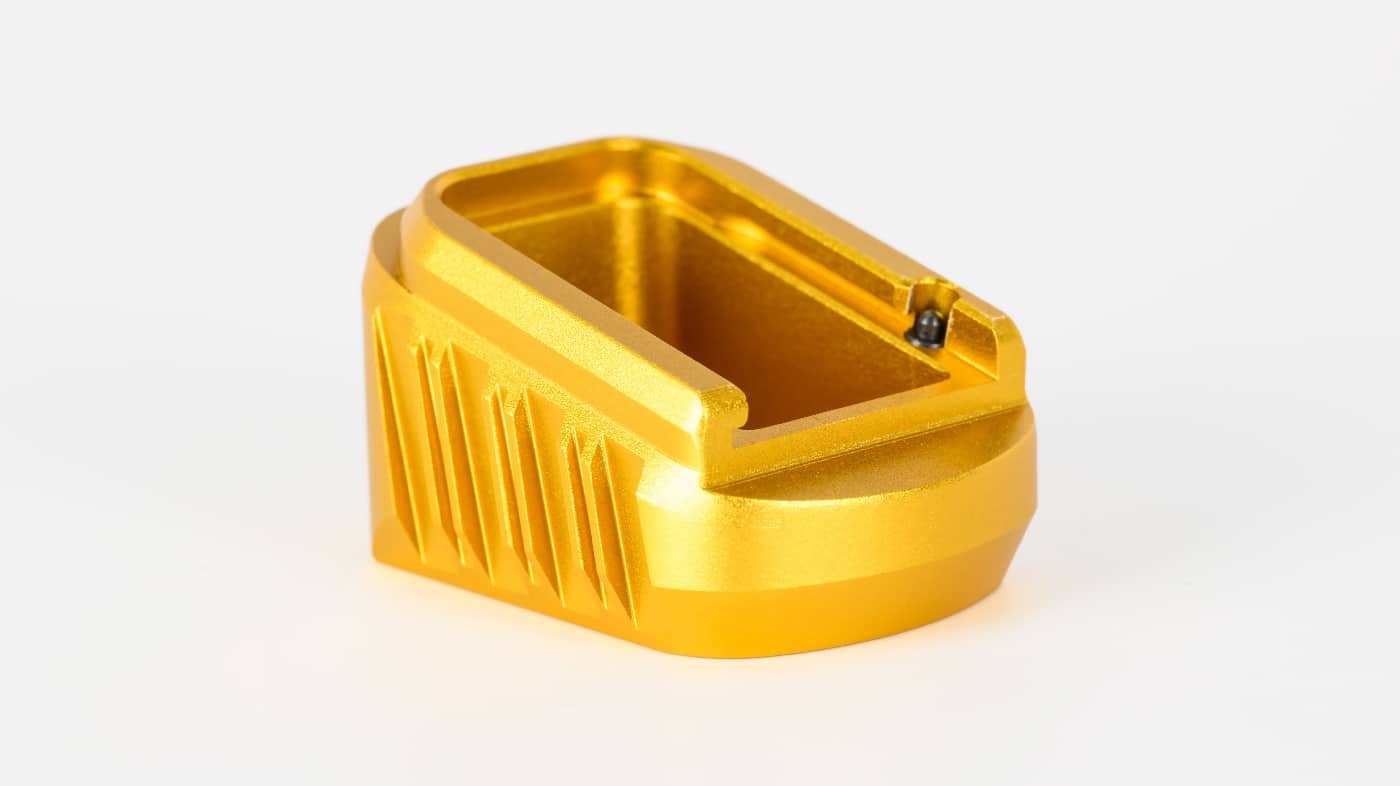
- Magazine baseplate
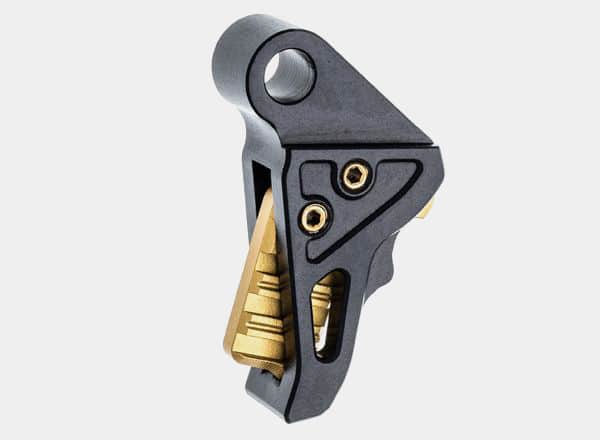
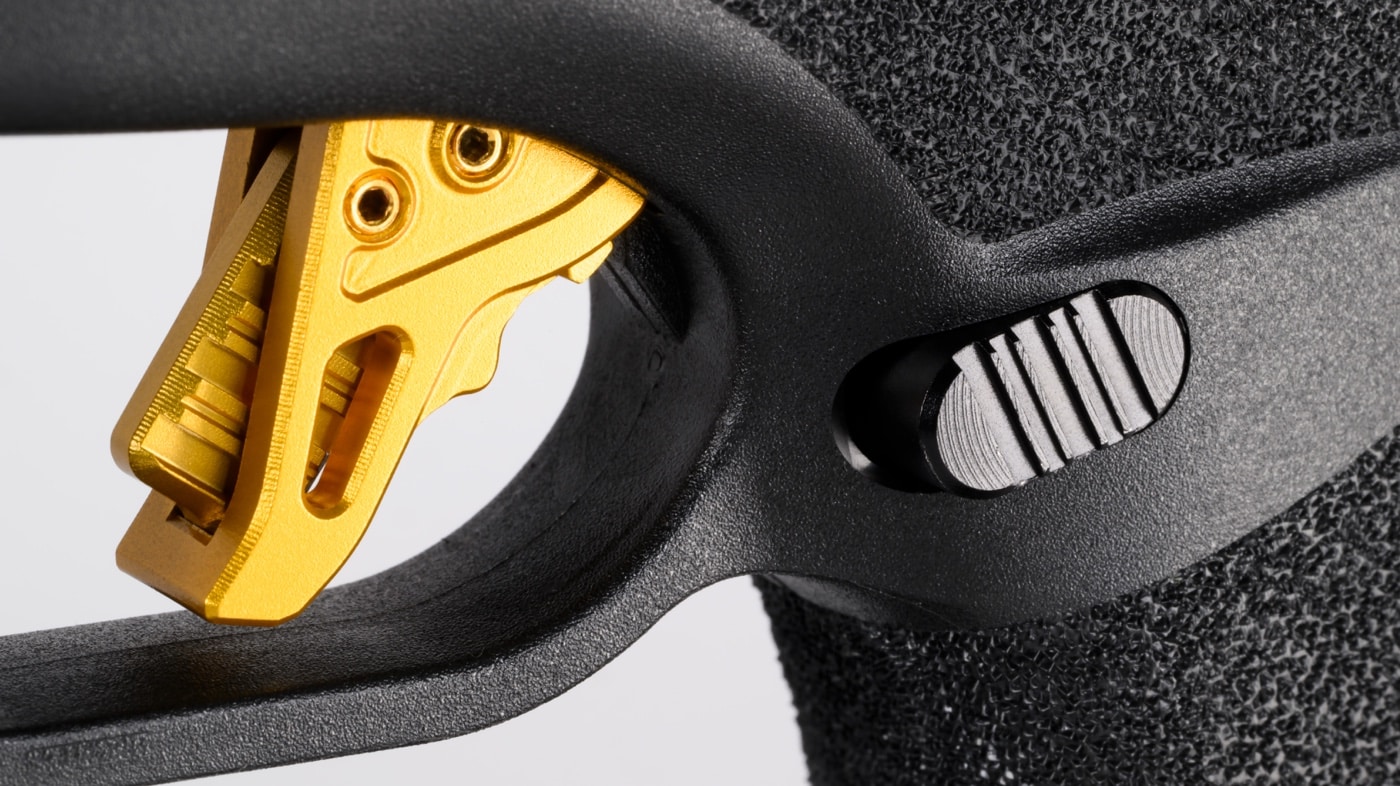
- Trigger shoe
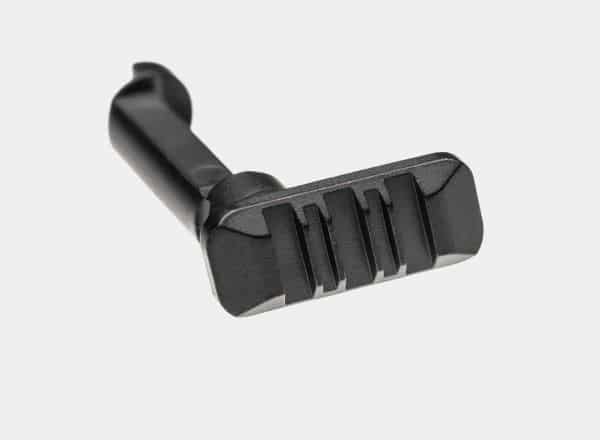
- Slide lock lever
- Magazine release
- Take-down lever
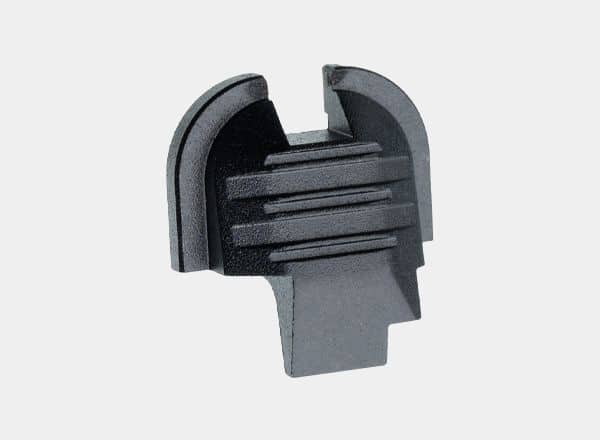
- Slide end plate
The only item on this list that changes function in a material way is the magazine baseplate because it increases the capacity by three rounds. The trigger shoe does offer some slightly different geometry and a new “feel”, but is mechanically the same as the stock shoe as far as I observed. The other parts offer primarily aesthetic changes.
This article is not a “how-to” and isn’t meant to guide you through the install process, but since the installation is a big part of making the changes I’ll give an overview with some specific tips and tricks that might help you if you swap these parts.
Hands-On
I started with the baseplate for the magazine since that is a very common swap-out that can usually be done without tools.
Up next was the magazine catch/disconnect control. This one is a bit more involved as it requires the manipulation of an internal spring-wire that is both difficult to reach and to see. The ticket here is a small screwdriver that can pry the spring out of the way while wiggling and pushing the stock part out.
Installing the new control is trickier — but the pro tip I discovered is to insert your small screwdriver or punch in from the left mag button hole and pry the spring toward the backstrap as you insert the new part from the right side. Once the new mag release is in the frame and in front of the spring, it’s a matter of turning it from vertical to horizontal orientation as you slide it through the frame. Once in place, the spring will catch in a notch in the part and you’re done.
The Steps
Three of these new Tyrant CNC parts require a full or partial detail strip of the frame’s internals — so I decided to strip it completely and do all three changes together. The best advice I can give here is to remove all the internal parts slowly and carefully and take notice of how they are arranged. This will help you understand how the new parts must be installed.
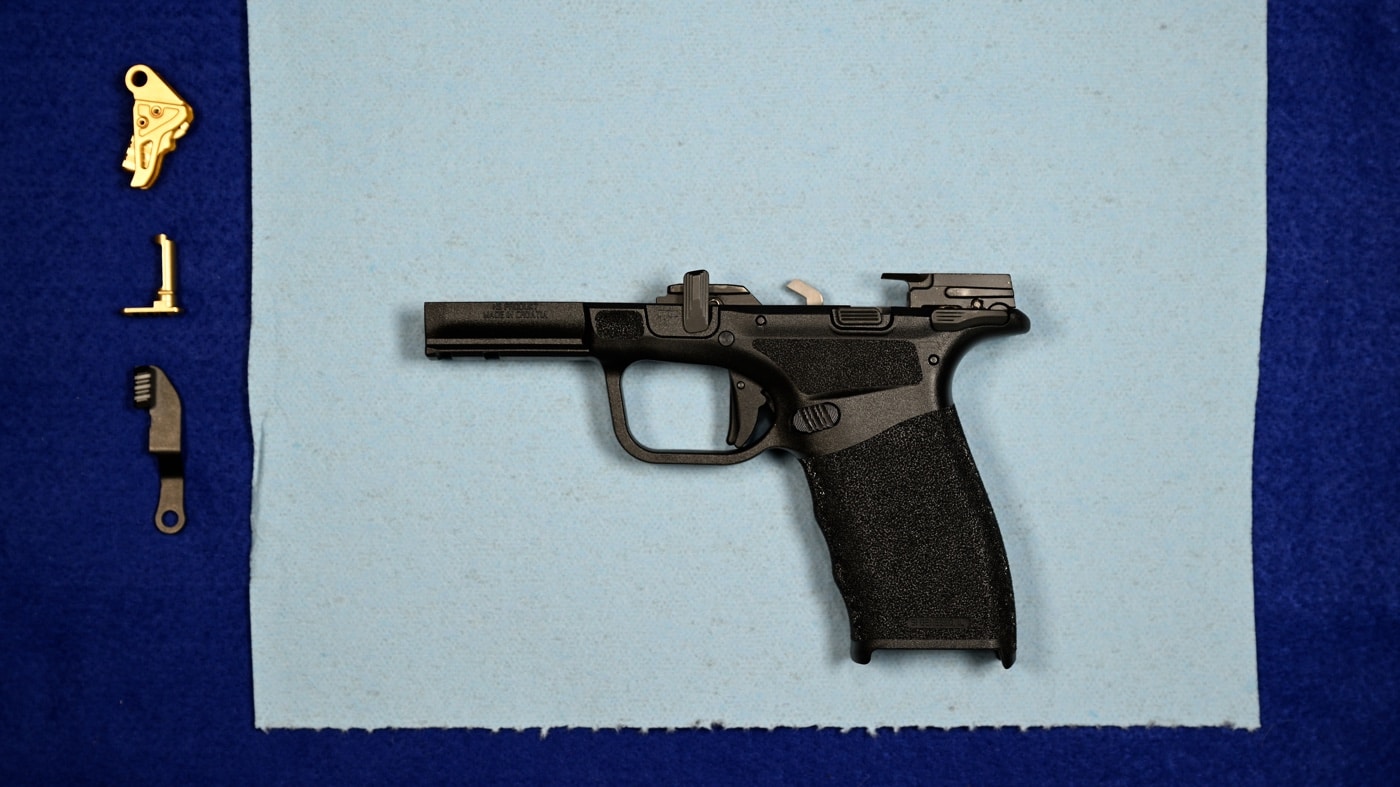
The takedown lever is the most straightforward — do some twisting and turning with your tongue held just right and you’ll get it.
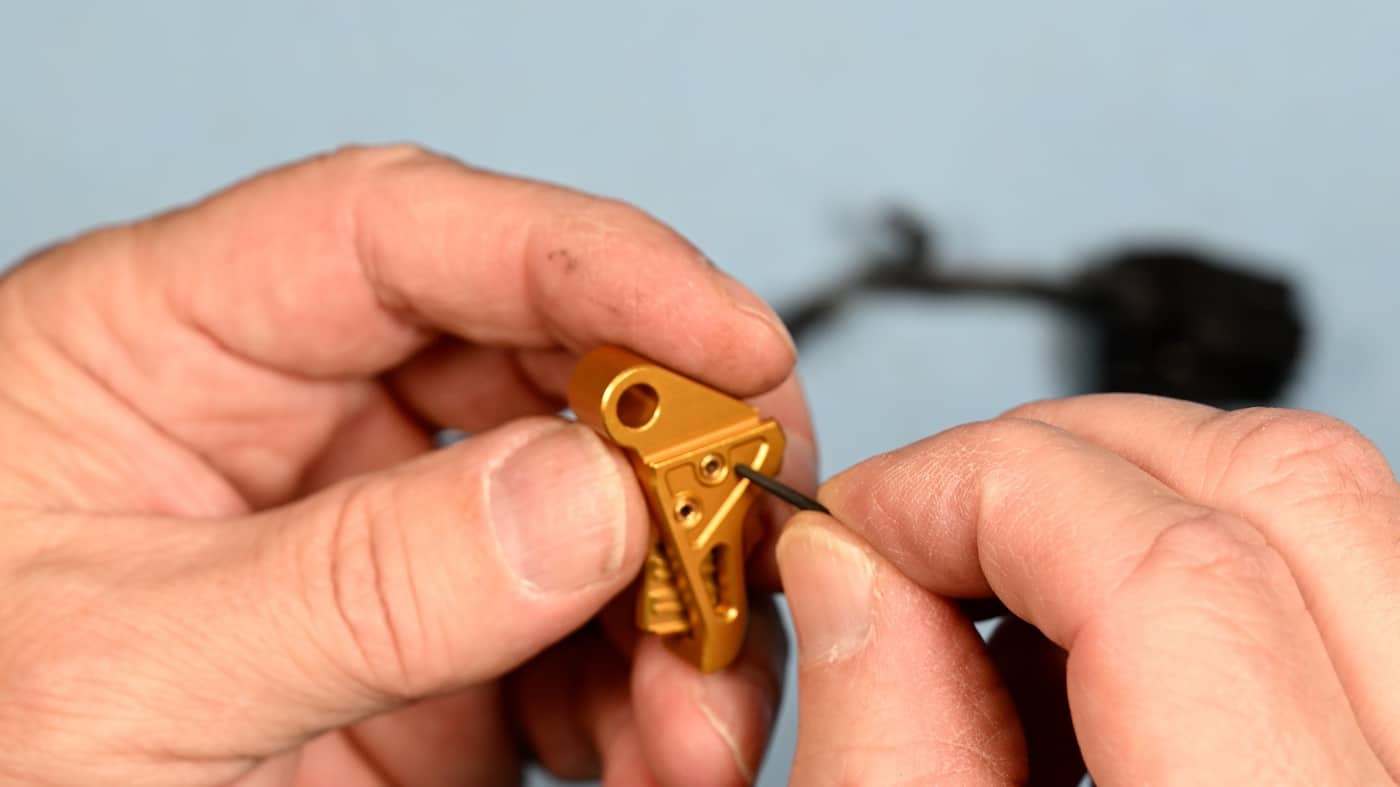
The trigger is a little bit more involved. The stock Springfield trigger must be removed by driving out a small pin. You’ll want to save that pin with the original trigger, because you don’t need it for the Tyrant trigger. The new Tyrant CNC trigger uses a hex-head screw in place of the pin — and the hex key is provided. Do the swap and be sure the screw is nice and tight, and you’re done.
The slide lock lever can be swapped out while you re-install the internals. There is a pin that must go through the part, and it must be correctly installed with the spring tension enabled. Be sure to test it for proper function before final assembly.
I have a special note of caution for those who have a Hellcat with the ambidextrous manual safety. Be careful when handling the fire control group and try not to move the safety levers at all. If you do, there is a small detent part and an extremely tiny spring that will come out of the housing. Ask me how I know!
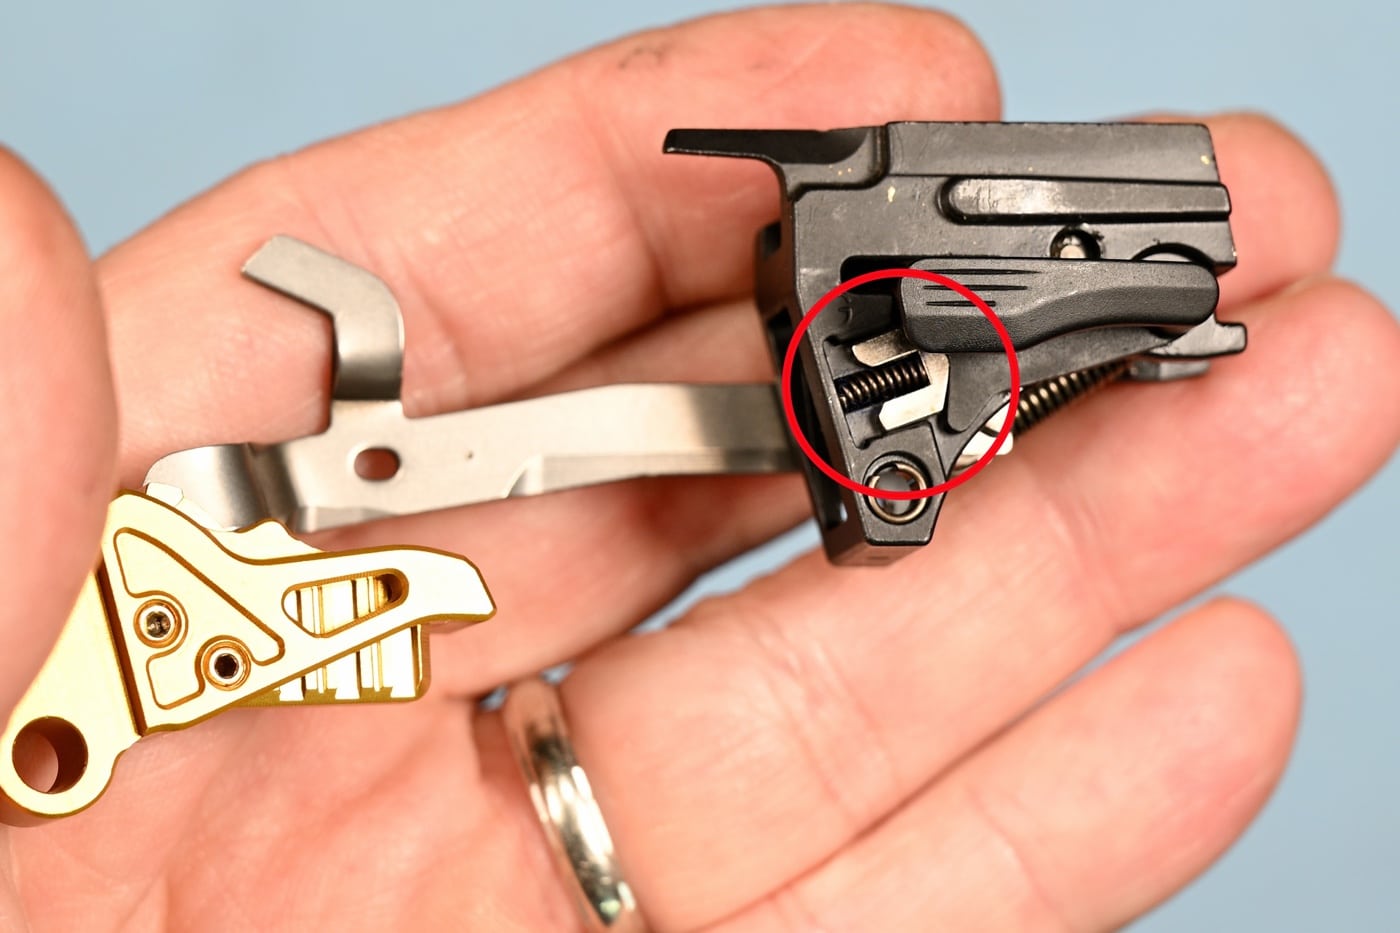
If this happens to you, note the location and position of the parts from the photo I have included. I used a very small roll pin punch on one end of the spring to guide it back into place and seat it. These parts — especially the spring — would be very easy to lose!
The last part to swap is the back plate of the slide. A simple “remove the old and put on the new” procedure, and voila! Now all the parts are installed and the pistol is function tested. Now I can tell you about them!
Conclusion
For starters, and most importantly — every one of these components from Tyrant CNC is high quality. The gold parts have consistency of color and tone, and all the machining is top notch. In addition, the tolerances they’re made to are spot on. Every part was a perfect fit to the gun.
I took the Hellcat Pro with the Tyrant CNC parts installed to the range to be sure that nothing would be amiss under live fire conditions. The gun ran perfectly — and I was really impressed how much I liked the feel of the Tyrant trigger! If gold bling is not your thing — they can be had in several other colors, or just plain black. It’s a nice way to add a personal touch to your pistol without sacrificing the functionality or quality.
Editor’s Note: Please be sure to check out The Armory Life Forum, where you can comment about our daily articles, as well as just talk guns and gear. Click the “Go To Forum Thread” link below to jump in and discuss this article and much more!
Join the Discussion
Featured in this video
Continue Reading
Did you enjoy this video?

 58
58


