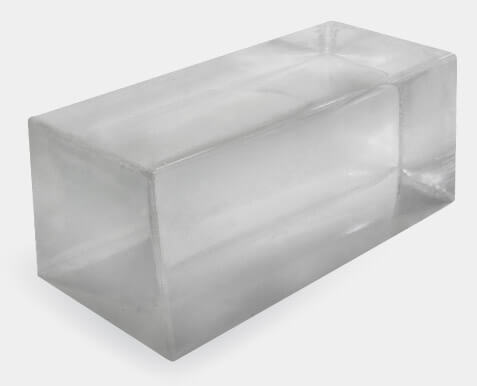
Ballistic gelatin is one of the best ways to test bullet performance in a controlled manner. However, gelatin can be a tricky substance to work with. So we developed a DIY ballistic gelatin recipe and cooking process that approximates the FBI standardized gelatin. It isn’t standardized, but it works.
Here’s our “how to” on making your own ballistic gelatin.
Ballistic Gel Background
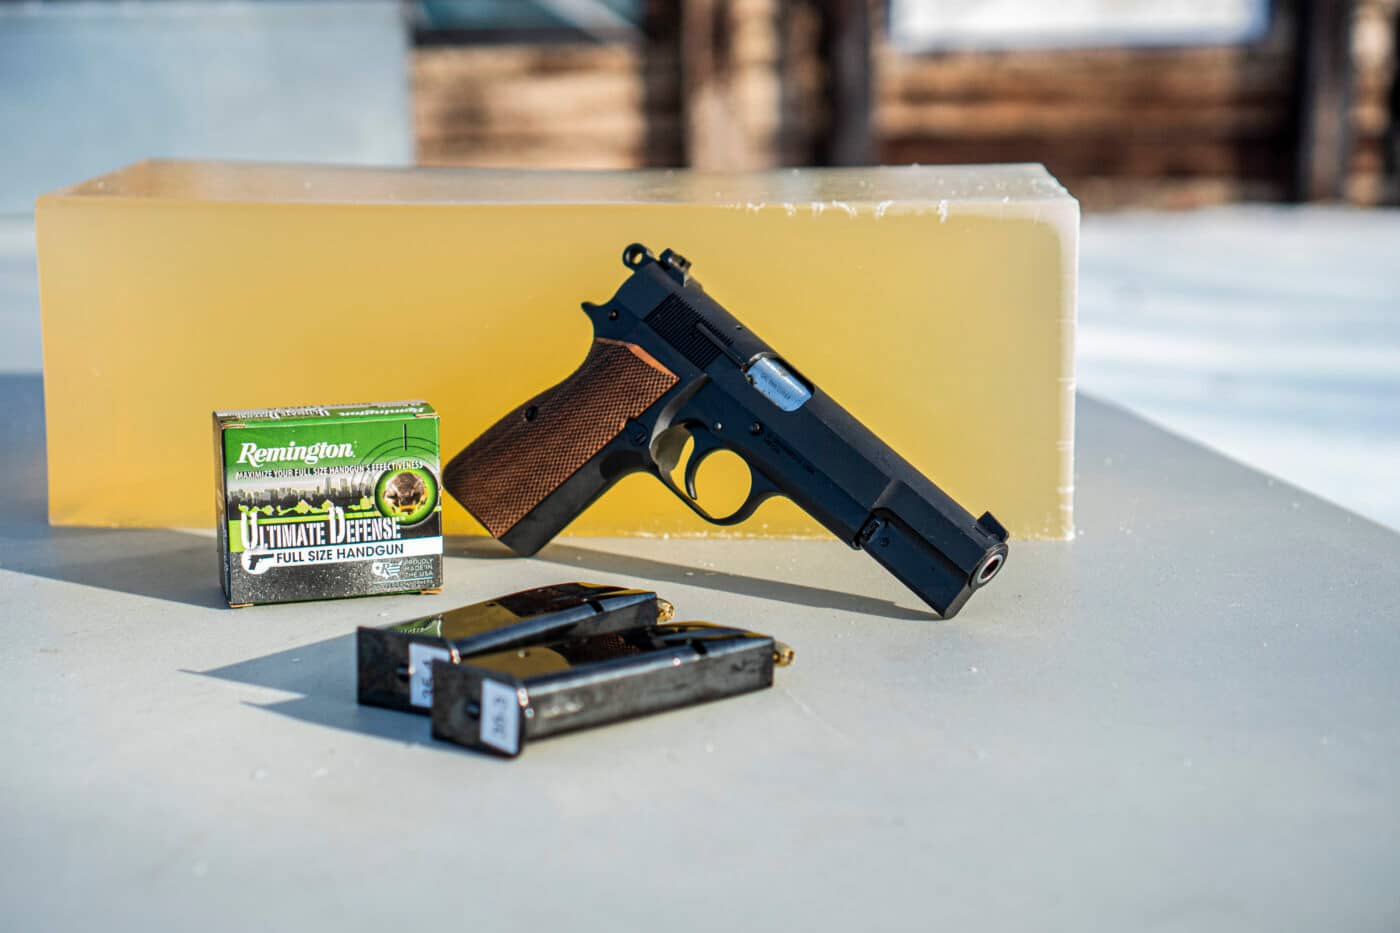
On the GunSpot YouTube channel, we like to test bullets in ballistic gelatin. It gives us the opportunity to see the expansion of a bullet and is always interesting for viewers to see. The way that hollowpoints flare out into a little flower shape with sharp pedals when it’s met with the appropriate force and substance is always fascinating.
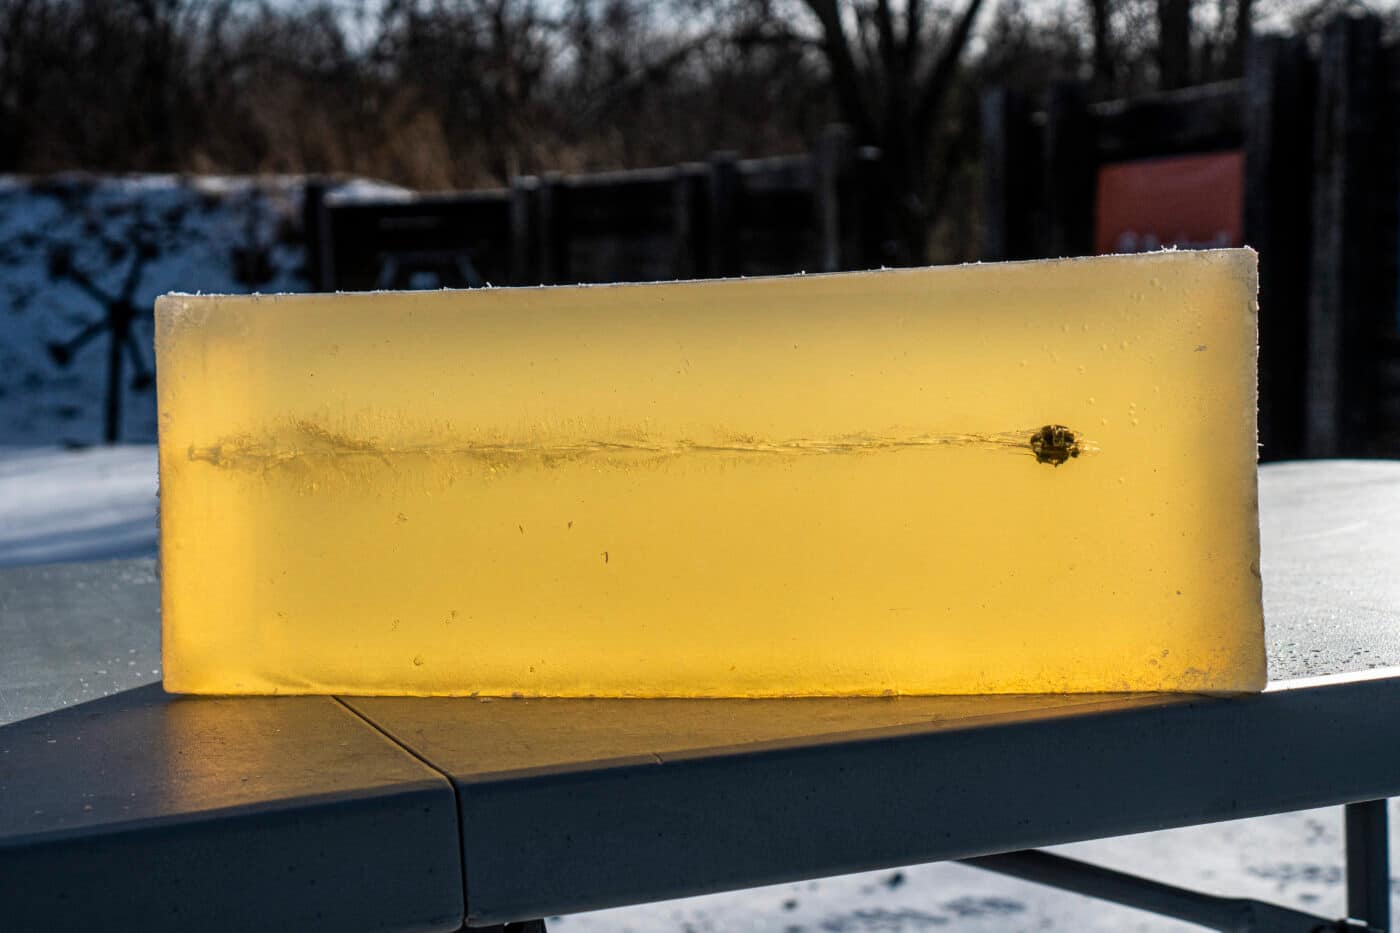
The issue with calibrated ballistic gelatin is that it’s often pretty expensive and it has a relatively short shelf life. A standard FBI test-sized ballistic gelatin block can be difficult and expensive to make from specialized ordnance gelatin. Then there is the matter of refrigeration to a specific temperature and calibration.
Gelatin can last for a reasonable length of time in a refrigerator, but once it’s taken out to shoot it’s pretty much only good for that session. If you leave it out more than a few minutes, it will no longer be within calibration specifications. Every round the gel takes compromises its structural integrity, and if it’s hot out it gets weaker as it sits there.
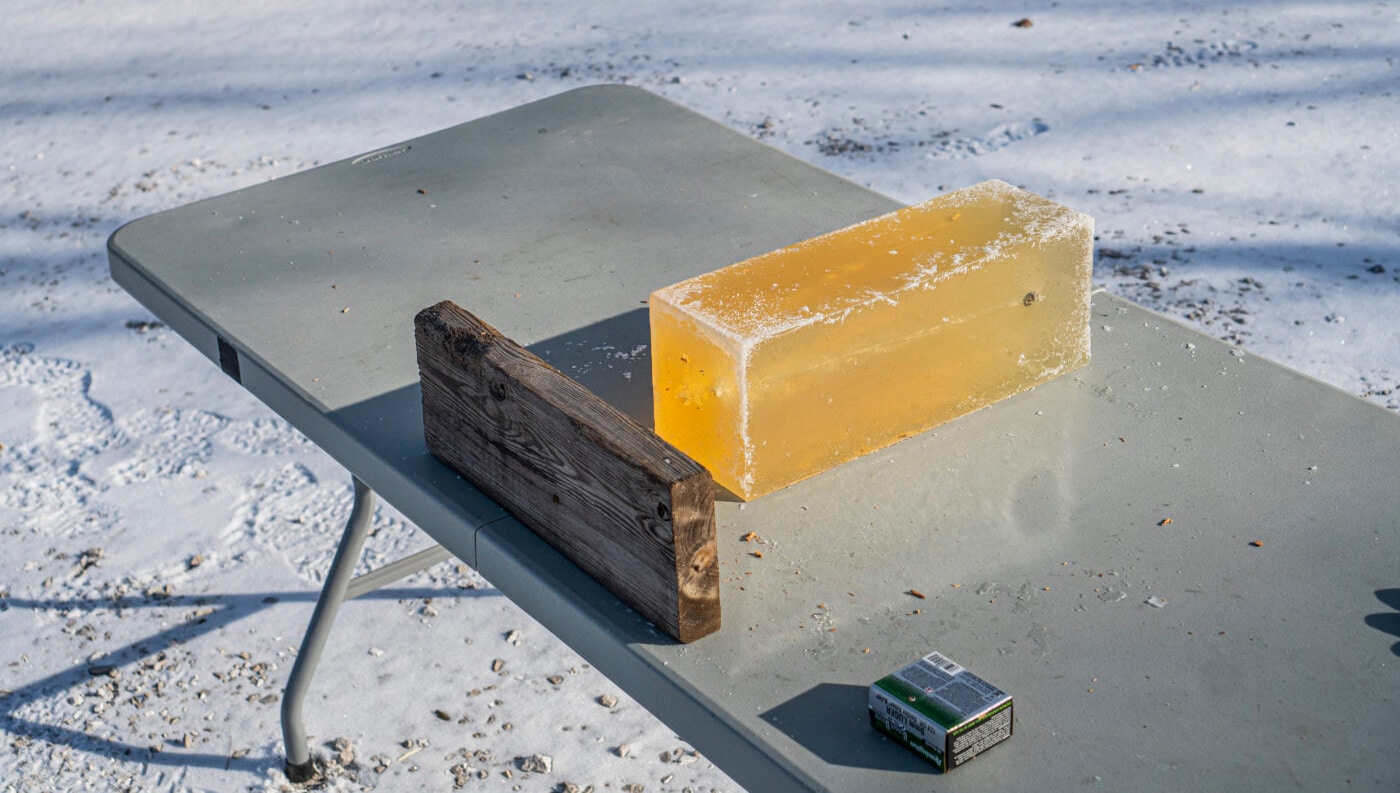
As you can imagine, the costs for all this can add up quickly. If you’re not conducting FBI standardized ballistic tests on handgun rounds, then there is a cheaper solution that can provide you similar results (although you may not be able to truly claim your test is as formal as the FBI test).
You can make your own non-calibrated ballistic gelatin at home, and it will save you money in the long run. Will it be the same exact consistency? Probably not. So, you might not be able to claim your at-home tests are 100% accurate to the FBI tests, but nonetheless, you will still be able to get some helpful test data regarding the performance of a bullet. You’ll be able to visually see its expansion and how it handles passing through barriers before hitting the target.
We decided to put together our own guide on how we make our own DIY ballistic gelatin here for our tests so that you at home could make your own and conduct your own tests. This gel and the recipe both work well for us, so here is how we do it.
Ballistic Gelatin Materials
The list of materials you will need to pull this off is actually pretty short. You need some measuring cups, a range top oven, water, a long spoon for stirring, some pots, and some more big pots. The only item you will more than likely need to buy is the 16”x6”x6” mold for the gel. We got ours at Midway USA for $69.99. You can also make your own mold with some wood and plastic wrap as a liner.
The other item you will need to buy is the gelatin itself. We got a 10-lb. pack of unflavored, un-colored gelatin from Walmart.com for $89.85. After that, you are going to be all set.
Parts List
- Gel
- Gel mold
- Large pots for boiling water
- Liter measuring cup
- Long mixing spoon
- Range top oven
No One Said There Would Be Math
The next step is to nail down the recipe. Like with any food dish, there are different takes on the proper mixing of gelatin for testing. Here are a few water-to-powder ratios I’ve seen online:
- 8 oz. of water per 1 oz. of powder
- 13 oz. of water per 1 oz. of powder
- 2 lbs. of gelatin with 18 lbs. of water for a 20-lb. block of gel.
As you can see, there are some different thoughts on the proper mix. None of them will deliver gelatin densities that perfectly match the FBI standard. However, if you consistently mix a single ratio, the results will at least be comparable within your own testing set.
Hornady’s website states the FBI mix is the final one in the above list. Something to note is it’s all based on weight. The ounces are not fluid ounces (fl. oz.), which is a measurement volume. The ounces used is “oz.” for weight. The third recipe uses pounds, of course.
Our Water: Gelatin Ratio
The ballistic gelatin mold that we got can create an 18-lb. block. So, it’s a bit different than the formula for a 20-lb. block. Now, I’m no mathematician, so we worked out a way to do it pretty closely without a scale.
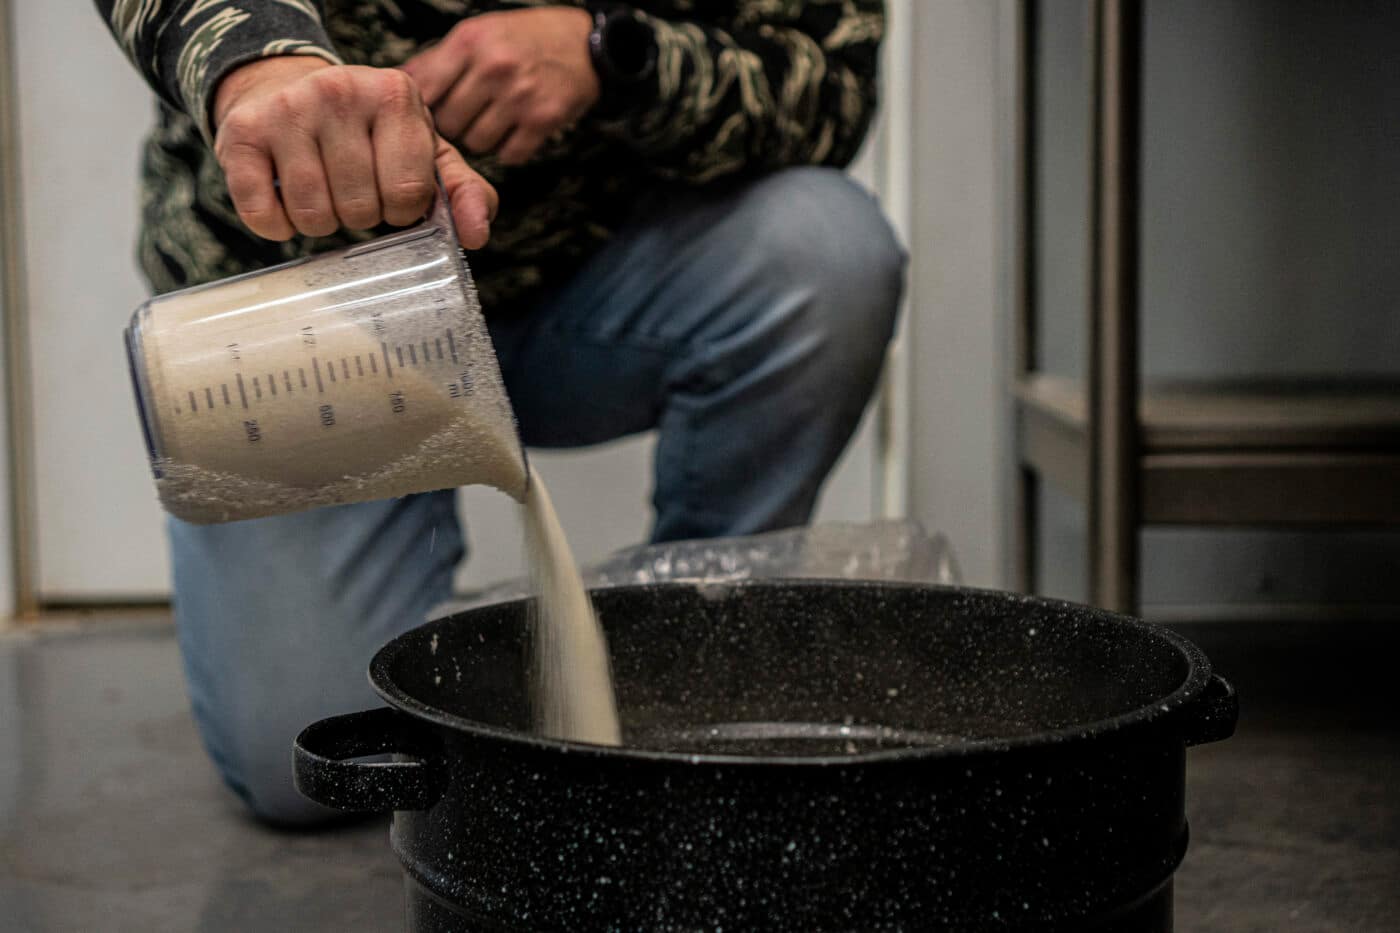
Let’s start with the water, of which we do 9 liters. Then we weighed out 2 liters of gelatin powder. Combining 2 liters of gelatin and 9 liters of water matched our gelatin-to-water ratio goal. Our method is not accurate down to the tenths of a pound, but it is easy and works well for us. It also is the volume that fills our mold perfectly. And I can honestly say this mixture has stopped many bullets (as always, be sure of your backstop!).
How to Mix the Gelatin
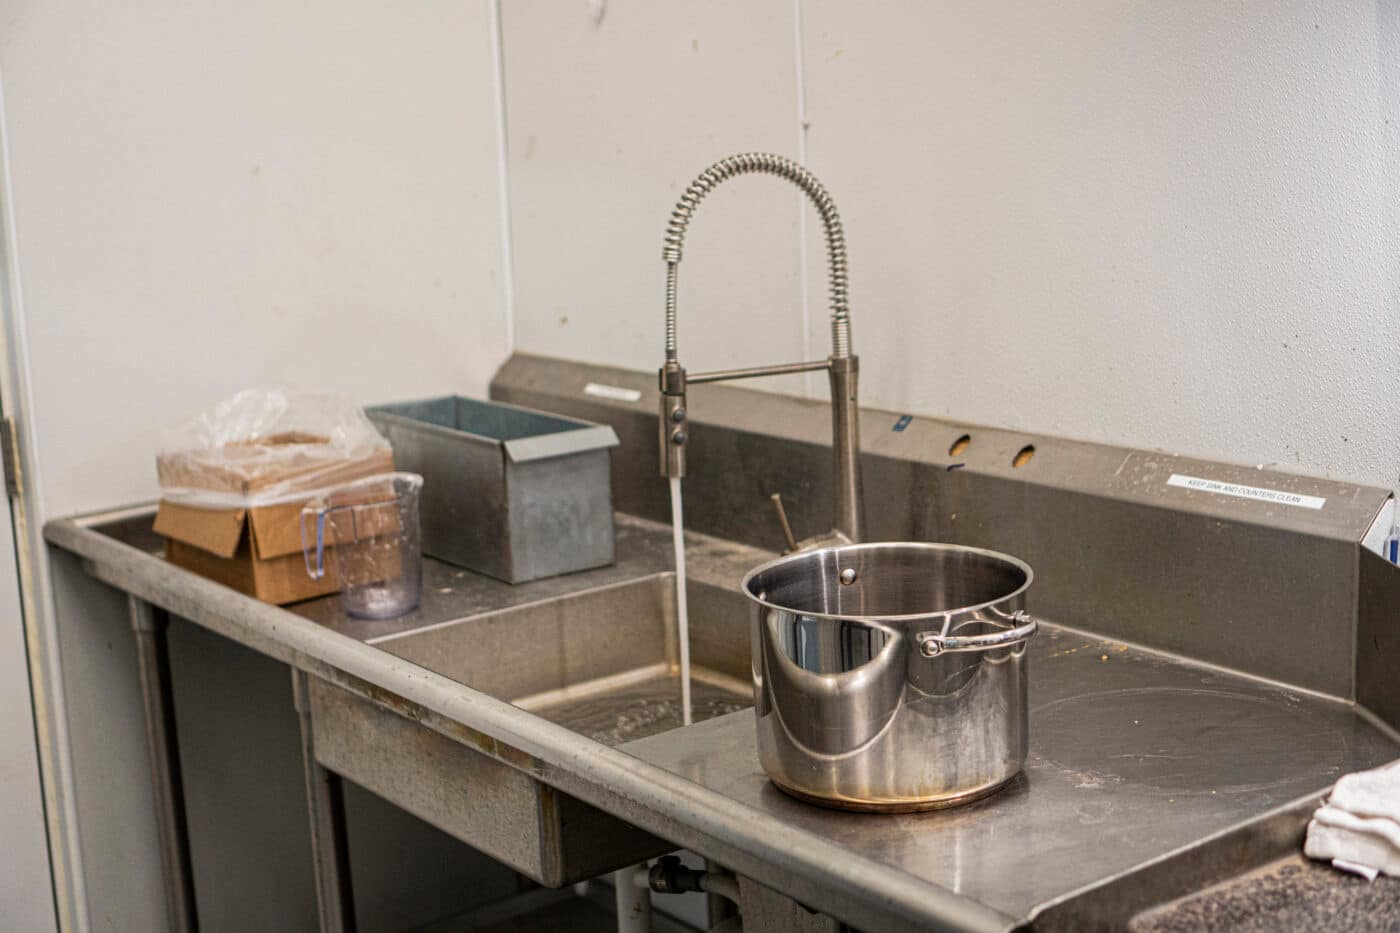
To start the process, you must measure out your 9 liters of water and disperse that into your pot (or pots). Then, turn on your range top and start heating up the water. From everything I’ve read and from experience, I can tell you the hotter the water the less clear your block will be. But, it also mixes smoother if it’s hotter. Many suggest warm water is best.
We bring ours to a light boil, almost more of a simmer. Then we pour the water into a big mixing pot. A clean 5-gallon bucket could work, too. From there we measure out our gelatin and pour it into the water in the big pot. It’s important to add the gel last, adding it to the water. This keeps the mixture smoother. Also, pour both the water and the gelatin slowly. This will keep the clumps smaller and reduce the likelihood of adding in air.
After that, it’s time to stir. For this, you want a long mixing spoor or something like it. The key is to make big mixing motions that are slow, gentle and that happen below the surface of the water. Again, trying not to create any bubbles. Make sure to keep an eye out for clumps in the mixture, and if they don’t dissolve just fish them out with a spoon. Once you have a good mix, it’s time to get it into the mold.
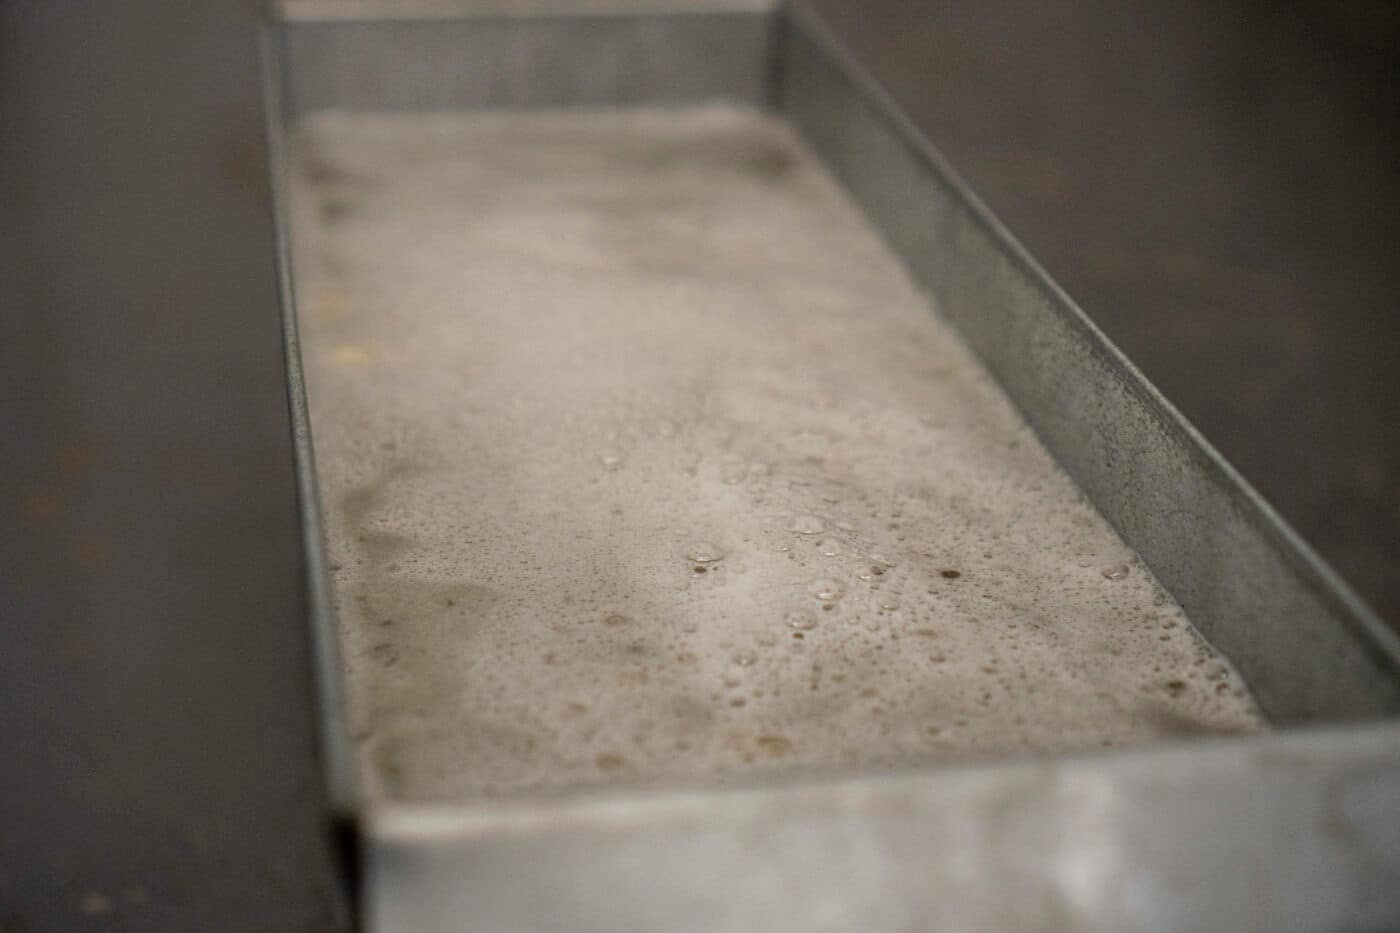
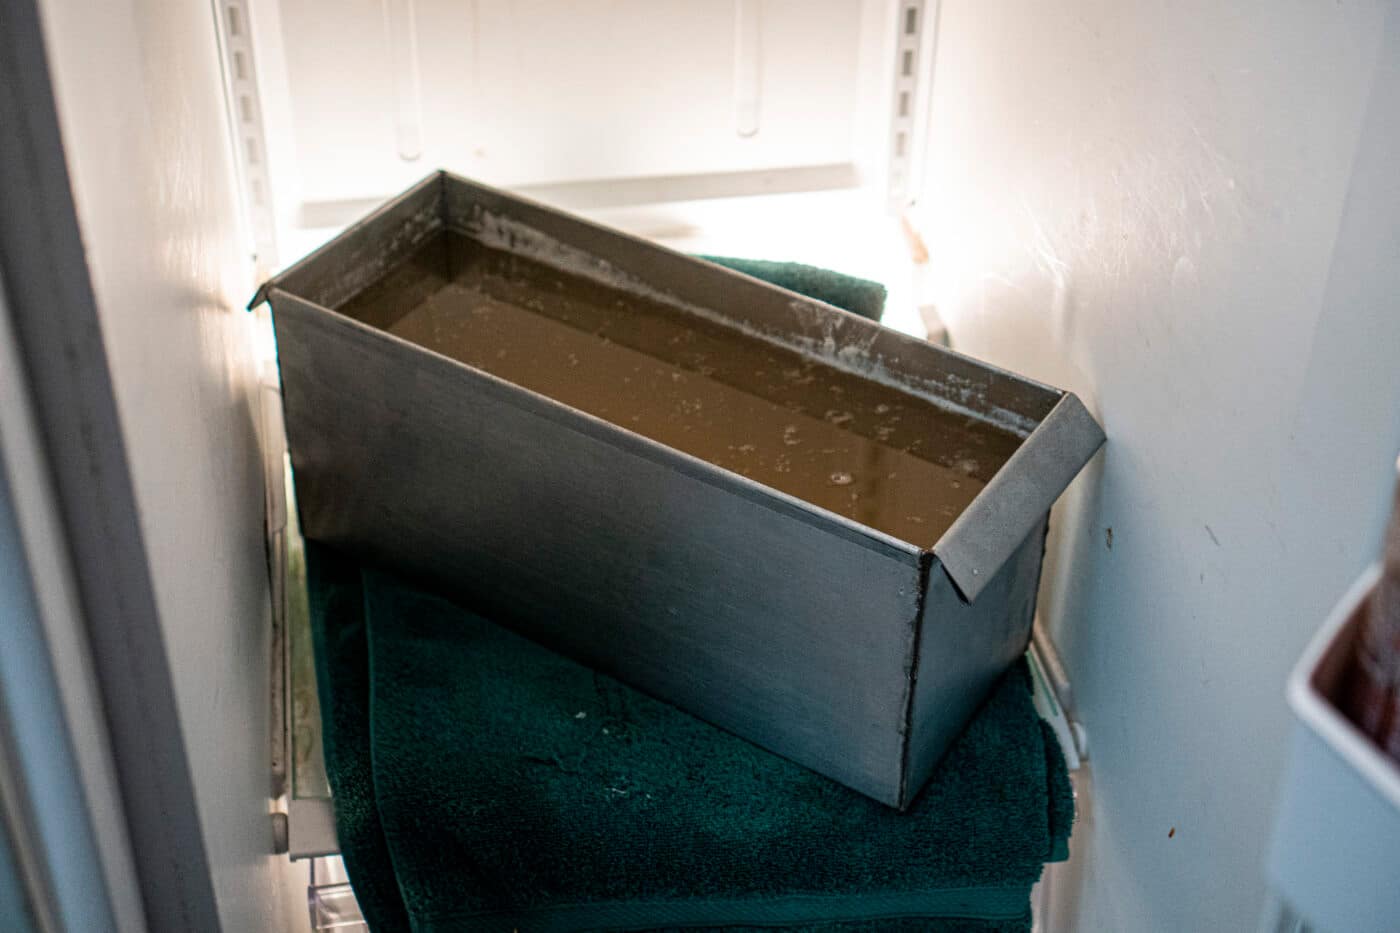
From here you need to coat the mold in non-stick cooking spray. Trust me, if you don’t it’s hard to get the block out. The next step is to pour the mixture into the mold, again making sure to do so slowly. Once it’s all in it’s time to set it in the refrigerator. We always set ours on a towel in the fridge as the mold might be pretty hot depending on how hot your water was.
We also cover the mold with a piece of cardboard to soak up the condensation that will come from the hot liquid. It usually does a good job of keeping moisture off the top of the block by the cardboard absorbing it instead. Now it’s just time to wait. Let the mixture set in the refrigerator overnight. The mixture will have to get down to 36 degrees Fahrenheit for it to solidify.
By the next day, the block should be set up. Now it’s time to shoot it. The block will not last for a long period of time, so it’s best to use it sooner rather than later. If it’s hot outside, you should shoot it very quickly, too. The faster you shoot it, the fairer the results will be in your test.
Conclusion
While you can buy true 10% ordnance gelatin from the store, if you want to trade elbow grease for cash in your pocket, give it a try!
Another option to consider is synthetic ballistic gelatin options from Clear Ballistics. The company manufactures temperature-stable gelatin blocks that mimic the density and performance of FBI-calibrated 10% ordnance gelatin. This means they do not need refrigeration and can sit on the range for a long period of time without having the structure degrade.
Further, the Clear Ballistics options are re-useable. After shooting up a block, you can melt the product down, strain out the impurities and re-mold it into a new block. While the up-front cost is a bit more than normal gelatin, you can recycle the block for many uses and drastically drop your per-use cost.
Editor’s Note: Be sure to check out The Armory Life Forum, where you can comment about our daily articles, as well as just talk guns and gear. Click the “Go To Forum Thread” link below to jump in!
Join the Discussion
Featured in this video
Continue Reading
Did you enjoy this video?

 75
75


