Firearms Fasteners —
The Secret World of Screws
June 23rd, 2023
7 minute read
In the world of firearms and accessories, it’s a certainty that you’ll come across all kinds of fasteners with various required torque values. For those who might not be familiar with this term, a “fastener” is a piece of hardware designed to join objects together. This can include parts ranging from bolts to screws to nails.
But back to the topic of torque values. The range of proper torque you might come across can lead to some healthy frustration, but following some simple guidelines can mitigate that and keep your guns in tip-top shape. Keep in mind, though, that this article is not a review of anything and I’m not endorsing one product over another.
Fasteners 101
First let’s have a basic primer on how to identify fasteners. Typically, we call out fasteners by their thread pitch, head type, and finish or material. So, if something needs a “black oxide 10-32 socket head cap screw” that’s everything I need to find it at the hardware store.
Here in the United States most fasteners are SAE or inch thread pitch, represented as two hyphenated numbers. The first number is the major diameter of the threads and the last number is the number of threads per inch going from point to point. Often, smaller fasteners have the major diameter represented as a number instead of a fraction of an inch, typically #6, #8 or #10. Respectively, a #6 is 9/64”, #8 is 5/32” and a #10 is 3/16, which is handy information in case you have to measure one. Metric fasteners are infrequently encountered, but measuring the thread diameter and pitch is largely the same — just in metric.
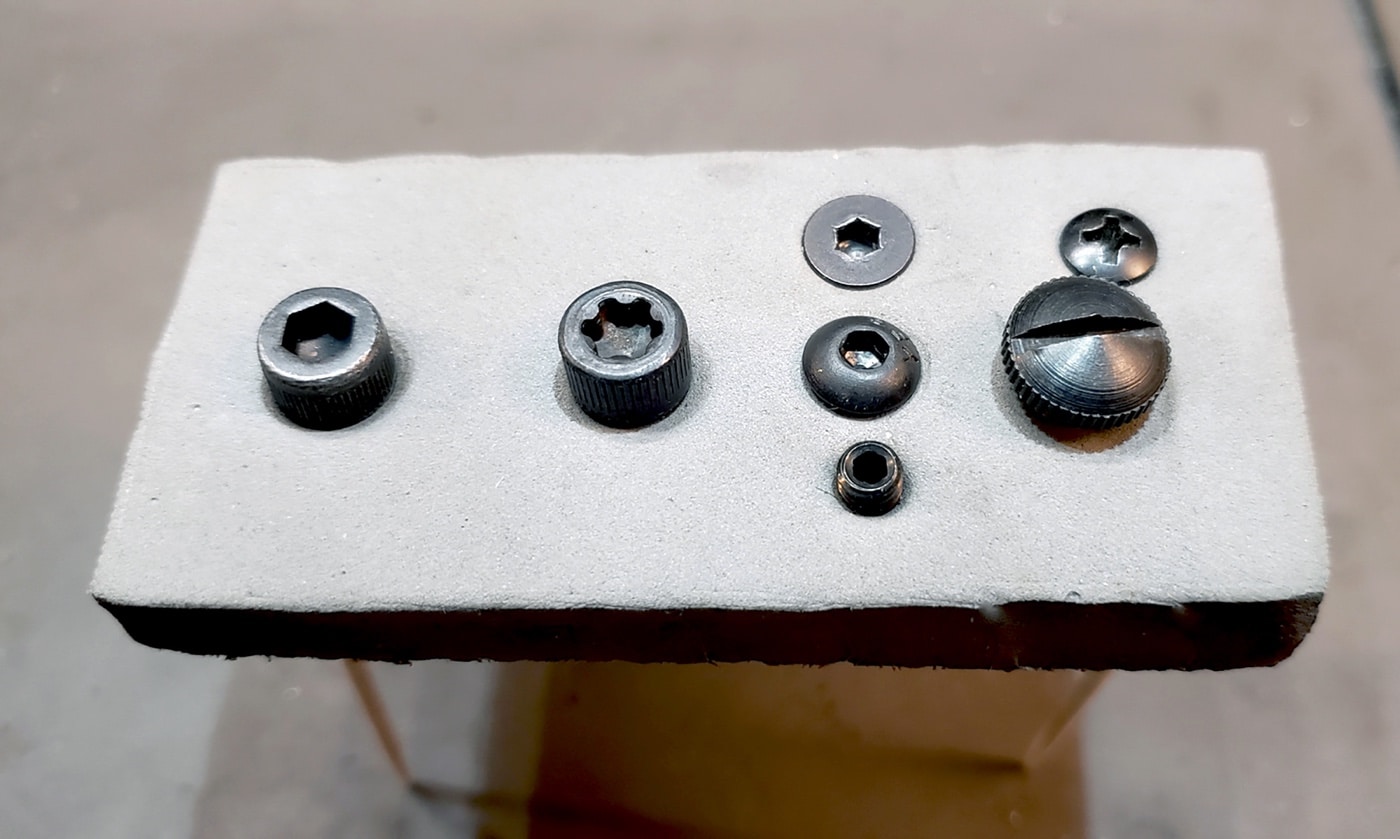
Head types for gun screws can range from socket or button-head cap screws, or flat-head screws. An easy way to remember the differences is that socket heads are barrel-shaped; button-heads have a low-profile, rounded appearance; while flat-head screws are pretty self-explanatory. Typically, action screws and optic mount screws are socket heads, while flat- and button-heads are used on accessories. Drive styles can be slotted, Hex, Philips, or Torx drive. Barring a specialty application, 99% of gun screws will be an alloy steel with a black-oxide finish to give it a subdued look and mild corrosion resistance.
Common Firearms Fasteners
| Thread Pitch | Thread Spacing | Drive Type | Common Usage |
| 6-48 | Fine | Torx T-15 | Scope Base Mounting Screws |
| 8-32 | Coarse | 9/64 Hex | Accessories |
| 8-40 | Fine | Torx T-15 | Ring Cap Screws / Optic Mounts |
| 10-32 | Fine | 1/8 Hex | Accessories / BUIS / Optic Mounts |
| ¼ – 28 | Fine | 3/16 Hex / Torx T30 | Rifle Action Screws |
| Varies | Wood Screw | No-2 | Recoil pad screws |
Tightening Everything Down
Tightening a fastener ideally involves applying torque to a predetermined value to ensure that the clamping force is sufficient to maintain the connection. The screw’s diameter, thread pitch, material and application can drive the specified torque value. So how do we make sure we don’t mess this up?
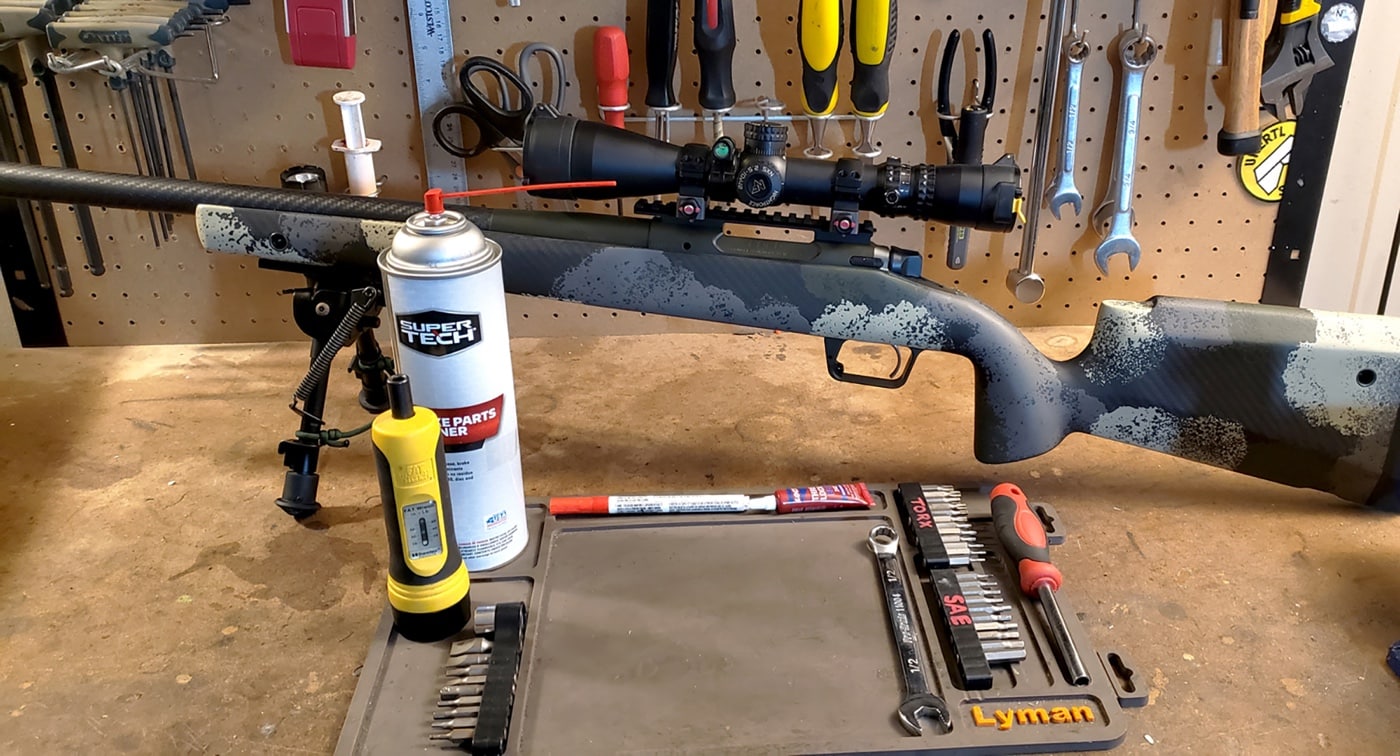
Well, I start out by confirming the torque specs for whatever I’m tightening down because sometimes torque values can vary from manufacturer to manufacturer. I gather the right tools for the job, and this includes an adjustable inch pounds torque wrench, preferably with a range of 10-65 in/lbs, a bit driver, and the appropriate bits. As it relates to bits, use the best quality ones you can afford that fit the fastener snugly to help mitigate damaging the fastener, bit, or both.
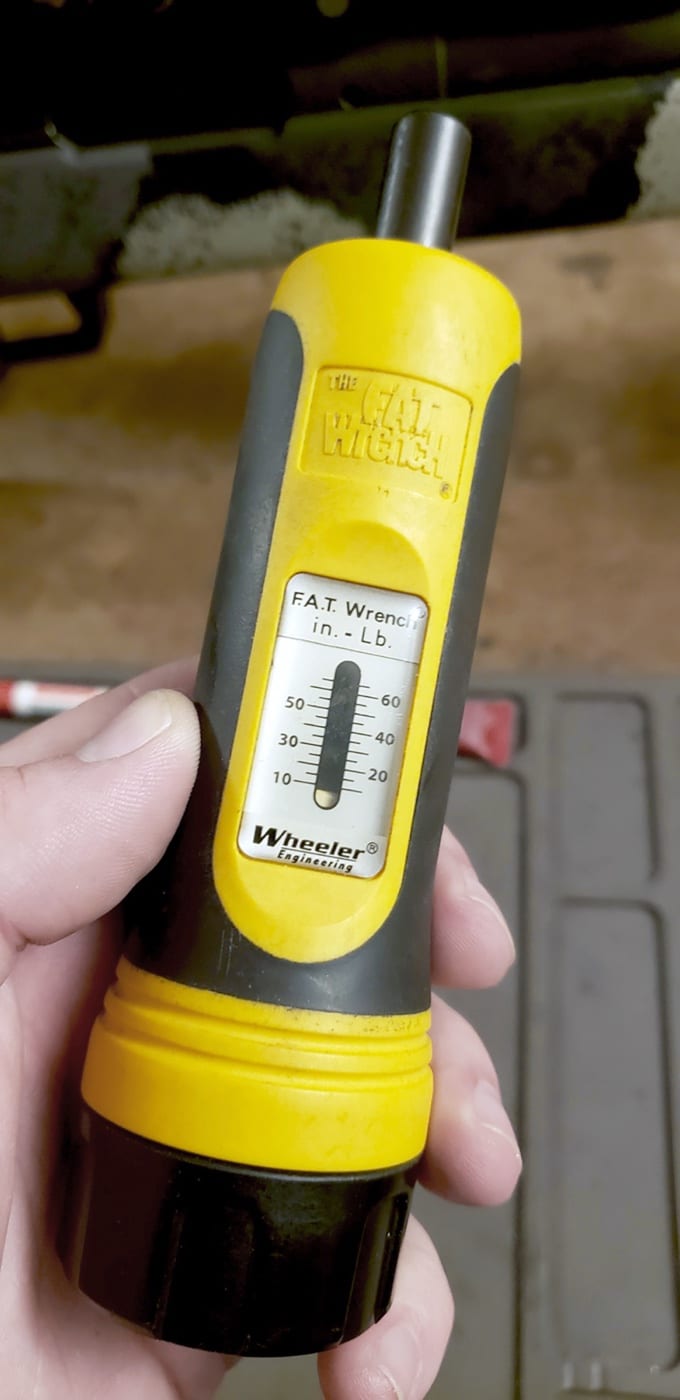
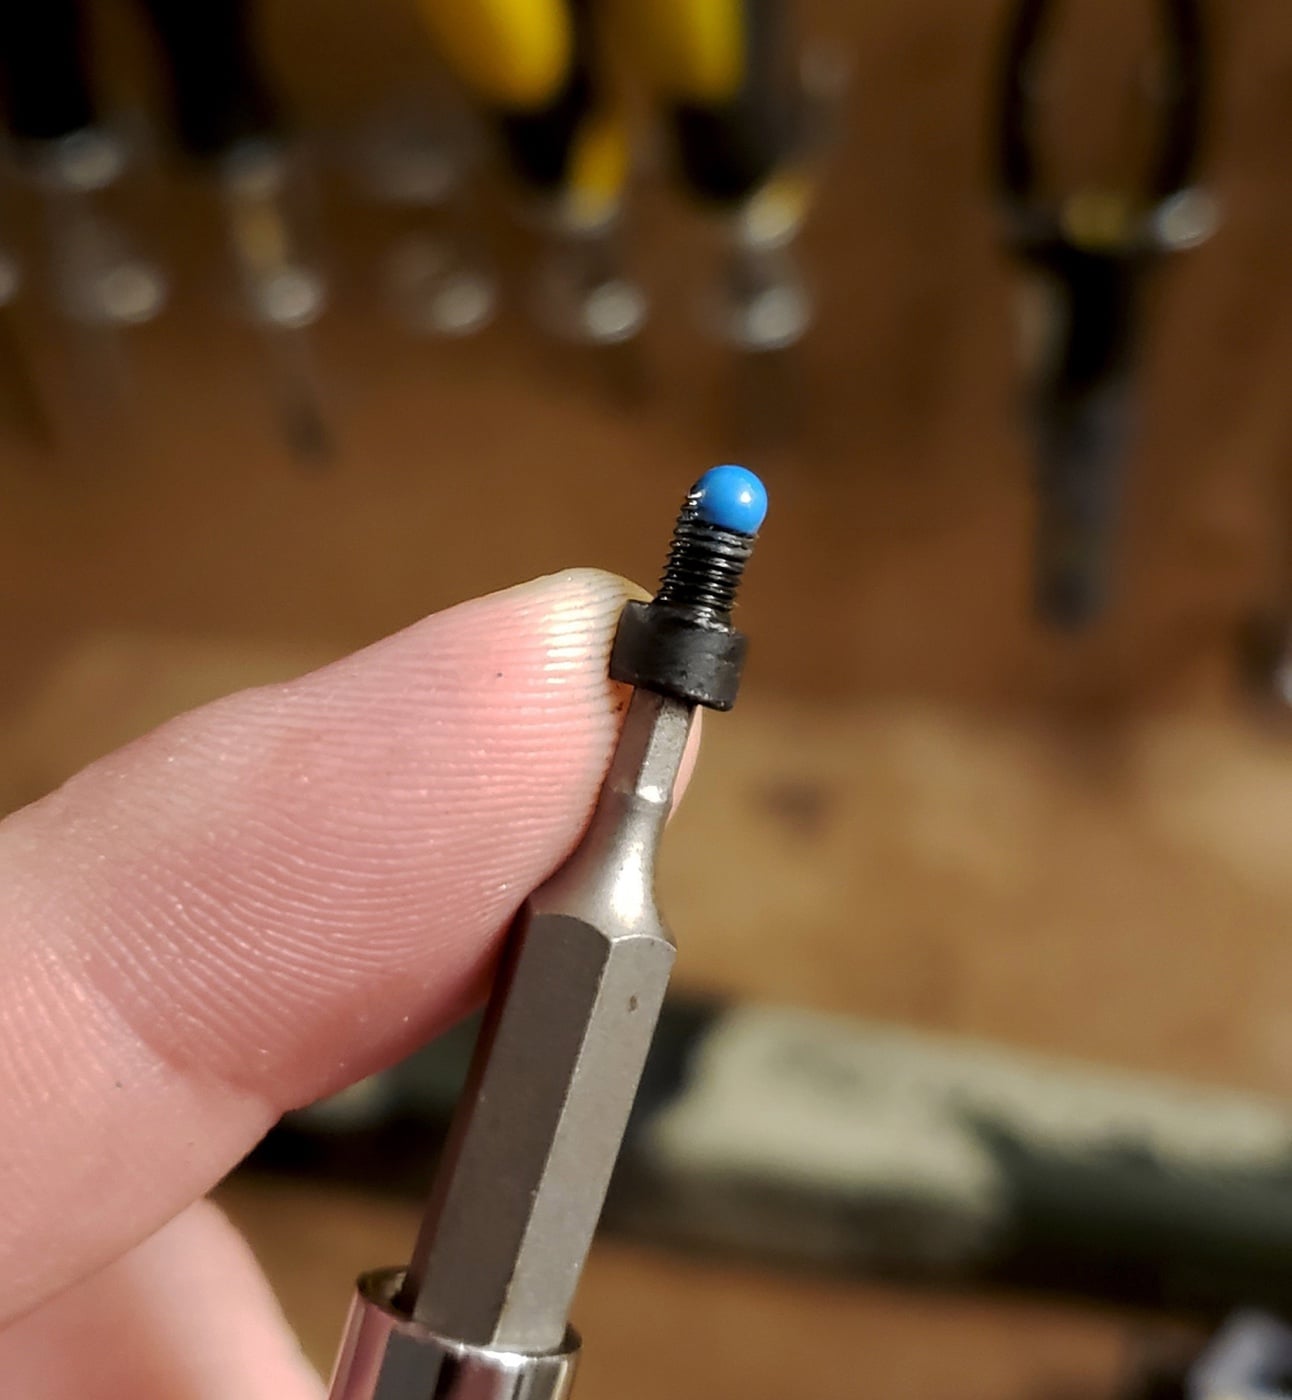
Depending on the situation, I may also use a threadlocker as an extra bit of insurance. I could probably do a deep dive into threadlockers, but suffice it to say I only keep blue and red threadlocker at my bench. Blue is what I use most of the time — it’s a general purpose threadlocker that resists vibration but still breaks free with hand tools.
Red threadlocker is more permanent and has a higher heat-resistance, requiring some extra effort to loosen fasteners. I don’t get wrapped up in brand names; I’ve found the Loctite and Permatex brands to work sufficiently. It just comes down to what’s available.
To keep myself out of trouble, I try to follow the below guidelines for tightening screws.
- Use a solvent to degrease and clean all male and female threads prior to assembly.
- If a threadlocker is called for, remember just a little dab’ll do ya. I put just a drop on the end of the threads, and if it’s a blind hole I’ll put a drop down in the hole.
- Push rail-mounted items towards the muzzle until they stop. This keeps the item from slipping under recoil. For me, this goes for all rings, accessory rails and mounts.
- When starting the fastener into the threads, I turn it counter-clockwise (CCW) first until there’s an audible “click”, and then turn the fastener clockwise (CW) to tighten to prevent cross-threading.
- If there are multiple screws, I alternate tightening each one a little at a time in a crisscross pattern until full torque is reached.
- On scope rings and mounts, I’ll go back through in reverse order and torque each fastener one last time.
The chart below is a torque guide for some of the common accessories and associated fasteners.
Common Torque Specifications for Bolt Action Rifles
| Item | Torque |
|---|---|
| Action Screws, Unbedded Synthetic Stock | 35 in/lbs |
| Action Screws, Aluminum Chassis | 55 in/lbs |
| Action Screws, Pillar Bedded Stock | 65 in/lbs |
| Scope Base Mounting Screws | 15-25 in/lbs |
Common Torque Specifications for AR-15 Rifles
| Item | Torque |
|---|---|
| BUIS Mounting Screw | 25 in/lbs |
| M-Lok Accessories, Nylon | 15 in/lbs |
| M-Lok Accessory Rail, Nylon | 15 in/lbs |
| M-Lok Rail, Aluminum | 35 in/lbs |
| M-Lo Sling Mount, Metal | 35 in/lbs |
| SAIN Victor FF Rail Tab Screws | 40-45 in/lbs |
| Aimpoint T1 OEM Mount, Mount To Rail | 18 in/lbs |
| Aimpoint T1 OEM Mount, Mount to Sight | 7 in/lbs |
| Aimpoint Pro, QRP2 Mount Screws | 20 in/lbs |
| HEX Dragonfly Red Dot, Sight to Mount | 12 in/lbs |
| HEX Dragonfly Red Dot, Mount to Rail | 35 in/lbs |
| Scope Rings, Ring Cap Screws | 15-20 in/lbs |
| Scope Rings, ½” Cross Bolt | 65 in/lbs |
| Scope Rings, Cap Screw Cross Bolt | 30-45 in/lbs |
This might be controversial to some, but I also don’t reduce the torque value when using a thread locker. I’ve never found it to be necessary considering the relatively low torque values encountered, and even Henkel/Loctite and Permatex will state that it’s not necessary.
After-Torque Best Practices
Once I’ve finished torqueing everything down, I want to make sure I reset the torque driver back to zero. This is especially important on spring-loaded torque drivers since leaving it on a setting for too long can reduce its accuracy. Then I’ll make sure I have all my bits collected up and put back in their holders. Nothing is more frustrating than going to tighten something down and finding out that bit you need isn’t there because it’s lost somewhere on the bench.
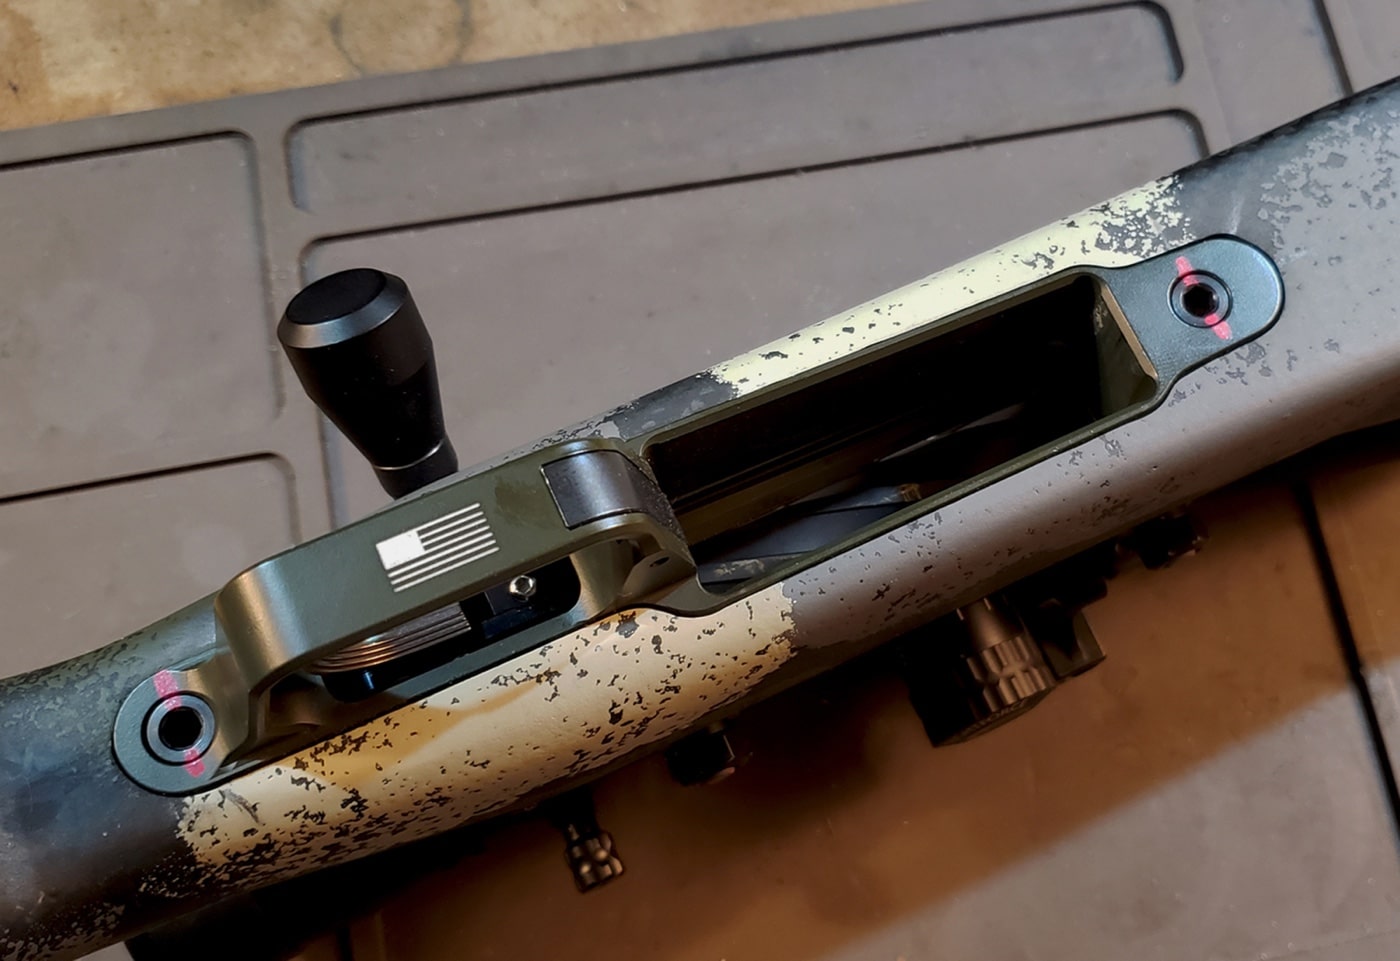
I’ll then hit the heads of the screws with a paint pen to create a witness mark so I have a visual reference that my screws are still tight. I’ll also put a witness mark on the scope rail or receiver so that I have an easy way to know where to locate the scope if I had to take it off for some reason.
No Torque Driver?
For reasons unknown, say you had to take a rifle apart and now you have to put it back together again but don’t have a torque wrench. All isn’t lost; here are some field-expedient methods that can be used to get by well enough.
Scope base or cap screws: Holding a standard T-15 L-shaped wrench by the short end, tighten the fastener as much as possible — I mean until it hurts a little bit on your finger. This will be close to 15 in/lbs.
Accessory mounting screws: Holding the short end of an appropriate L-shaped wrench (⅛”), turn the fastener to finger tight, then insert the short end into the socket, and rotate approximately ⅛ turn. A dab of blue wouldn’t hurt either. This will be close to 30 in/lbs.
Action screws: Holding the short end of an appropriate L-shaped wrench (3/16”), turn the fastener to finger tight, then insert the short end into the socket, and rotate approximately ⅛ turn. This will be in the neighborhood of 60 in/lbs.
Scope ring ½” cross bolt: Turn the ½” nut until it’s finger tight, rotate the appropriate box end wrench approximately ¼ turn. This will be in the neighborhood of 60 in/lbs.
This will allow the rifle to be reassembled and zeroed, without you being worried about anything coming loose and/or falling off the rifle.
Closing Thoughts
I know this may not have been as flashy as a review of the latest torque driver that you absolutely must have. However, I feel this topic is important because if you don’t know the process and proper way to use these tools, then you can do a lot more harm than good. Gunsmiths get plenty of work I’m sure extracting broken fasteners from guns because its owner went at it like an 800-lb. gorilla. Much of this is common sense, so make sure you pick the right tool for the job and take your time.
Editor’s Note: Please be sure to check out The Armory Life Forum, where you can comment about our daily articles, as well as just talk guns and gear. Click the “Go To Forum Thread” link below to jump in!
Join the Discussion
Continue Reading
Did you enjoy this article?

 95
95


