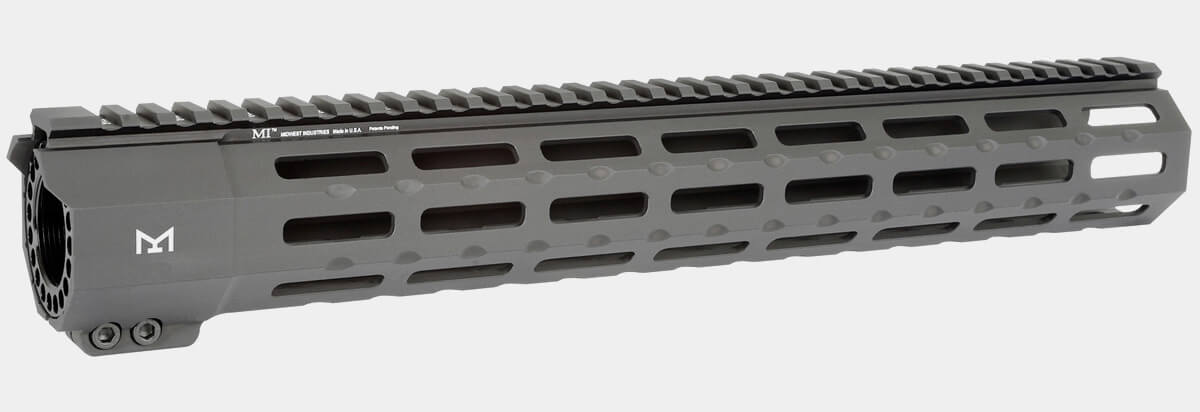
How do you make your SAINT cooler than it already is? Well, you could get an awesome handguard. In fact, I have a SAINT Edge 5.56mm pistol that I’m going to put this Midwest Industries Inc. suppressor compatible handguard on.
Why, you might ask? Well, for a couple of reasons. I like handguards that have Picatinny rails all the way along the top, and most importantly, it just looks cool. I picked this one up from a local gun store, Rayzor’s Edge Tactical, so thank you to the guys there for having cool things like this in stock. Check out my video review above, and keep reading this article below.
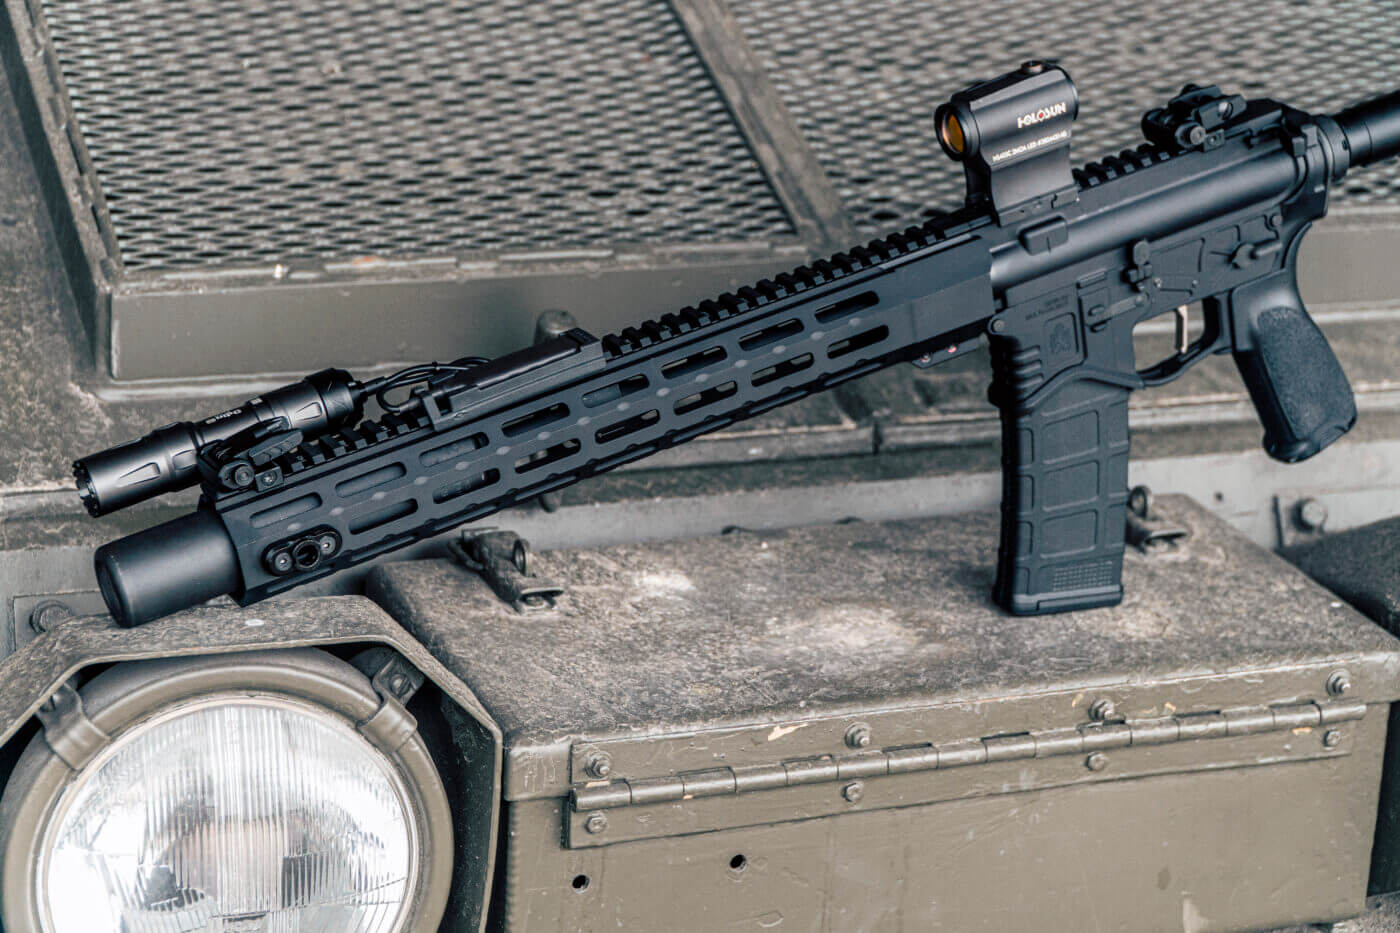
The Details
Midwest Industries sells its suppressor-compatible handguards in multiple sizes. They sell it in 18”, 15”, 12”, 10”, 9” and 7” sizes. I chose the 15” handguard The handguard itself has seven sides of M-Lok and weighs 14.6 oz. with the barrel nut. (For additional information, see our article “What Is M-Lok?“) The inside diameter of this handguard is 1.75”, which is large enough to allow most suppressors to fit inside. The outside diameter is 2”.
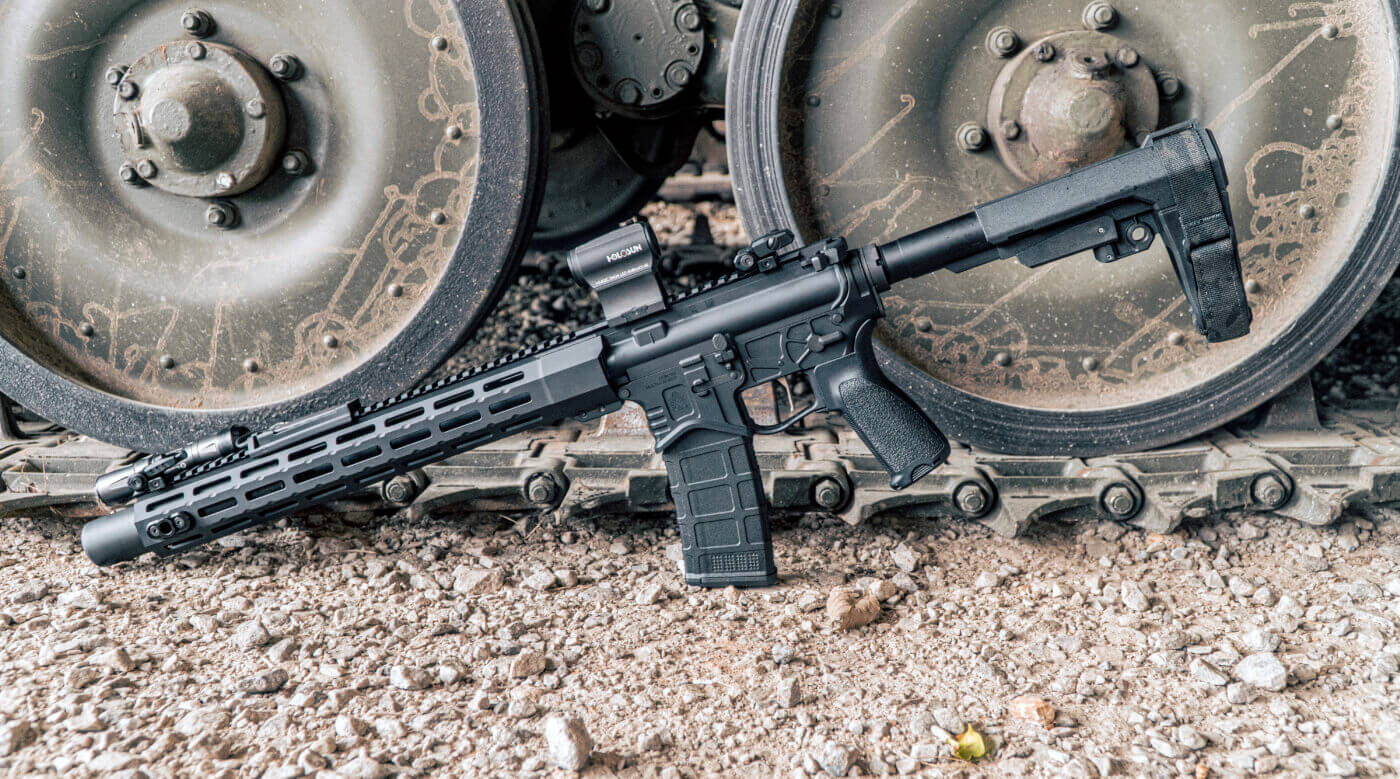
The rail is a free-float design constructed from 6061 aluminum and hard coat anodized for a lifetime of service. This product is 100% made in America, and Midwest Industries includes a lifetime warranty with the handguard.
This product from Midwest Industries will sell for around $200 when you can find it in stock. However, they are very popular and it can be hard to find them online. Your best bet is to check your local gun store while keeping an eye on their website.
Installation
It comes with very good step-by-step instructions, which is great. First off make sure your gun is unloaded so that you can be safe while you work on it. We even separated our lower from our upper and we removed the bolt just to be completely safe.
When making this change, first I recommend you remove your flash hider so that can be out of the way. I had a Yankee Hill QD flash hider for a suppressor on my pistol, so I had to remove it to get the handguard off.
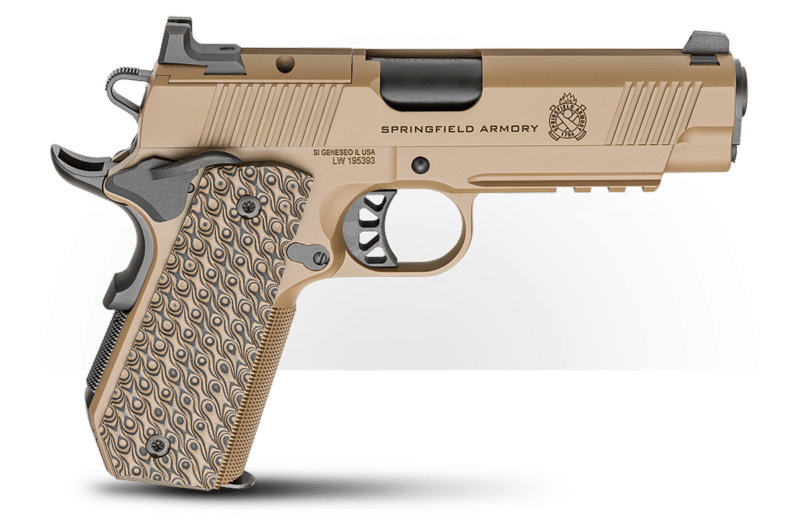
To remove your Springfield Armory handguard, you need to remove the bolts on each side of the handguard near the upper with a T20 wrench. After this, your handguard should slip right off with no issue.
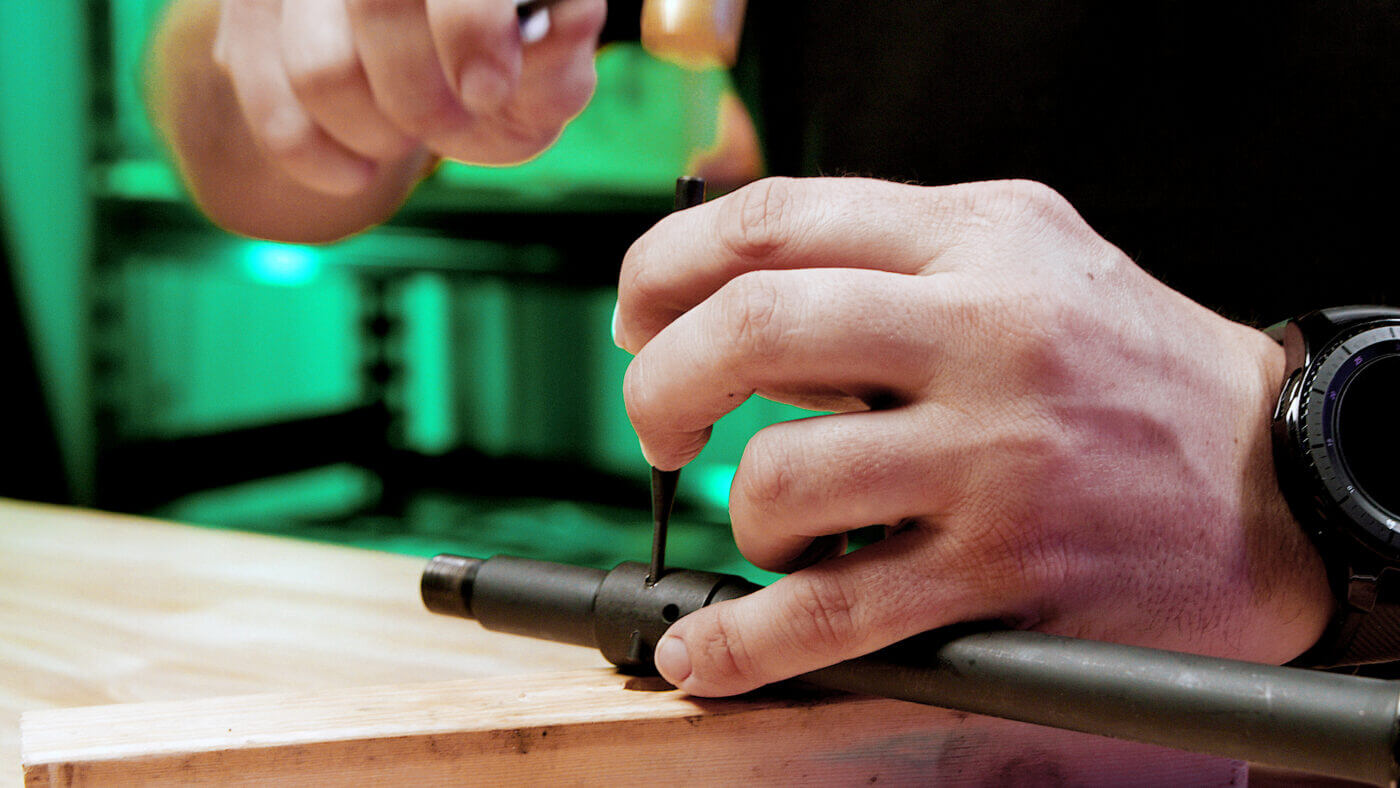
After that, you will need a punch set to remove your gas block and gas tube. You don’t have to completely disassemble this, you just need to be able to get it off the barrel. On the Midwest Industries handguard, the gas tube will need to pass through the new barrel nut. Another thing to mention is the pin on the gas block is tapered, which means it can only go out only one way. The pin itself can only go out toward the ejection port side of the gun.
We did have to put our SAINT Edge into a bench vice block to be able to loosen the flash hider and the barrel nut, and also to tighten on the new barrel nut and flash hider. Everything on this gun is pretty tight, so we advise you to use a vice and, as always, be careful not to mar your gun with tools.
To remove the barrel nut from your Springfield Armory gun, I recommend you order a BCM tool from Bravo Company. You also will need a ½” torque wrench to loosen and tighten your new handguard.
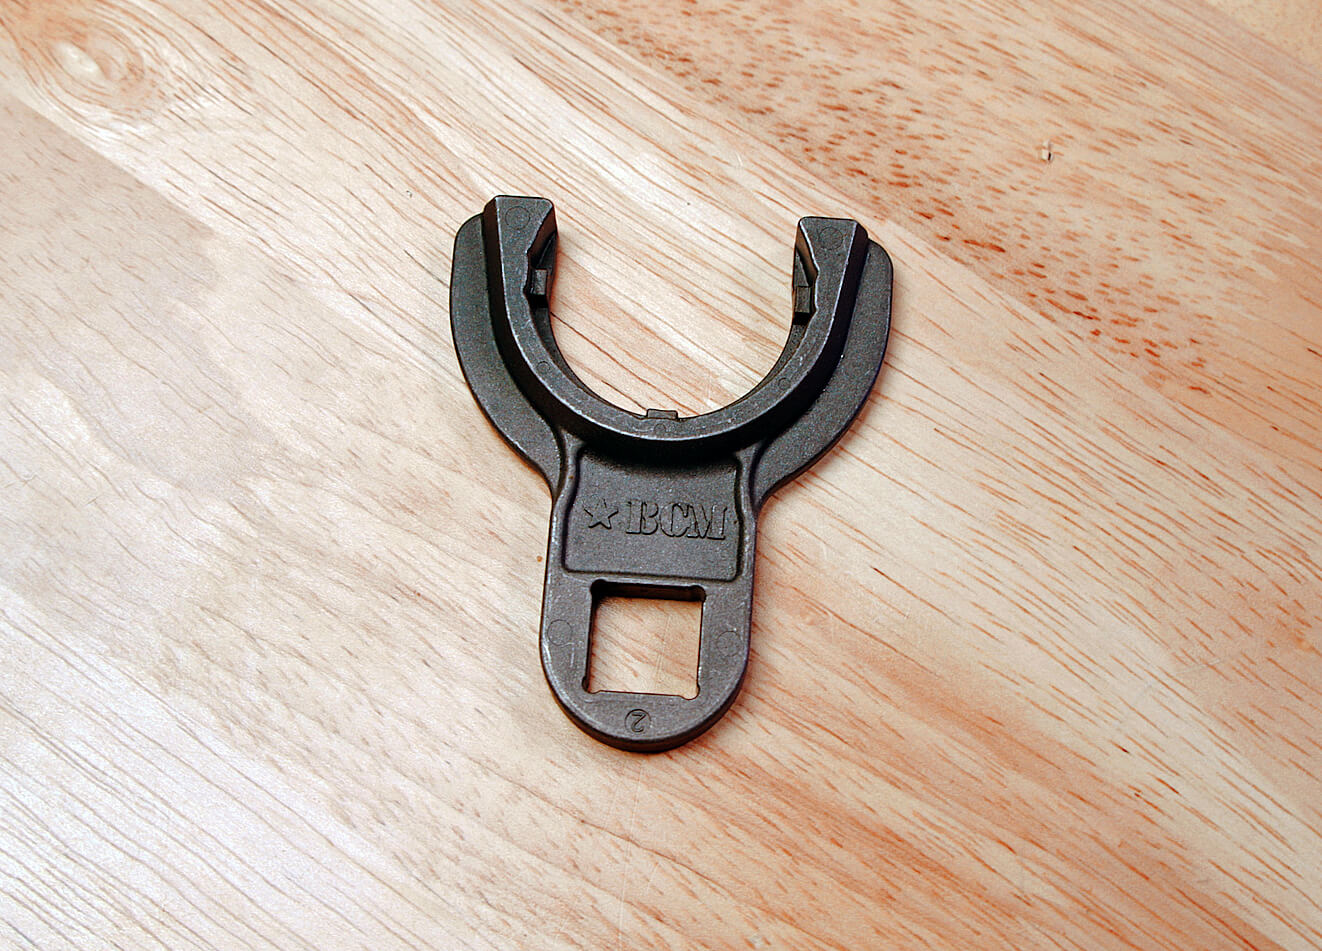
After you get off your Springfield Armory barrel nut, then you are encouraged by Midwest Industries to apply a dab of grease to the threads of the upper receiver and install the barrel nut by hand until it’s tight.
Then you need to use the MI barrel nut wrench with your torque wrench, with the instructions indicating you should tighten the barrel nut to at least 20 lbs. or until the next gas tube hole aligns with the upper receiver. When we did this we had to steadily increase the poundage to get to that next gas tube hole, and we ended up benign around the 55-lb. mark for the MI barrel nut. Your barrel nut needs to be aligned properly because your gas tube will have to pass through it into your upper receiver.
Now you have to reinstall the gas tube and the gas block. Remember, the pin for the gas block has to go in on the ejection side and hammer it back in from that side.
We then slid the handguard on and proceeded to bolt it down. Something that’s important to remember is that there is a torque plate that goes in the handguard where the bolts tighten it down. This torque plate is important because if you don’t have the plate in there, you could damage your handguard.
Something to note is that I am using a Yankee Hill QD flash hider so I can easily take on and off my suppressor without removing the handguard. The Yankee Hill one also ratchets down so that you can be sure it’s tight and you don’t risk a baffle strike.
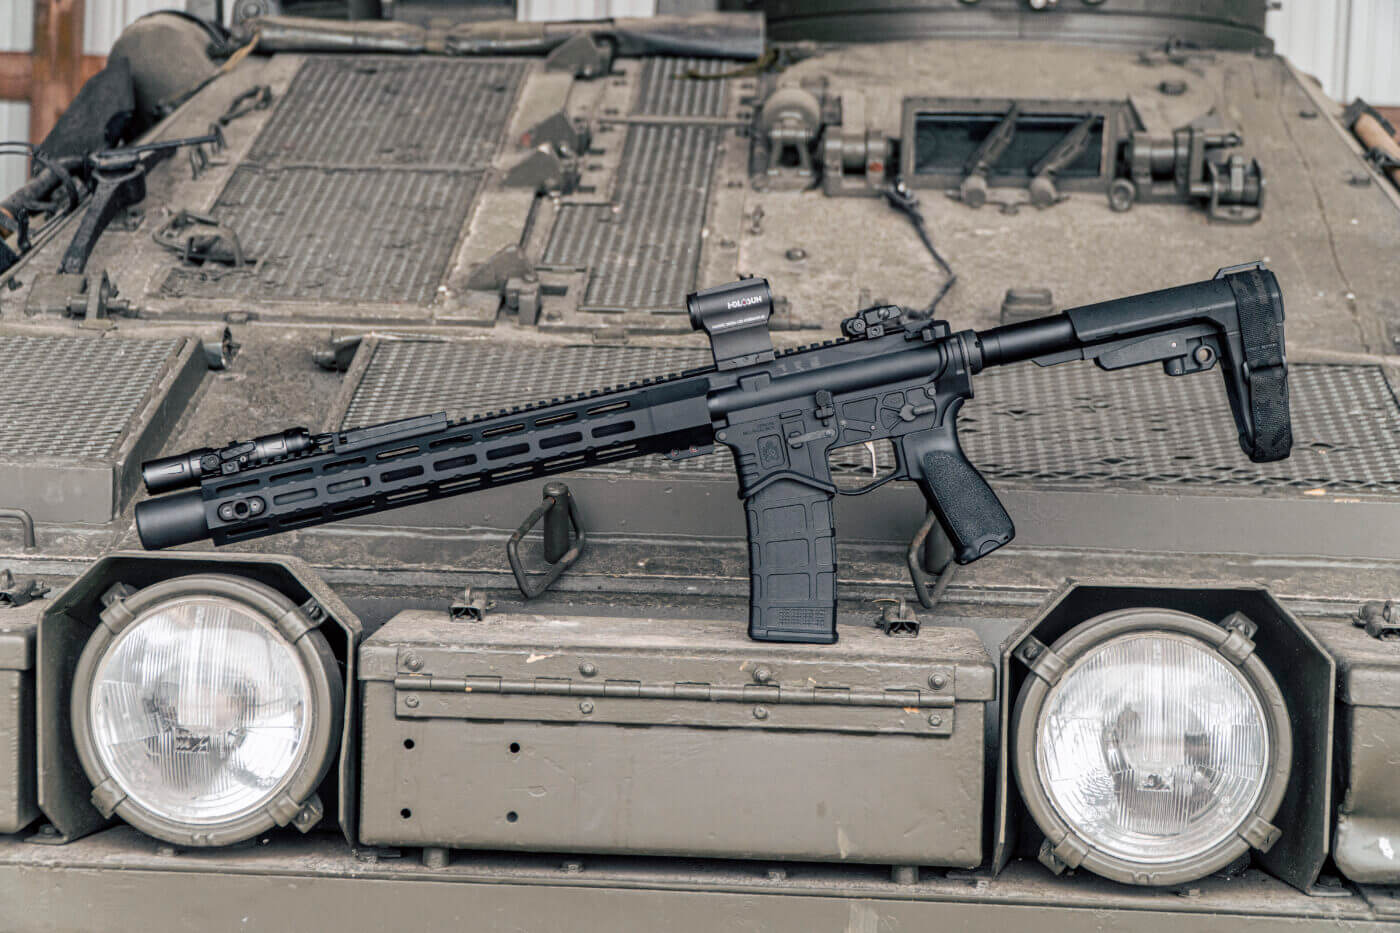
The SAINT Edge pistol has an adjustable gas block, and this can be a real benefit with a suppressor as you will introduce a lot more gas back into your gun. This is why the adjustable gas block on the SAINT Edge pistol is fantastic to have. I put on my suppressor and adjusted my SAINT’s gas block to run on as minimal amounts of gas as possible. That way my gun runs cleaner and it won’t be as hard on the bolt.
Conclusion
This SAINT Edge looks even cooler than it already did, and that’s saying something cause this is one seriously cool pistol. I can’t even describe how happy I am with the results. I would highly recommend this for your set-up if you are contemplating a suppressor-compatible handguard.
Due to an ATF ruling regarding the configuration of pistols with stabilizing braces, these firearms can be subject to NFA (National Firearms Act) regulations as short-barreled firearms. It is the buyer’s responsibility to comply with all rules, restrictions and/or laws determined by your city or state. Please ensure you are up-to-date on all current laws.
Editor’s Note: Please be sure to check out The Armory Life Forum, where you can comment about our daily articles, as well as just talk guns and gear. Click the “Go To Forum Thread” link below to jump in!
Join the Discussion
Featured in this video
Continue Reading
Did you enjoy this video?

 48
48


