Editor’s Note: This video series is a special presentation from Panteao Productions, providing The Armory Life with an excerpted series of videos from its “Make Ready with Hilton Yam: 1911 Duty Tune”. Stay tuned over the next several Sundays to see each new installment, and there is a link at the bottom of the page to a special subscription promo for you. So, be sure to check it out!
This video is the third of the series. You can view the other parts using the following links:
- Part 1: Introduction
- Part 2: Fieldstripping & Teardown Tips
- Part 4: Fitting & Tuning
- Part 5: More Fitting & Tuning
- Part 6: Final Tuning & Test Firing

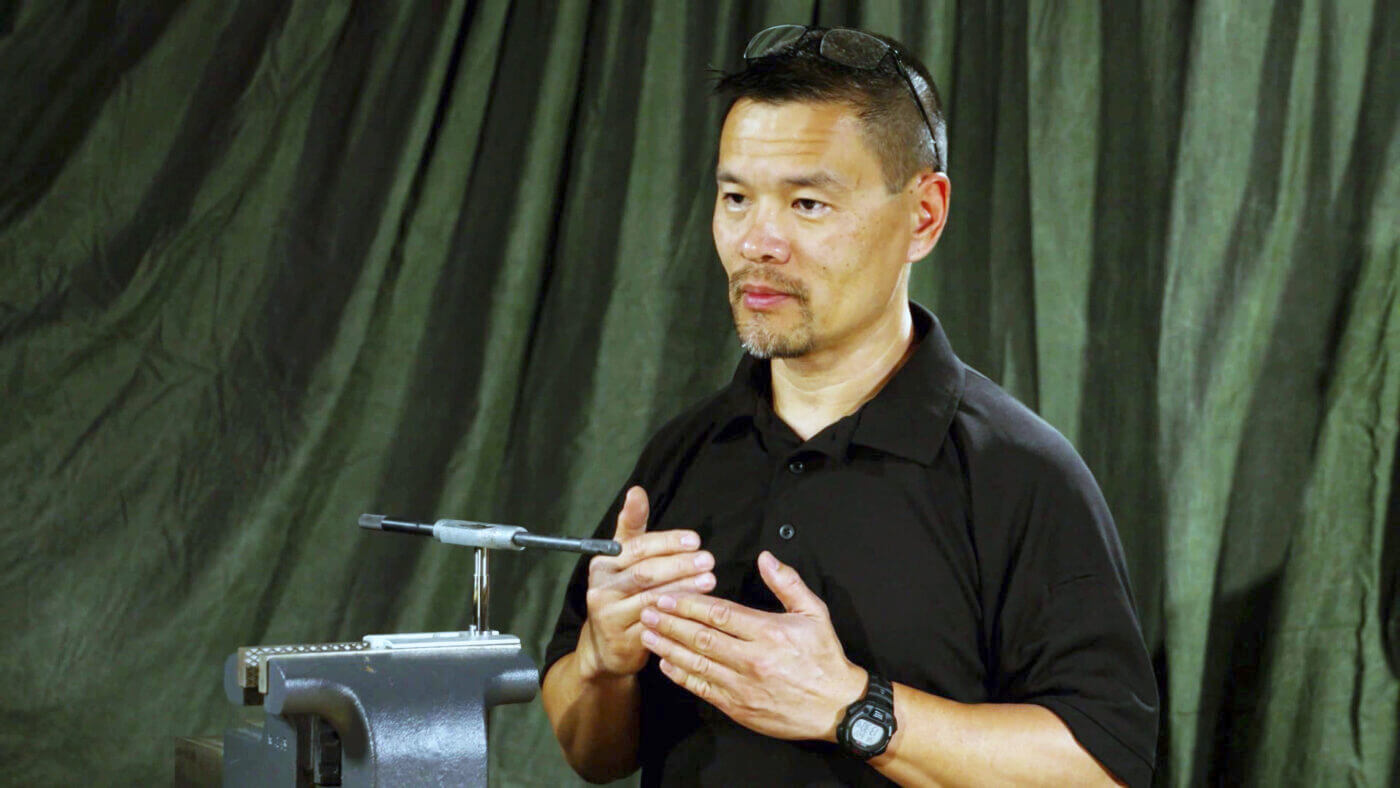
In this third excerpt from “Make Ready with Hilton Yam: 1911 Duty Tune”, we take a look at the next four sections that cover prepping all your major components prior to reassembling. Within these segments, Yam touches on polishing, fitting and more.
The Details
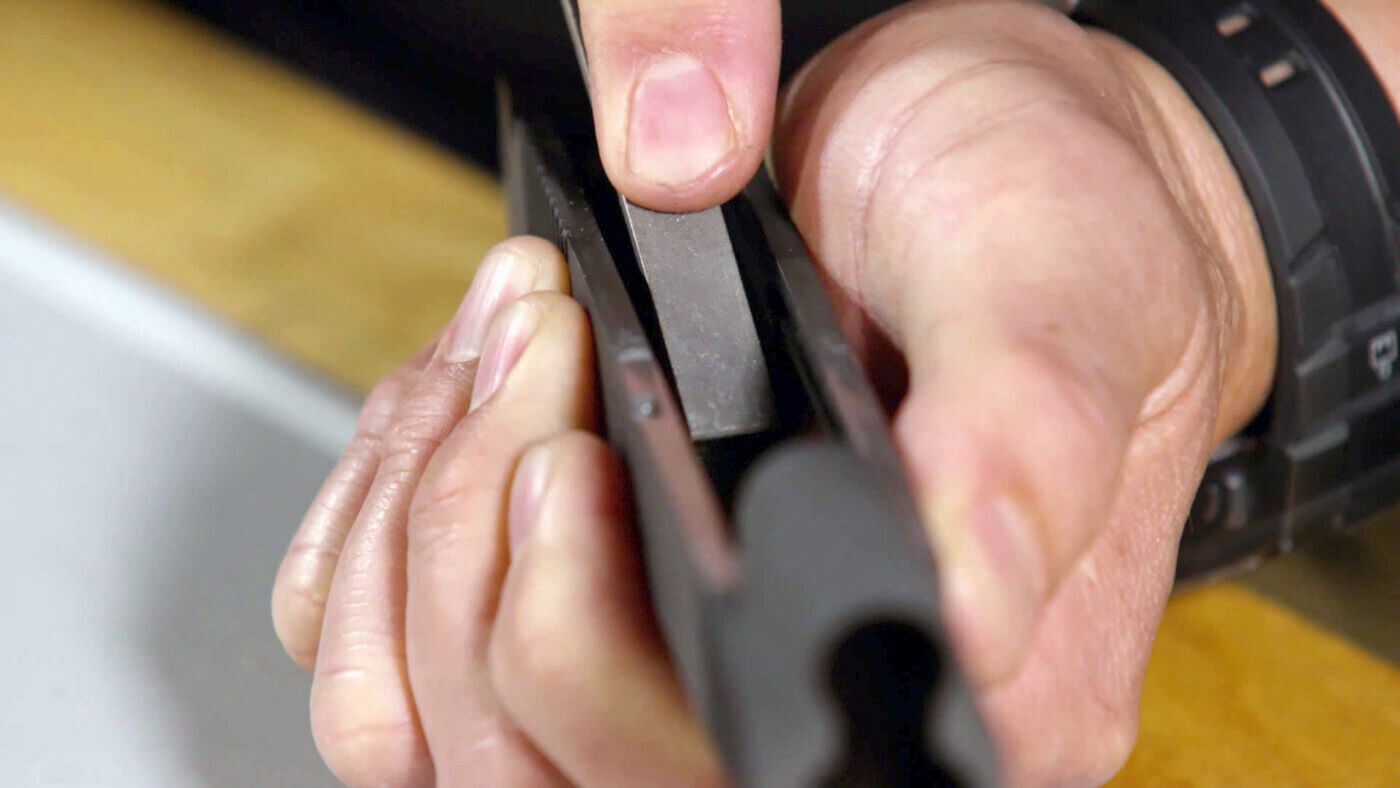
First up, he dives into ensuring that the mating up of slide to frame is as smooth as possible with no binding. Employing JB Bore Paste and gun oil, he uses this very mild abrasive on the frame’s rails and works the parts together.

Next up, he addresses polishing the internals of the pistol to ensure proper functioning and feeding of ammunition. His first step touches on knocking off the front edge of the disconnector rail, following up with working on the feedway. On the latter, which is made up of the frame ramp and the barrel feed ramp, he advises approaching this with a great deal of caution. This is because once you remove metal, there is nothing you can easily do to put it back.
The next step Yam touches on addresses the chamber of the pistol’s barrel. Using a dummy round relative to the rear of the barrel hood, he checks general headspacing to make sure all is good. Next up, he employs a finishing reamer with cutting fluid to ensure that the dimensions of the chamber are properly cut. He also points out that you should gently drop the reamer in, with no pushing down on it.
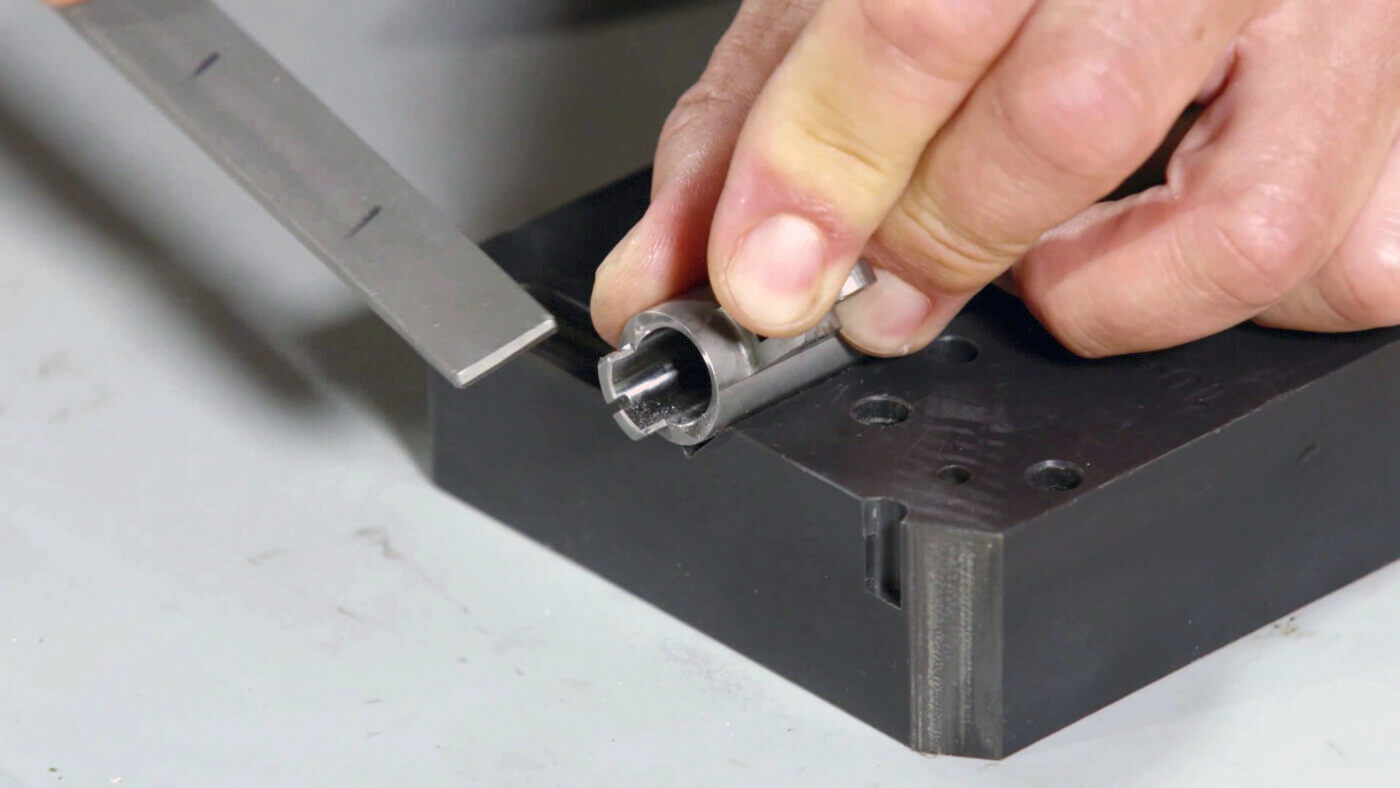
And lastly, he shows us how to make a small clearance cut on the barrel hood for the extractor. This is a relief cut on the barrel hood as this portion can drop down and hit the extractor during unlocking. It rarely happens, but is an easy fix to address something that could become an issue.

Conclusion
So, check out the video above, and be sure to stay tuned over the coming Sundays to see each new installment!
Editor’s Note: Please be sure to check out The Armory Life Forum, where you can comment about our daily articles, as well as just talk guns and gear. Click the “Go To Forum Thread” link below to jump in and discuss this article and much more!
Join the Discussion
Featured in this video
Continue Reading
Did you enjoy this video?

 41
41


