How to Clean a Semi-Automatic Rifle
February 26th, 2024
6 minute read
If you love shooting like I do, you know that when you shoot a lot you also have to clean your firearms a lot in order to keep them running reliably and efficiently. Personally, I hate cleaning guns and prefer to just shoot them. However, cleaning is imperative to a successful range trip so, unfortunately, we all must do it.
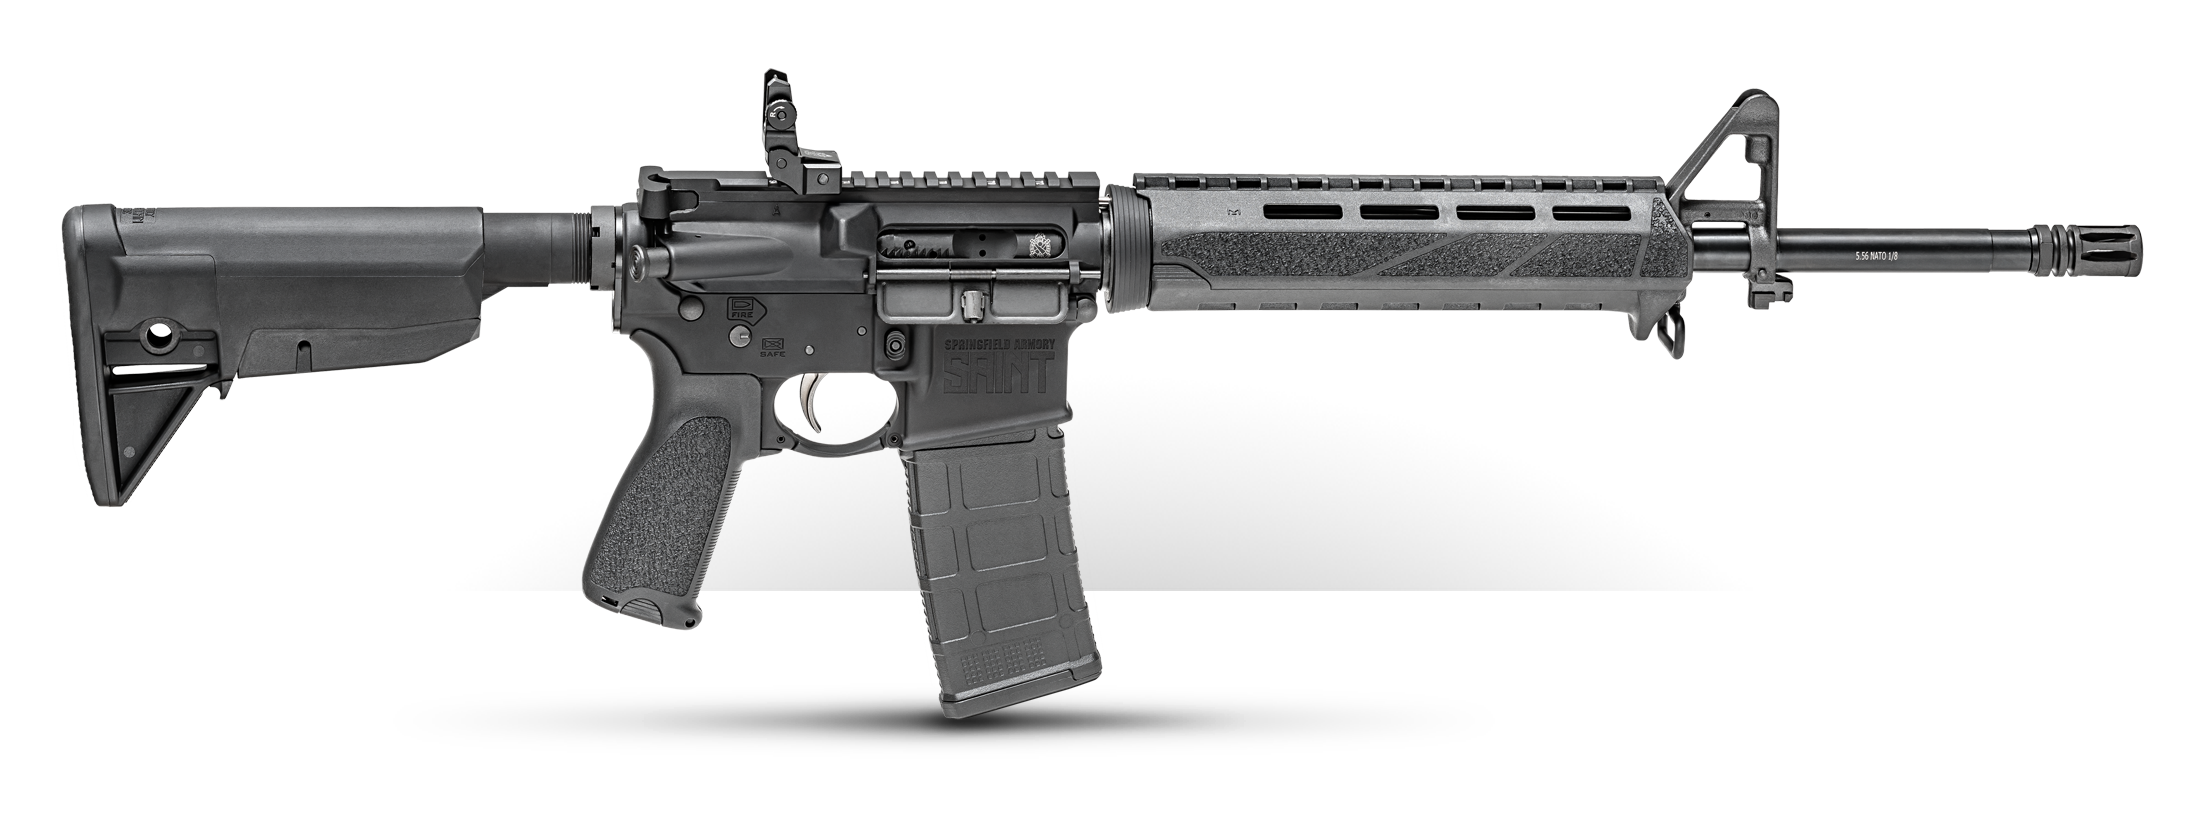
My favorite platform to shoot is the AR-15. I really love rifles in general, even though they get particularly dirty during use and require some special techniques and tools to clean them. Because they are a little harder to clean, I figured why not talk about my method of cleaning rifles and the tools needed to complete the job in the hope maybe I can help someone else get through the task a little easier.
Getting Started Safely
The number one thing to remember when cleaning any firearm is safety. As a firearms instructor, I am constantly telling my students that the way to have an accident is to become complacent.
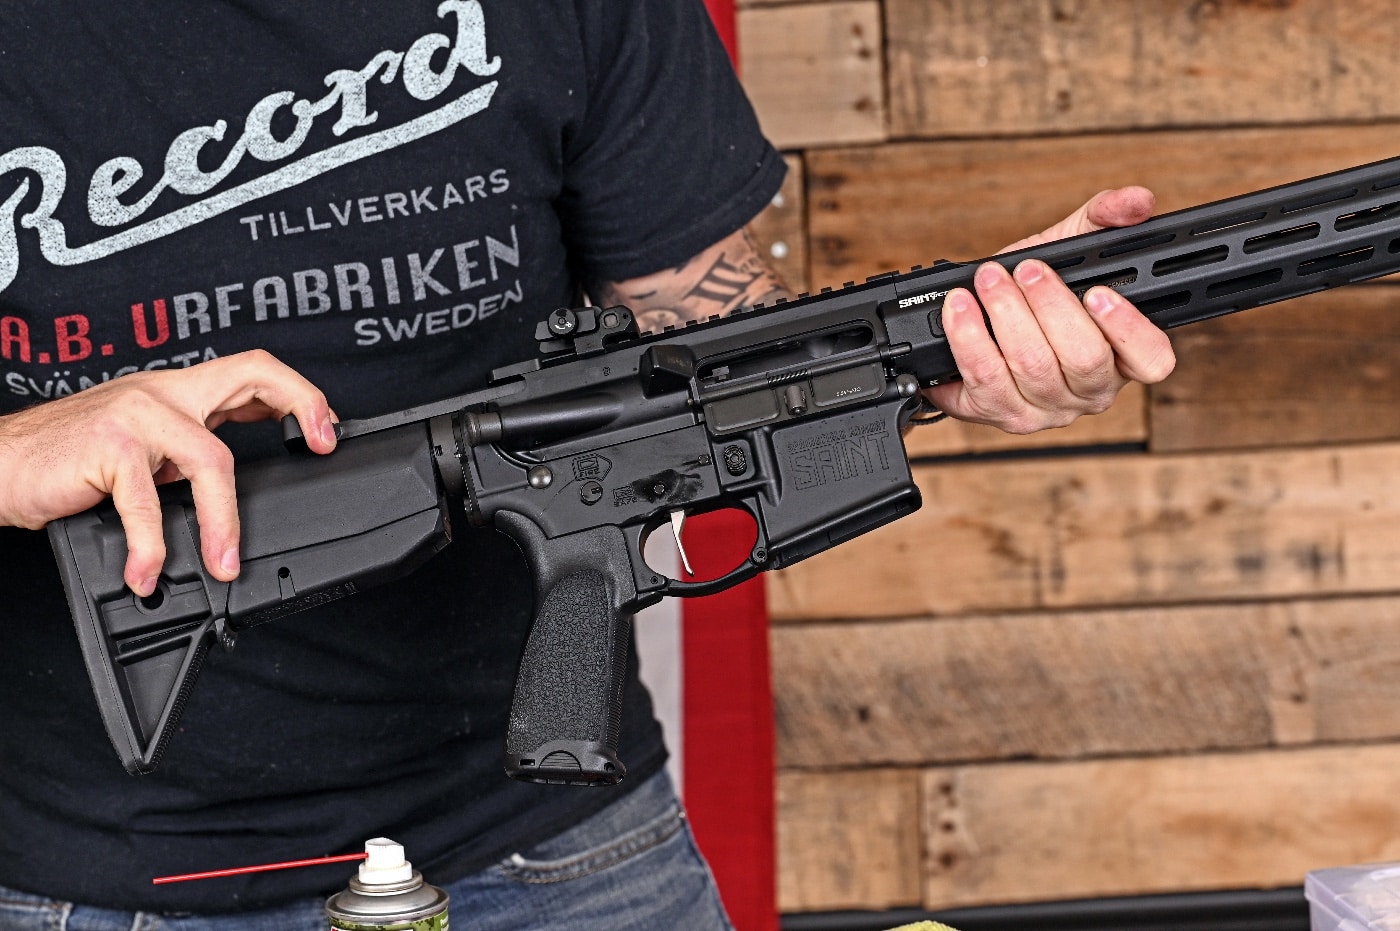
Ensure your rifle is unloaded and keep all ammo out of the room while cleaning to avoid any possible accidents. Now that you’ve taken the right safety precautions to clean your gun, let’s discuss the particulars.
Right Tools for the Job
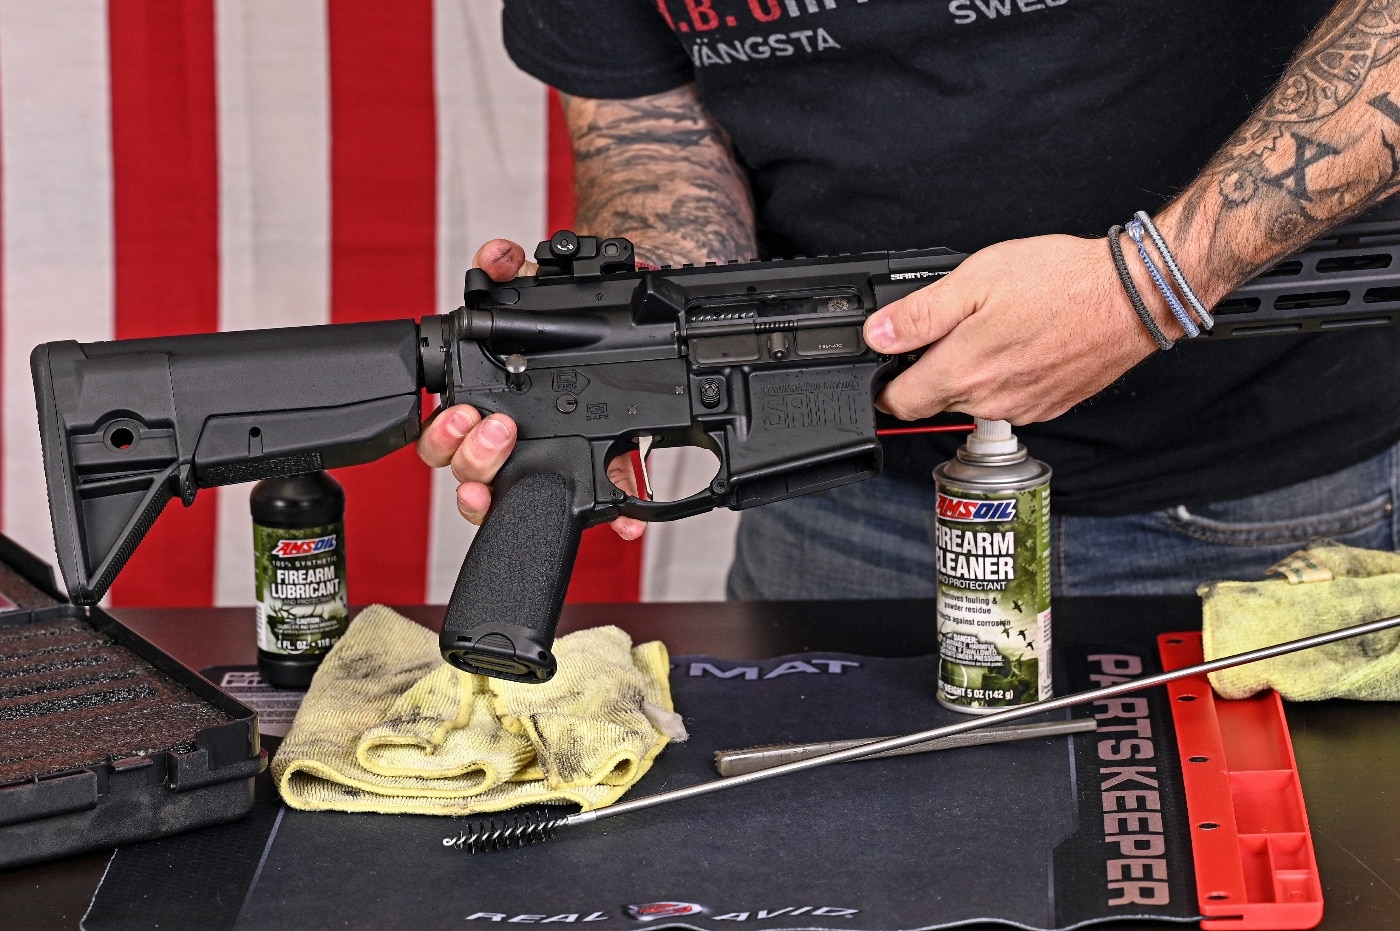
The proper tools are always a must if you want to be successful when cleaning a rifle. Different guns are going to require different techniques. But here are some essential tools that can help ensure success during the rifle-cleaning process:
- Cleaning rod
- Bore brush or bore snake (caliber specific)
- Cleaning swabs
- Utility brushes
- Microfiber towels
- Cleaning solvent
- Lightweight lubricant
The easiest thing to do is pick up a nice cleaning kit that will include most of the cleaning supplies you will need. These kits are normally not very expensive and will make life much easier for you.
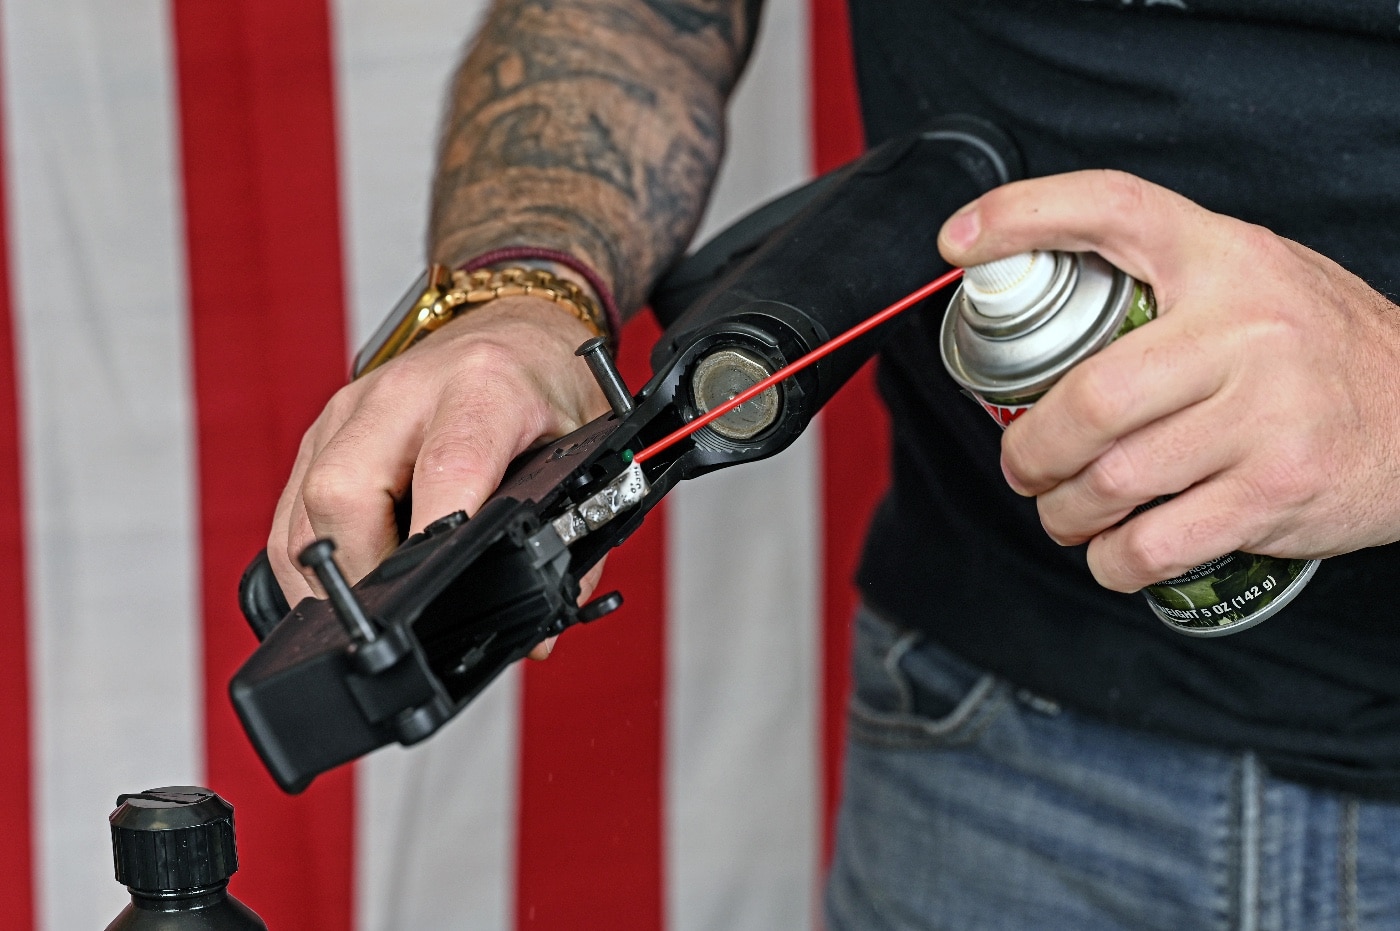
I also like to have a nice rubber-backed gun mat to not only help protect all the gun parts but also protect your work surface. Another good idea is to have a nice pair of safety glasses to protect your eyes from flying springs, debris and chemicals. You can also wear a pair of nice nitrile gloves.
Cleaning a Semi-Automatic Rifle
We are going to talk about semi-automatic rifles, including the ubiquitous AR, which often require a bit more to clean. Bolt-action rifles don’t require a whole lot since they are very simple and are basically an action and a barrel. You can simply run a bore snake and some cleaning solution through them, clean up the bolt and then wipe everything down. Oil them, and you are good to go.
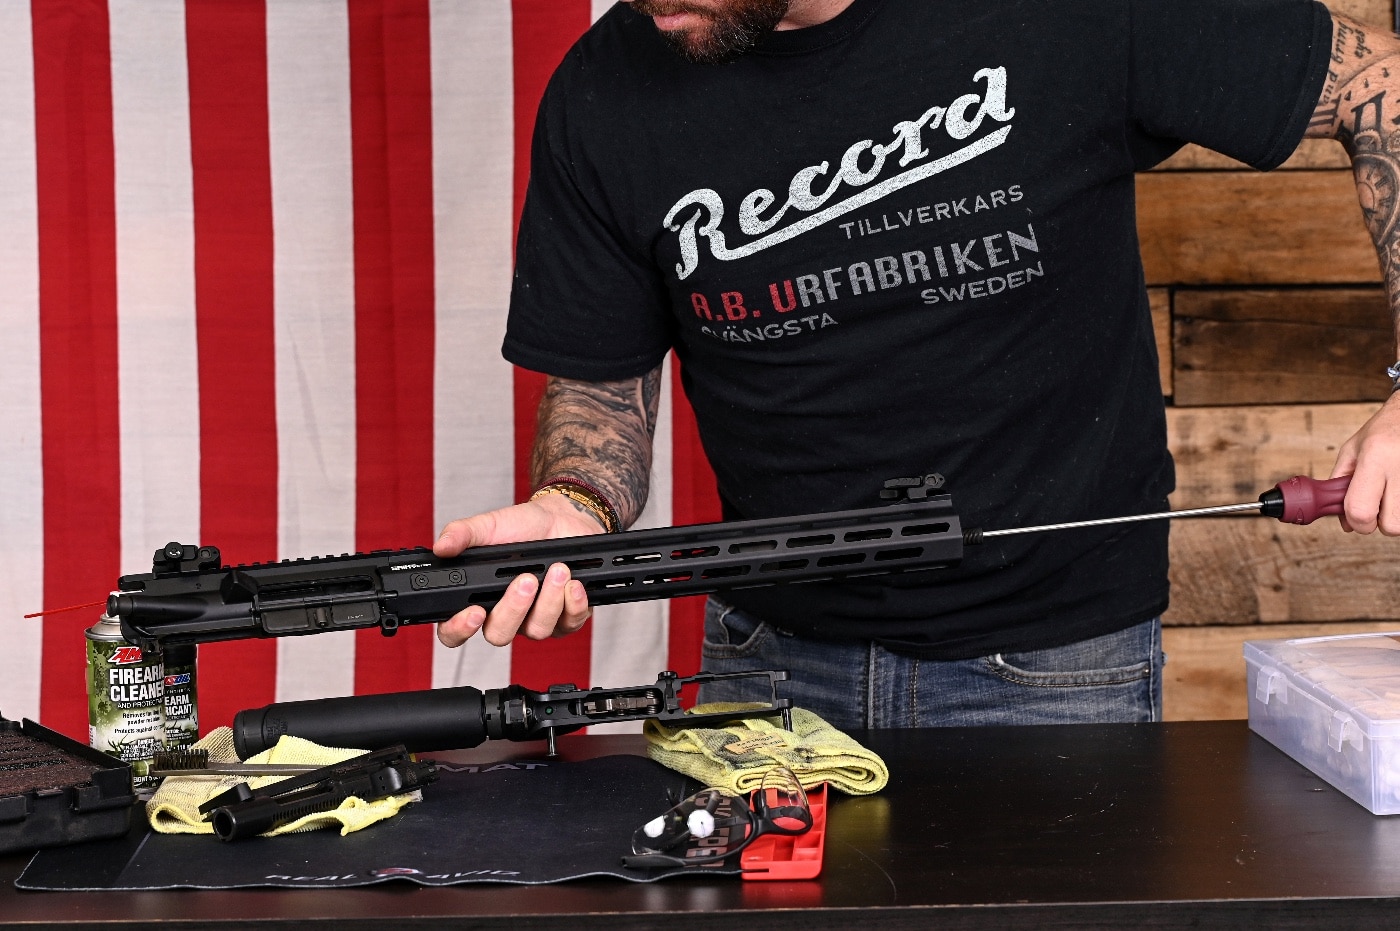
Lay out all your tools and cleaners and start by disassembling your rifle. Pull your upper and lower apart, remove your bolt carrier and charging handle, and get to work on those pieces first.
I always start with the smaller parts just because I think they are the easiest parts to clean, and I like getting them out of the way. Using your brushes and whatever firearms cleaning solution you prefer, simply scrub everything down and then wipe clean with a microfiber towel.
After I finish with the bolt carrier and charging handle, I then move on to the lower. AR rifles have a lot of moving parts and small crevices that you have to try to get into, so utilize all the tools you need when cleaning one. The same is also true for other types of semi-automatic rifles.
I always start with brushes but then move to cotton swabs and patches for the really hard-to-reach spots. A good solvent is definitely going to be your friend.
After you get the entire lower receiver cleaned up, it’s time to tackle that upper. Grab your bore brush or snake that is the proper size of your rifle’s barrel and clean the inside of the barrel itself. You will be able to see debris inside the barrel, so clean it until you are happy with the results.
You can use your patches to run through the barrel as well. Soak them in cleaner and run them through using your cleaning rod. After the barrel is cleaned up, move on to the chamber.
The area inside the bolt carrier and where the charging handle sits can be tough spots to fully clean because of their locations/shapes. But with some good old-fashioned elbow grease, you will get it done. For really stubborn dirt and debris, allow your cleaner to soak in for a good 15 minutes or so before scrubbing.
Once everything is clean, I like to wipe the rifle down with a microfiber cloth and then put a little bit of lubricant on the springs and drop a drip in the bolt carrier, trigger assembly, and all the little moving parts on the rifle.
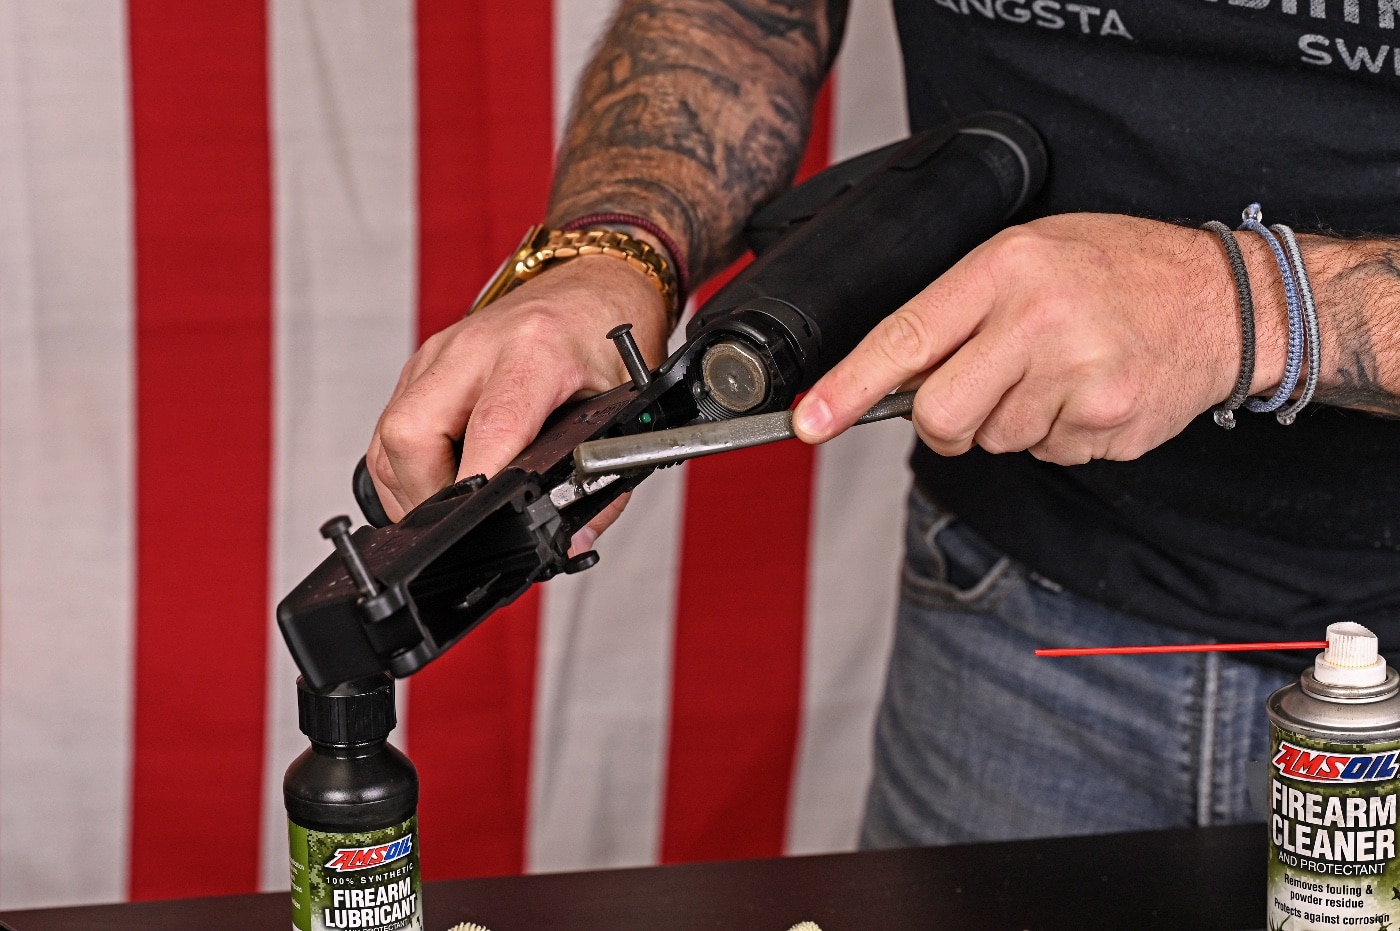
After the upper and lower are all cleaned and lubed, I install the charging handle and bolt carrier back in the upper and put everything back together.
Feeding the Machine
One area of an AR-style rifle that most people end up forgetting about when it comes to cleaning is the magazines. The magazines can get very dirty inside and outside, and this can actually cause malfunctions in feeding. Reliable, clean magazines are critical to the operation of your rifle, so make sure you disassemble, clean, and reassemble according to the manufacturer’s instructions.
Special-purpose brushes are available for magazine cleaning, but personally I just take them apart and clean them with the same tools and brushes I used on the rest of the rifle.
Use caution when disassembling your magazines because the springs are compressed very tightly at times and can cause severe injuries. Use safety glasses and extra care when working on your magazines.
Clean them but do not lubricate your magazines because the lubricant can actually cause more harm than good and cause the magazine’s followers to get gummed up with residue, causing feeding problems in your gun.
After you get the gun back together it’s imperative that you test the functionality of the rifle. Make sure you check the proper functioning of the trigger, safety, charging handle, and magazine retention and removal. You never know what you might have accidentally bumped out of place during cleaning, so it is very important to safely check everything.
Once the inside of the gun and its parts are clean, shiny and lubricated, it’s time to clean the exterior of your rifle. A clean microfiber cloth is perfect for this job. A good microfiber cloth will not leave any fuzzies and will absorb excess oil while leaving the surface clean with a nice little shine. I will spray the exterior lightly with my cleaner and then rub it clean with the cloth.
Conclusion
This method of cleaning is a suggestion, and many people have lots of different methods of cleaning guns. I also highly recommend looking into sonic cleaners, which will make the job nearly hands-off. That is the perfect scenario for someone like me who hates cleaning guns. Throw your parts in the sonic cleaner, and let the machine do its thing for you.
However, you choose to clean your rifles, remember, there is no definitive right or wrong way to do it. If the end-result is a clean and lubricated gun, you did it right as far as I’m concerned. Now get out there and train hard, then clean your rifles using some of these tips.
Editor’s Note: Be sure to check out The Armory Life Forum, where you can comment about our daily articles, as well as just talk guns and gear. Click the “Go To Forum Thread” link below to jump in!
Join the Discussion
Featured in this article
Continue Reading
Did you enjoy this article?

 91
91


