How to Clean the Springfield Armory XD-S Mod.2
July 27th, 2022
9 minute read
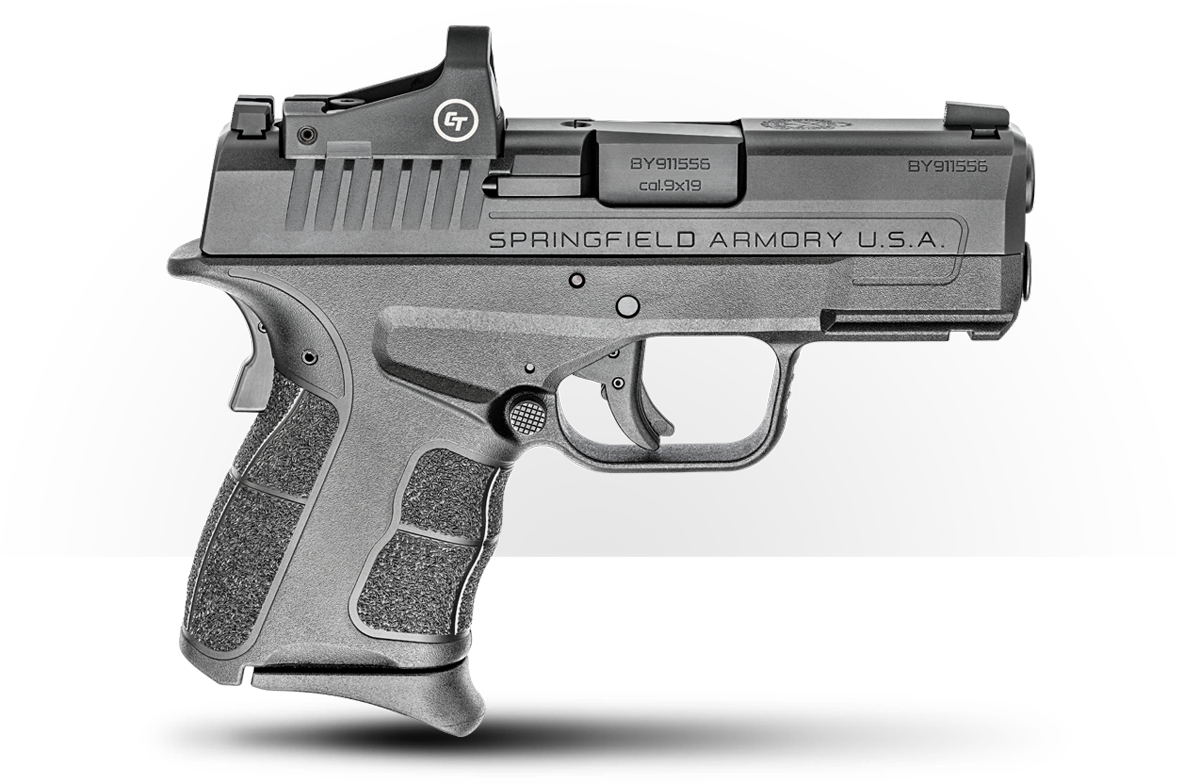
The Springfield XD-S Mod.2 is a very popular option for concealed carry, and with good reason. The XD-S has proven to be quite reliable and comes out of the box with features that modern shooters look for in a defensive platform.
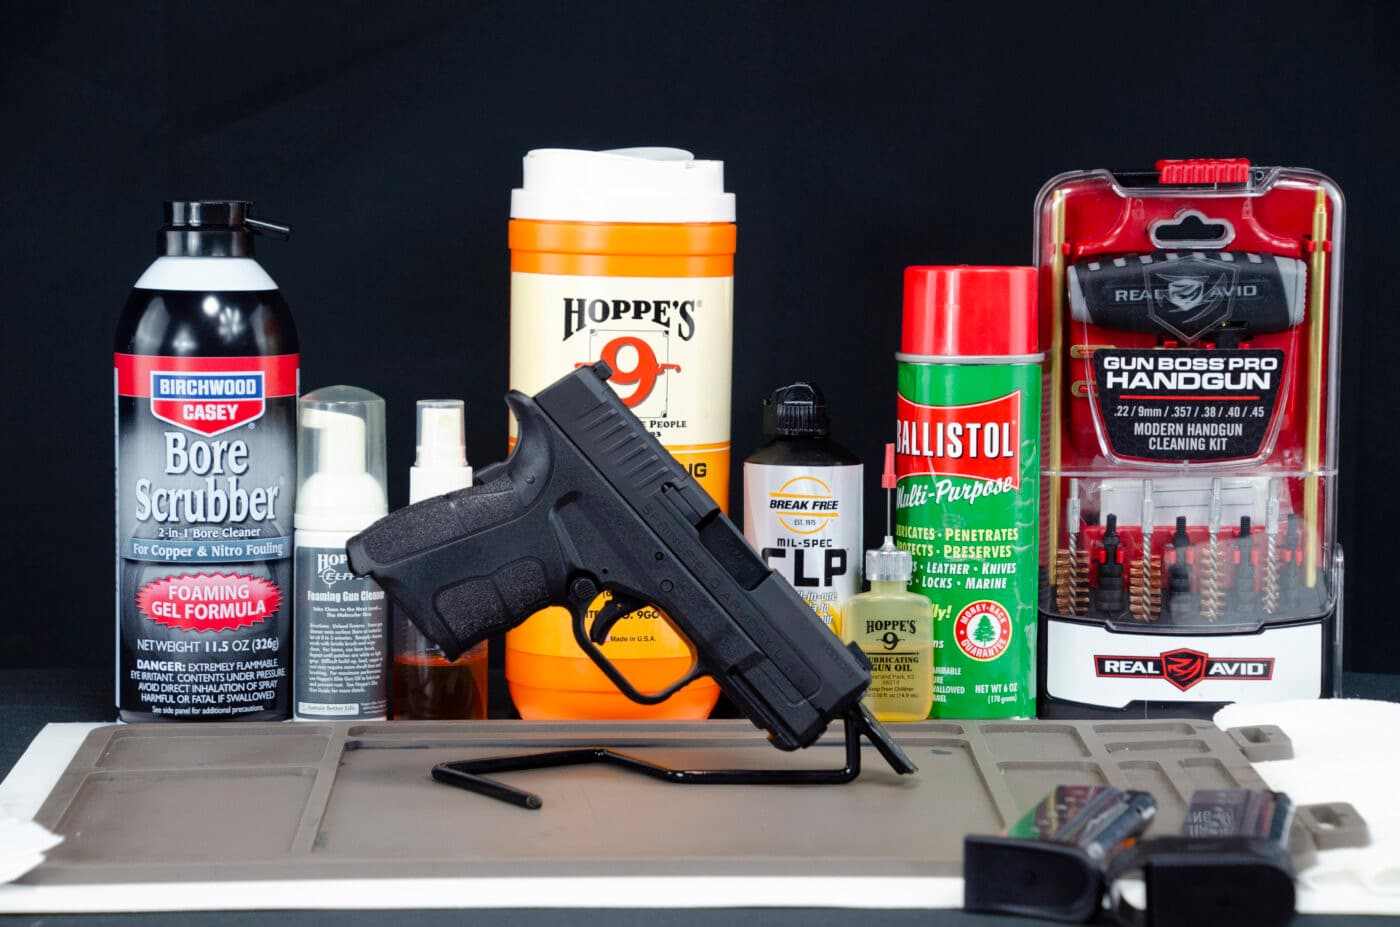
As with nearly all other firearms, the XD-S requires proper maintenance in order to operate smoothly as time goes on. Keeping a good maintenance schedule will ensure your pistol is running at its highest potential for accuracy and reliability. Luckily, it’s quite easy to field strip and clean the XD-S 9mm OSP. Also, the steps are identical to the XD-S .45 pistol as well.
Prepping
There are a few items you’ll need when you’re ready to clean and lubricate your handgun. First and foremost, you will want to have a surface to work on. I suggest picking up a gun cleaning mat as this will help to avoid damage to whatever surface you’re working on. Further, many mats have compartments on them which help to organize parts should you need to do so during a full disassembly.
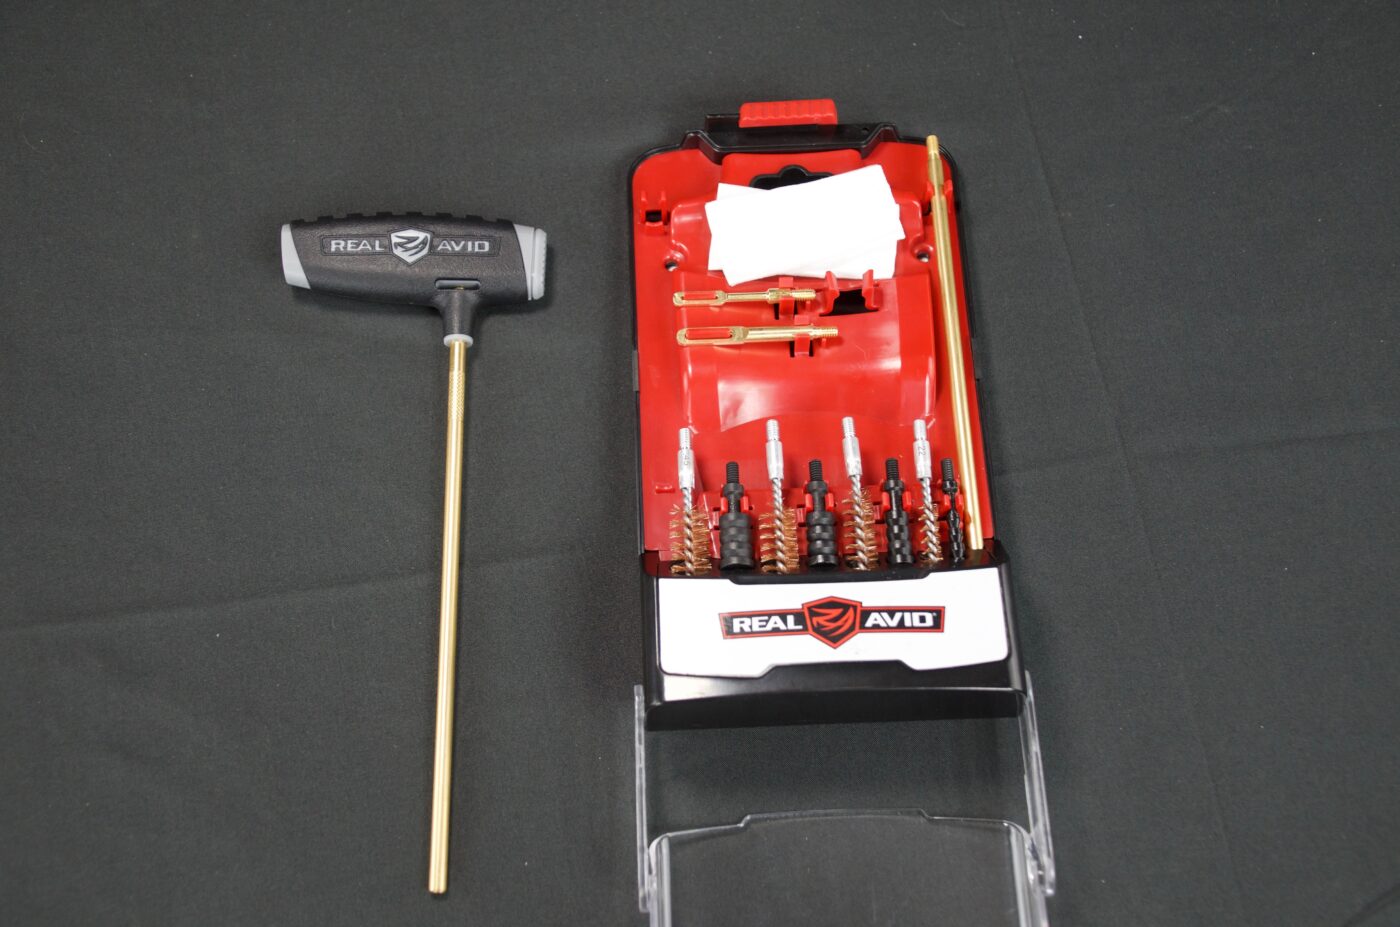
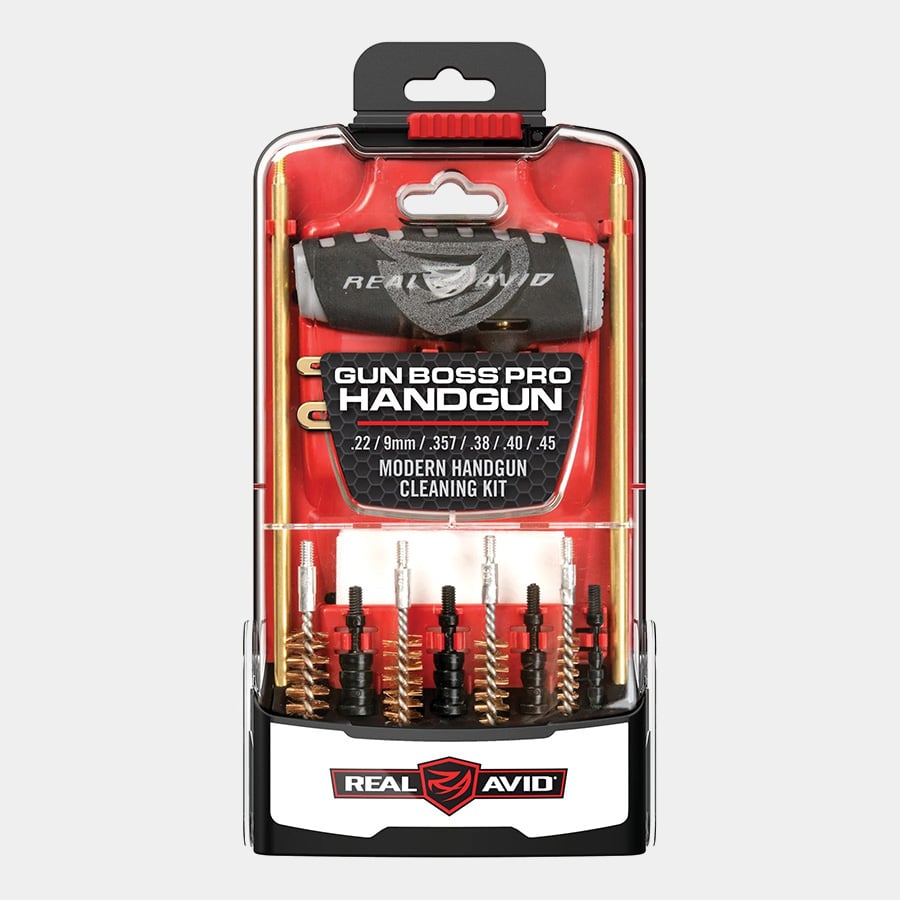
You’ll also want to invest in a quality gun cleaning kit. The main purpose of this kit is to provide you with a rod, bore brush and patch jags. Many of these kits, like the Real Avid Gun Boss Pro shown in the pictures, come with the capability to clean various bore sizes. This could prove helpful to you if you also have something like a Springfield 1911 in .45 ACP you’d like to clean in the same sitting.
While many cleaning kits include cleaning patches, it’s always a good idea to pick up an extra bag of them as you’ll go through them fast. When possible, select a high-quality cloth patch or cut up a white cotton t shirt rather than buying the cheapest patches available. This will reduce the amount of lint that ends up shedding into the gun, and the amount of time you’ll have to spend picking it out. Having some larger rags of the same or similar material is great for wiping things down.
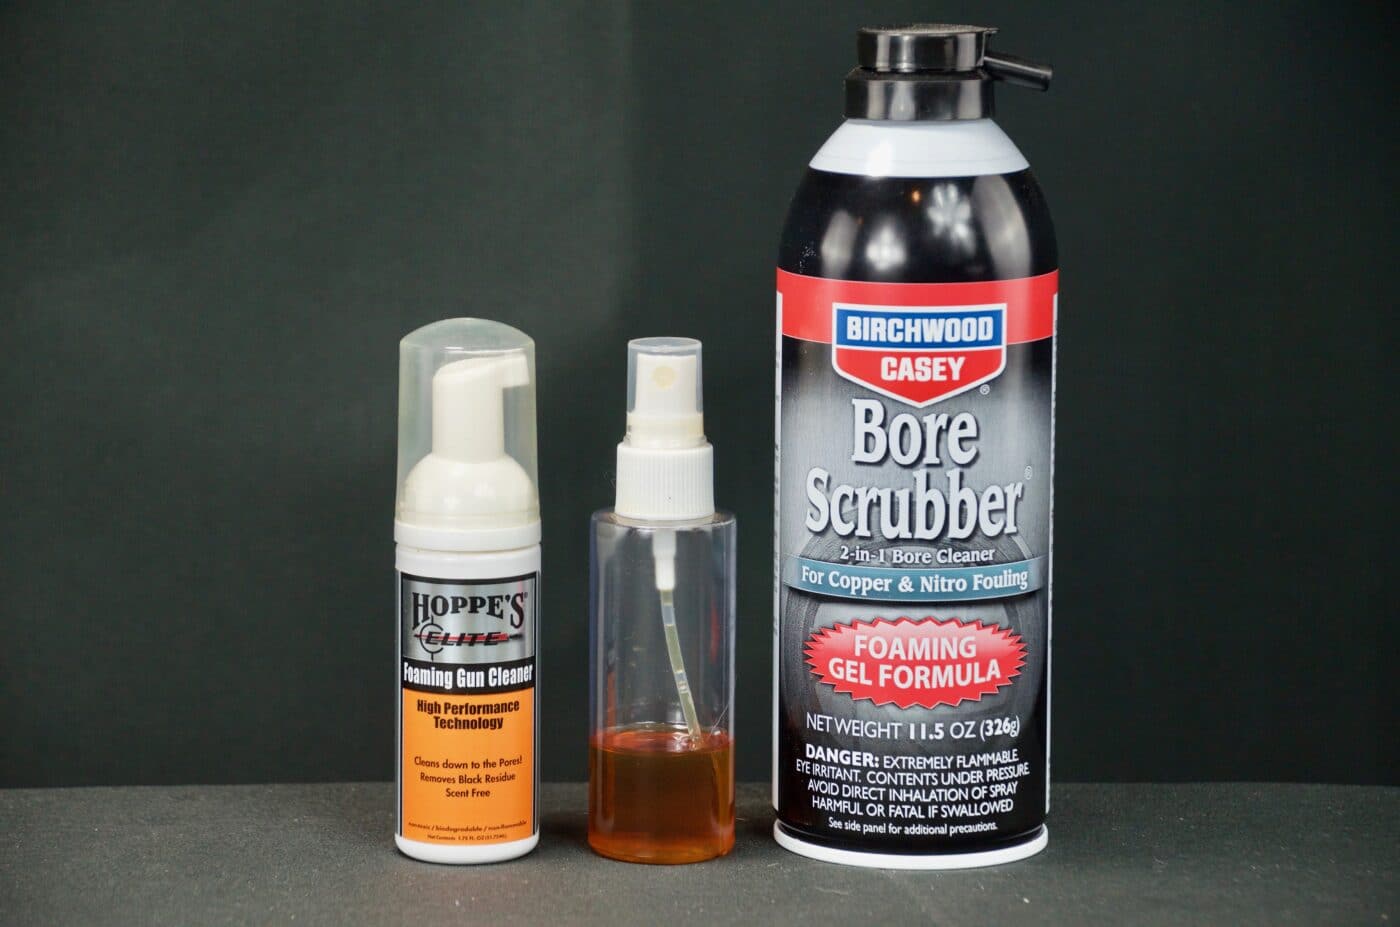
Now, you’ll need a good cleaning solvent for the bore. There are a multitude of choices when it comes to cleaners, but I tend to prefer foaming bore cleaners as I have had great results with them across all of my modern firearms. It’s also always a good idea to have safety glasses on hand when working with chemicals like bore cleaners.
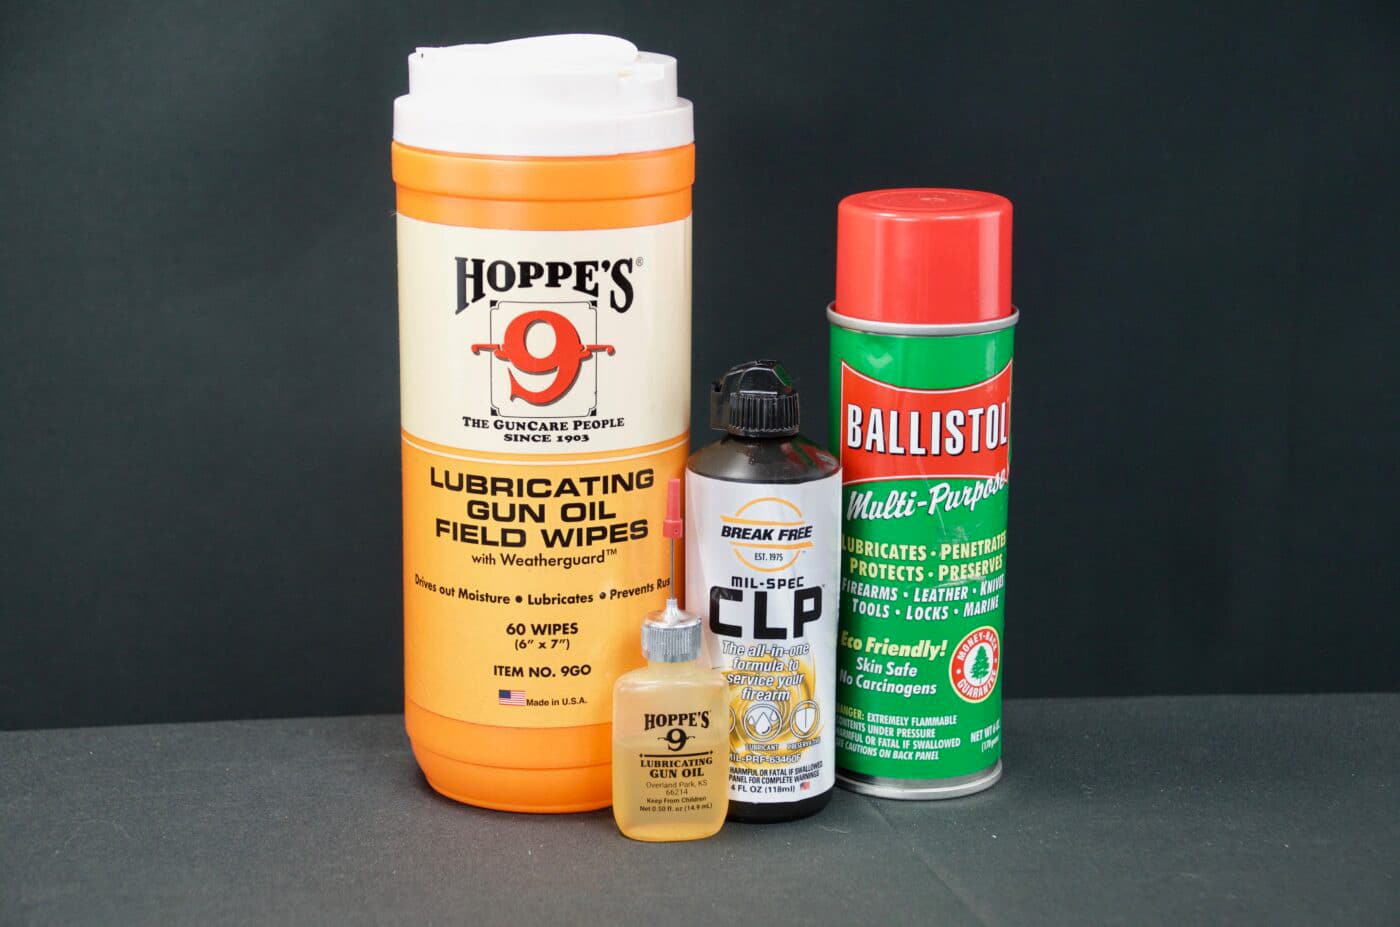
For lubricants, again, there are many choices. Some prefer to use grease, while others use only oil. In my experience, the XD-S is not picky. I tend to use oil, as I can easily reapply it during routine cleaning and am not worried about it having the longevity of grease. That being said, I almost always opt for a needle nose oiler like the one shown in the pictures. The needle nose will cut down on excess oil in areas it isn’t needed by providing the user with a very precise dab of oil that can reach the tiniest of crevices inside the gun.
Lastly, I recommend keeping some paper plates and paper towels handy for easier cleanup. The paper towels are good for wiping your hands or the mat. The plates are great to put under the bore during cleaning to keep the pollutants dripping out from needing to be cleaned off the mat.
Diving In
Once you have your supplies, it’s time to roll up your sleeves and get started. The first thing to do when disassembling any firearm is to ensure that all ammo is removed from the cleaning area and that the gun is completely empty. This step is extremely important as you will have to pull the trigger during disassembly. Remove the gun’s magazine and pull back the slide, pushing up on the slide release to lock the slide in the open position. Inspect the chamber to make sure it is completely clear of ammunition. From here, we’ll begin the disassembly.
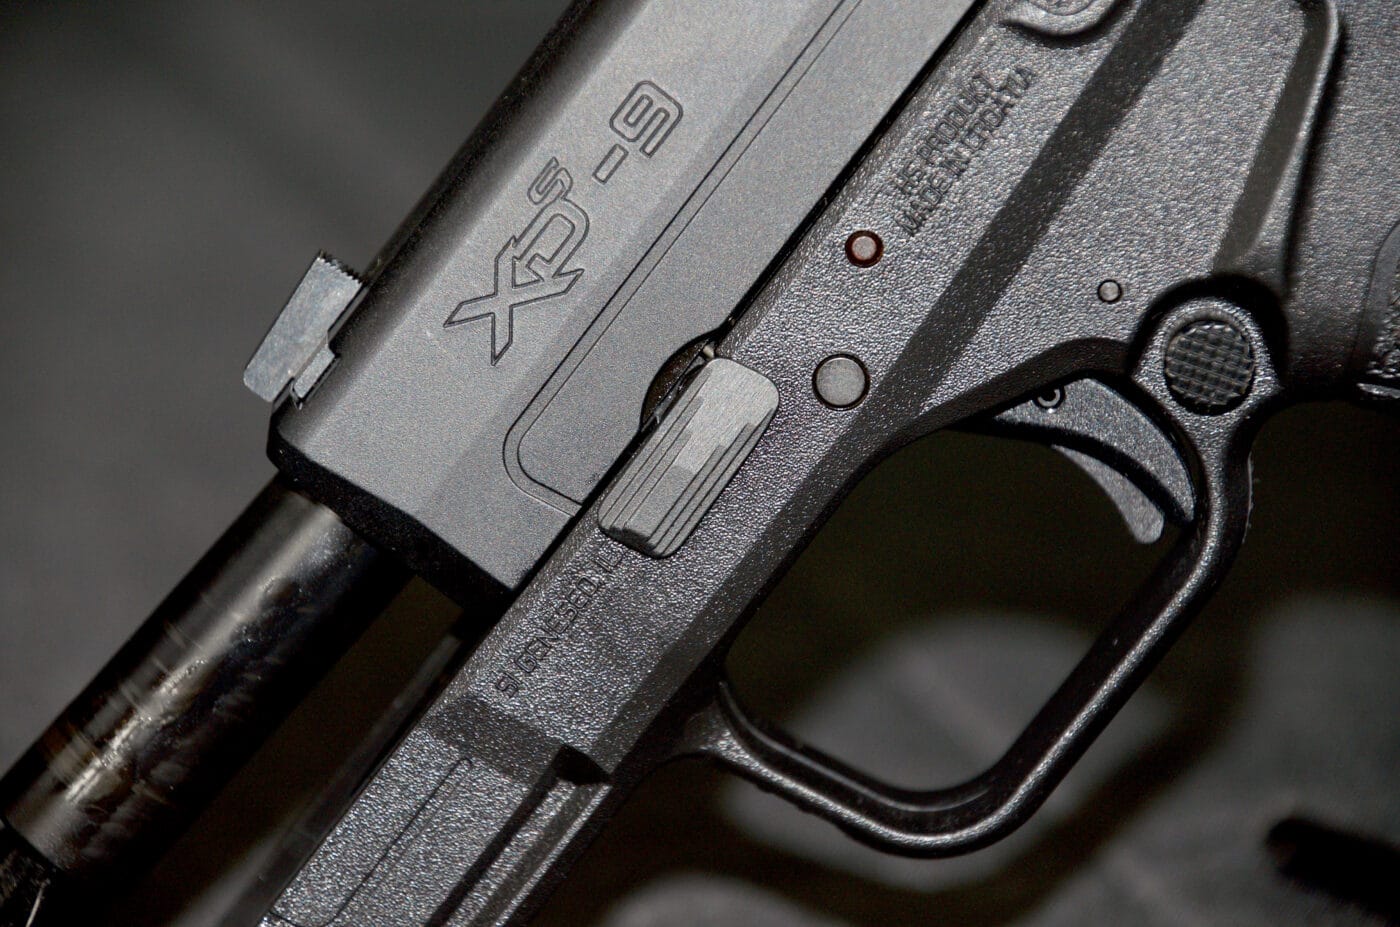
Rotate the takedown lever upwards towards the ceiling. This is the front-most lever towards the muzzle-end of the frame. Once it is flipped fully upwards, press down the slide release while firmly holding the slide to let it forward. Once the slide is in the forward position, point the gun in a safe direction and pull the trigger, then drawing the slide forward and off of the slide rails with your other hand.
We always want to point the handgun in a safe direction during cleaning, but it is especially important to do so during this past step. Even though we checked thoroughly to make sure no ammunition is in the firearm at the time of disassembly, this added safety measure will only subtract from the likelihood of a bad accident.
Splitting Up
Now you should have the gun in two halves — the slide assembly, containing the slide, barrel and recoil spring assembly; and the frame assembly. We’ll start with the slide assembly as we’re not going to disassemble the frame assembly during a standard field stripping maintenance session. I like to start this process with the slide assembly upside down, with the sights of the gun facing the working surface.
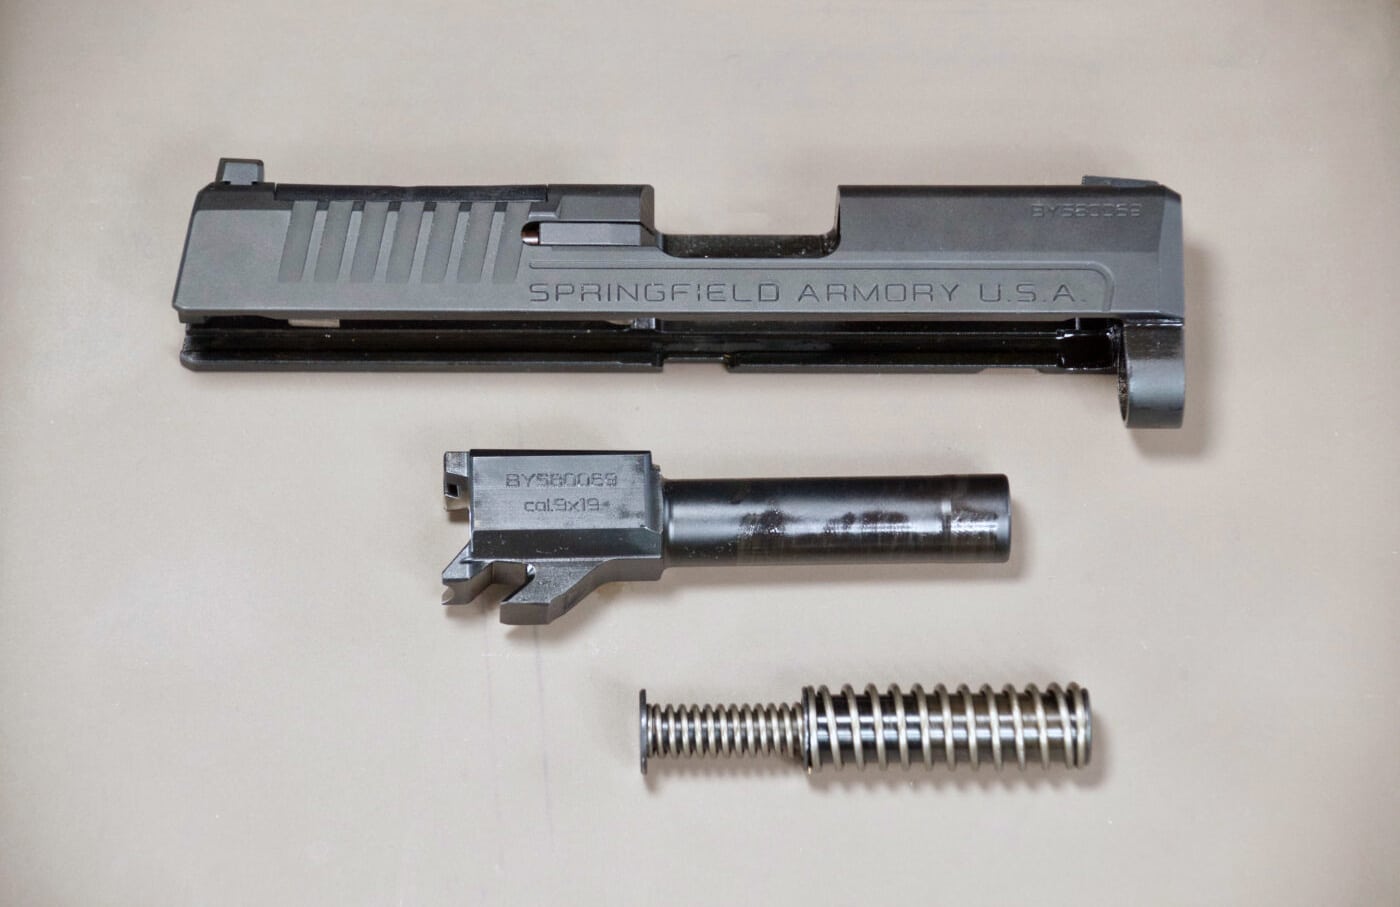
First press the recoil spring assembly below the barrel to relieve the tension and pull it out of the slide assembly. Next, bring the barrel forward, up and out of the slide. We now have the three main components that make up our slide assembly separated.
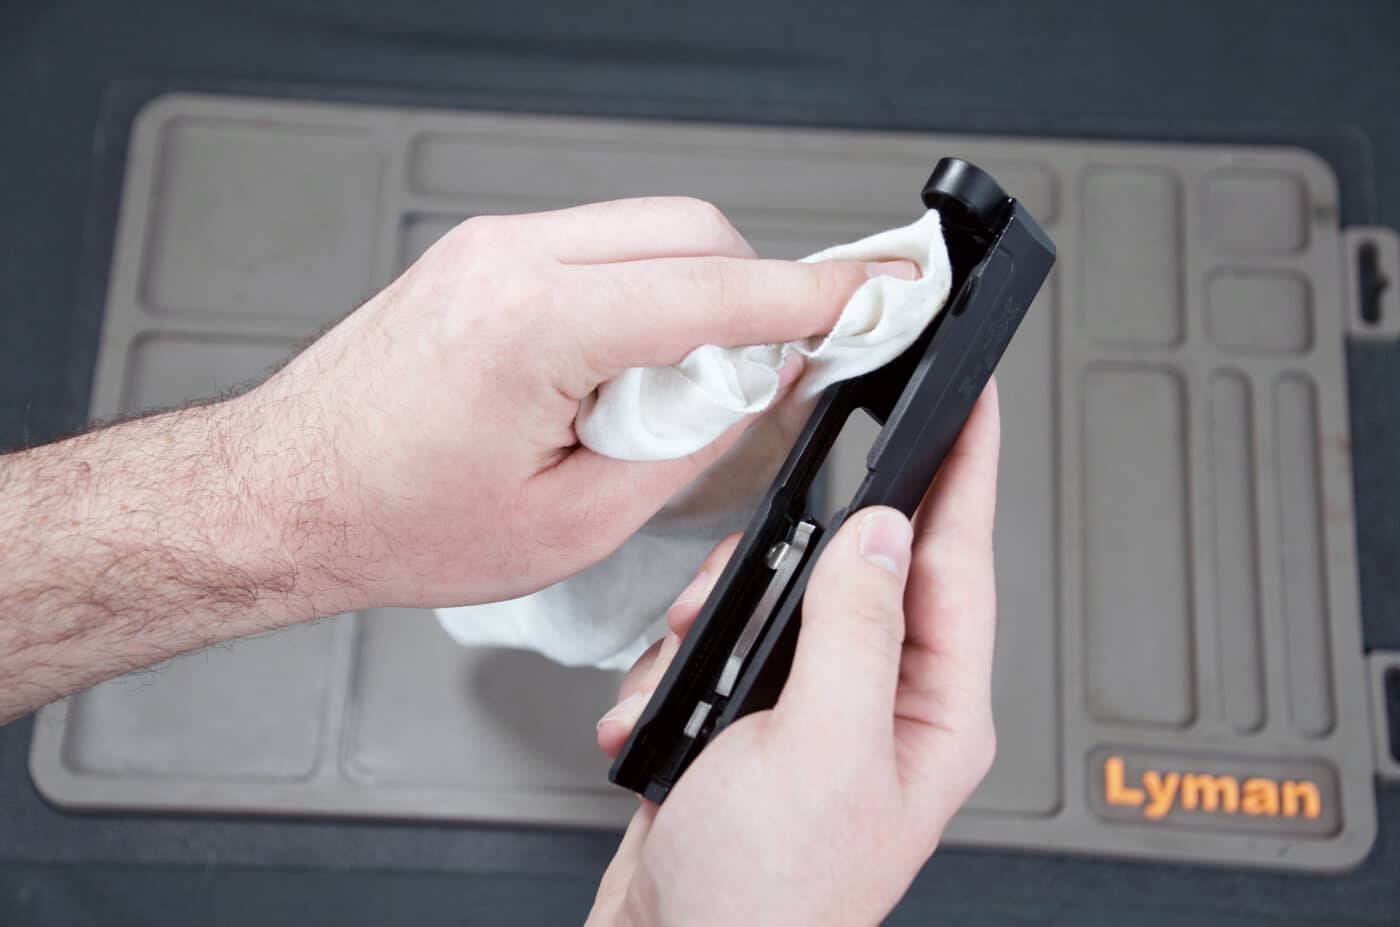
Begin wiping down all the surfaces of the slide and barrel with the rag. Take note that if you have mounted an electronic optic or aftermarket sights to your XD-S Mod.2 OSP, it is best to avoid rubbing those areas with the cloth, in case any oils or dirt coming off of the gun are wiped into them in the process. After wiping down the slide and barrel, inspect the recoil spring assembly. If there is any visible debris on it, it’s a good idea to give it a wipe. Now, wipe off the metal portions of the frame assembly in the same manner.
Next, grab the barrel and place it on a paper plate if you have one in the cleaning area. Tilt the barrel downward at the muzzle, so you can look through the bore and see the paper plate below. Spray the bore cleaner down the bore, making sure solvent covers all surfaces inside the bore. Now turn the barrel level, allowing it to soak for a minute or two without the solvent running out. Next, attach the correct caliber bore brush to the cleaning rod. Run the bore brush smoothly through the bore from chamber to muzzle several times. If you want to avoid moving backwards through the crown and bore with the brush, you can unscrew the brush at the end of the rod and reattach it when the rod is out. In any case, be mindful while scrubbing the bore. While most cleaning rods are made of softer metals or plastic to avoid damage to the bore, it’s always a good idea to brush the bore carefully and deliberately.
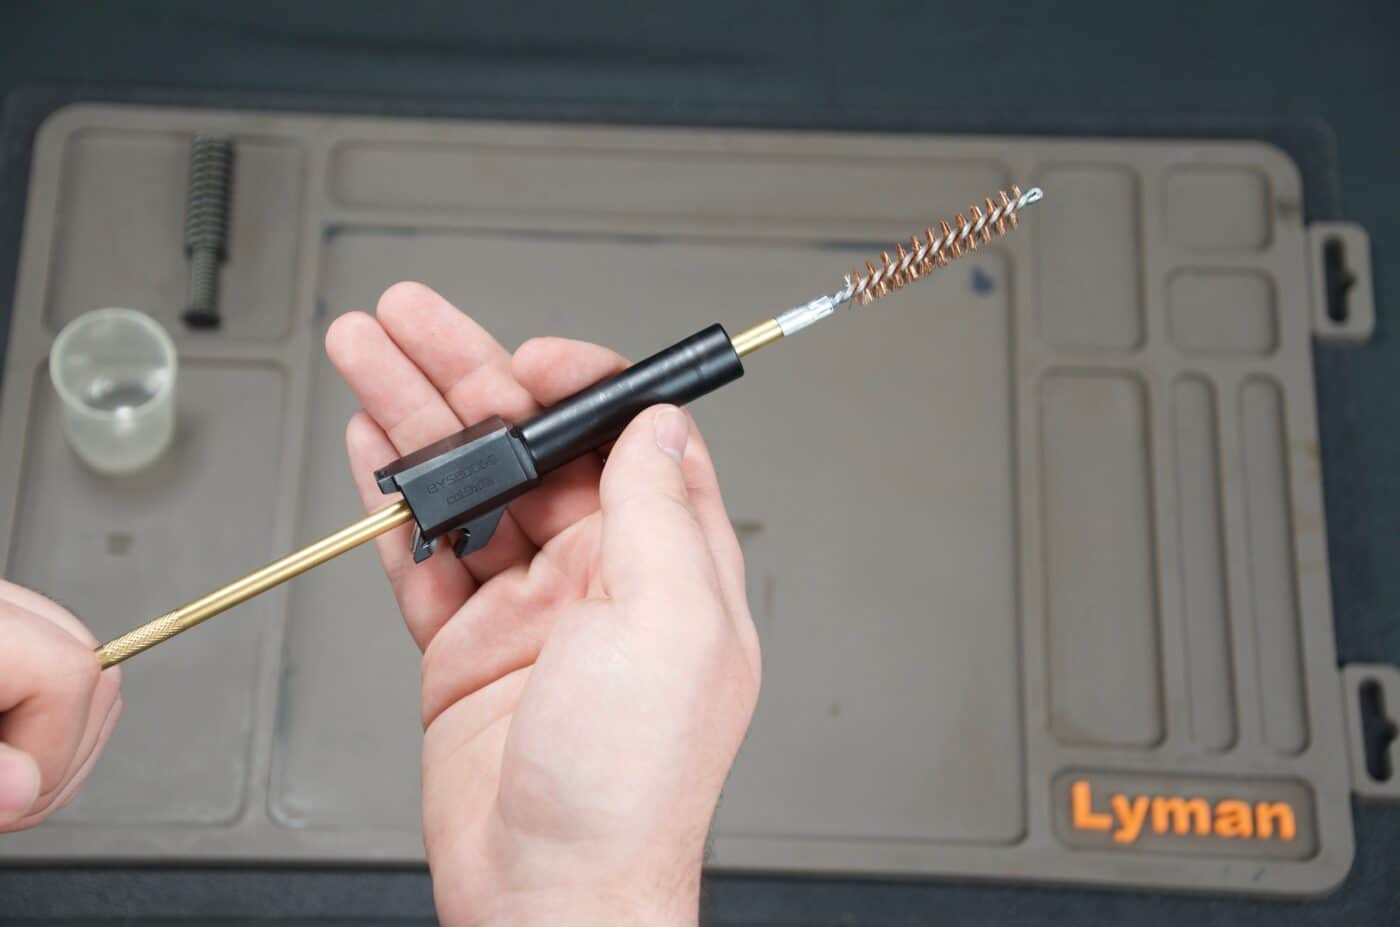
Once this is done, unscrew the brush attachment and replace it with the patch jag attachment for the correct bore size. Spear the patch jag through a patch. If using thin patches, you may need to double up. Run the patch through the chamber and out the muzzle as you did with the cleaning brush. You will want to repeat this step, replacing the patch each time until the patches come out with little to no fouling. If heavy fouling persists, you may need to brush the bore with solvent again and repeat. Once your patches are coming out clean, you’re ready to begin the lubrication process and get the gun back together.
Protective Choices
I like to begin by putting a very lightly oiled patch down the bore for rust-prevention purposes, followed by a clean patch to pick up any excess. This can be done with the cleaning rod and jag in the exact same manner they were used in the cleaning process.
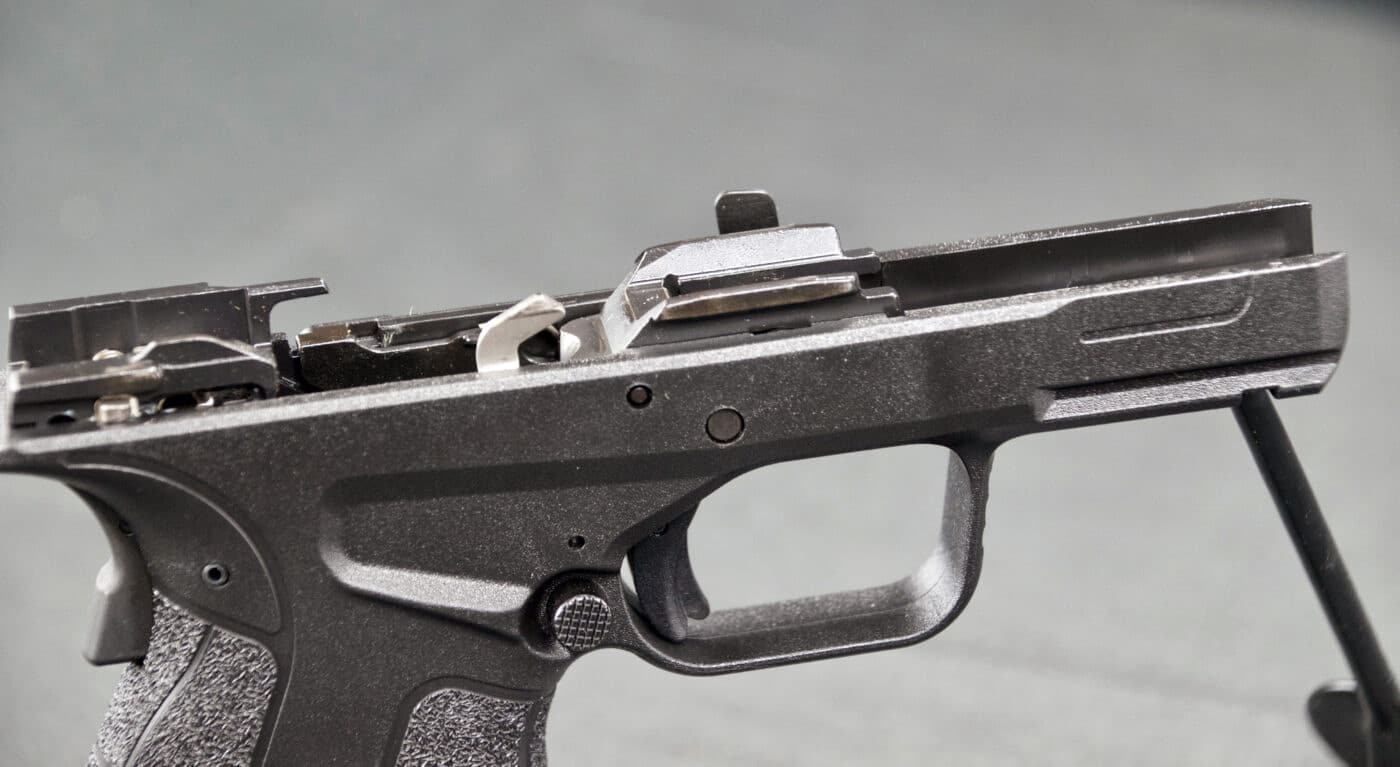
Next, it’s time to identify the wear points of the XD-S 9mm and oil accordingly. This applies to nearly all handguns. You want to look for areas where metal meets metal on all components of the gun, including the metal portions of the frame. The most prominent of these would be the areas where the slide meets the barrel and the frame, respectively.
While it can be hard to spot with a new or unfired gun, there will generally be at least small spots of finish wear inside the gun once it has been fired a bit. These are all spots where oil is needed. Adequate lubrication to these areas should reduce the pace of wear going forward significantly.
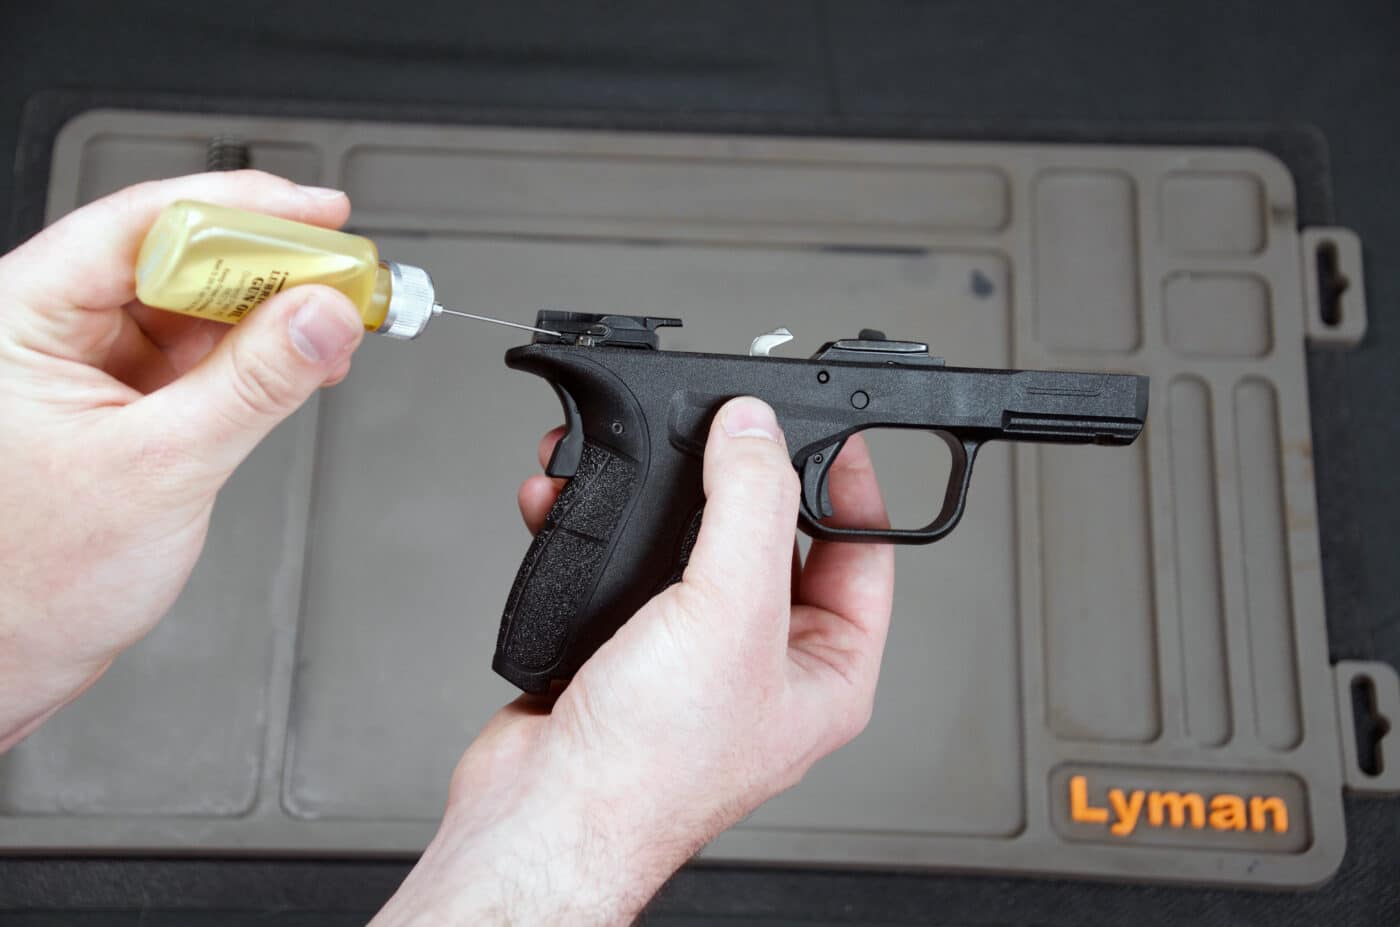
With the needle nose oiler, you’ll want to lubricate each of these areas, being sure to pay special attention to the channels in the sides of the slide, the areas of the barrel where it interfaces with the slide and the metal rails protruding from the top of the frame. For more detailed information on points of lubrication for XD-S pistols, you can always open up the manual included with the gun or access the digital version available on the Springfield Armory website.
Picking Up the Pieces
With all wear points adequately oiled, it is now time to reassemble, and function check your XD-S. Begin by inserting the barrel into the slide. You will be able to feel when it is placed correctly against the slide. At this point, you will reinstall the recoil spring assembly. Push it into place, being sure that it is in a stable position, in line with the barrel. The slide assembly is now complete.
With the trigger in the rear position, take the completed slide assembly and slide it onto the frame. Bring it all the way rearward; you should feel spring tension at this point. Bring the slide release upwards to lock the slide in this rearmost position. Push the takedown lever downwards to lock everything in place. Now let the slide travel forward by pushing down the slide release.
If at any time during reassembly you experience undue resistance, STOP! Do not force anything or you may risk damaging parts inside your firearm. If you experience issues reassembling the XD-S, most likely a portion of the slide assembly is not aligned correctly and a quick straightening up will solve the problem.
The last step of the process is to function check your XD-S. Check again and be sure that there is still no ammunition in the gun and the magazines. Bring the slide back, checking again that the chamber is clear. Point the XD-S in a safe direction and pull the trigger. Rack the slide and repeat the previous step. Check that the trigger reset is working as well by holding the trigger back while racking the slide. Then, insert an empty magazine into the XD-S. Pull the slide back and make sure the gun locks open on the empty mag.
If these functions are normal, you should be good to go. If possible, it is a good idea to keep a maintenance log to ensure you don’t drop the ball on maintaining your XD-S as its round count climbs. If you take good care of your XD-S, it’s sure to serve you well for years to come.
Editor’s Note: Be sure to check out The Armory Life Forum, where you can comment about our daily articles, as well as just talk guns and gear. Click the “Go To Forum Thread” link below to jump in!
Join the Discussion
Featured in this article
Continue Reading
Did you enjoy this article?

 80
80


