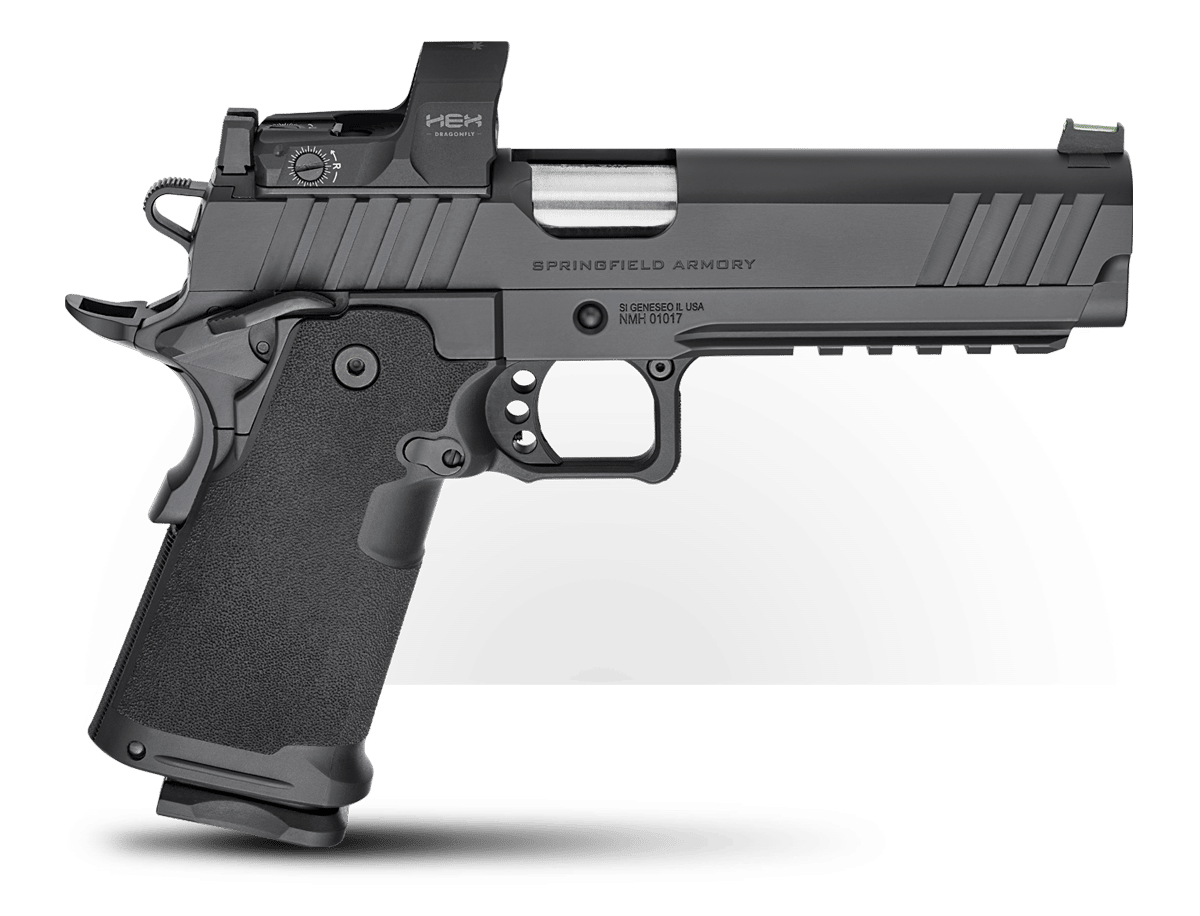
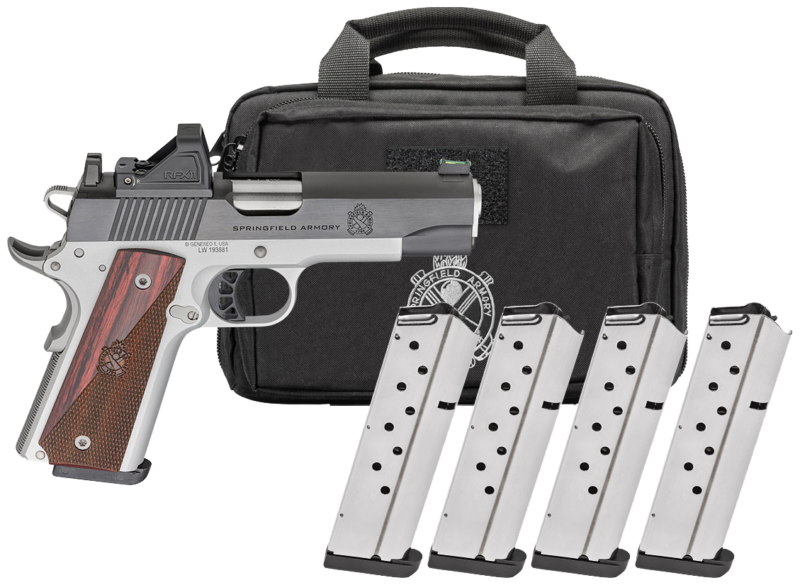
Maintaining your pistol in a ready and operable state is paramount. When it comes to the Springfield Armory 1911 DS Prodigy, I view it as a workhorse of a pistol that is quickly becoming one of my favorite guns to take out to the range because frankly it shoots just as good as it looks and it’s become a great conversation piece on the firing line.
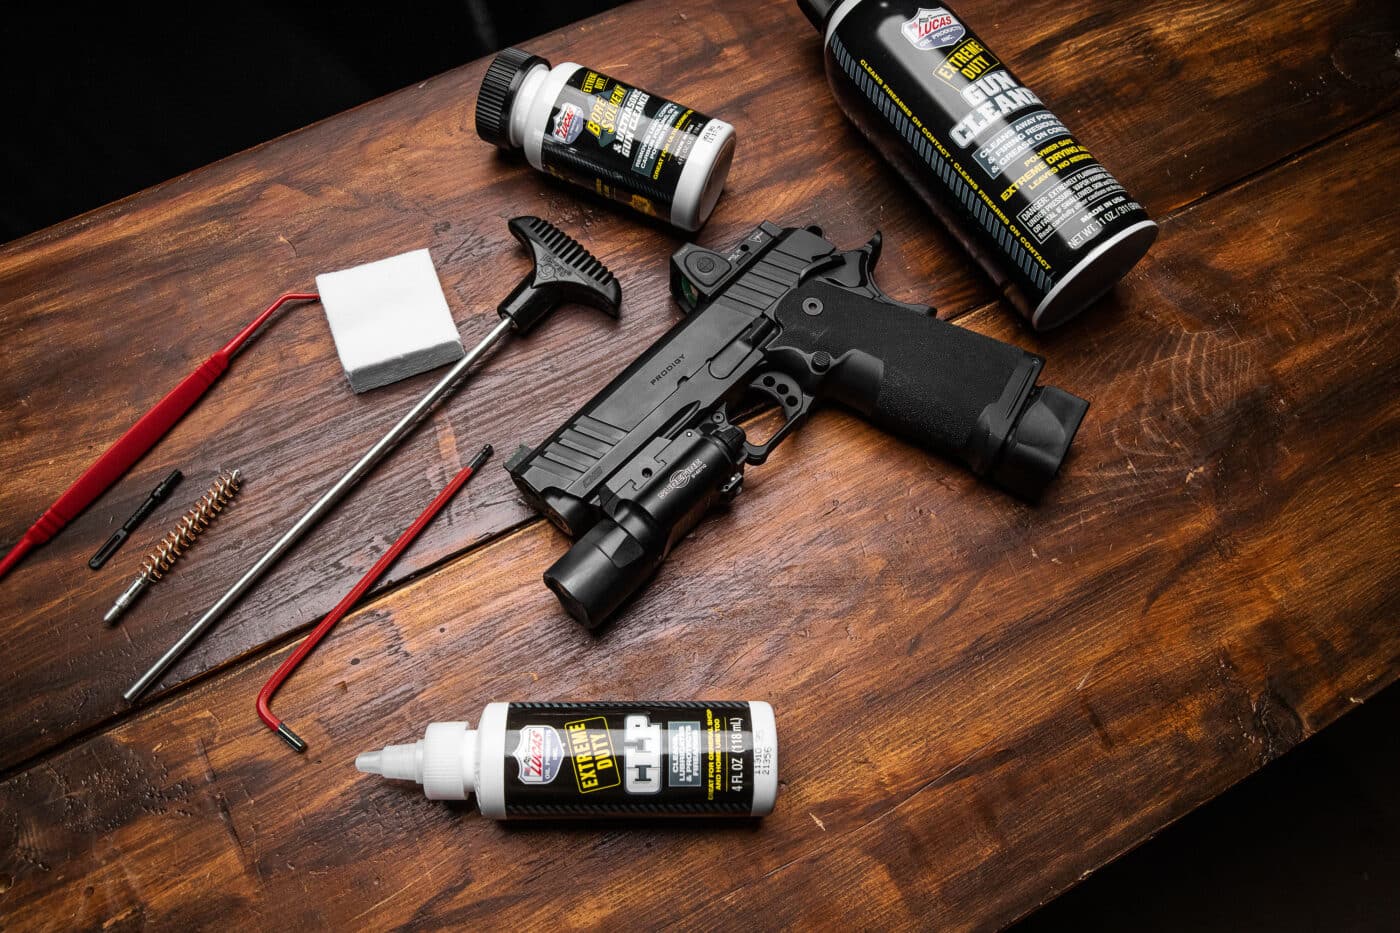
So, in the spirit of keeping the gun in great condition, extending the life and longevity of the components, and making sure it looks just as beautiful as the day I unboxed it, I thought doing a field strip disassembly and cleaning overview would be beneficial and a good resource to share with the community.
Getting Started: Field Stripping the Prodigy
When performing a field strip and cleaning of the Springfield Armory 1911 DS Prodigy pistol, the process is effectively the same as it is with any traditional 1911 model firearm. However, the Prodigy uses a full-length two-piece guide rod system, and we suggest reviewing these step-by-step instructions even if you’re already thoroughly familiar with the 1911 platform.
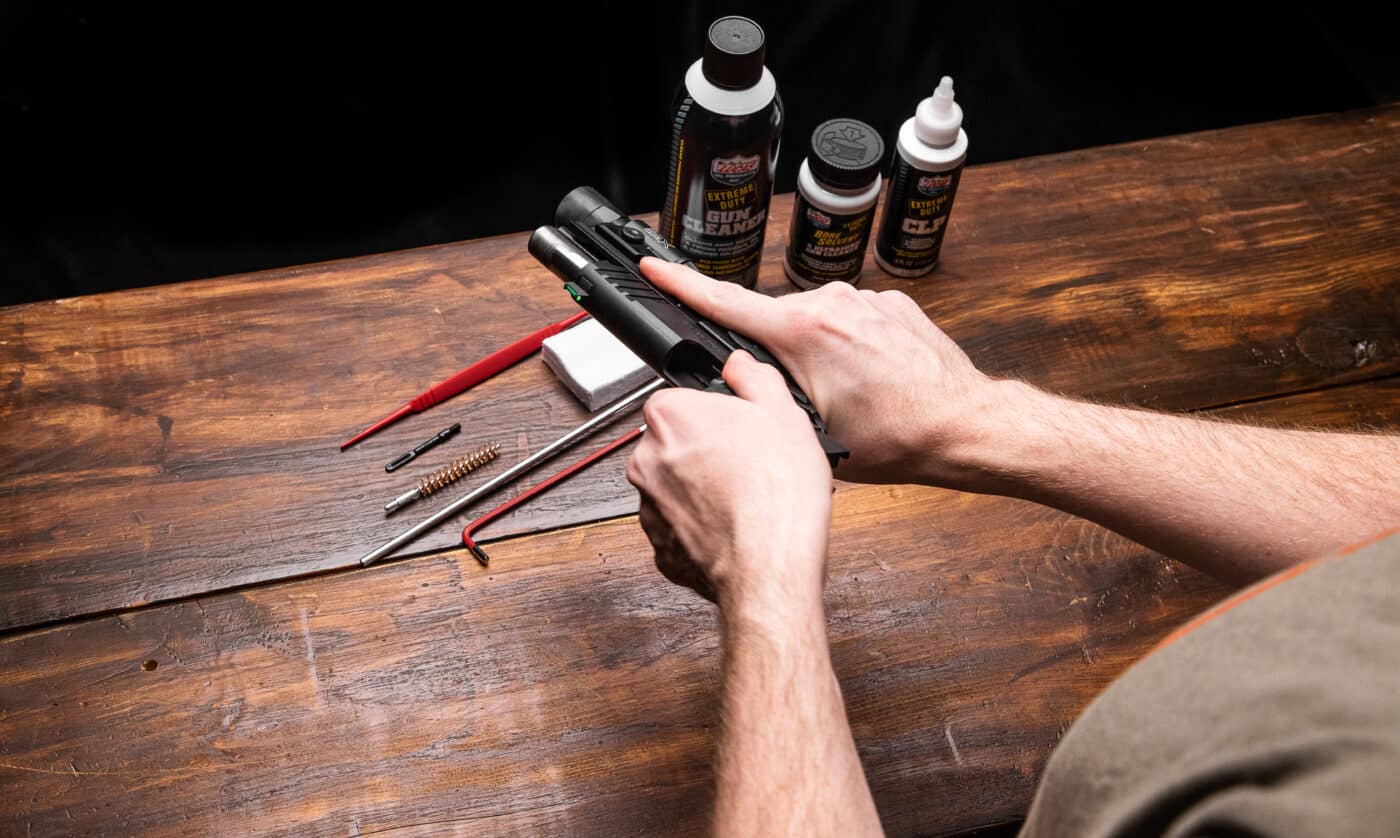
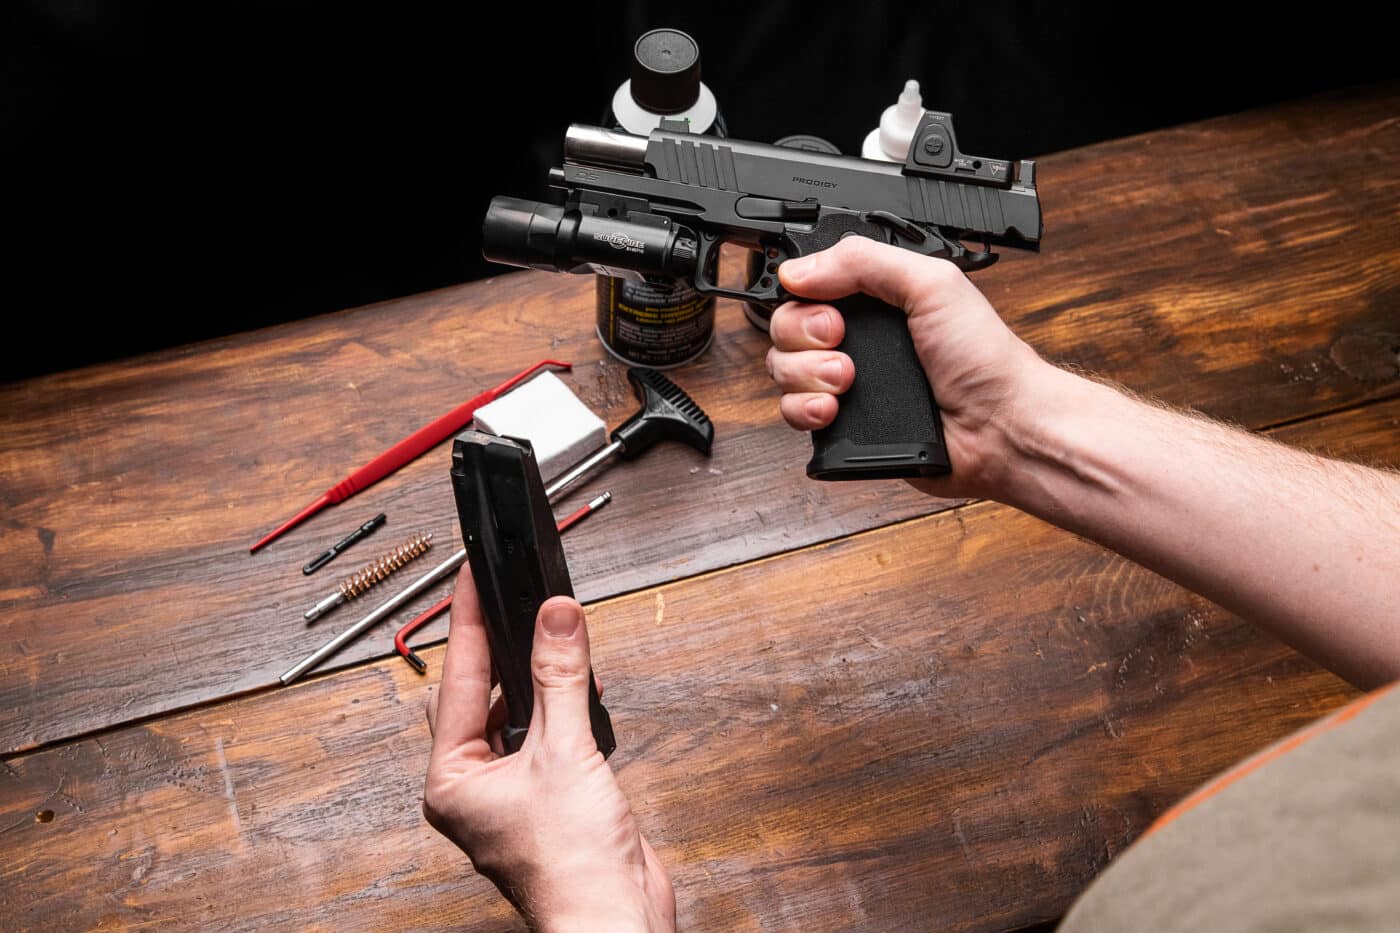
Safety always being first and foremost, so you’ll want to unload and verify that your pistol is empty. With your finger off the trigger and the firearm in a safe direction, drop the magazine, lock the slide to the rear using the slide stop, and inspect the chamber both visually and physically to make completely sure that it’s empty.
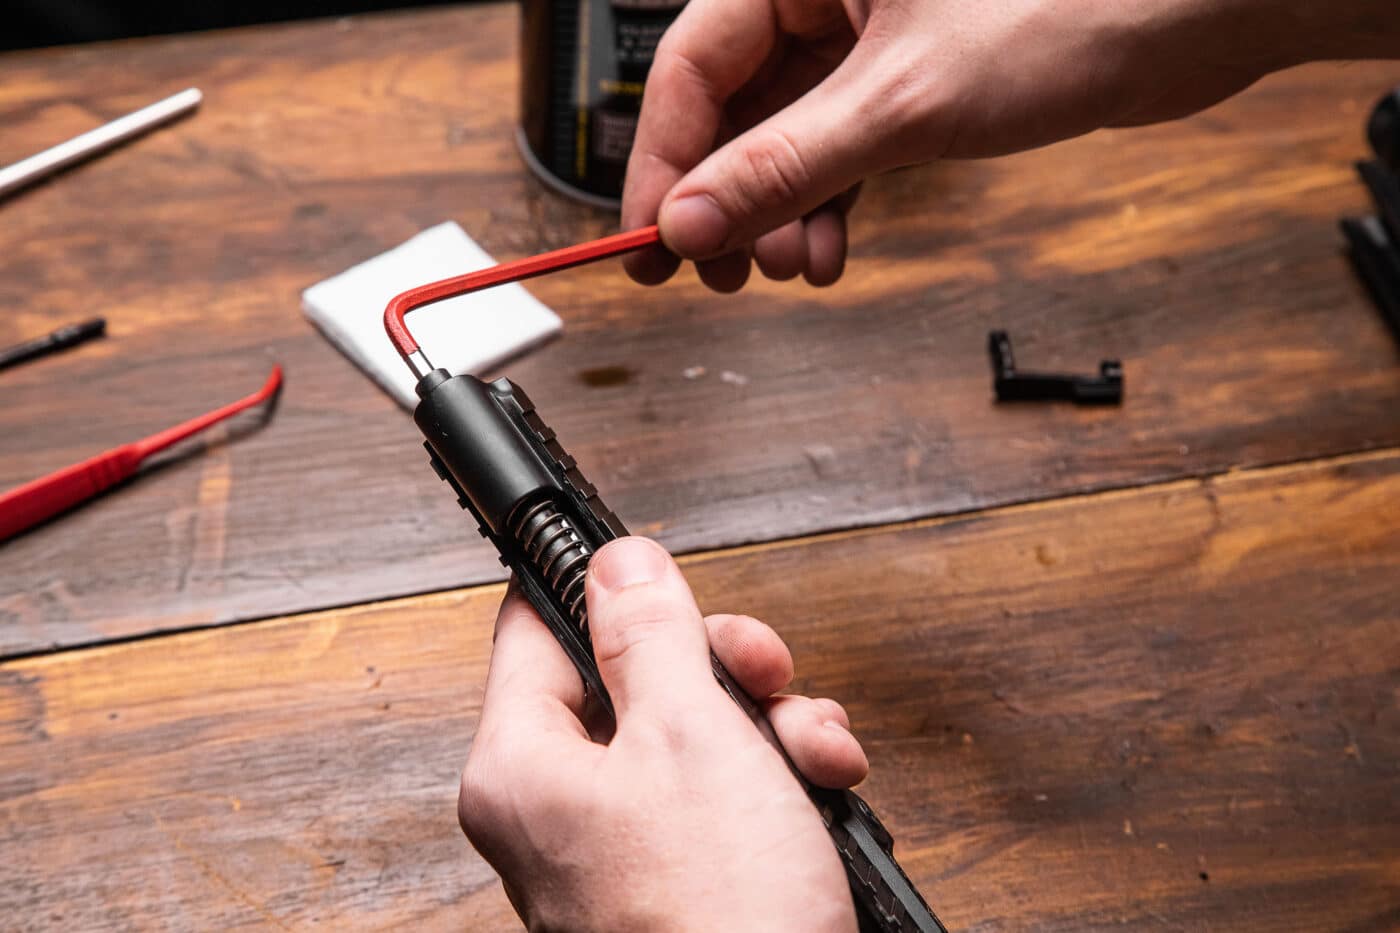
With the slide still locked to the rear, use a 5/32 hex wrench to loosen the guide rod just a ½ turn counterclockwise. However, don’t completely unscrew the rod.
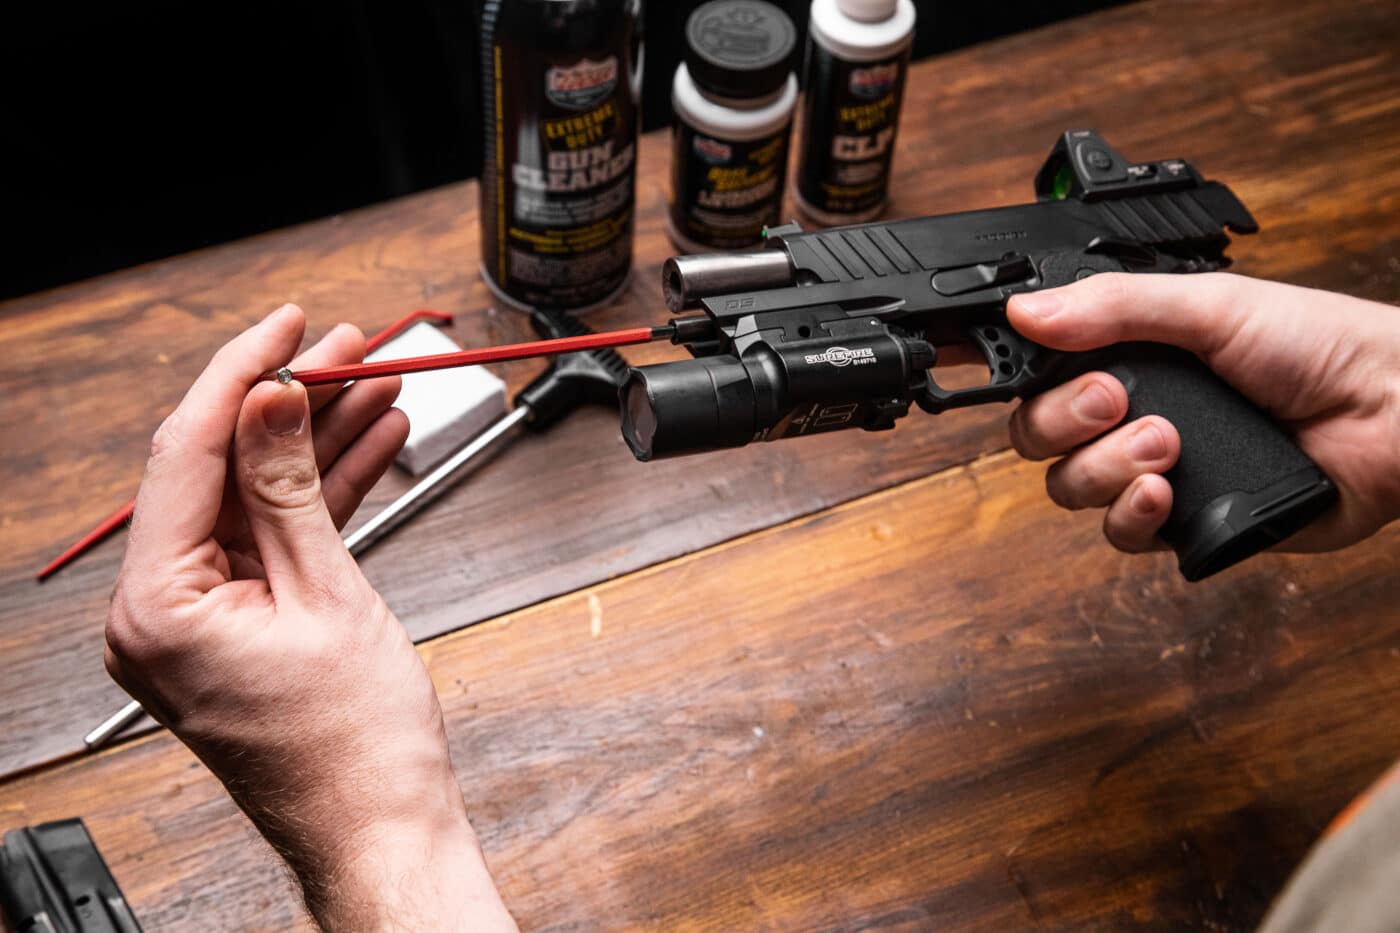
Just like any 1911, line up the semicircular disassembly notch in the slide with the slide stop, and pull out the slide stop from the frame.
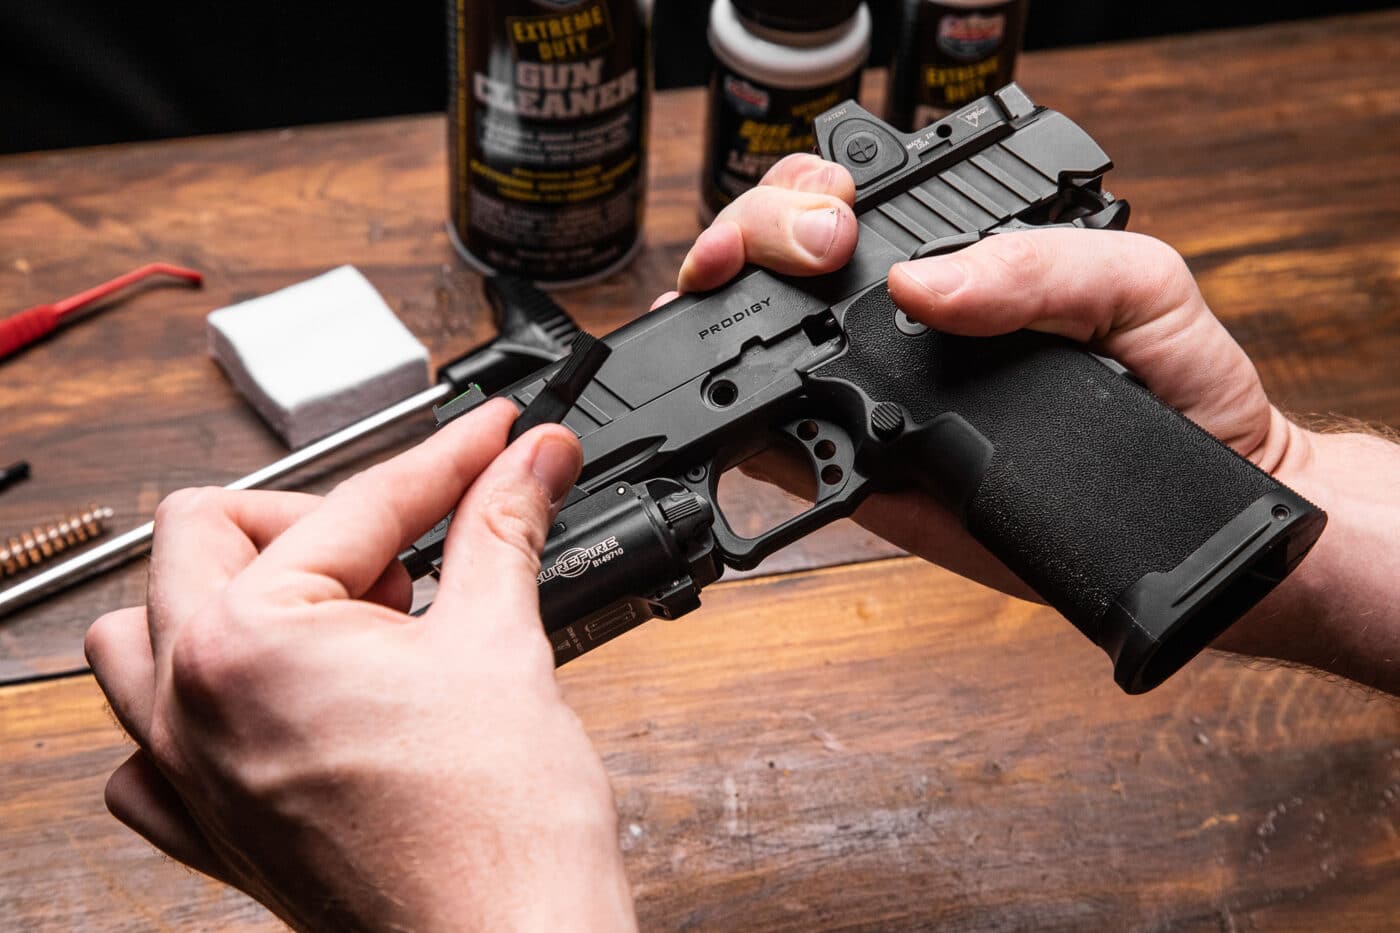
At this point, the slide is still under tension from the recoil spring, so maintain control, and gently remove the slide by moving it forward off the frame rails. You can now set the grip frame aside, as no further disassembly of it is required for field stripping.
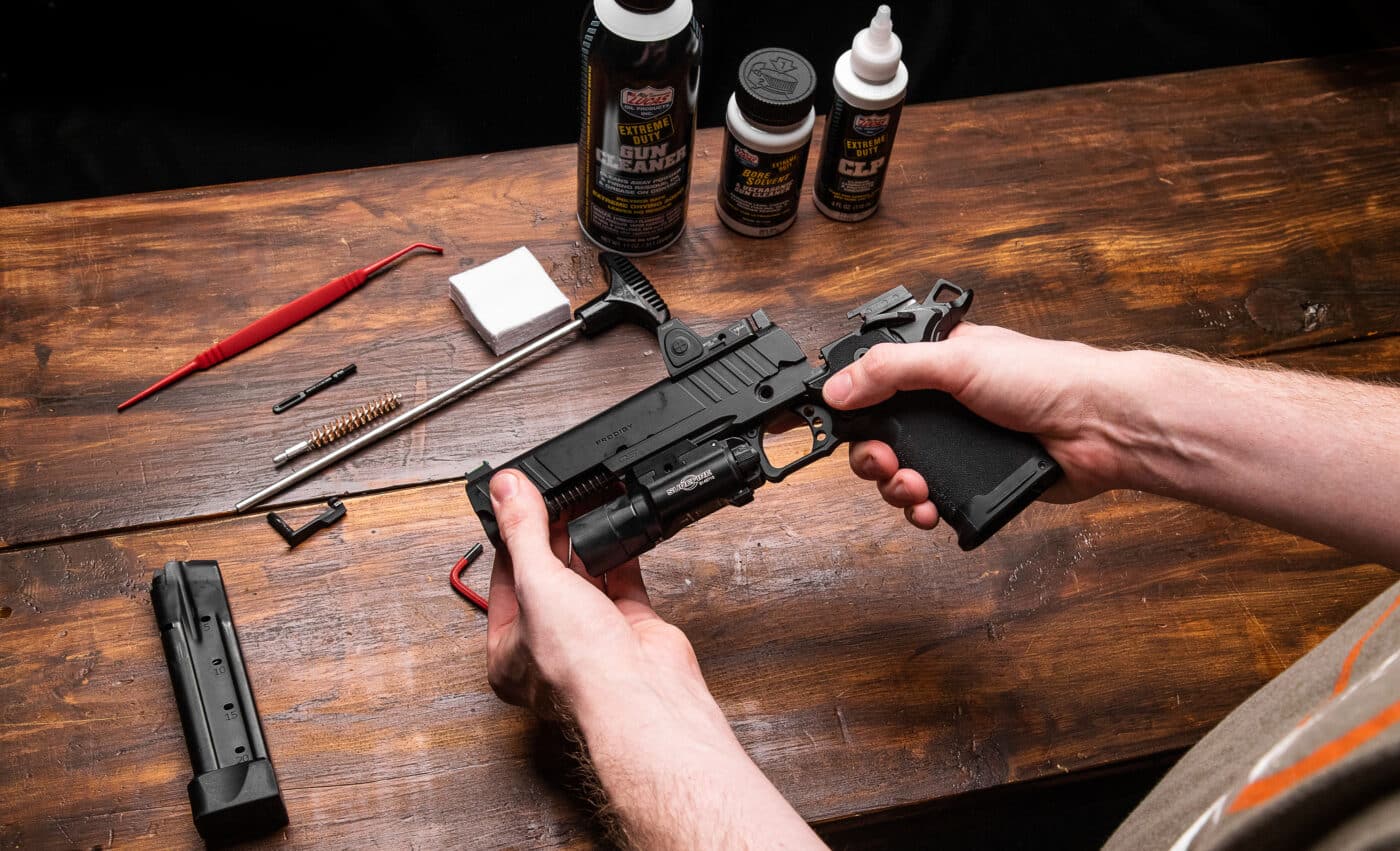
Let’s continue with the slide. Grab the slide assembly with one hand, and while maintaining control of the recoil spring, unscrew and remove the guide rod from the front of the slide using the 5/32 hex wrench we used to loosen it earlier. Be careful, as the recoil spring will be under some tension. Lift and remove the guide rod head and recoil spring from the slide and spring plug.
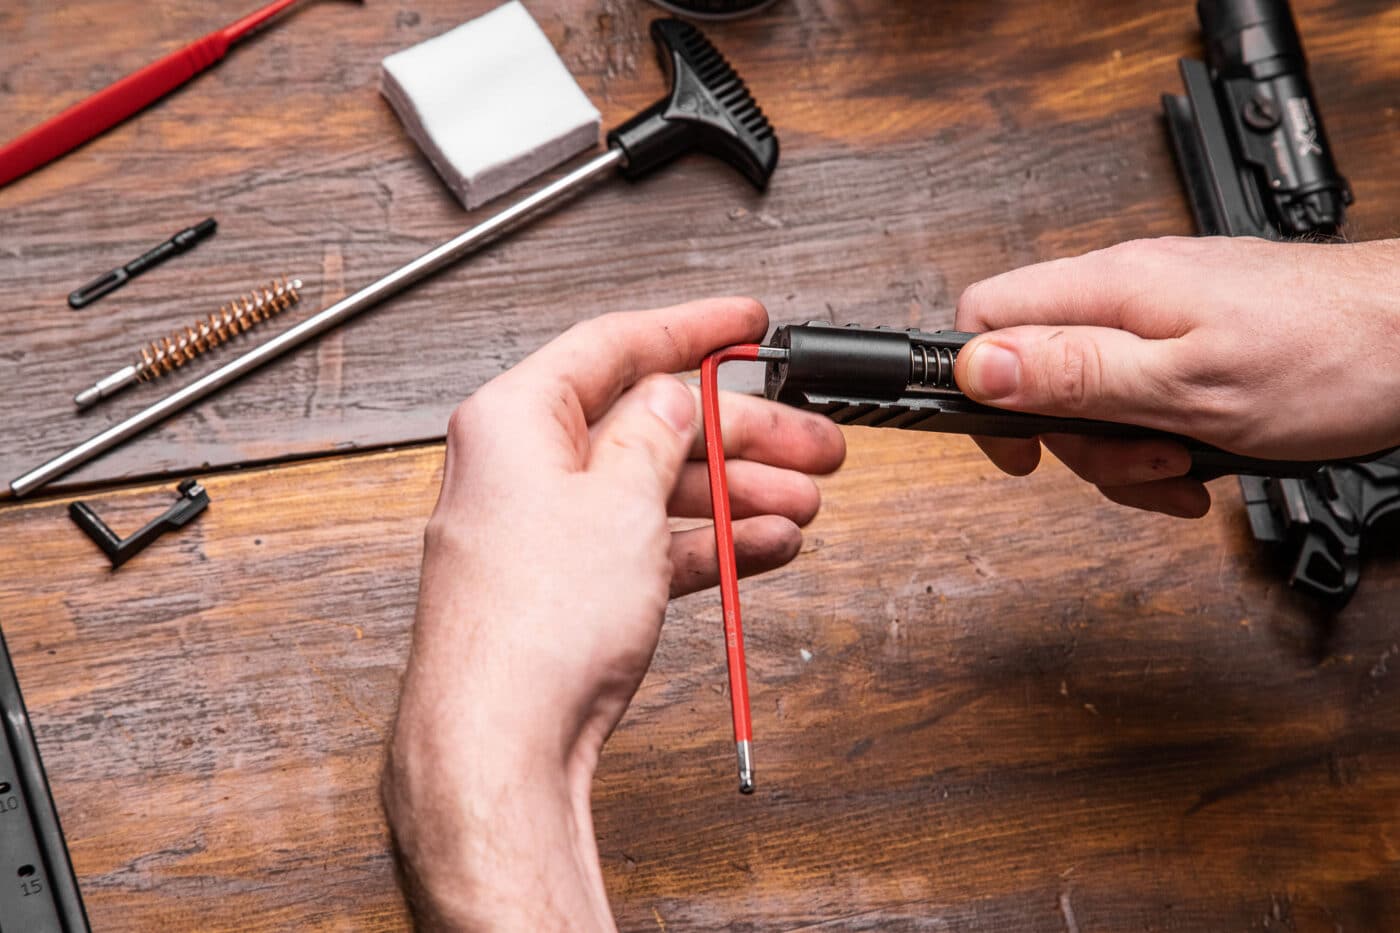
Remove the reverse spring plug from its home by sliding it rearward from the recoil spring tunnel in the slide
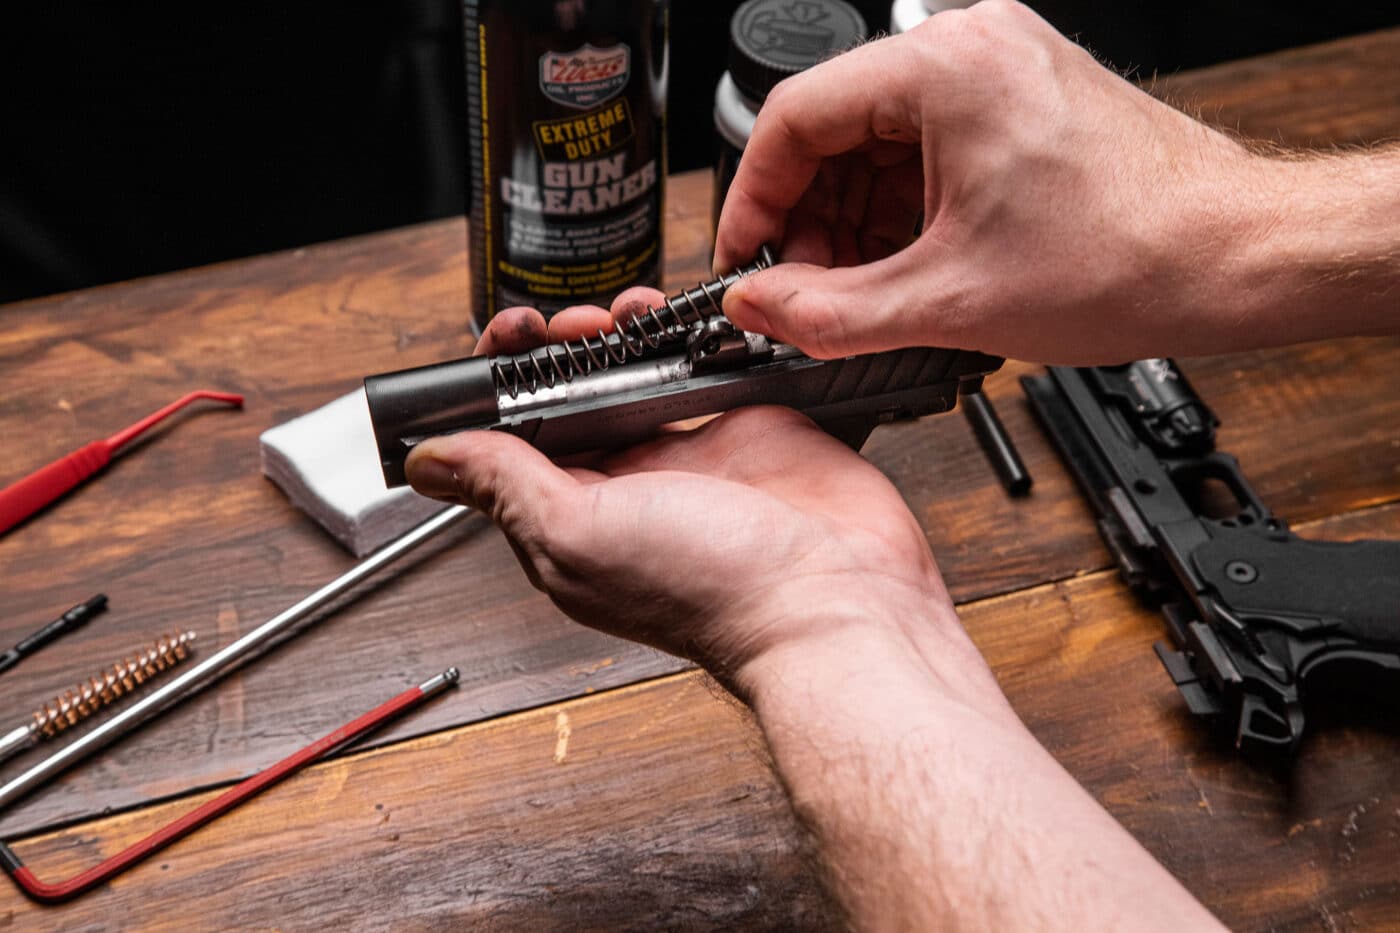
Lift the barrel slightly, then pull it forward and out of the slide while keeping its lug in a vertical position.
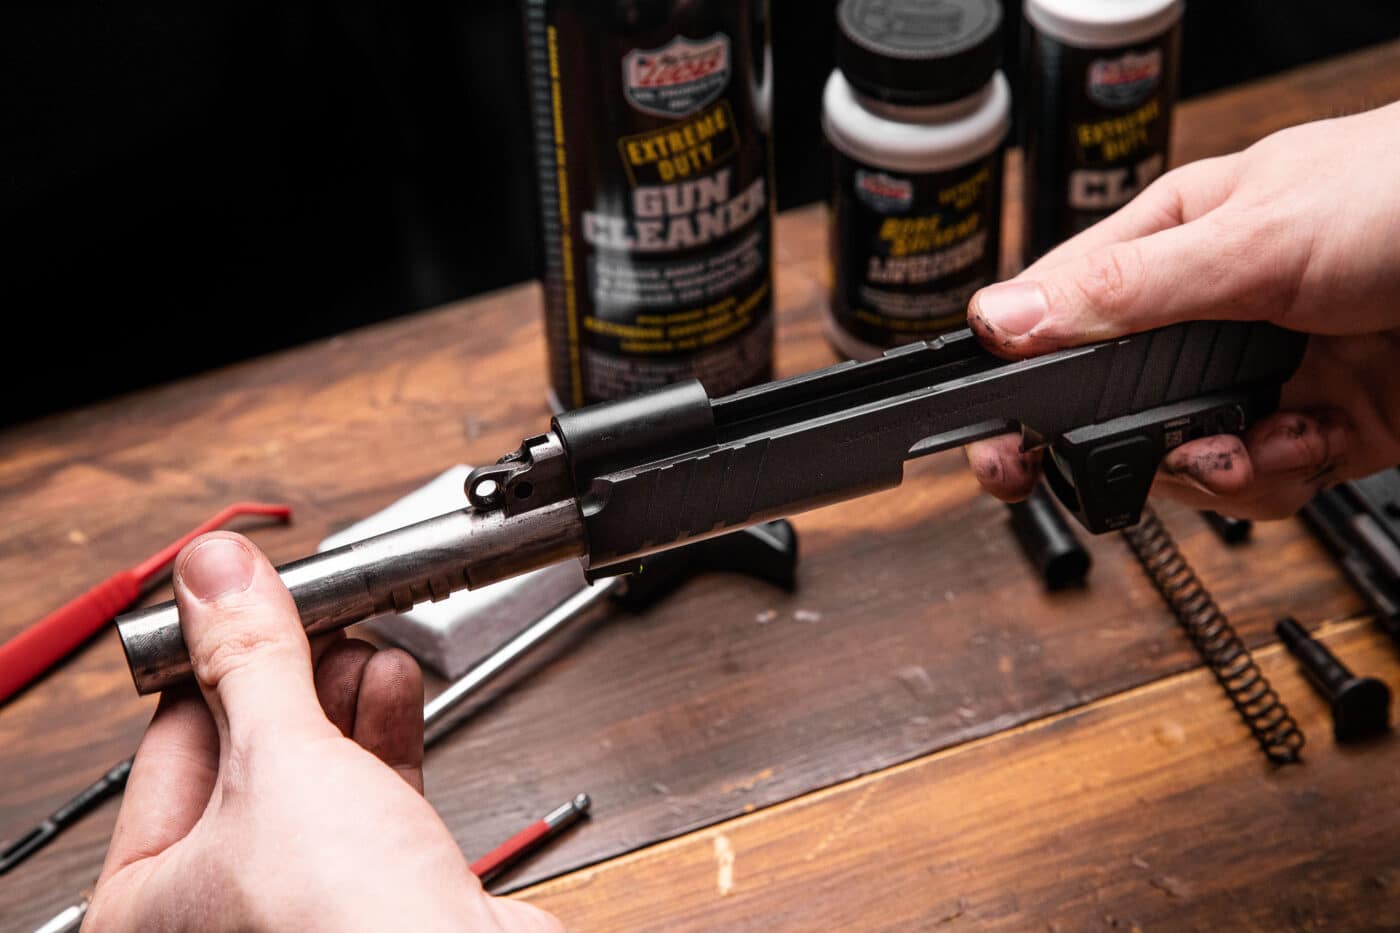
Field stripping is complete, and now we can clean it.
Cleaning the Prodigy
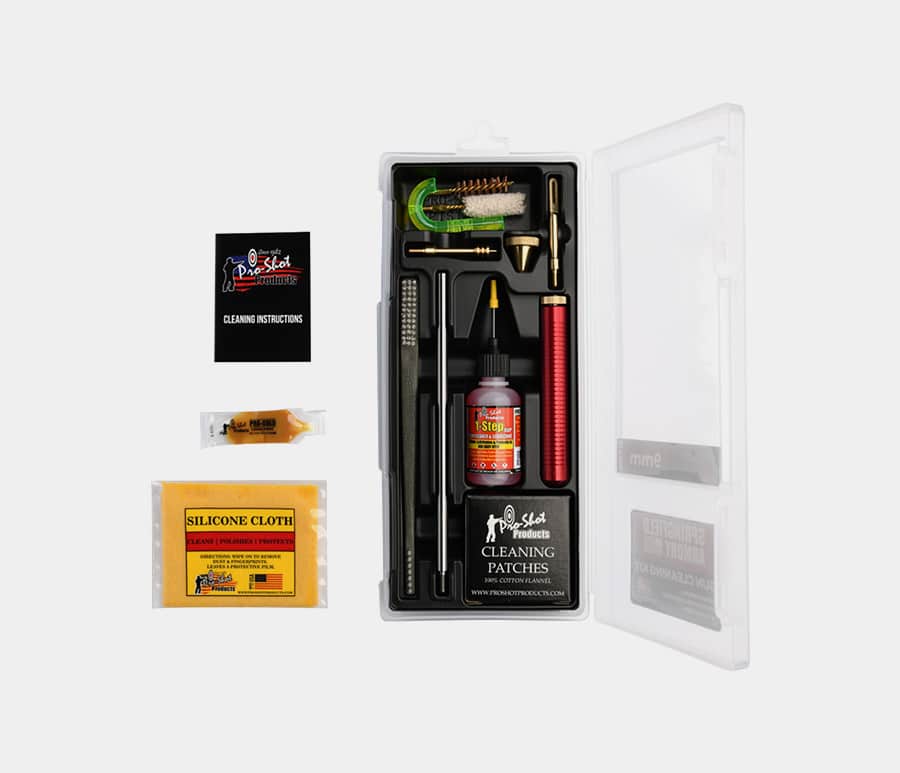
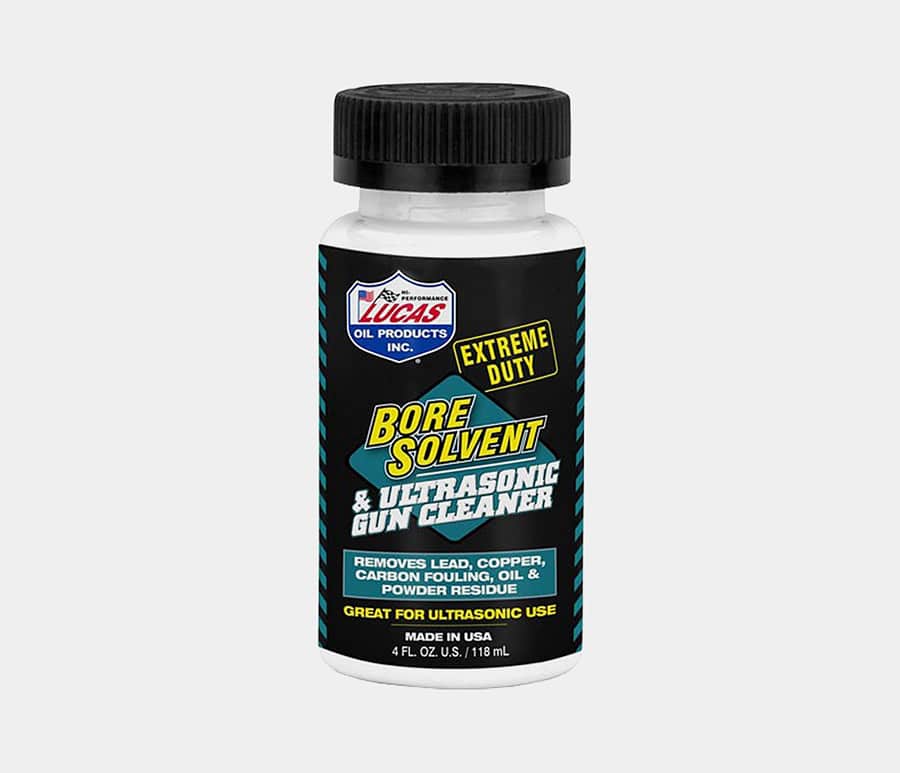
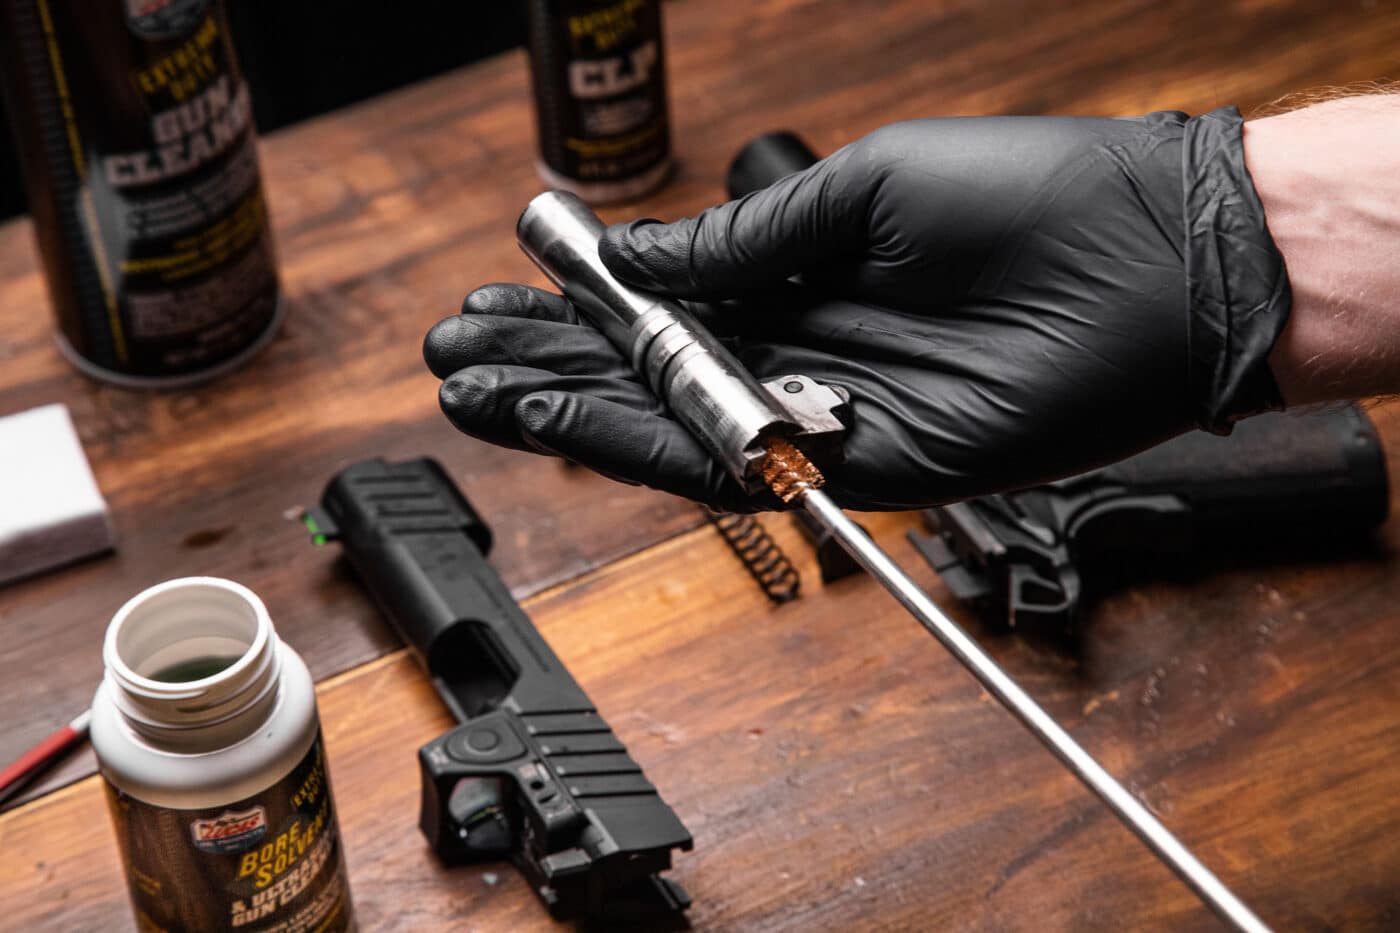
Using a cleaning rod, run several clean, solvent-soaked patches through the barrel.
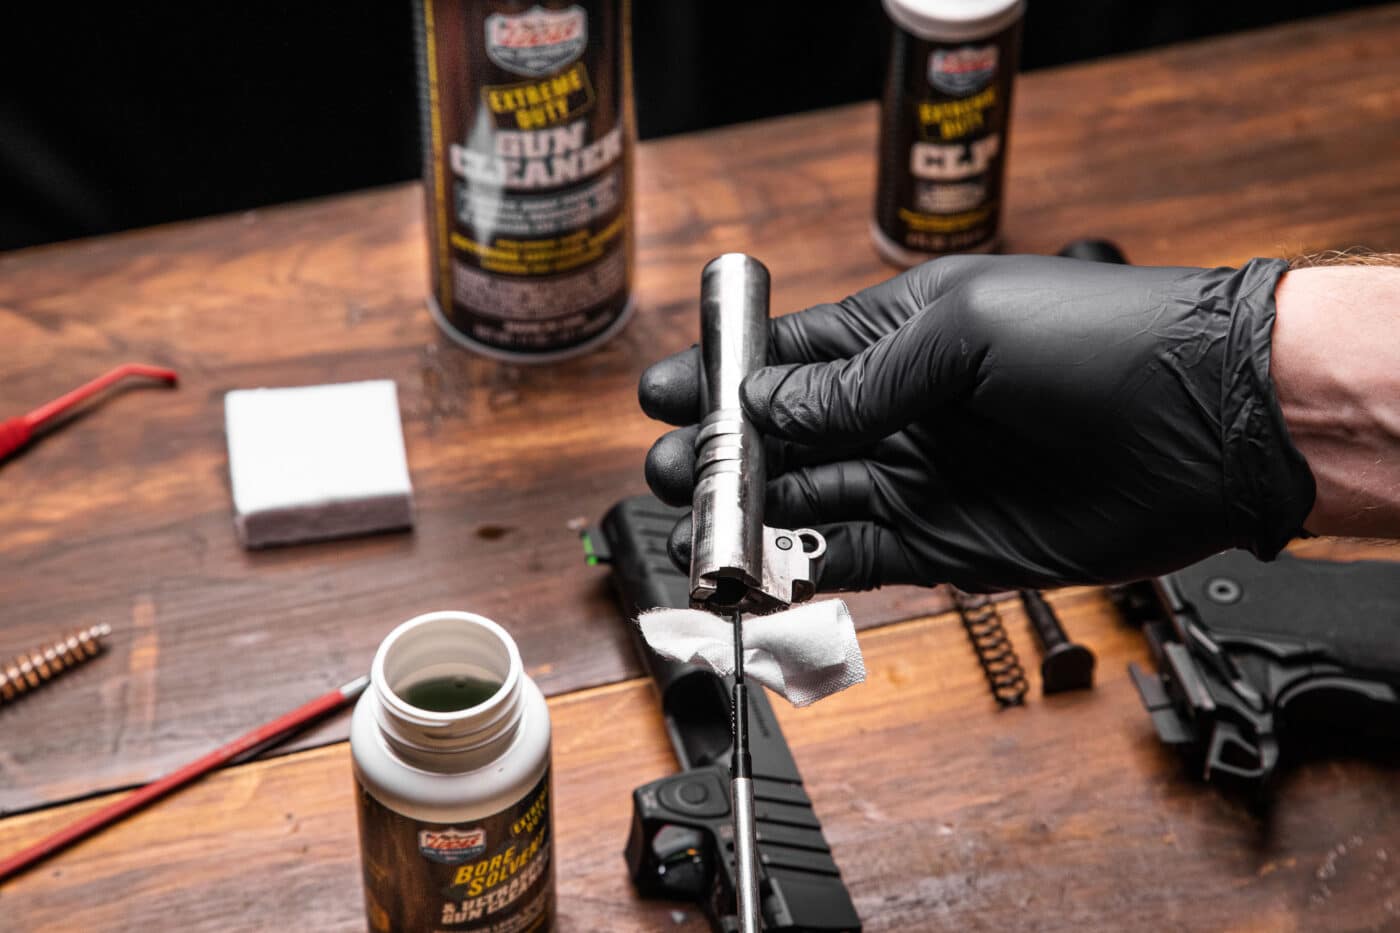
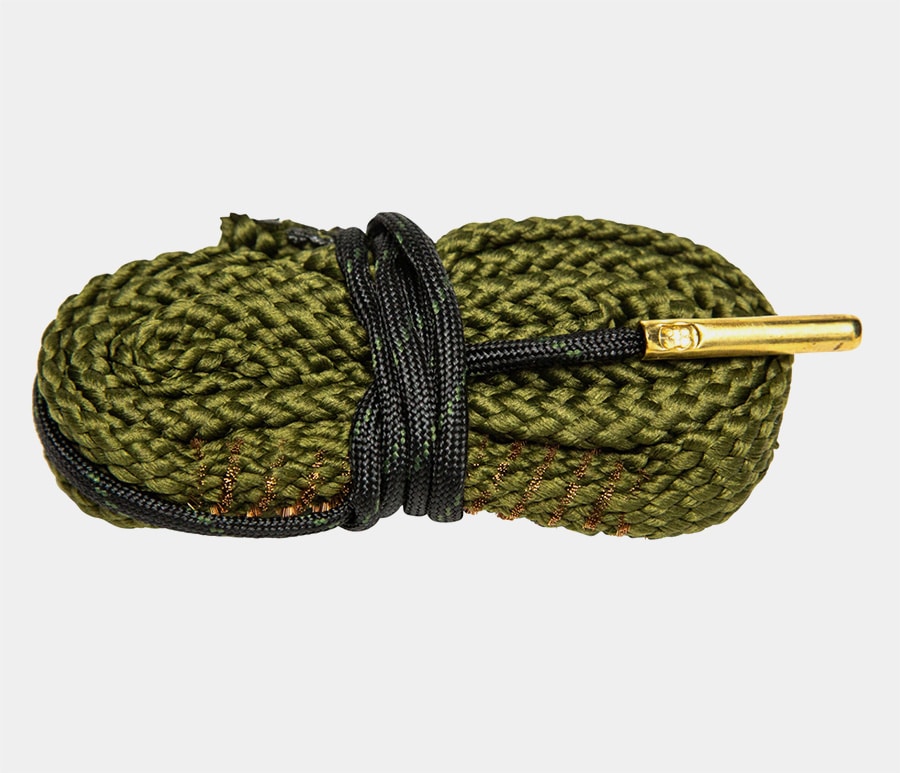
Then, attach an appropriately sized bristle brush to the cleaning rod, apply some solvent to it, and run it through the full length of the barrel until it’s clean of powder residue.
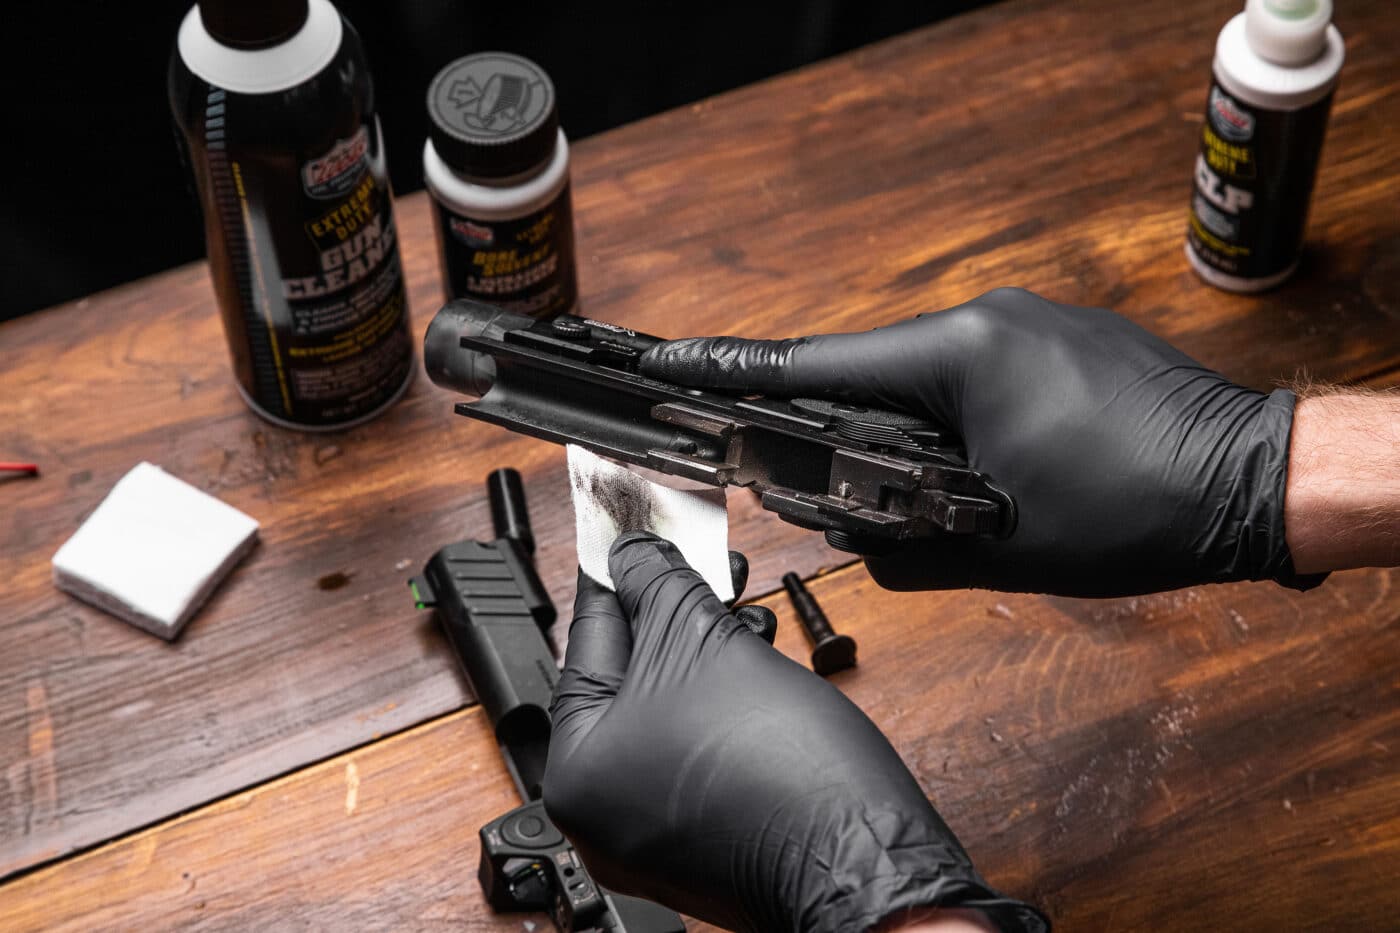
Clean the barrel with a couple dry patches and examine it. If necessary, scrub the barrel again and repeat the process. Once clean, run a dry patch down the barrel, then follow it up with a lightly oiled patch.
For the rest of the components, put some solvent on a clean patch and wipe away any powder residue, paying special attention to parts of the recoil system, barrel, feed ramp, and slide rails. Q- Tips may also come in handy for those hard-to-reach parts of the slide. Follow it up with running a dry patch along all of these surfaces, and then finally wipe all surfaces with a lightly oiled patch or cloth.
Prodigy Reassembly
Now that the 1911 DS Prodigy is clean, let’s reassemble the pistol. Start by reinstalling the barrel from the front of the slide, making sure to keep the lug vertical, and seating it in the lugs on the slide.
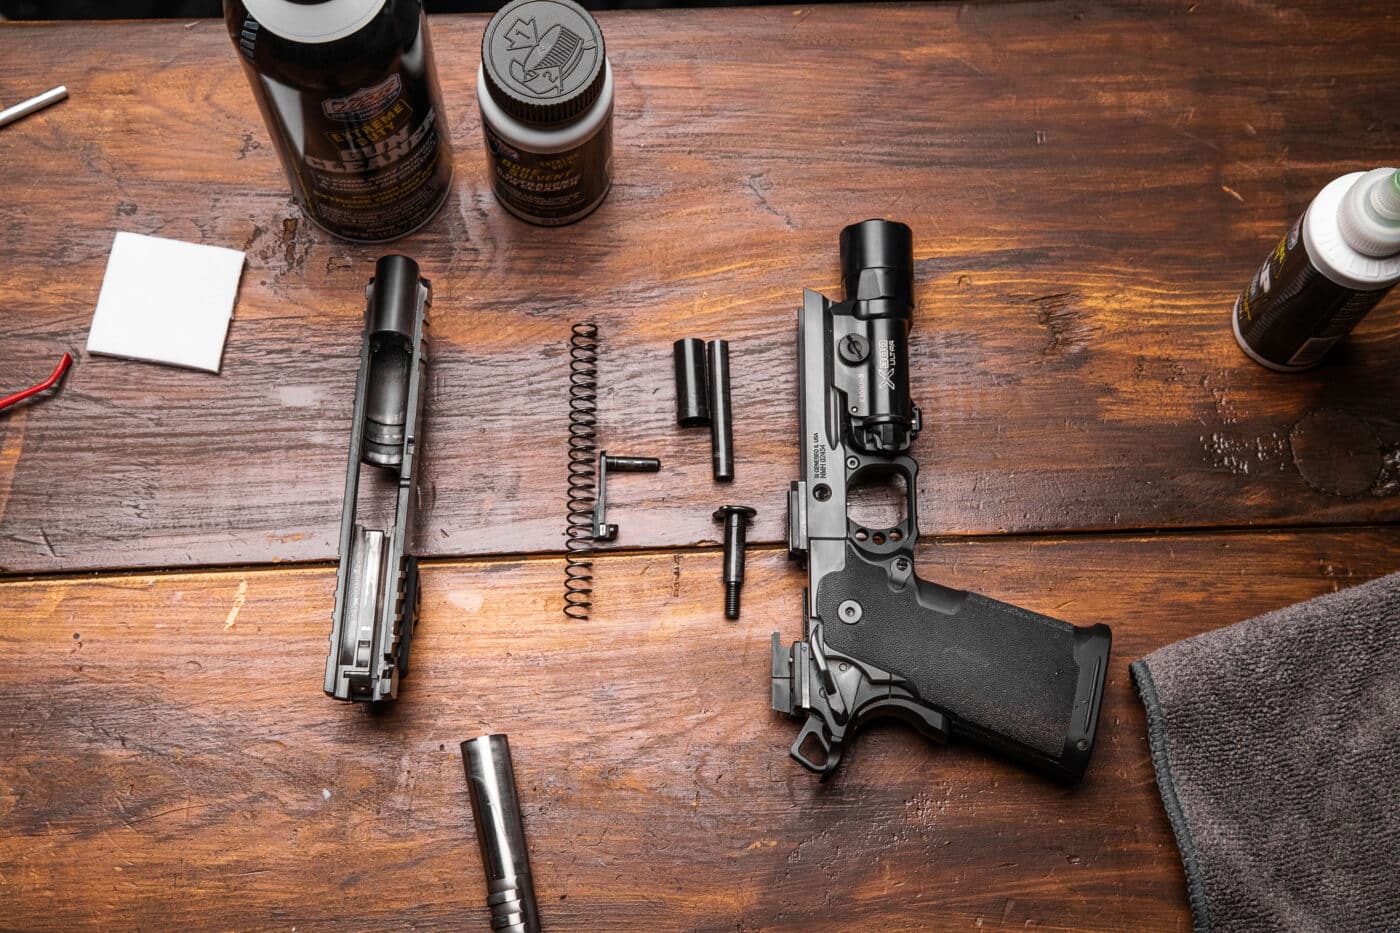
Install the reverse plug into the recoil spring tunnel on the interior of the slide.
Place the recoil spring onto the guide rod, and carefully insert the other end of the spring into the plug, compressing it and seating the guide rod into its correct spot near the barrel lug.
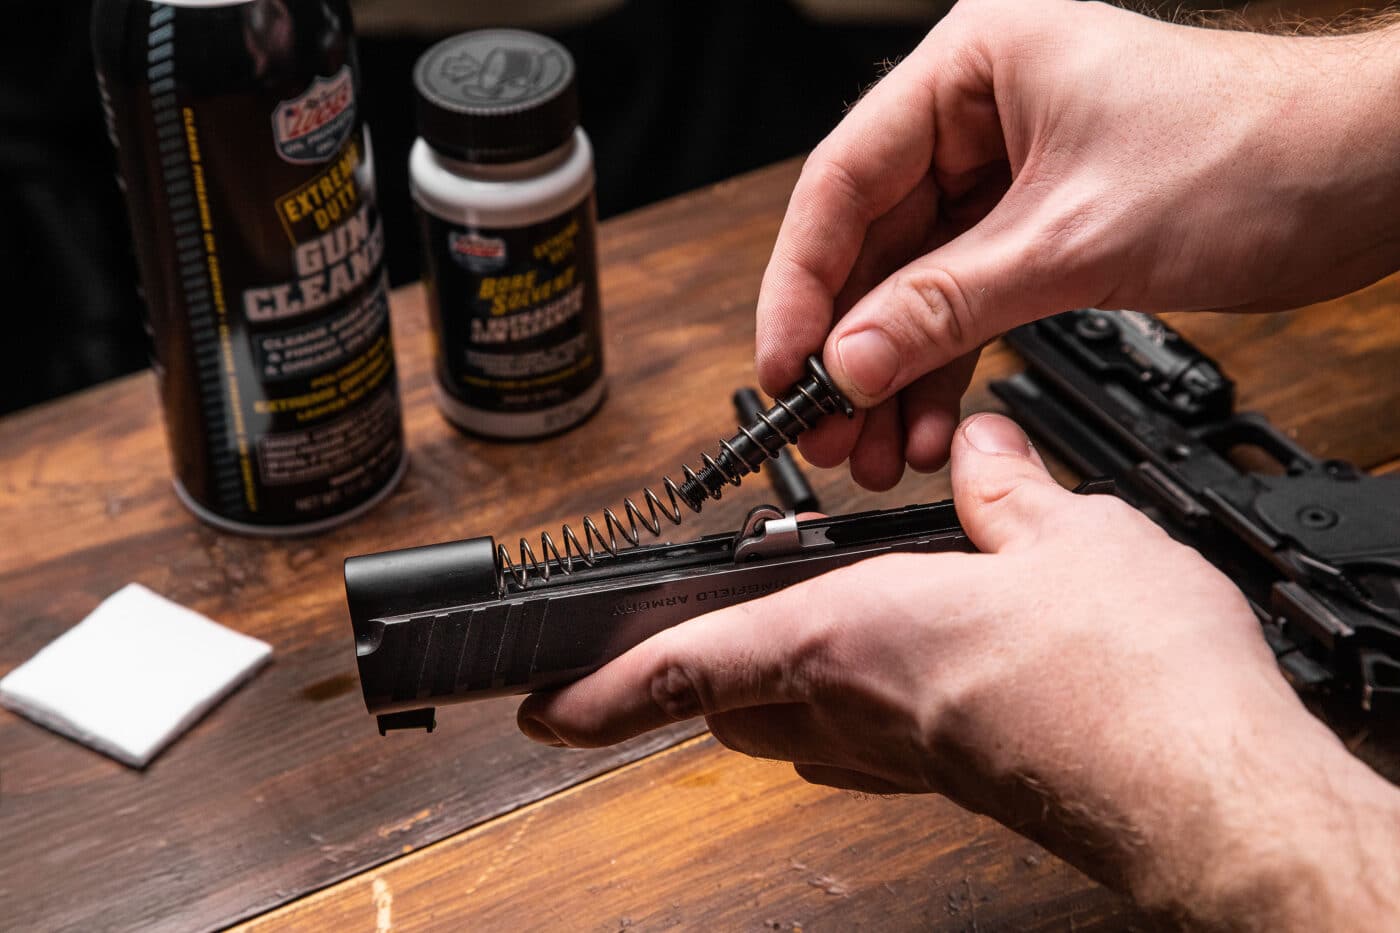
While maintaining control of the recoil spring assembly, install the corresponding piece of the guide rod from the front through the center of the recoil spring, threading it into the other half of the rod. If you’d prefer, you can use the 5/32 hex wrench for this part, but do not tighten it completely right now. Check now that the guide rod head is still in its correct orientation near the barrel lug.
You can now install the entire slide assembly onto the frame. If you run into any resistance, remove the slide again and make sure your barrel is properly seated and the recoil system is aligned. Never force the slide onto the frame during this step, as it can damage the pistol. If everything is correctly seated, no additional force should be necessary.
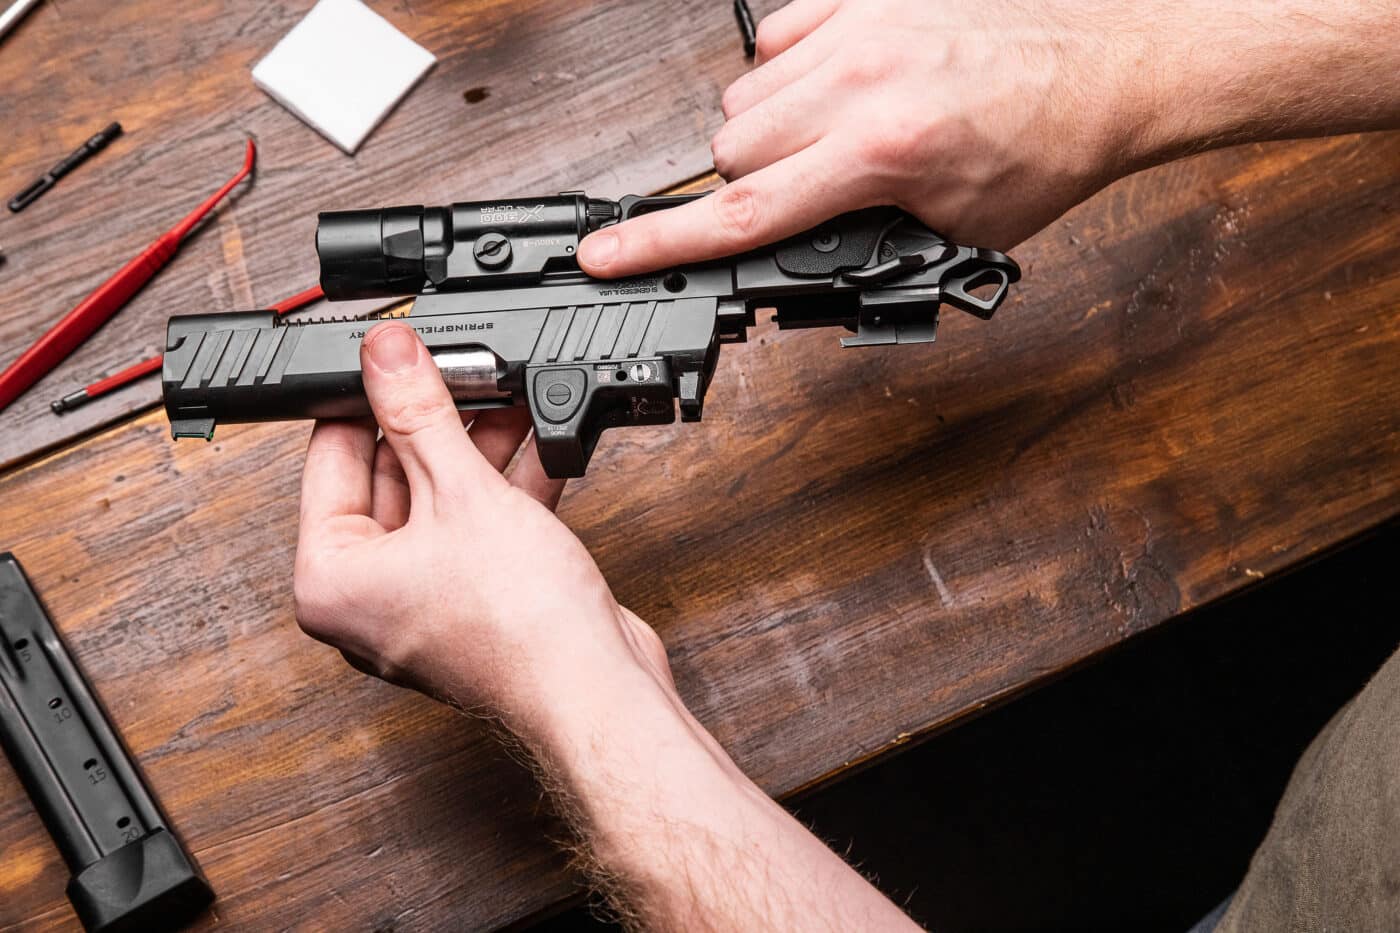
Maintain control of the slide and pull it rearward until the disassembly notch is lined up with the correct spot over the frame window. It’ll be under some tension from the recoil spring at this point in travel.
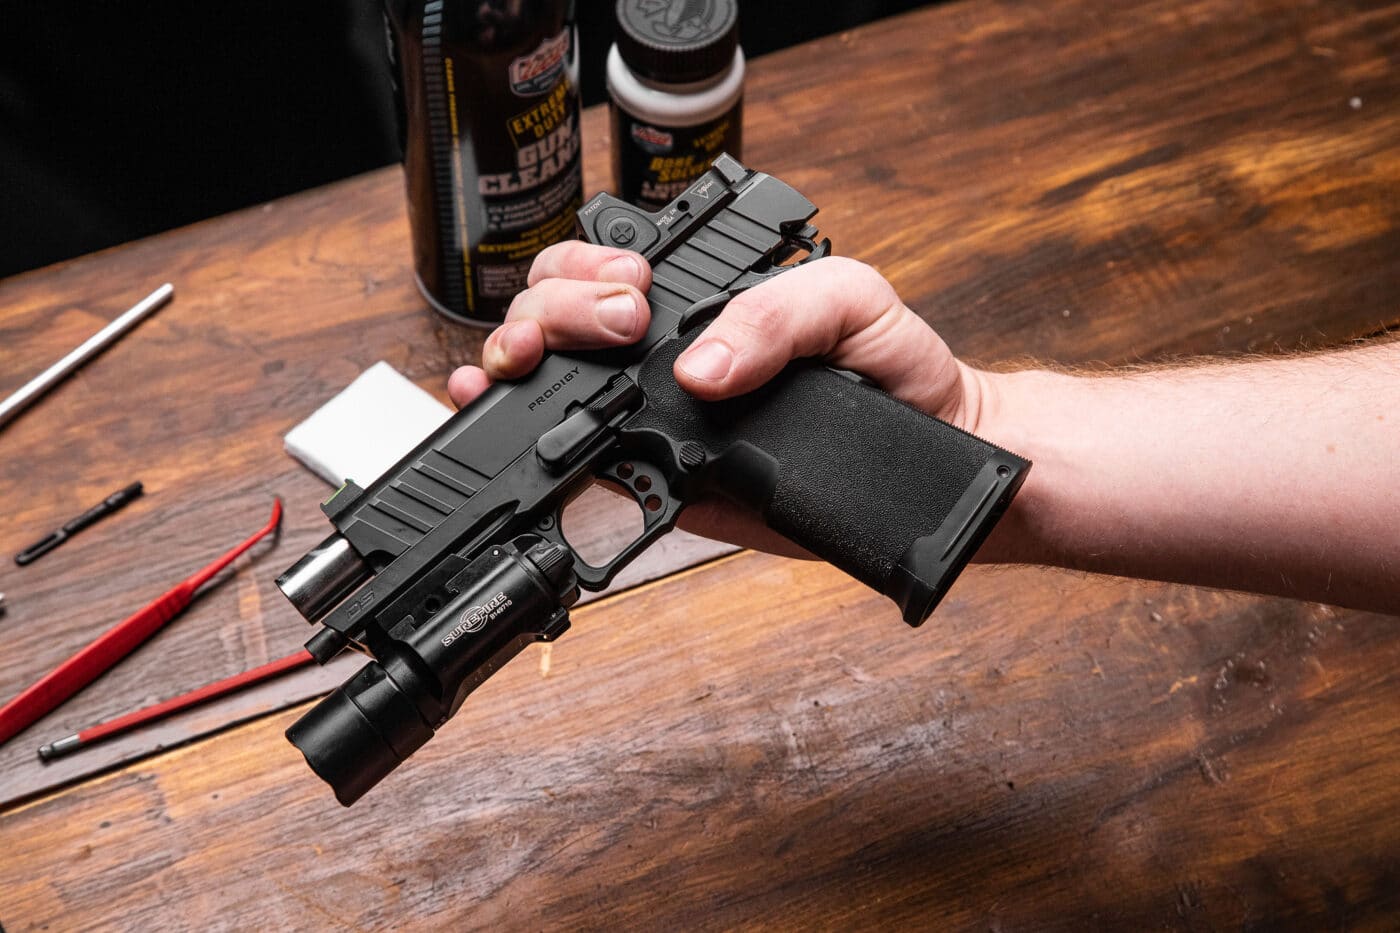
Install the slide stop pin into the frame and through the barrel link. If needed, use a soft tool such as a toothpick to compress the slide stop plunger during install.
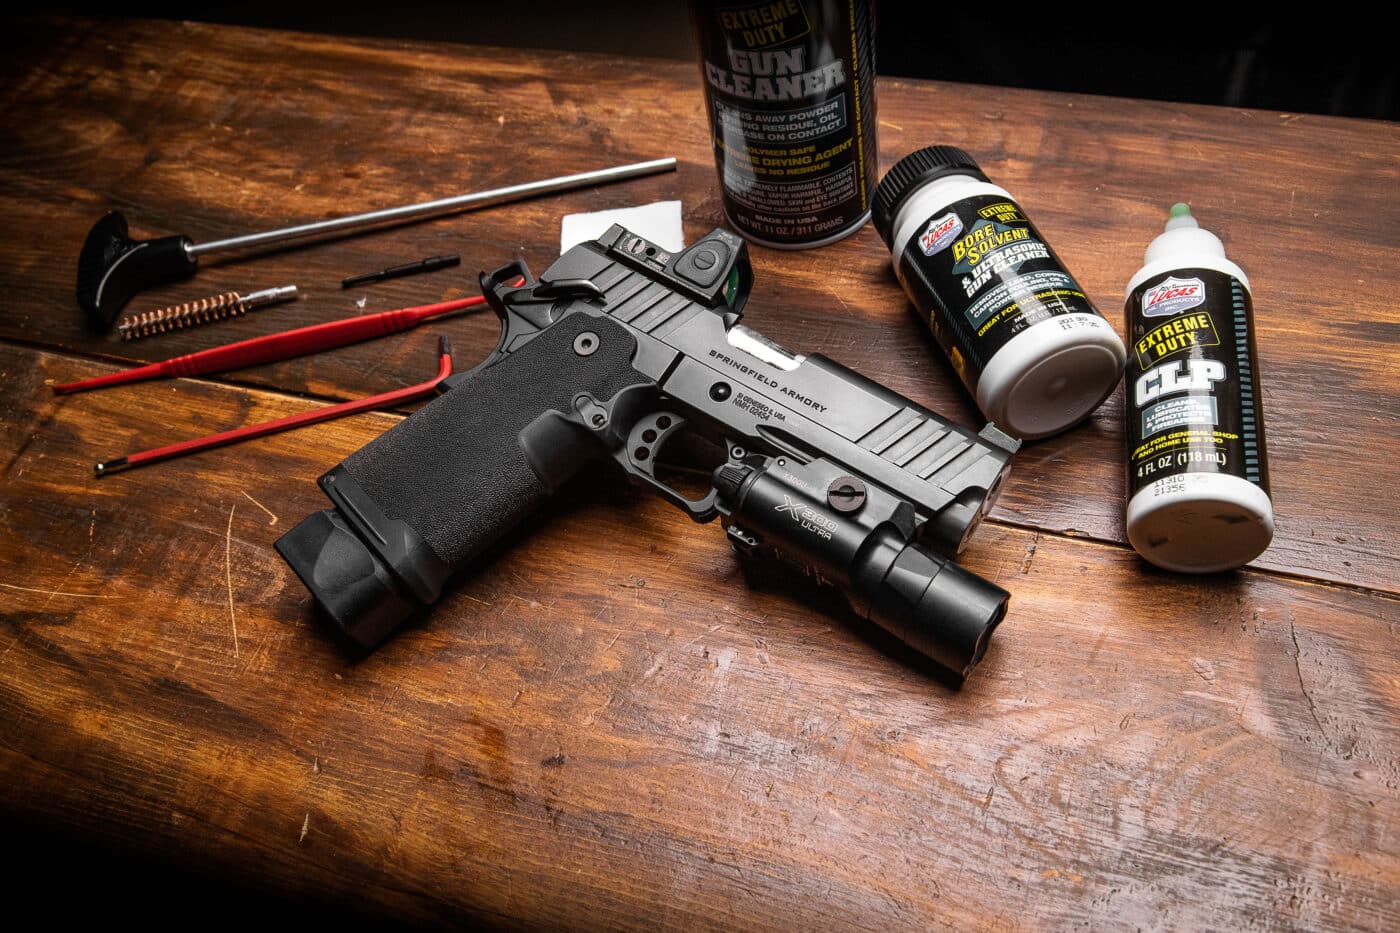
Now lock the slide back and tighten the guide rod with the 5/32 hex wrench using a moderate amount of force. The assembly should be snug.
Reassembly of your Springfield Armory 1911 DS Prodigy pistol is now complete and you’re ready to hit the range.
Editor’s Note: Be sure to check out The Armory Life Forum, where you can comment about our daily articles, as well as just talk guns and gear. Click the “Go To Forum Thread” link below to jump in!
Join the Discussion
Featured in this video
Continue Reading
Did you enjoy this video?

 181
181


