If you own a bolt-action rifle with a scope, then you’ve probably dreamt of yourself as a hotshot PRS shooter able to snipe targets at a mile. It’s hard not to get in behind that rifle and feel like you are some larger-than-life military sniper — the kind of which legends are made. But if you are an average everyday normal joe like 99% of us, before we even get to that point we can feel discouraged with even setting up our rifle.
There is a lot to think about. Barrel length, twist rate, grain weight, projectile shape, ballistic coefficients, what zero distance is best, chronographs, weather reports or even just how to level a scope can overwhelm us.
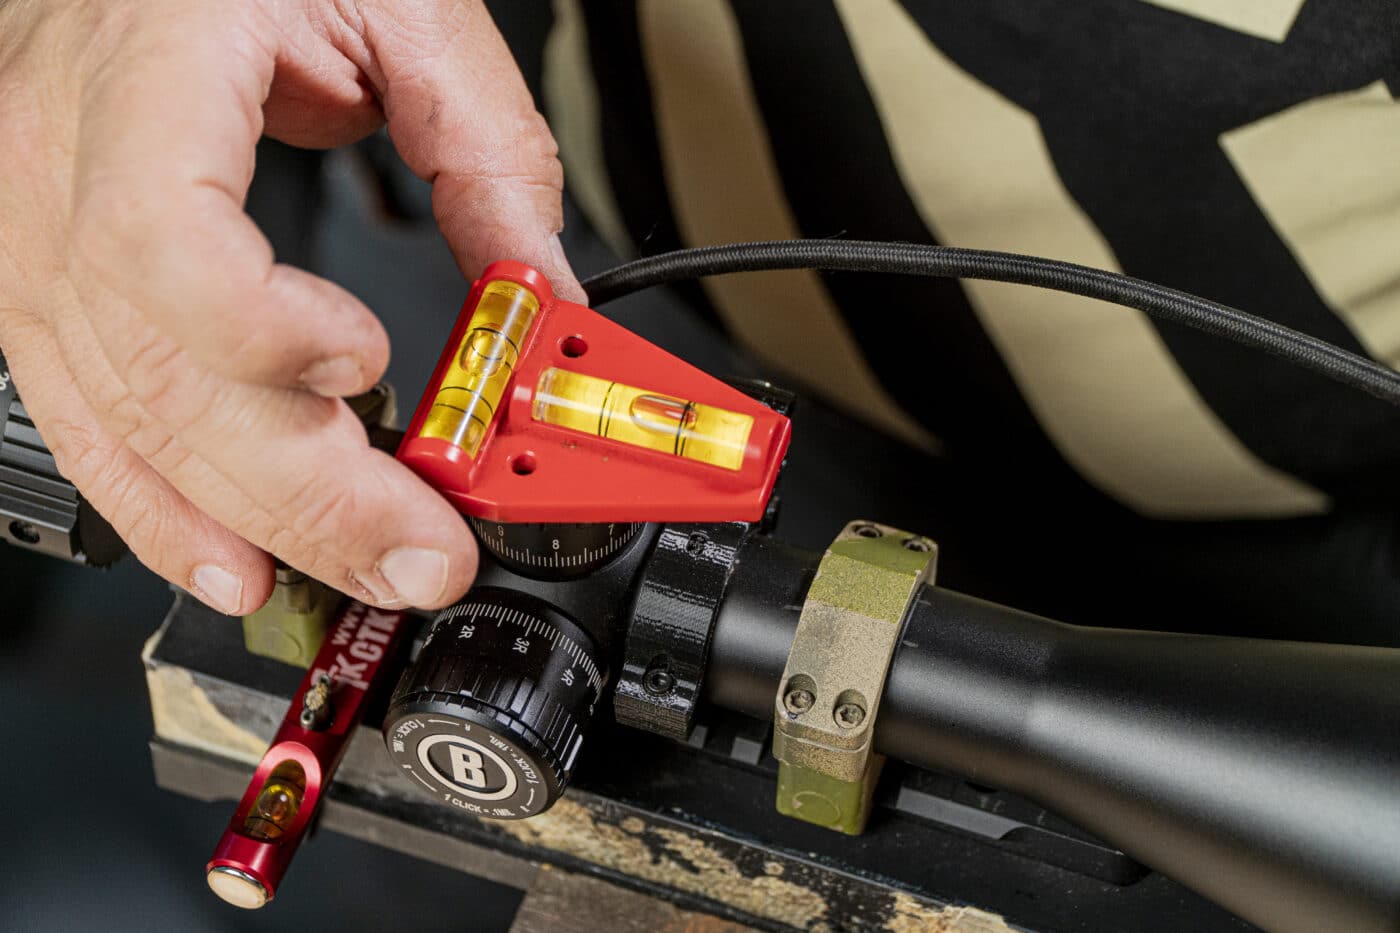
But before we even get there, we have the daunting task of mounting the optic to the rifle. At first thought, it can seem as simple as just sticking that bad boy on the rifle, and then you are ready to zero the rifle. But it’s not always that easy.
The Details
The crosshairs of your scope have to be level, otherwise as you shoot at long distances, whether that is by using holds in a BDC reticle or dialing your scope to hit a target, your shots will be off.
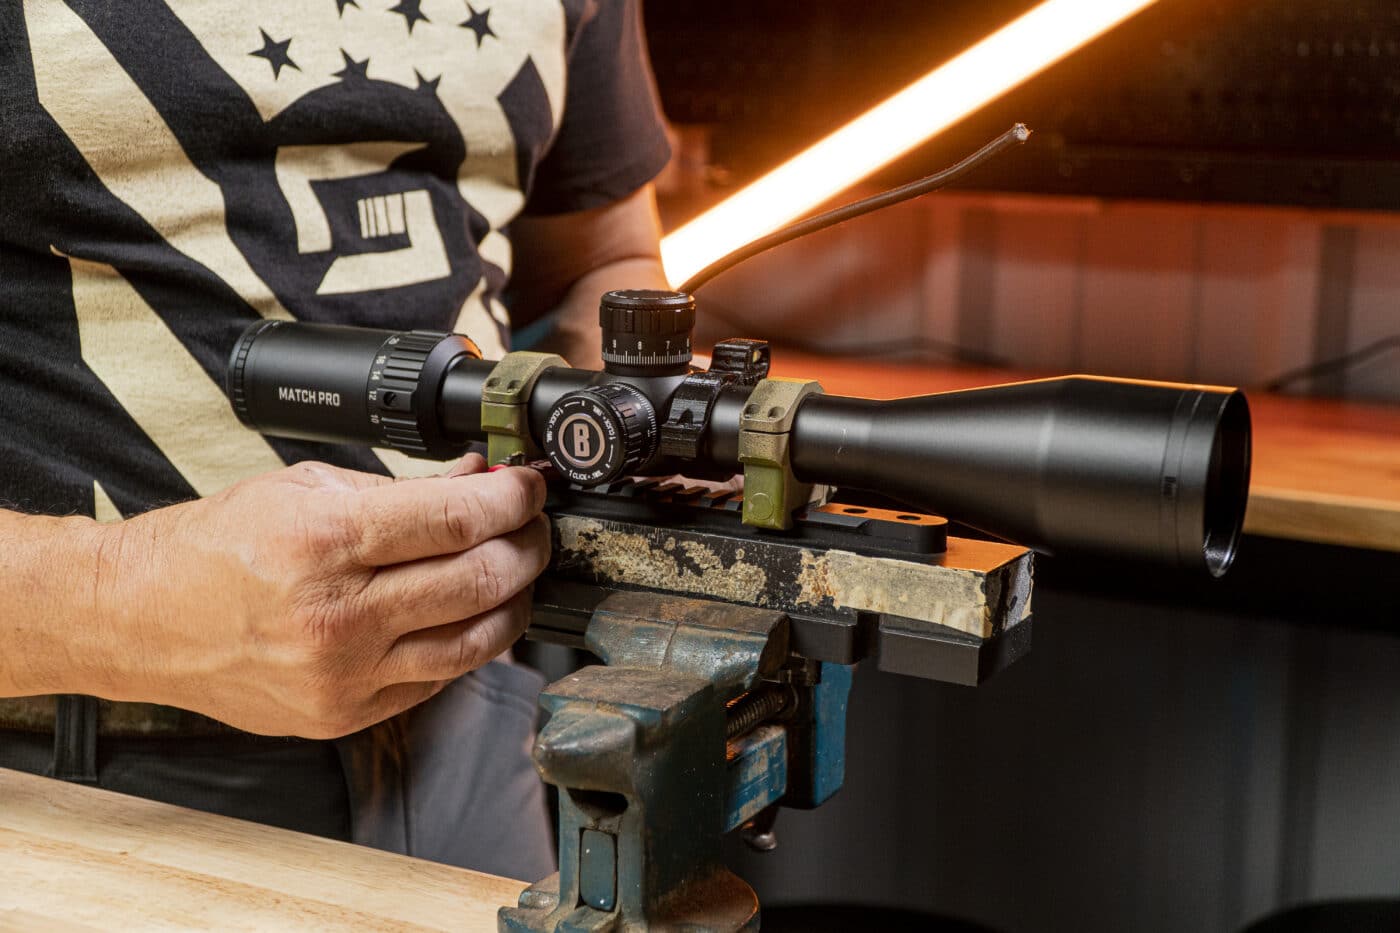
Think of it this way — if your scope is not level as you adjust for a bullet drop, you aren’t just adjusting up and down, you are also ever so slightly adjusting on the horizontal X-axis too. That small shift may be minimal at 100 yards, but at 1,000 yards it could be very significant. Before that, though it could even make zeroing the scope a nightmare.
Getting a scope perfectly level can appear like something that you need a machine built for scientific precision to get it just right. But it doesn’t have to be. By using some items around the house and good ol’ physics, we can get that thing truly level.
For the full walk-through on leveling your scope, make sure you watch the video at the top of the page. I’ve also got a few foolproof tricks to simplify the process here.
Solid Foundation
The first thing we have to ask ourselves when leveling a scope in the scope rings is, do we have a level starting point? If you have your scope rings sitting on a table that is slightly canted, then you don’t have a good spot to even start. Start out with a level surface. If this requires you to shim your table legs, your vice clamp, or your lead sled, then so be it. Take a bubble level and just check to see if you have a level surface to mount the rings to.
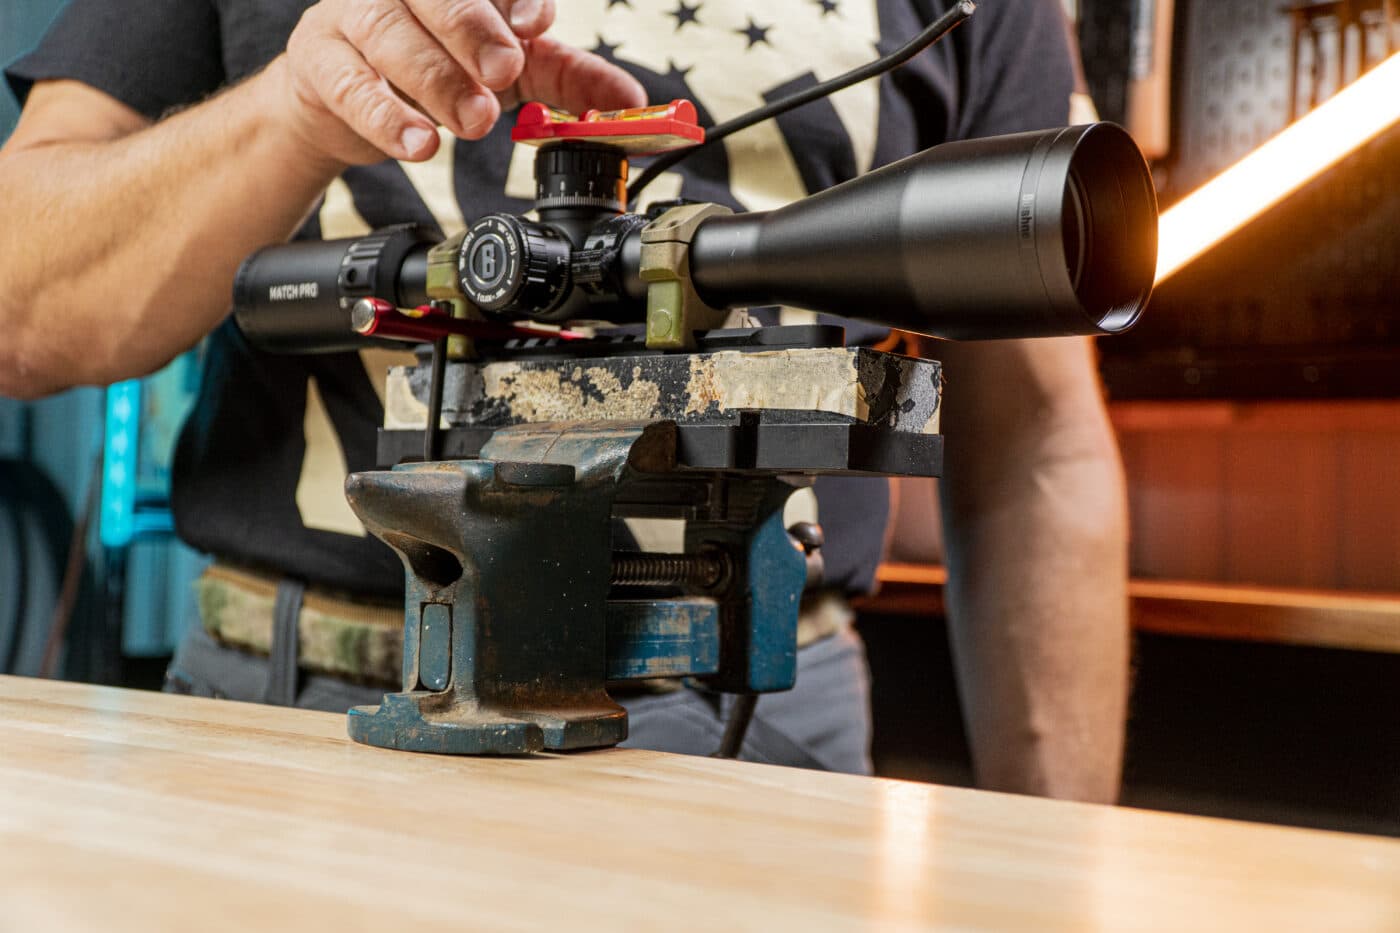
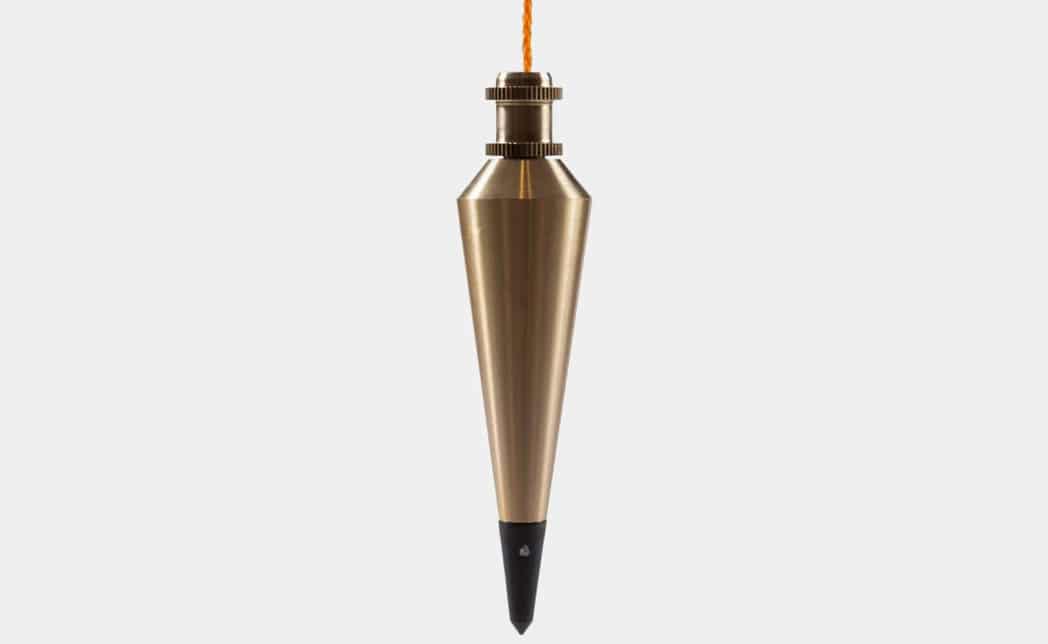
Then, place the scope in the rings, but leave just enough room for it to move back and forth or rotate. Make sure your surface is still level and that you haven’t messed it up any. Then it’s time for the next step. Across your yard or garage, it will depend on the magnification of your scope, hang a plumb bob. You don’t need a legit carpers plumb bob, just something around the house heavy enough to do the trick. So now we will let the plumb bob hang making the string under the weight be perfectly perpendicular to the ground.
At this point, you can sit behind your optic and look through it. The idea here is to rotate your scope to get the vertical cross-hair to line up perfectly with the plumb bob. This may take a bit of trial and error but it will be set up relatively quickly. Now you just have to tighten everything down. So, while making sure your base is level, tighten the screws on your scope a few turns at a time, alternating bolts as you might on a car wheel to get an even fit onto the scope rings — all the while double-checking your level and that you are still in line with the plumb bob.
In the end, you will have a scope with level crosshairs sitting level in the rings that can now be mounted on your rifle. That is a method that requires you to not buy anything. More than likely, you can rig up something like this at your house and just let physics take care of it. However, there is another easy method to use.
Second Direction
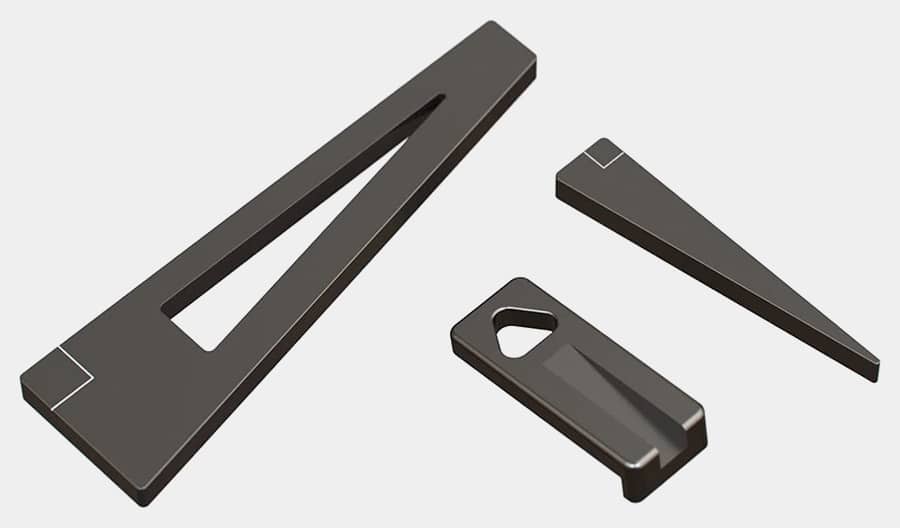
If you have a modern scope, most of them have a flat section on the bottom of the design at least in one section. This is used to level it. There are these little triangular leveling tools made specifically for this. They come with a base to fit in the grooves of the Picatinny rails on your rifle. Then, as you shove the triangle into the groove, it will push against the bottom of the flat part of your scope and will eventually reach a point where it is tight and flush. That means it is level.
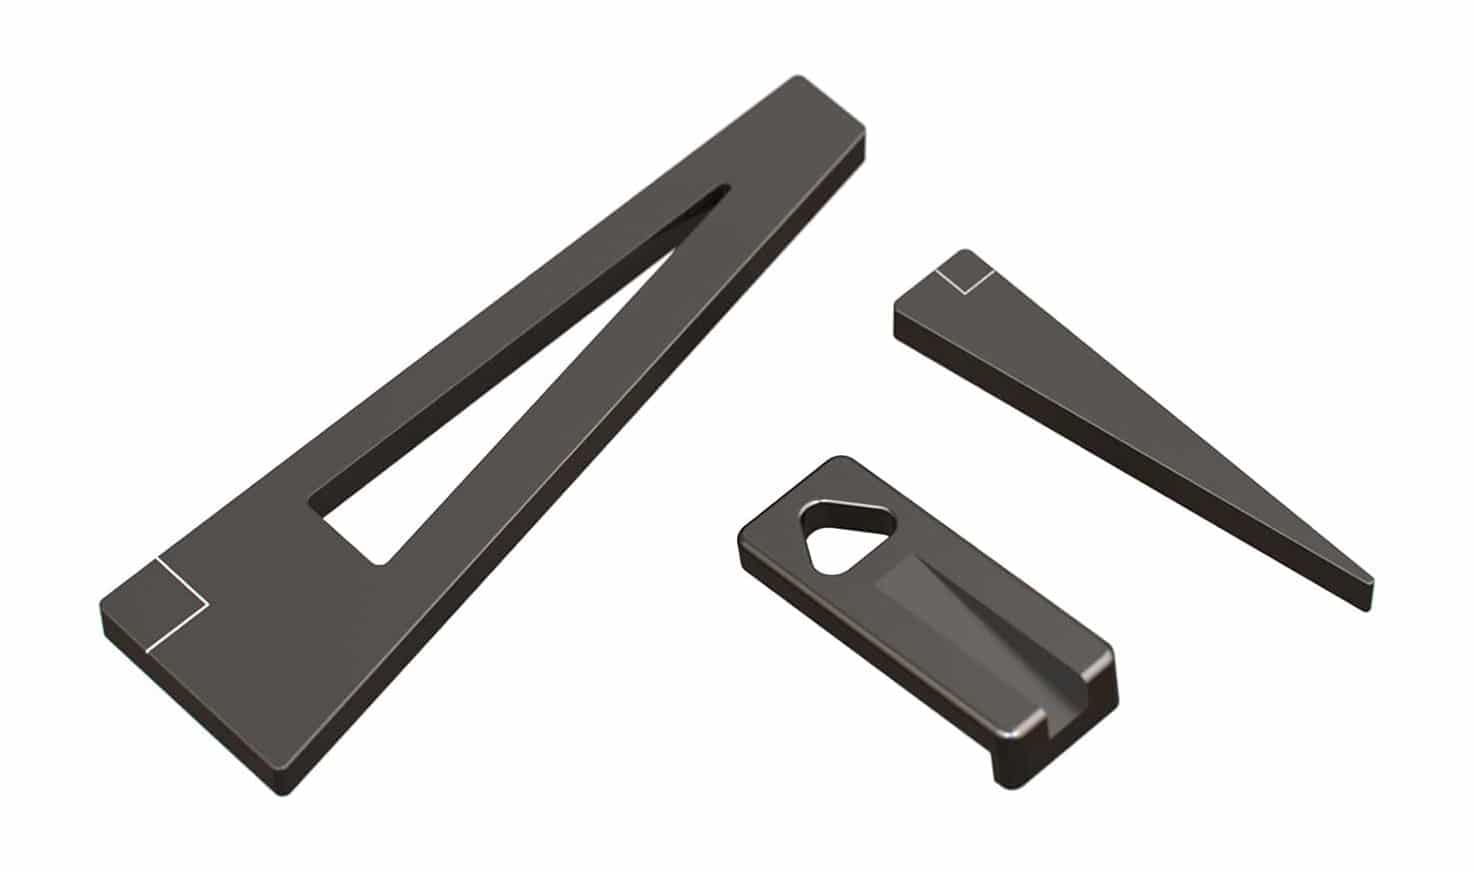
This method would require you to order something, but it’s pretty cheap $20 or less. This method can be an easy way to level the scope to your rails, then in theory the only thing that could be unlevel is the rails. Like in the first method, you could simply monitor a level to make sure it’s level and you can also check the reticle with a plumb bob still.
With this method, there can be some issues that arise based on sizes. Like how high your scope sits in the rings and things like that. Sometimes, the rail section will not fit between the scope base and the rail, meaning you couldn’t use the device. So, if your scope sits pretty low or pretty high, this might not be useable for you.
Conclusion
Anyways, between these two methods, you can have an investment of around $20 and have some great tools to level your crosshairs. After all, ammunition isn’t cheap, so don’t be a victim of your gear screwing up your shots. This will keep you running in circles and scratching your head as to why you aren’t hitting your targets.
Keep in mind that some rifles may require special techniques due to their unique construction. For example, you should take a look at our M1A scope mounting guide if you own one of these classic rifles.
Editor’s Note: Please be sure to check out The Armory Life Forum, where you can comment about our daily articles, as well as just talk guns and gear. Click the “Go To Forum Thread” link below to jump in and discuss this article and much more!
Join the Discussion
Featured in this video
Continue Reading
Did you enjoy this video?

 90
90


