When we were shooting content for a recent article, “In the Blink of an Eye: Sniper Stories”, I (Dylan) interviewed Grant LaVelle, a former Marine and SWAT sniper and now tactical instructor about his career as a sniper. I asked him about all sorts of things like his longest shot taken in a sniper role, how many shots he fired over his career, the different amounts of training he did, what schools he went to, and how long some of his stakeouts were.
As a friend of his, it was quite interesting to me to hear some of the stories that had never come up in our previous conversations. As a content creator, I always have to be on the lookout for what my next talking point could be, and during this conversation it hit me.
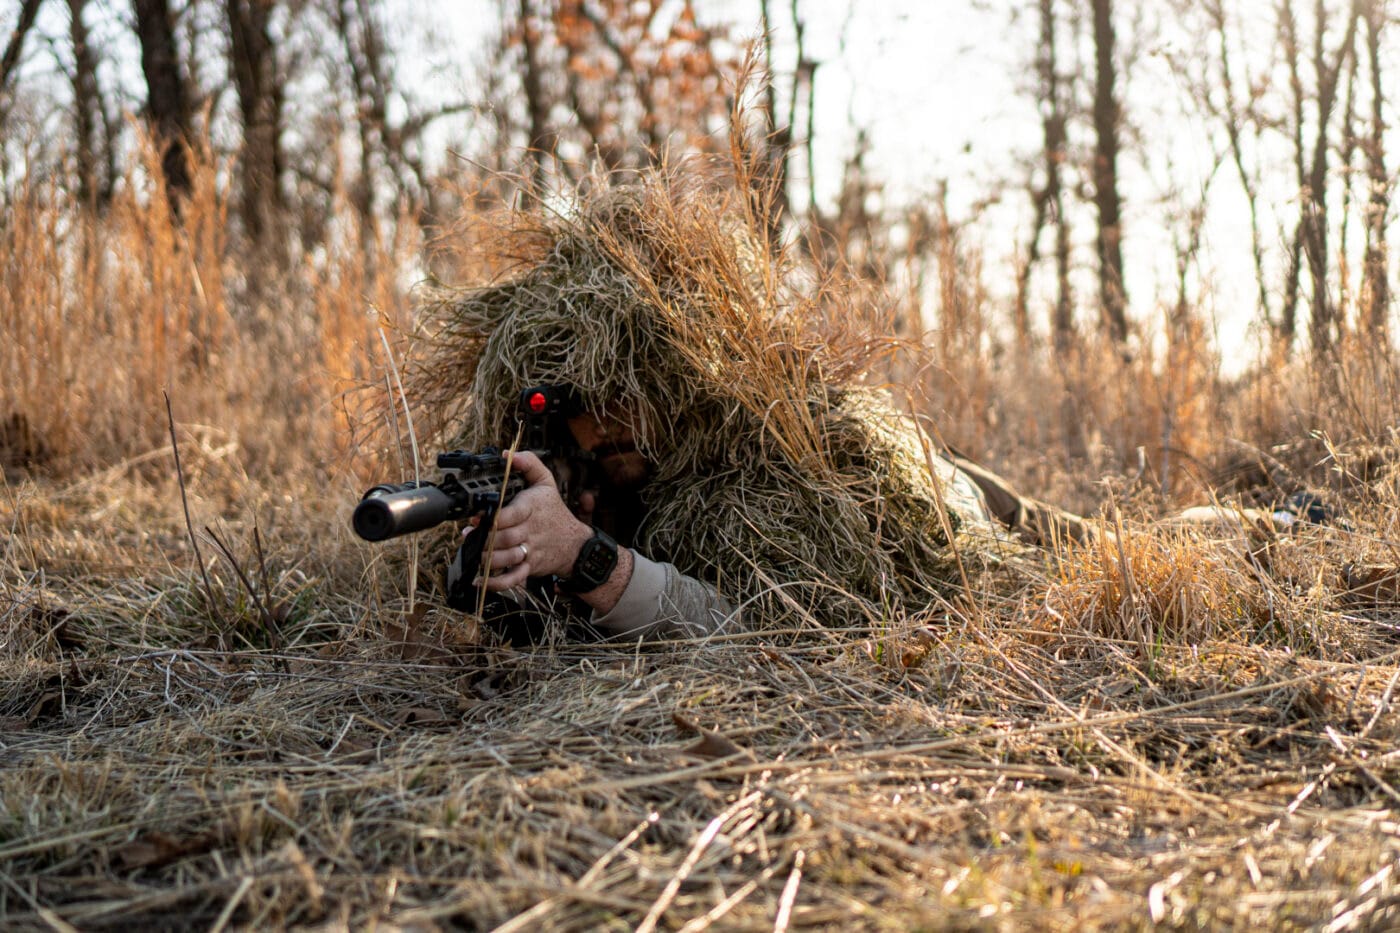
As LaVelle talked about the importance of camouflage to a sniper, he stated snipers are “intelligence gatherers first” and foremost, silent sentinels, watchful protectors who gather intel for their team. That got me thinking about ghillie suits. When shooting some of the photos for the “Sniper Stories” piece, we knew we needed some shots of LaVelle in a ghillie suit, and all we had to use was a borrowed suit since LaVelle had misplaced his old one from his sniper days.
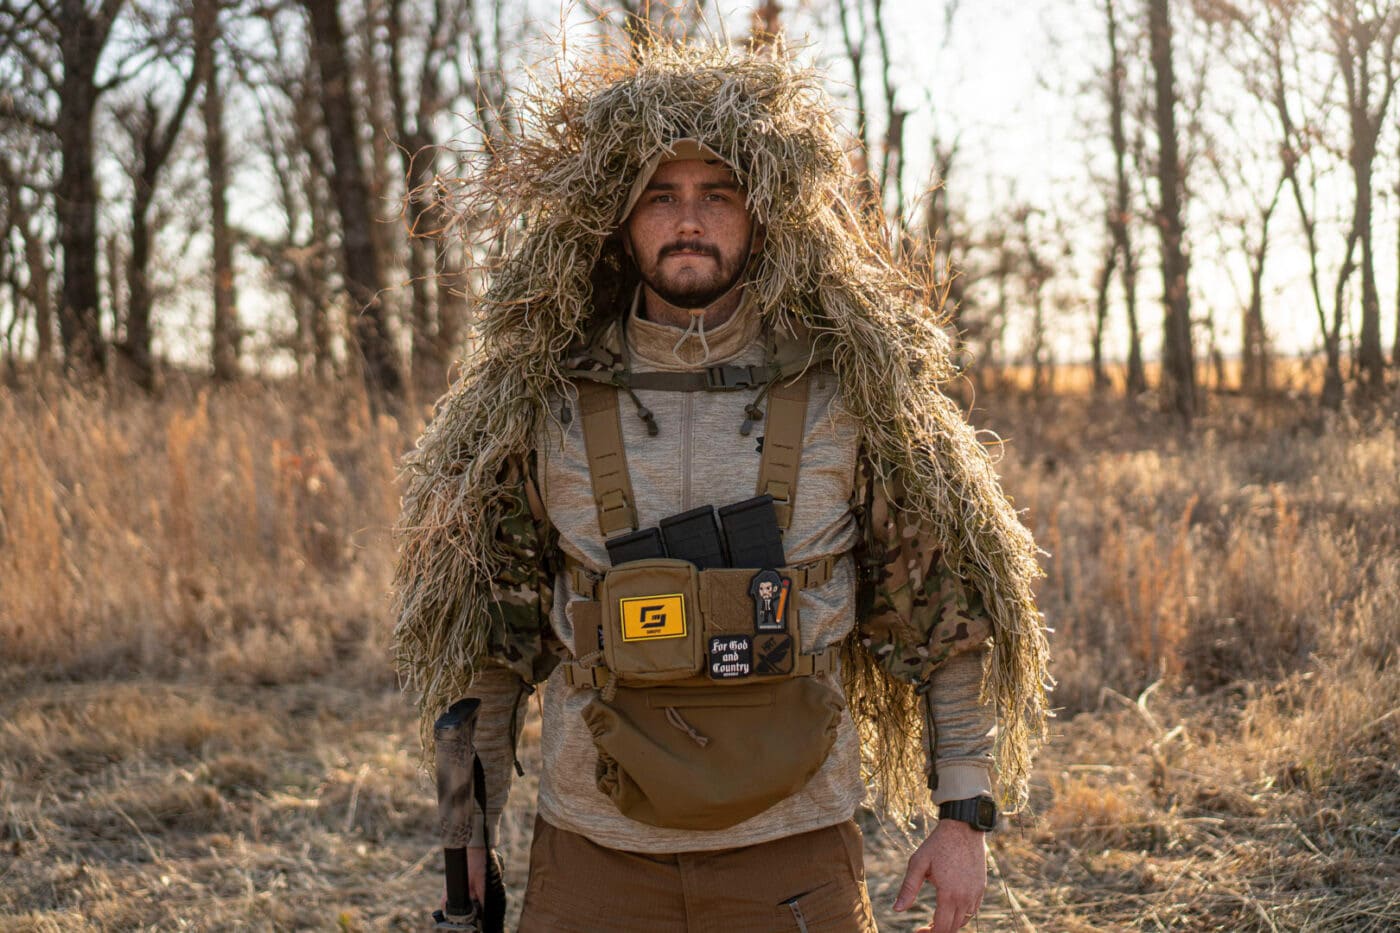
When the conversation shifted to the ghillie itself and its quality, LaVelle said “that wasn’t a real ghillie suit,” about the one we had been using. This seemed odd to me as it looked just like pictures of ones in movies, video games and in online stores. He said, “A real ghillie is made, not bought.” Intrigued, I probed for more information. Since then, I have made my own ghillie suit and have learned some lessons in doing so. Now, I’d like to share those with you.
Ghillie Suit Material
First and foremost, the ghillies we see shown a lot are a full jacket and pants with fringed material hanging off in every direction. Typically, the ones online are mossy dark colors making the wearer look like a moss monster. All of that is total BS, it turns out. Those things are more like a costume for paintball players or airsoft shooters.
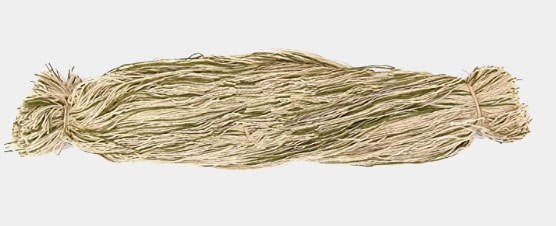
A real ghillie doesn’t have nylon fake leaves or strings. According to Grant, a real ghillie has a base of jute. Jute is an earthy natural material that has a coarse feeling. It clings together and, in all honesty, can be quite hard to work with. But those are the very traits that make it fantastic for this job.
A ghillie also doesn’t cover the front of your body. So, no stringy fibers hanging on your chest or the front of your legs. No, a ghillie only covers the parts of your body visible if you were to lie flat, face down on the floor. The reason for this is so that your front is free, when you crawl, without added friction against the earth.
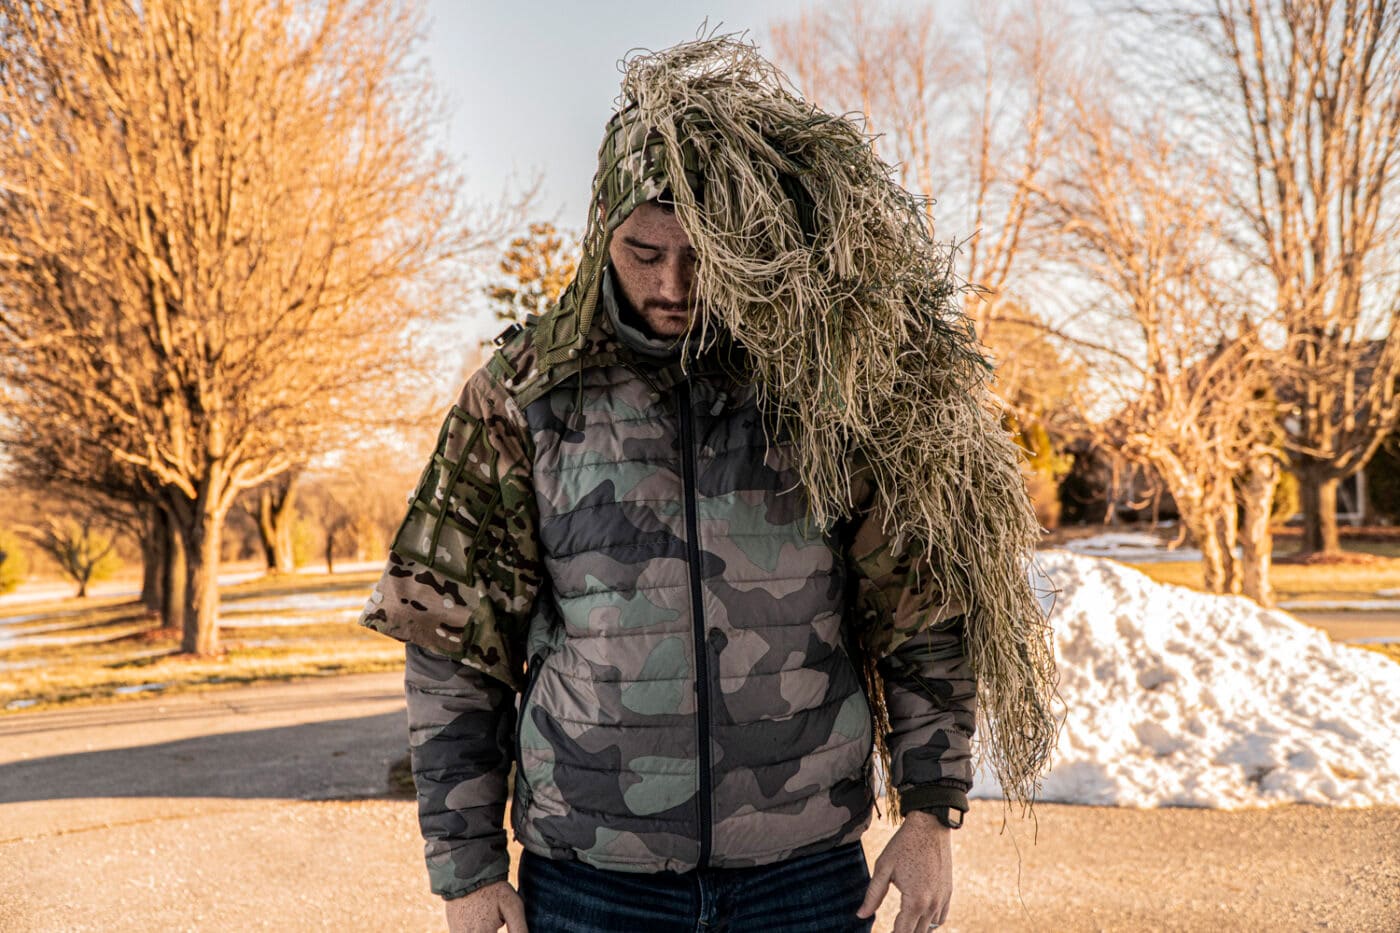
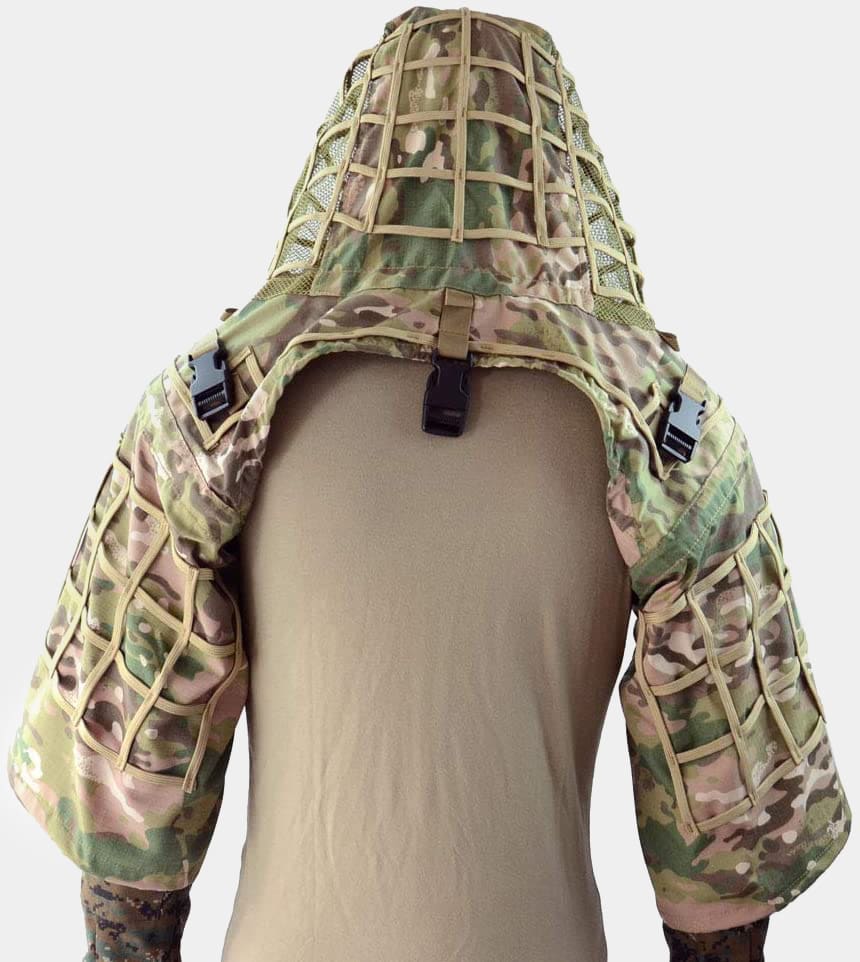
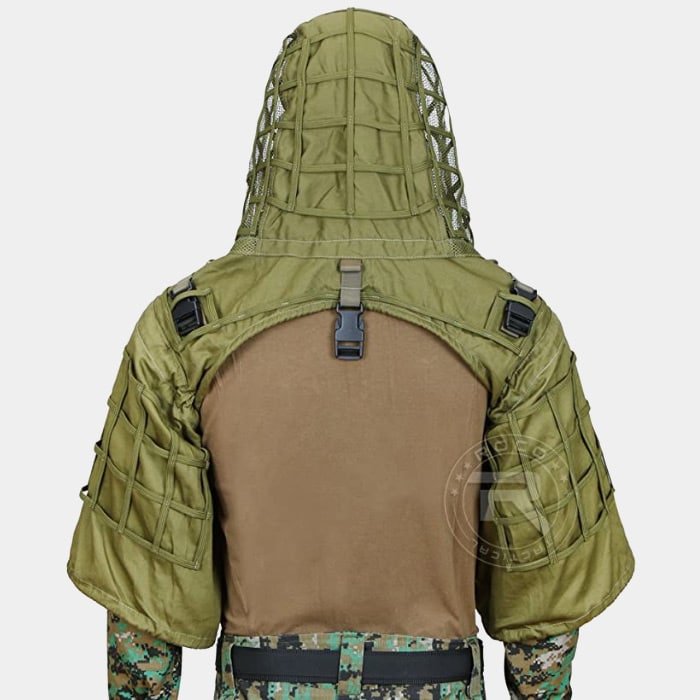
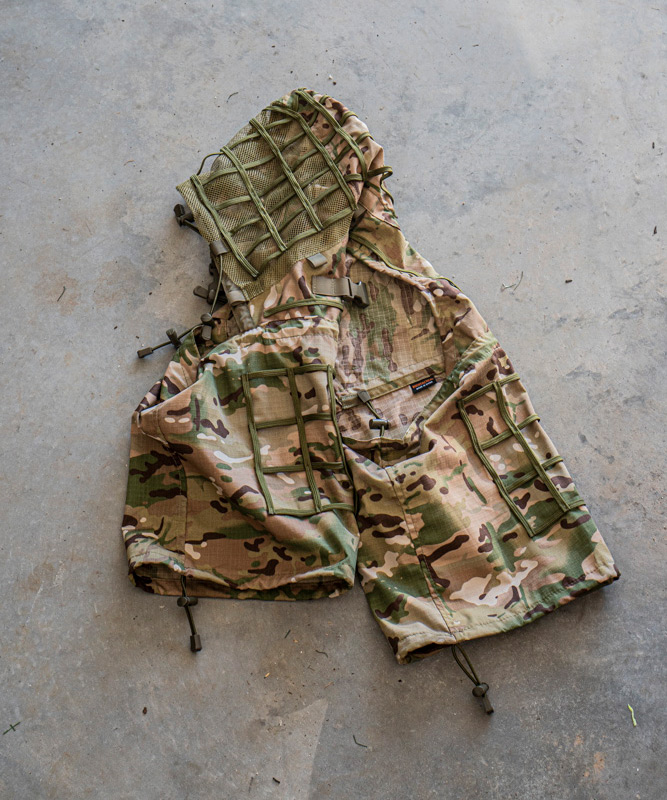
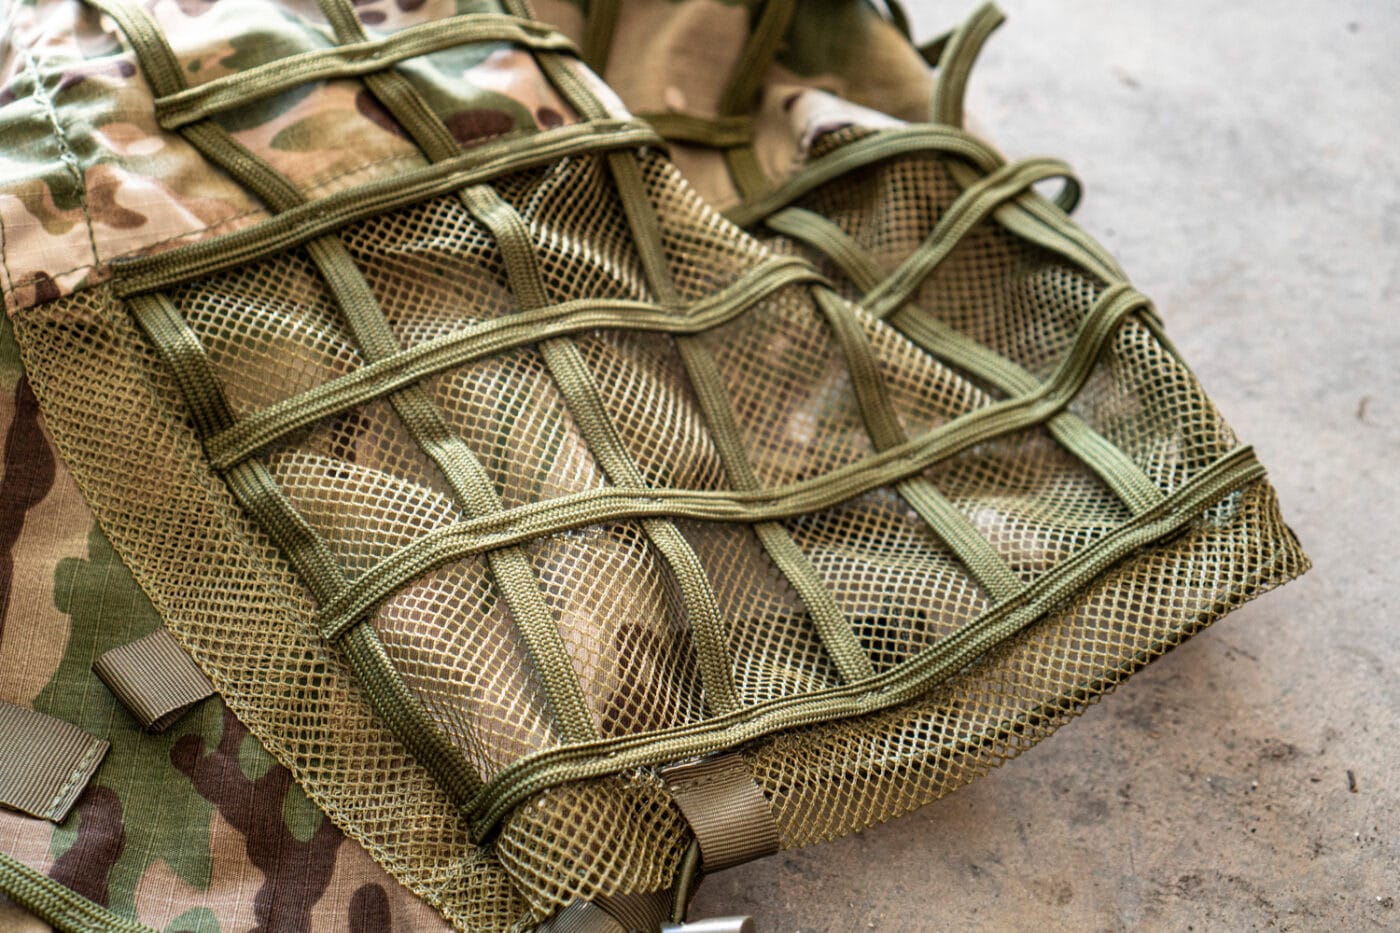
A proper ghillie would be two pieces. One section goes across the shoulders and is paired with a hood that breaks up the outline of your shoulders and head. The second piece is a cape that covers your back as you lie down. I opted to only make the first part that covers my head and shoulders.
Best Colors for Ghillie Suit
This will be different for everyone. If you are located in Washington state and your foliage is green year-round, you might want more of a woodland color to your jute. LaVelle’s advice to me was to go light in color, no matter what. I thought I took his advice when I ordered jute in a color mixture called “dead grass.” Now I know that I made a mistake.
In reality, I should have done a solid khaki color of the jute, and here’s why. Light colors pull in natural earthy tones easier. You can take a light color, like tan, and make it dark by getting it muddy. But you can’t take a dark color like black and make it lighter. My dead grass jute, although it only has a small bit of green, can make the ghillie look much too bright at times.
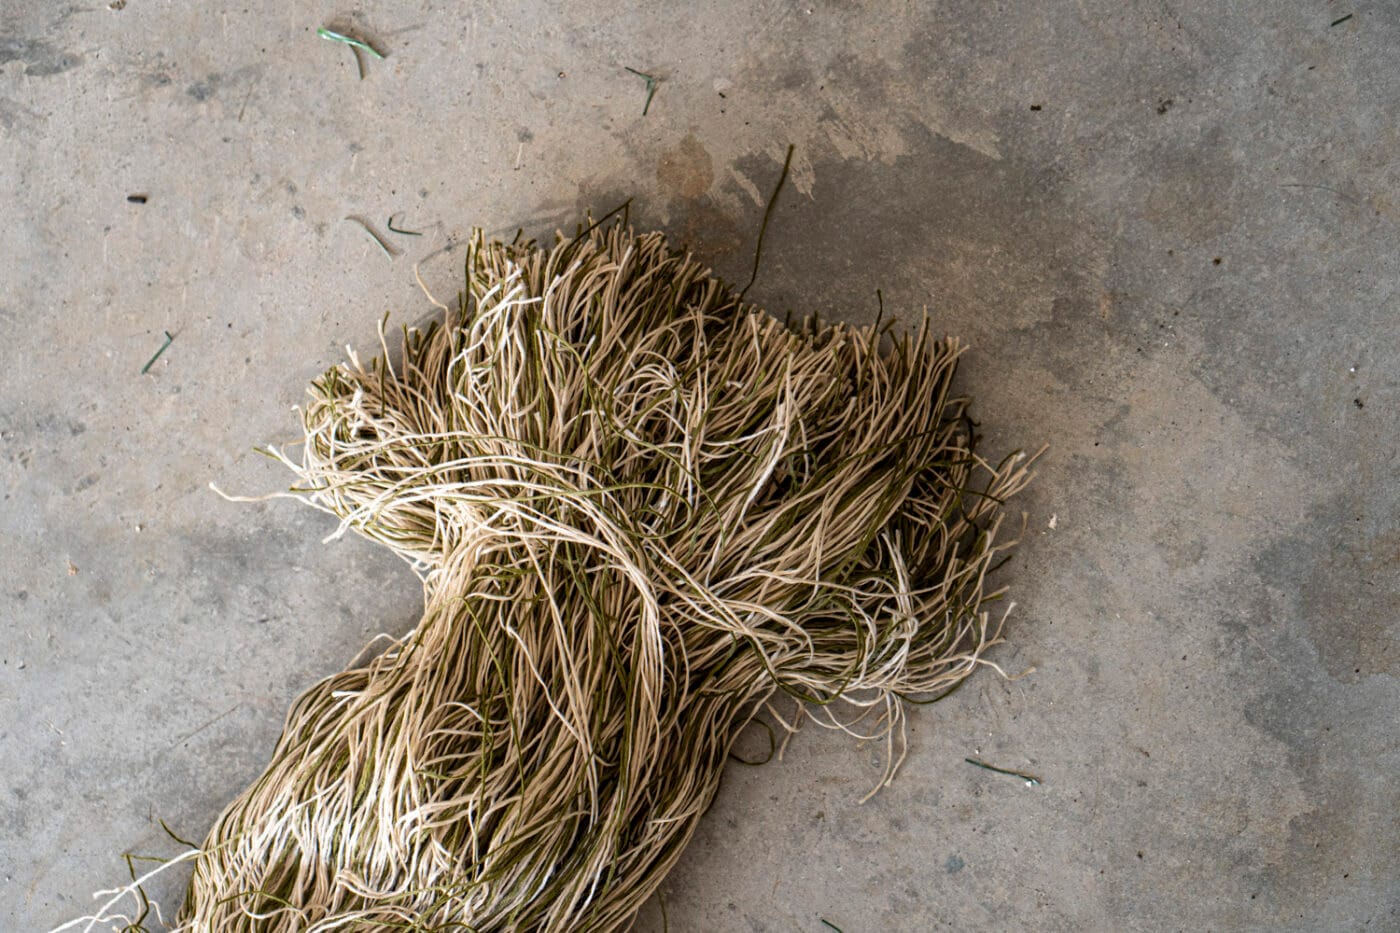
So, take it from me, having learned the hard way, go lighter than you think you should. You can always add in natural vegetation to add green also, but more on that later. Jute strands for ghillies can be purchased online, but if you really want to go old school you can cut and dye your own jute to the color you want.
DIY Build
Building the ghillie is pretty easy, with the right purchases. The base I chose had the sleeves and hood, with an outer net sewn to it. For the bulk of the ghillie itself you will just need to tie your strands of jute onto the net. Shorter strands are better than having longer strands. Shorter lengths of jute help blend your appearance without having large un-natural looking pieces hanging off. I tie the knots by slipping the loop through and then sliding the ends through the loop and pulling it tight around the piece of net.
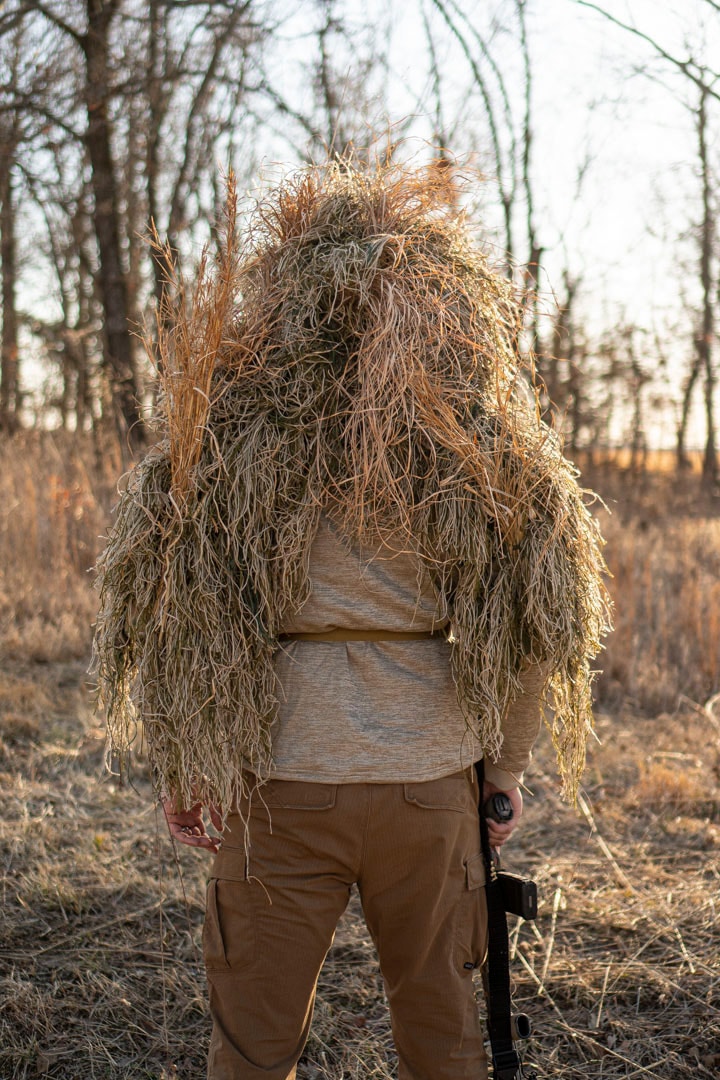
Now, here is a lesson I learned the hard way. I tied jute on every single piece of netting that I could. In my mind I wasn’t taking any shortcuts and I was going make the fullest-looking ghillie anyone had ever seen. Well, I succeeded, and then I realized I made a mistake.
My suit was heavy and huge! It was literally massive and puffy because of all the jute. My most fatal error was that I didn’t leave any room for vegetation. It was time to give it a haircut. So, I took scissors and freed up some pretty good spots, allowing me more room to add in natural vegetation (which is key to blending in).
How to Use Ghillie Camo
Okay, after the suit is semi-full of jute with some open netting for natural vegetation, now we have to talk about how to use it. To help sell the effect, LaVelle said you must condition the suit. To do this you need to get the ghillie soaking wet and crawl on the ground. LaVelle said back in the day they used to low crawl through muddy tank tracks filled with water to condition the ghillie.
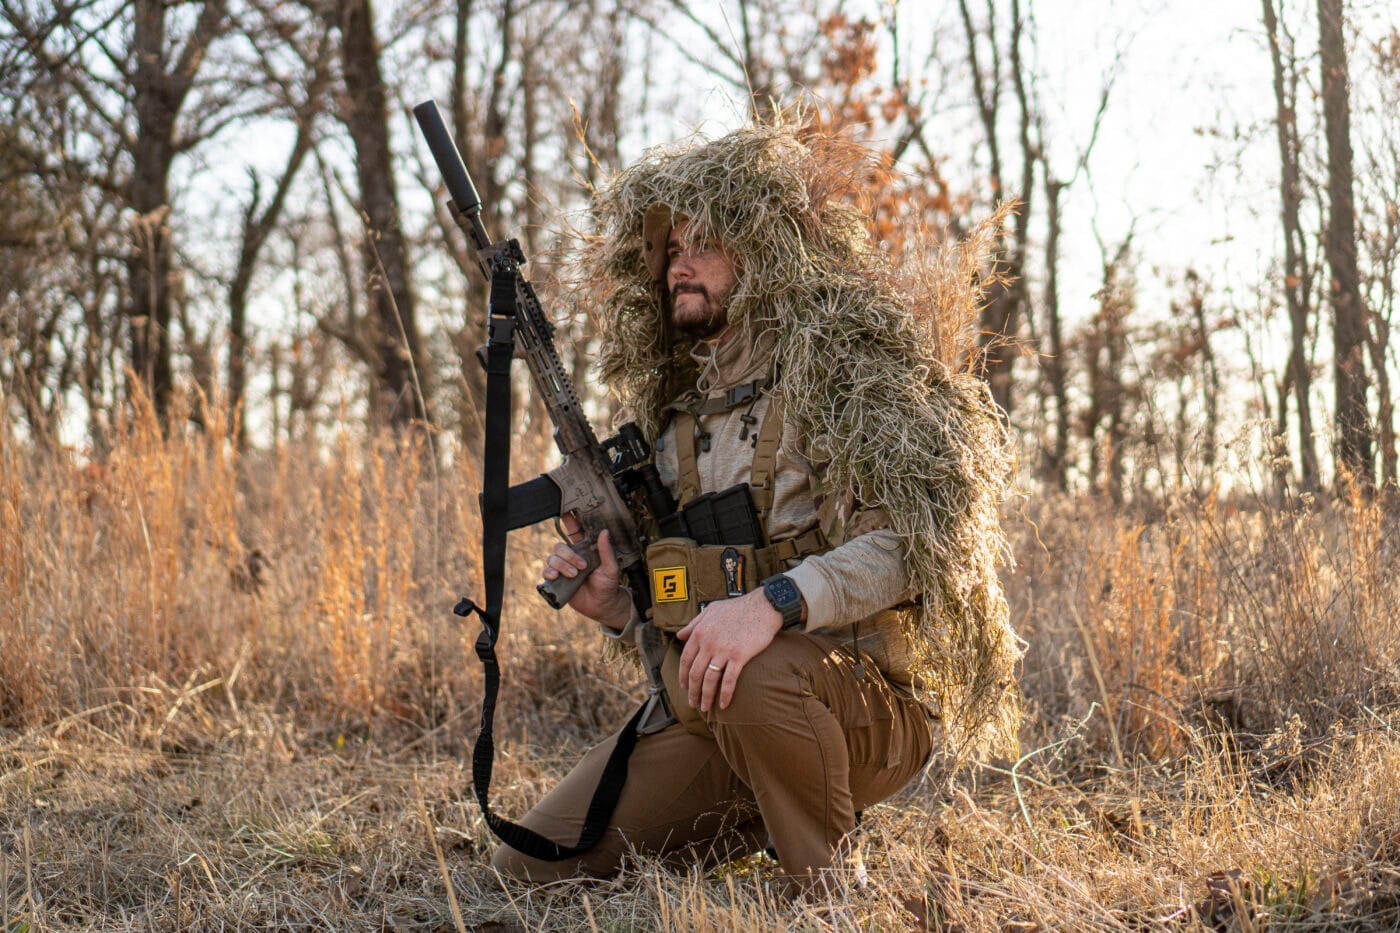
When I filmed this video, the average temperature was 20 degrees. Since I won’t be using this to hide from anything that can shoot back at me, I opted out of this. One day, I plan to do it, though. This process removes what shine there is to the jute, giving it a more matte look. And, it allows the suit to pull in natural earth tones that provide a beautiful gradient to your jute. If you’re up for it and you want to do it the right way, this is a vital step.
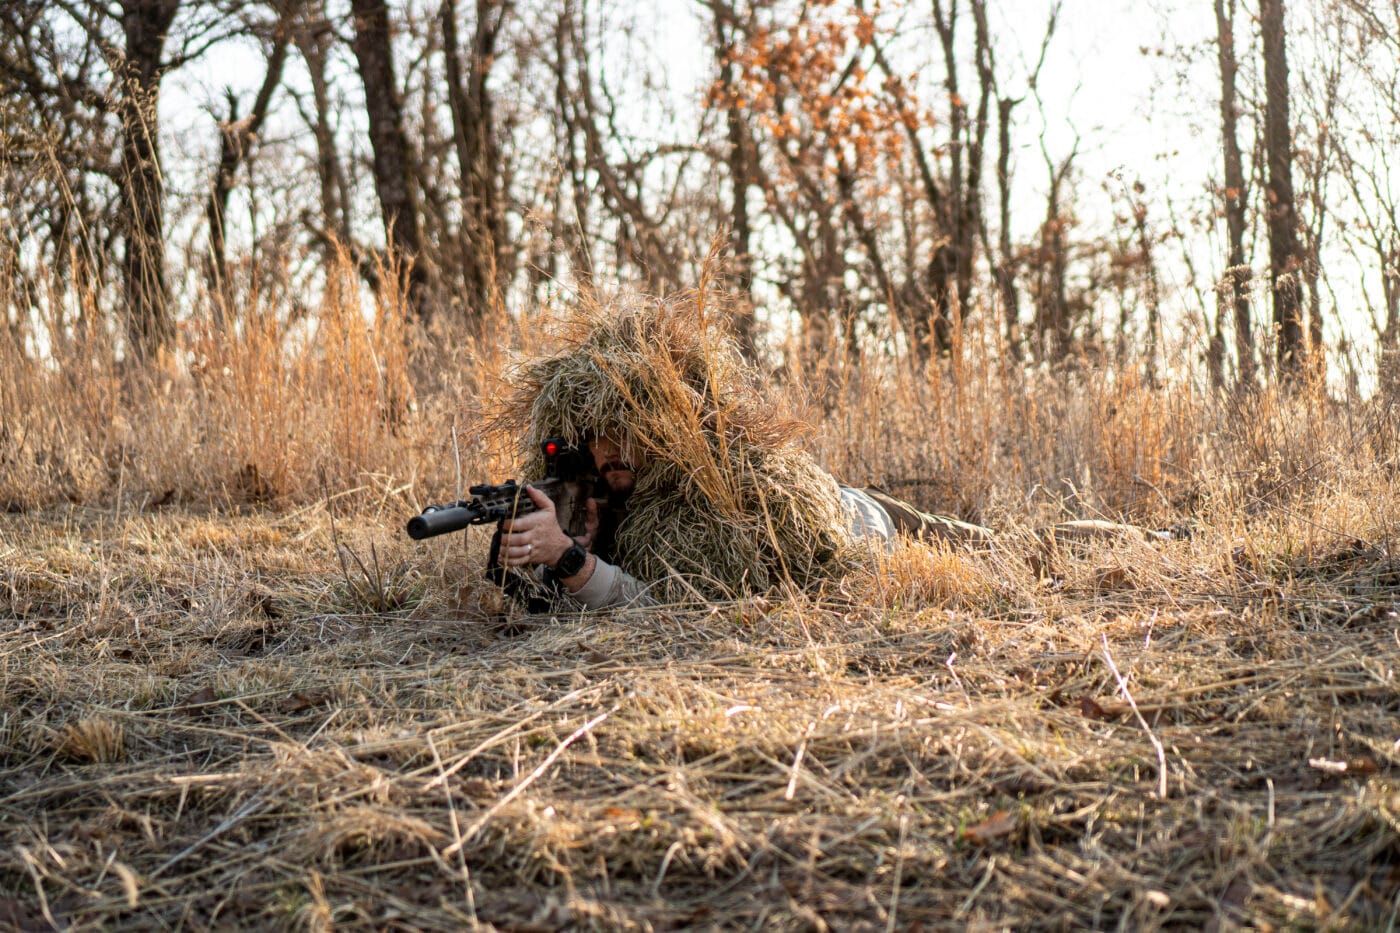
When you get your ghillie out in the field, look at your surroundings and start pulling grass, leaves and twigs out of nature. Then, stuff them into the net of your ghillie. Be careful to not put too much or too little. Just the right amount will go a long way to making you appear invisible. This is the final step and how you properly use a ghillie. These items sourced from nature should change as you traverse the landscape or as you change hunting locations, being careful not to mix vegetation in areas where it doesn’t blend in.
Final Thoughts About the Home-Made Ghillie
I had fun putting together my ghillie. Will I use it? Sure. I plan for hunting seasons where I can. But truth be told, I had enough fun putting it together and testing it out that it made it all worth it for me. My final bit of advice is this: Make your own, go lighter in color — even lighter than you think you should for your area, don’t make it too full of jute, condition it by crawling through some muddy water (if you’re braver than me, that is) and add natural vegetation. Last, but not least, remember that a ghillie is never truly done. It’s constantly changing relative to your surroundings. This is a constant work in progress!
Editor’s Note: Please be sure to check out The Armory Life Forum, where you can comment about our daily articles, as well as just talk guns and gear. Click the “Go To Forum Thread” link below to jump in and discuss this article and much more!
Join the Discussion
Featured in this video
Continue Reading
Did you enjoy this video?

 84
84


