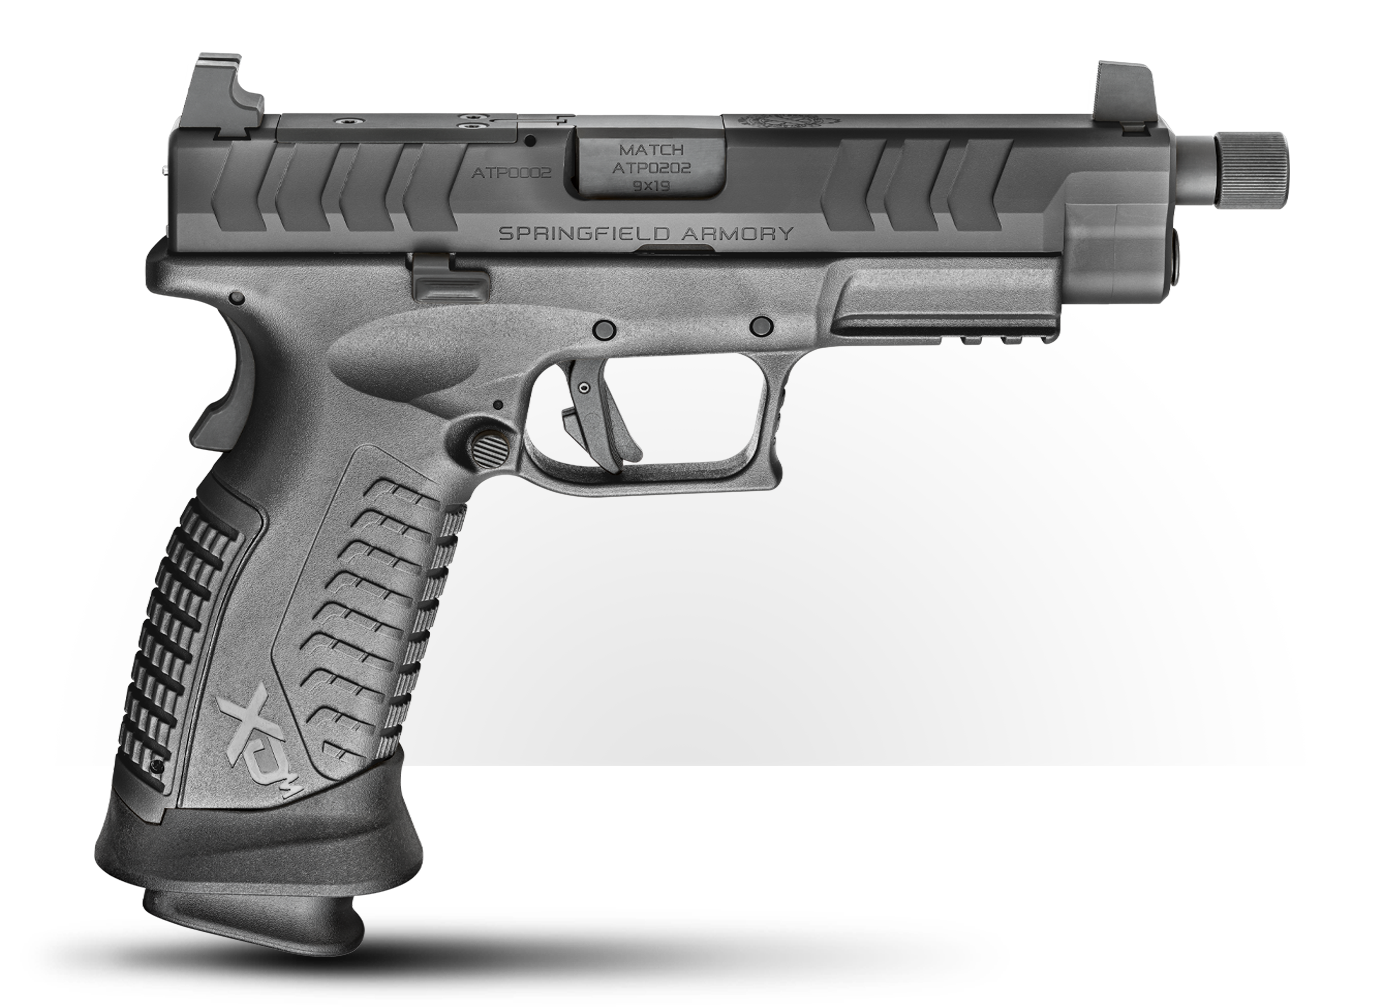
Have you ever sighted in a red dot sight on your pistol with co-witnessing iron sights? Well, if not, we have you covered. I worked with my friend Grant LaVelle, who is a firearm instructor, to put together a short video about how to do this quickly and effectively.
To start off we paired Grant with an XD-M Elite OSP and a DRS 2.0 Enhanced from U.S. Optics. Both of which he had never used prior to filming this segment. We chose to give him a new gun he had never shot before and a sight he had never used so that we could make this how to zero a red dot on a pistol video from the perspective of a new shooter. (To see them later take that pistol and optic combo out to 130 yards, click here.)
First Step: Set Your Irons
One of the most important things in the process of zeroing a pistol red dot is to keep a set distance. You need to pick a distance at which to zero the red dot that is applicable to the kind of shooting you will be doing.

Most self-defense shootings happen at a distance of around seven yards, so we advise you that the best distance to sight in a pistol red dot is there. If you’re using it for competitive shooting, maybe you want a bit more distance. That’s fine, too. Just make sure it suits your needs.
The easiest thing to do when you are sighting in a red dot on a pistol with co-witnessing iron sights is to completely ignore the red dot. Shoot a group using only your irons and determine if your iron sights are on target. If you have a consistent grouping, that means your irons are on target. Believe it or not, this means you’re almost done.
Get on the Dot
After you determine if your handgun’s iron sights are on target, which ours were in the video, then you can just set your red dot accordingly.
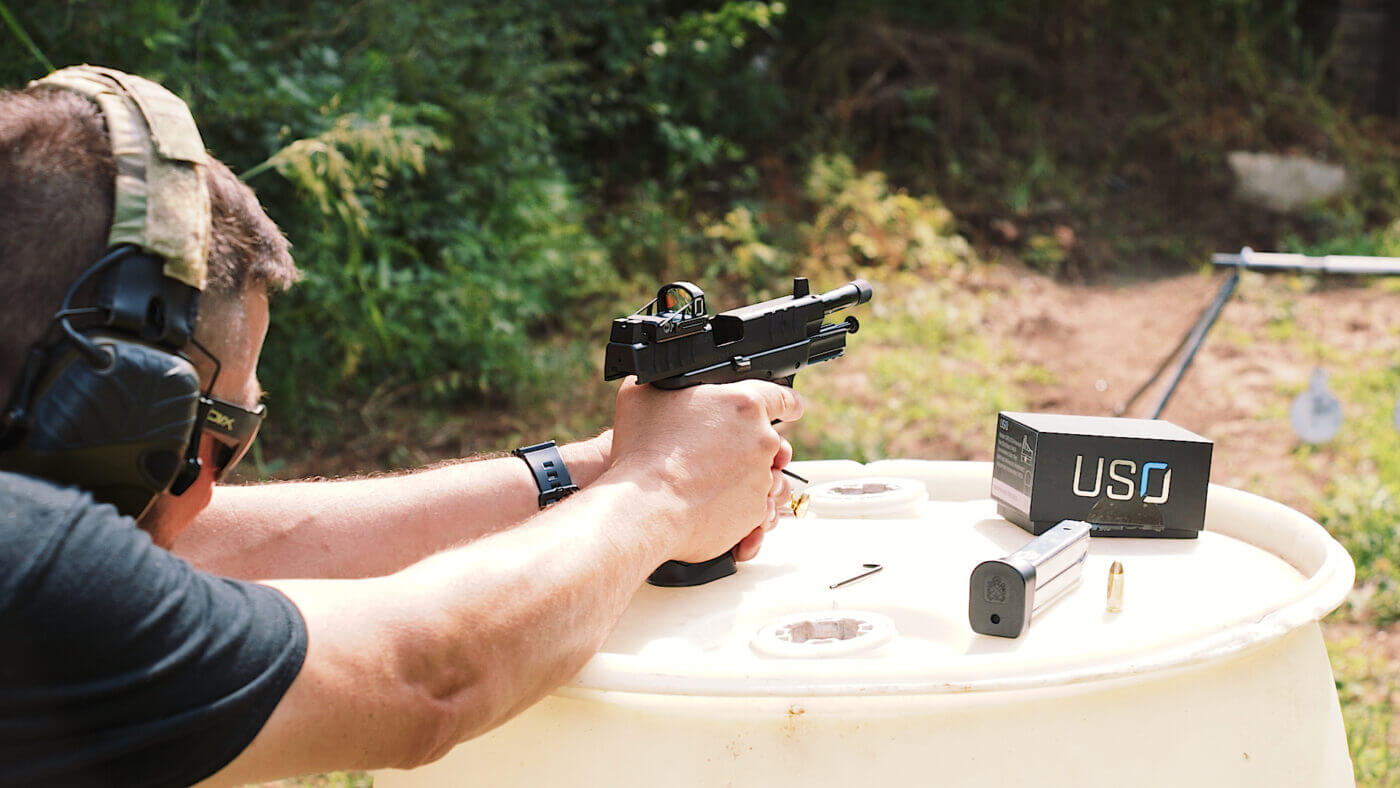
Grant prefers to shoot with his red dots at center mass, so all we had to do was get the red dot set at center mass of the front post with the iron sights aligned.
Setting the red dot to center mass means having your front post and back posts aligned and having your red dot be halfway on your front post. In other words, the top of your front post should be in the middle, or center mass of your red dot.
Make sure there is a steady rest available so that you can rest the pistol and see if you have proper dot placement in conjunction with your iron sights. The rest doesn’t need to be overly solid since we are not shooting from a rest. We only need it to eliminate the shake from our hands and verify our dot is properly placed.
Final Steps
After the dot is placed at center mass fire a few more rounds to see the results. We did that and noticed that our second group was tighter than our first one where we used only iron sights. That is the sign of a job well done.
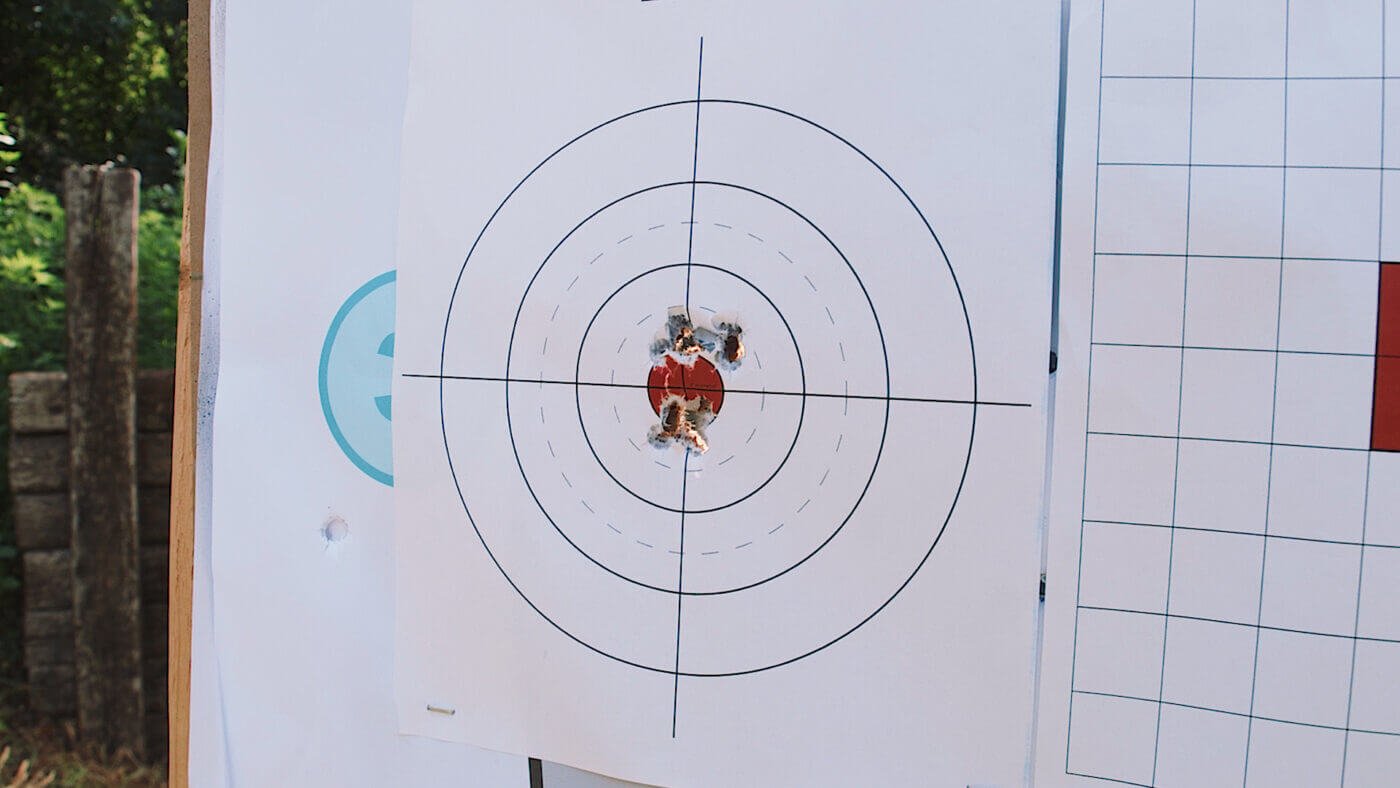
Now, when you shoot all you have to do is find that dot when you present out onto target, and that is where your bullet will strike. You can use your red dot sight to shoot accurately and acquire a sight picture quickly. You will also be able to track your point of aim easier during recoil which is a big advantage of having an optic.
Editor’s Note: Please be sure to check out The Armory Life forum, where you can comment about our daily articles, as well as just talk guns and gear. Click the “Go To Forum Thread” link below to jump in and discuss this article and much more!
Join the Discussion
Featured in this video
Continue Reading
Did you enjoy this video?

 206
206


