If you’re like me, you have scrolled through your Instagram feed searching your gun’s hashtag looking for cool aftermarket triggers, sights, slides and custom painted guns. But I’ll admit, I’ve always been cautious on doing the latter with my pistol.
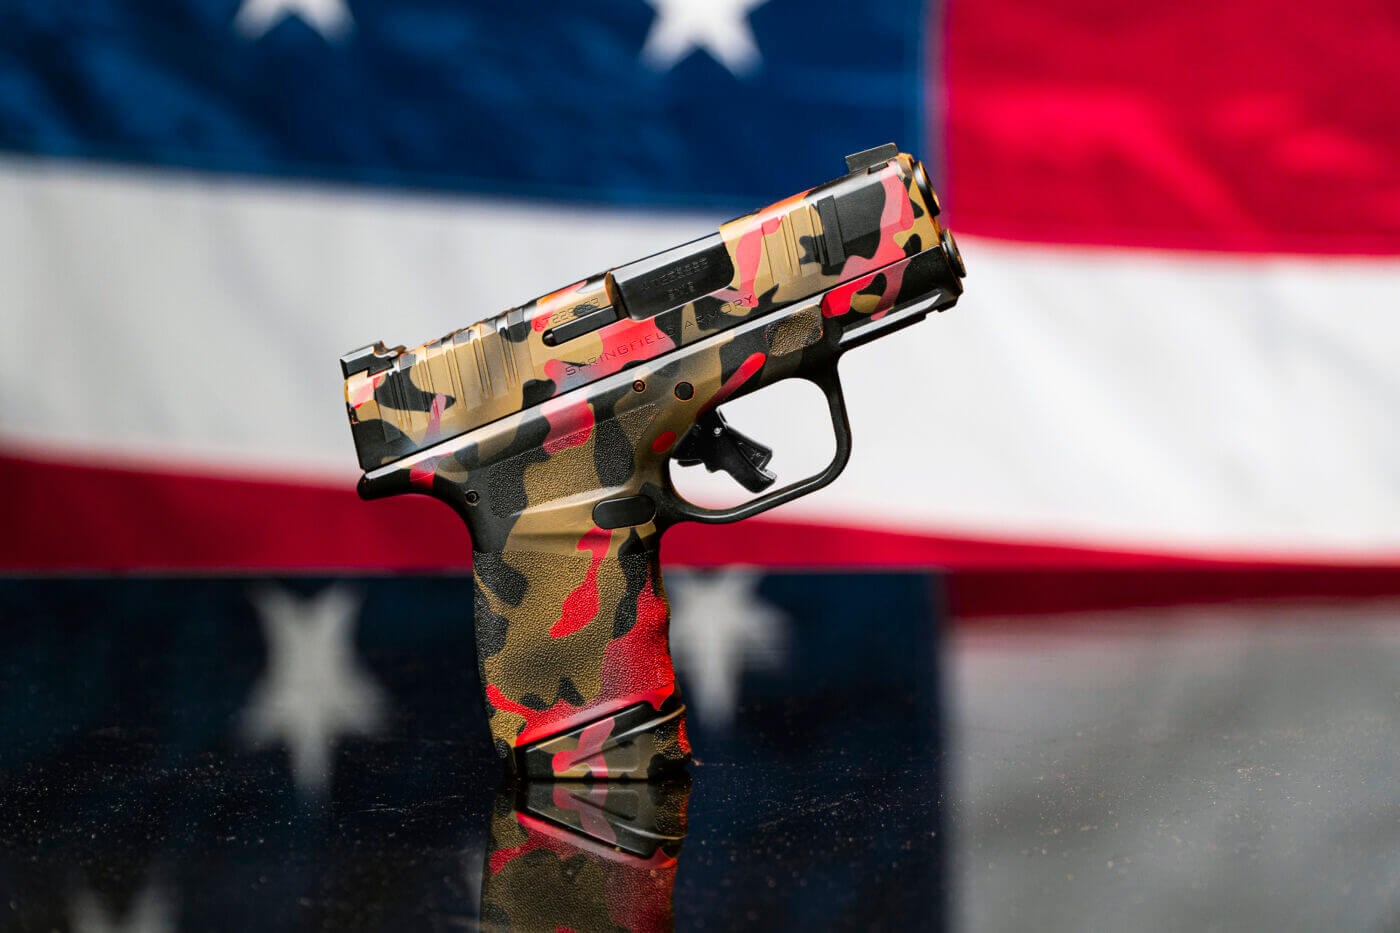
Don’t get me wrong. I’ve seen some very cool custom guns, and I always like everyone else’s painted guns. However, I’ve always feared I would hate it once I did it to my gun. Having Cerakote put on your gun isn’t completely permanent, but it might as well be since it can be quite tough to remove.
Having Cerakote on your gun does have some actual advantages, you know, other than making your gun look pretty. It also does a great job of adding an extra layer of protection on your gun from rust. If you’ve ever been around an old collection of guns, you’ll notice that over time your fingerprints will leave rust marks on some gun finishes. Well, that doesn’t happen nearly as easily on Cerakote.
My Plunge
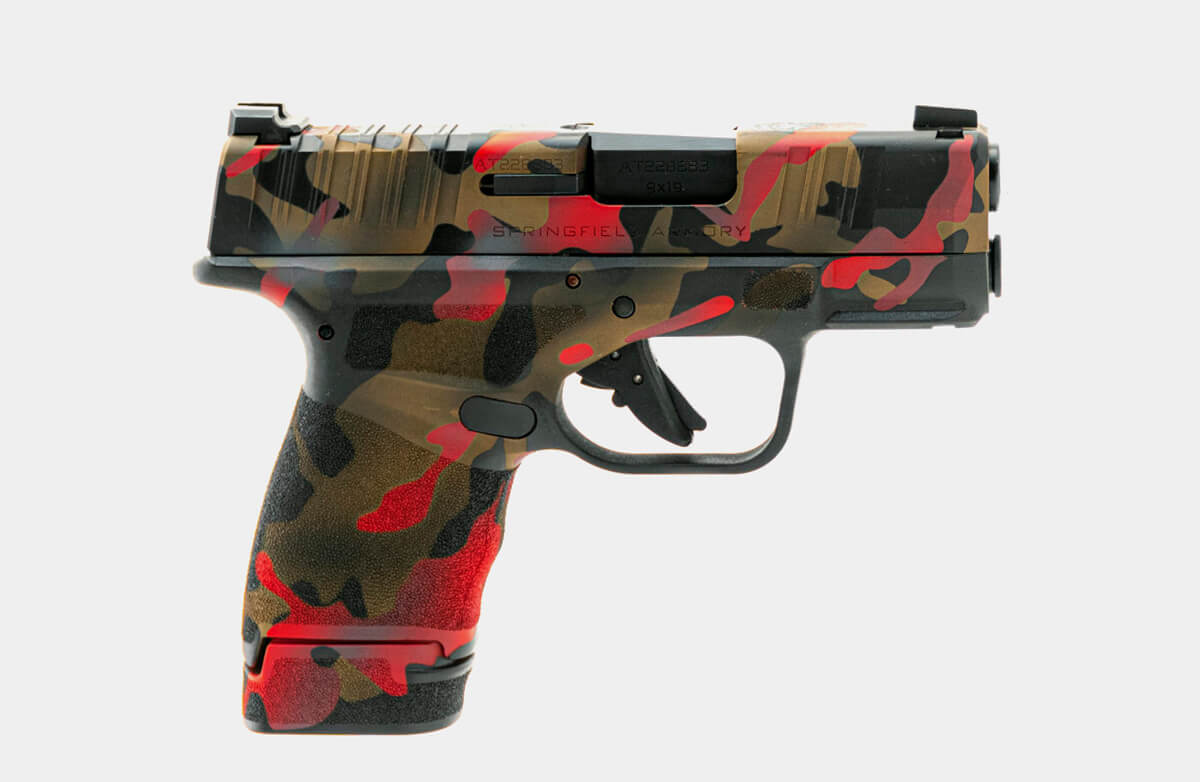
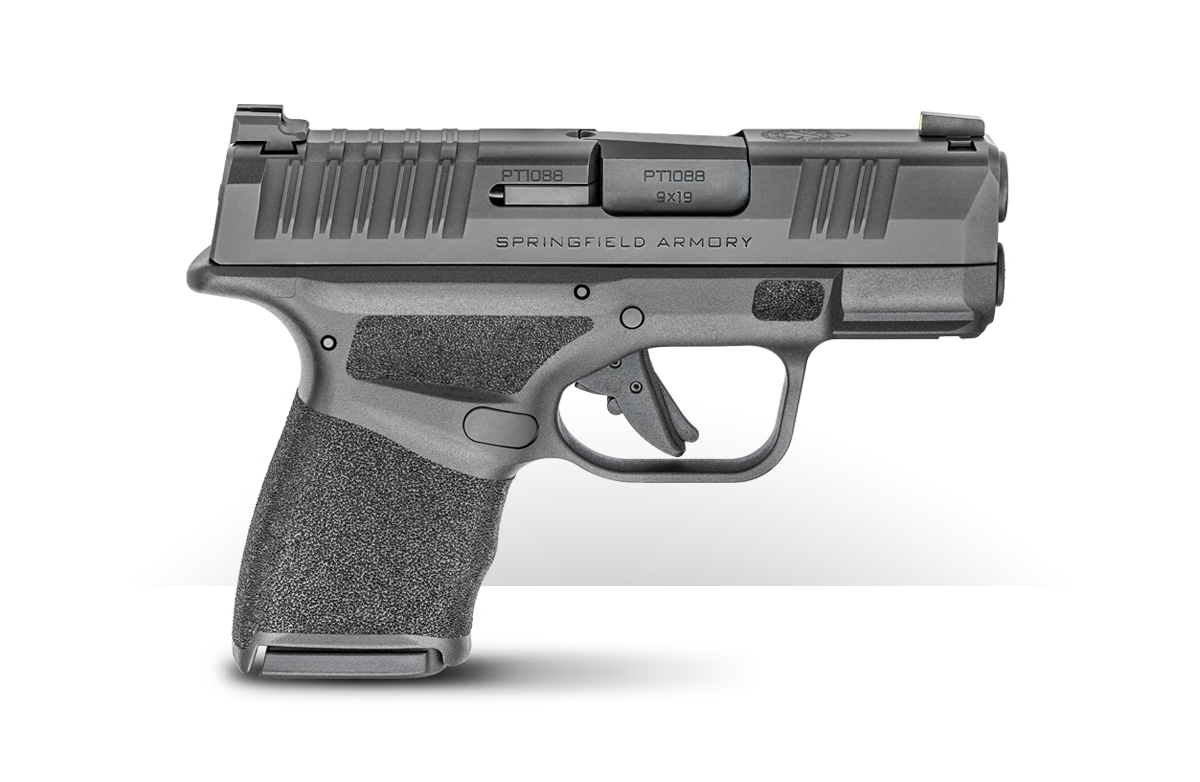
Well, I thought it over and chose to take the plunge. I decided to take a leap of faith and have my Springfield Armory Hellcat painted. I love my Hellcat and altering its factory look was a decision I didn’t take lightly. As a result, I knew I needed the best of the best to tackle this project for me. Luckily, the guy I needed was right in my backyard. Check out my video review of this project above, and keep reading my article below.
That guy is Brandon Kelley, owner of Rayzor’s Edge Tactical. He is located in Joplin, Missouri, and he just happens to be one of the best when it comes to custom guns. I called Brandon to brainstorm ideas and I ended up settling on a mostly dark camo pattern, but with some red in it. That way I could still have a little bit of flare and also have some Springfield Armory red in the design.
The Details
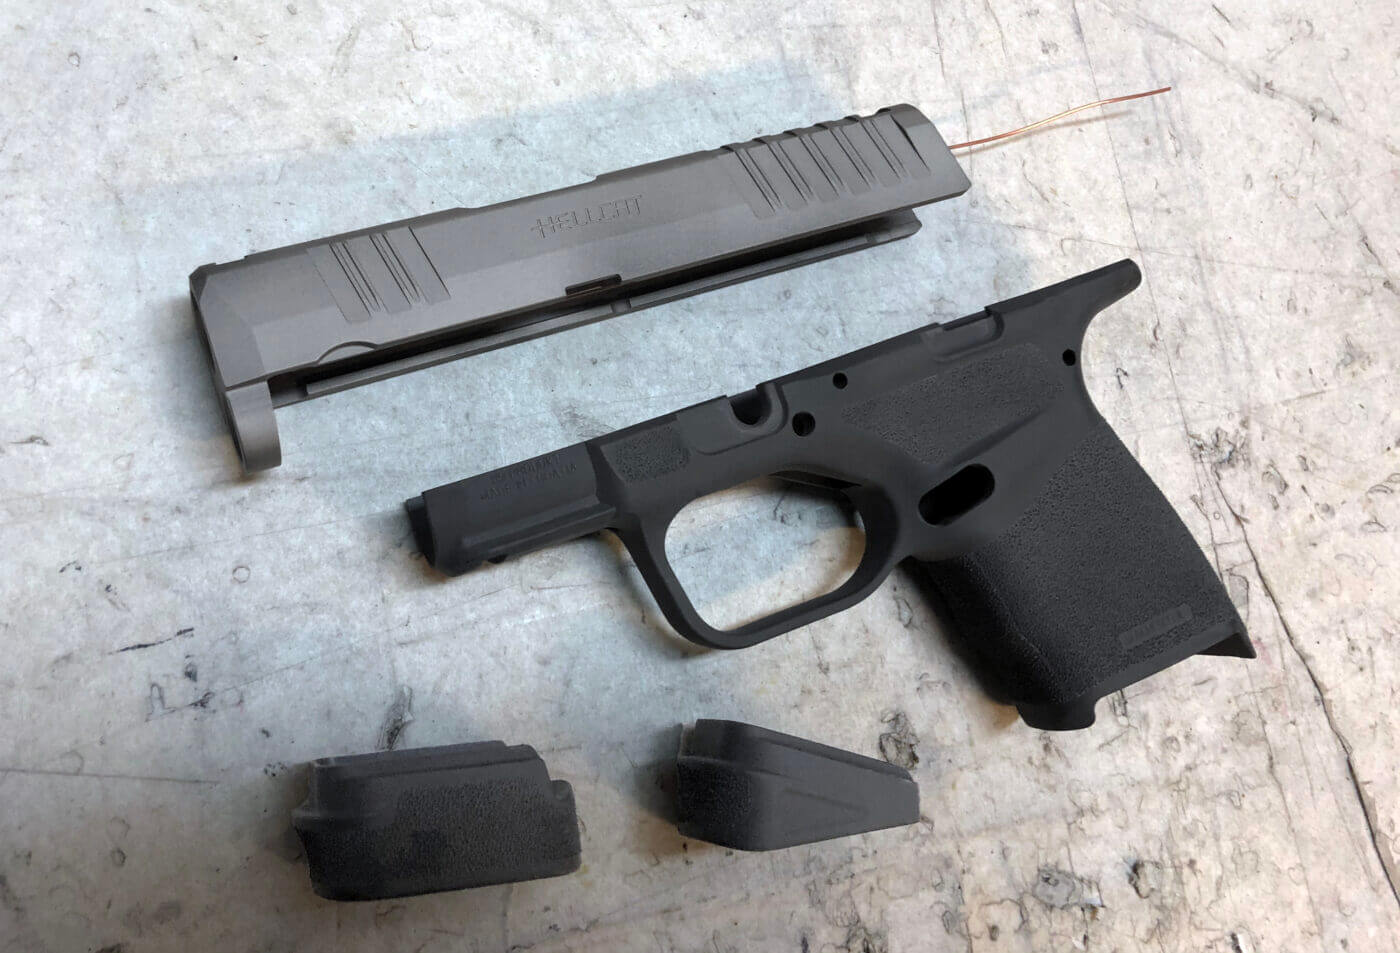
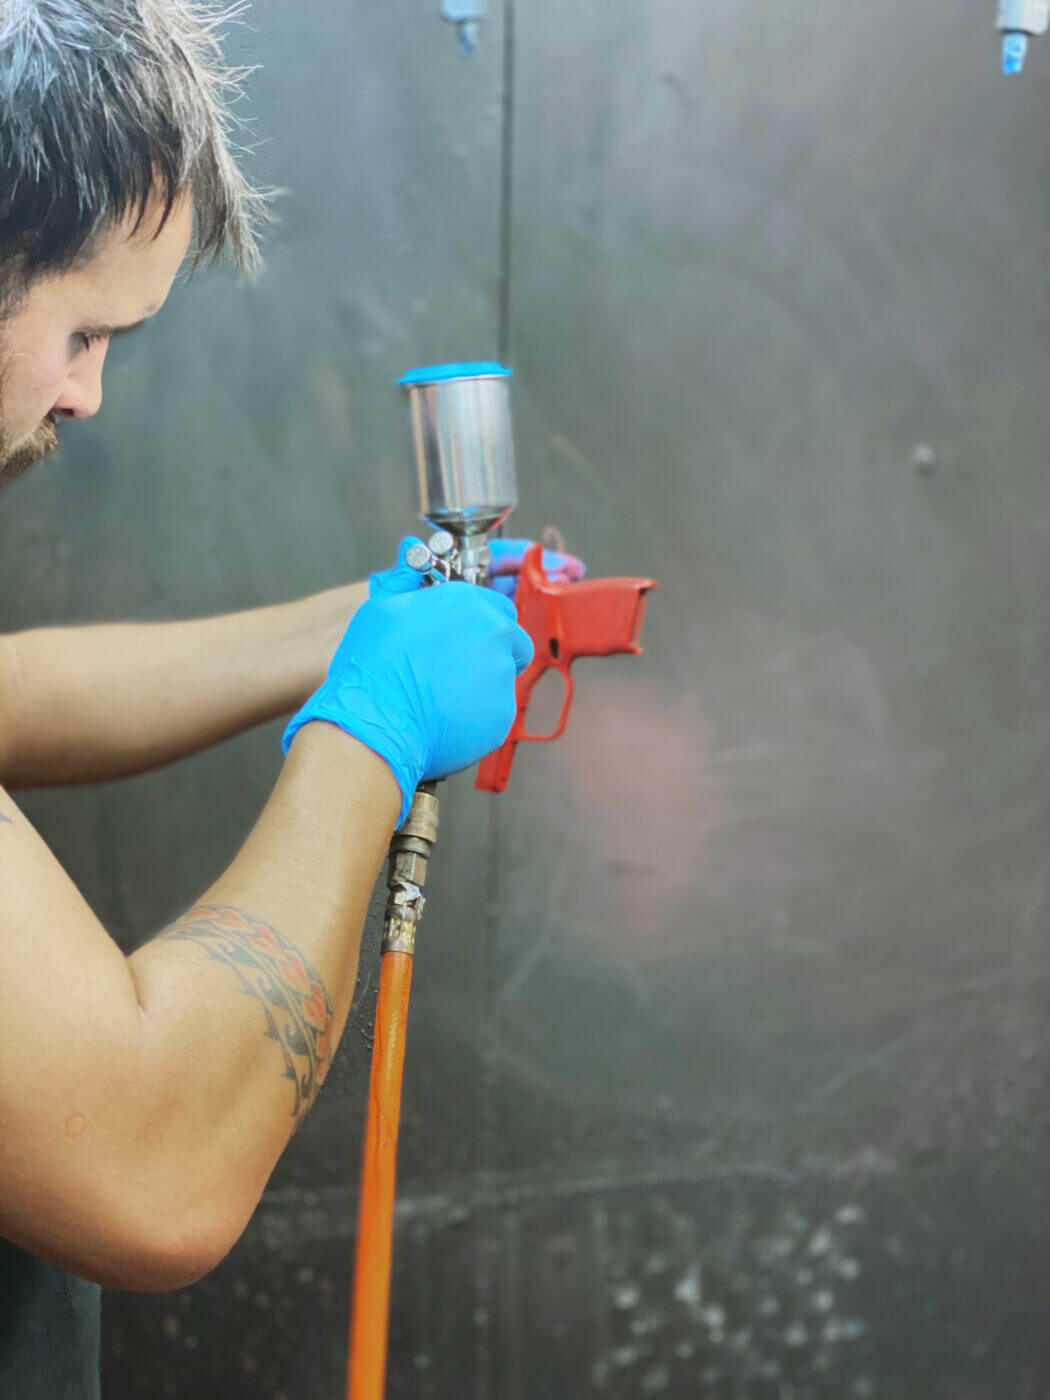
Here is a basic rundown of how Cerakote is applied. Every gun is completely disassembled, in the case of a pistol down to the bare slide and frame. Every pin, spring and small part is separated. The parts that are going to be painted are soaked in an acetone tank and then baked in an oven at 200 to 250 degrees to remove any oil. The parts are then blasted with aluminum oxide, cleaned with dry air and then baked in the oven again. This ensures all parts are completely clean and dry.
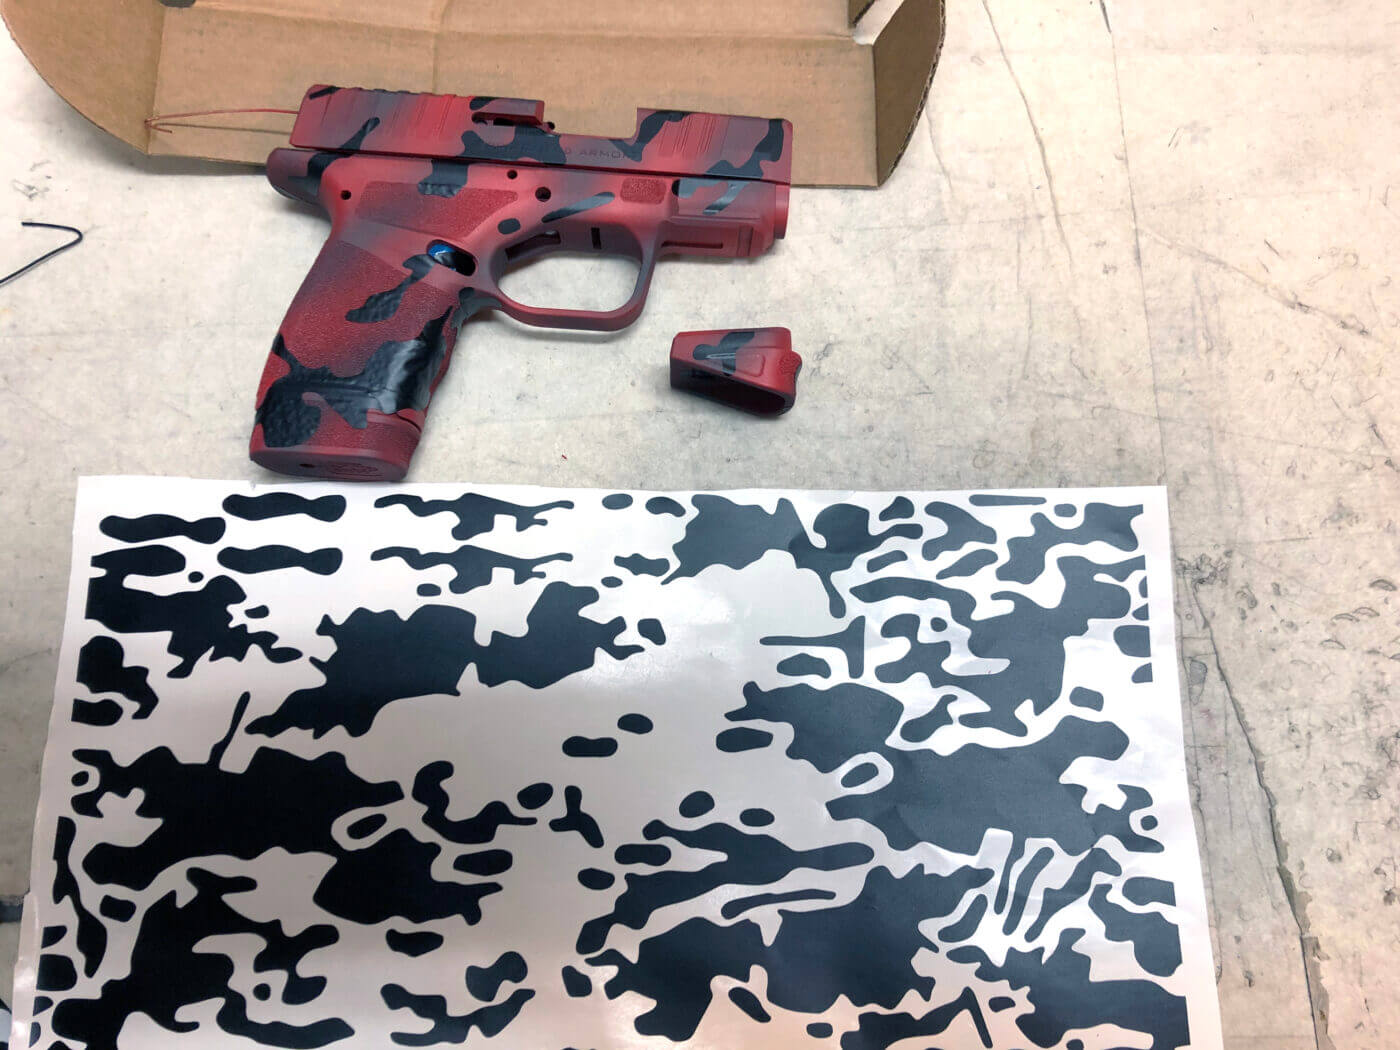
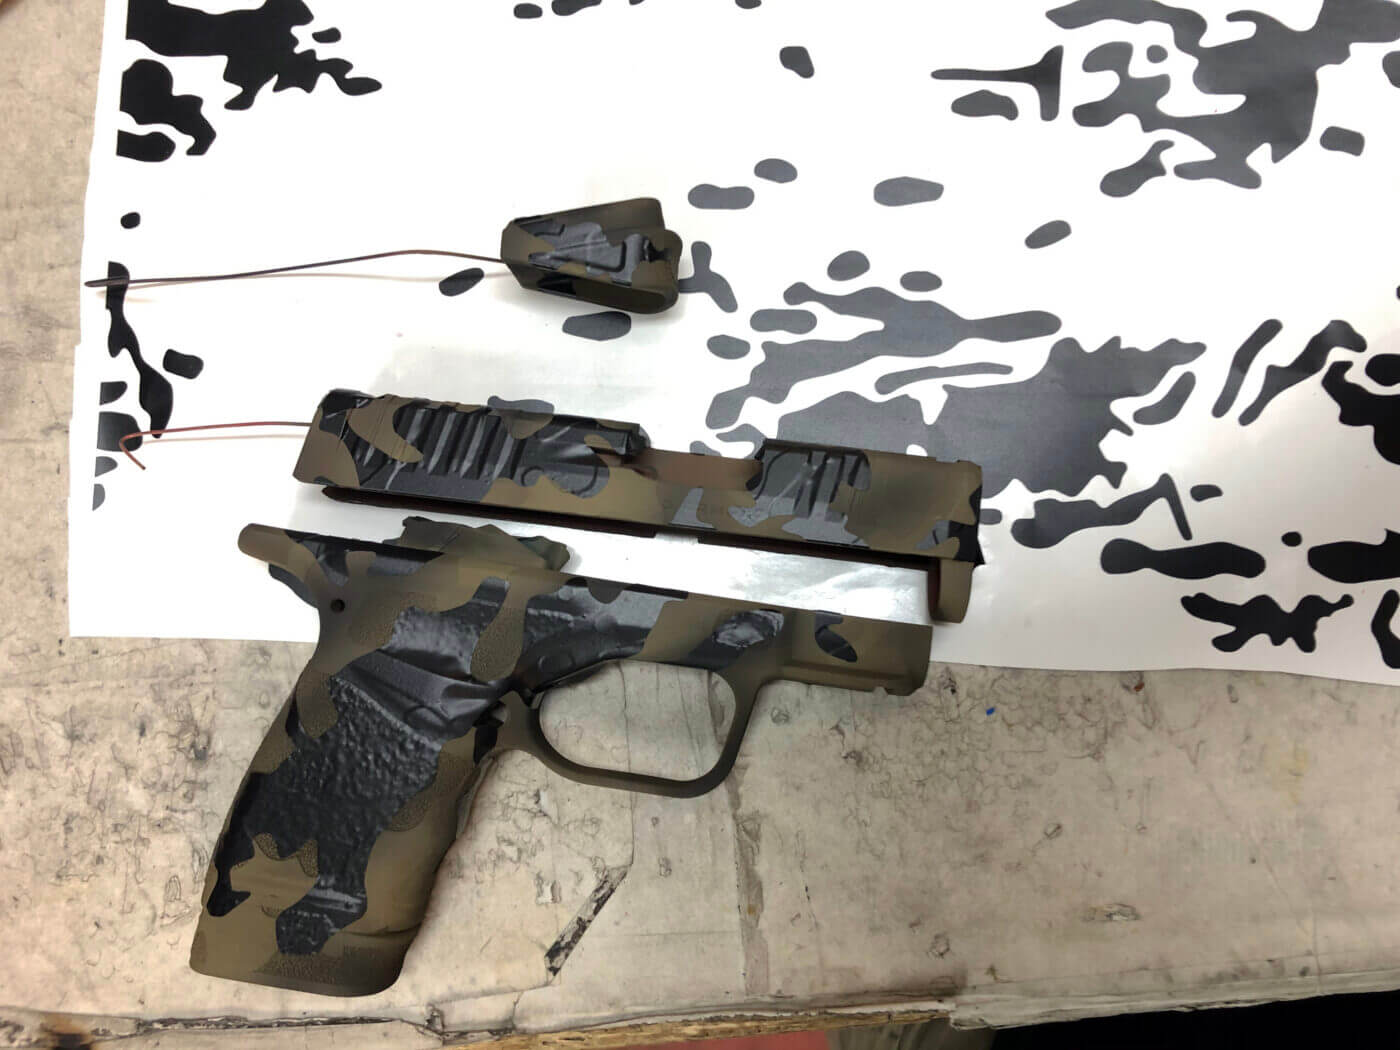
Each color is sprayed on one at a time with an HVLP paint gun. After the base color or colors are sprayed, a set of vinyl stencils is laid down on the parts before the application of the next coat (or coats). The stencils will remain on until the gun is completely finished — that is, unless a “battle worn” effect is applied. The battle worn look is achieved by airbrushing black over a color or pattern then using scotch bright or another slightly abrasive material to lightly remove the black.
I did get the chance to interview Brandon for some information about the whole process of painting a gun like this. I also asked him about the various costs and turnaround times. Here’s what I learned.
For a solid color paint job, it would cost around $50 for the slide and an additional $50 for the frame. That includes disassembly and reassembly. A camo pattern like mine would be about $225 on a pistol and $325 on a rifle.
Usually, the turnaround time for a project depends on the current workload and the specifics of the job. It could take anywhere from three days to three weeks. So, if you have one painted, just know you may be without your gun for a bit — just another reason to have more than one gun, right!?
The Result
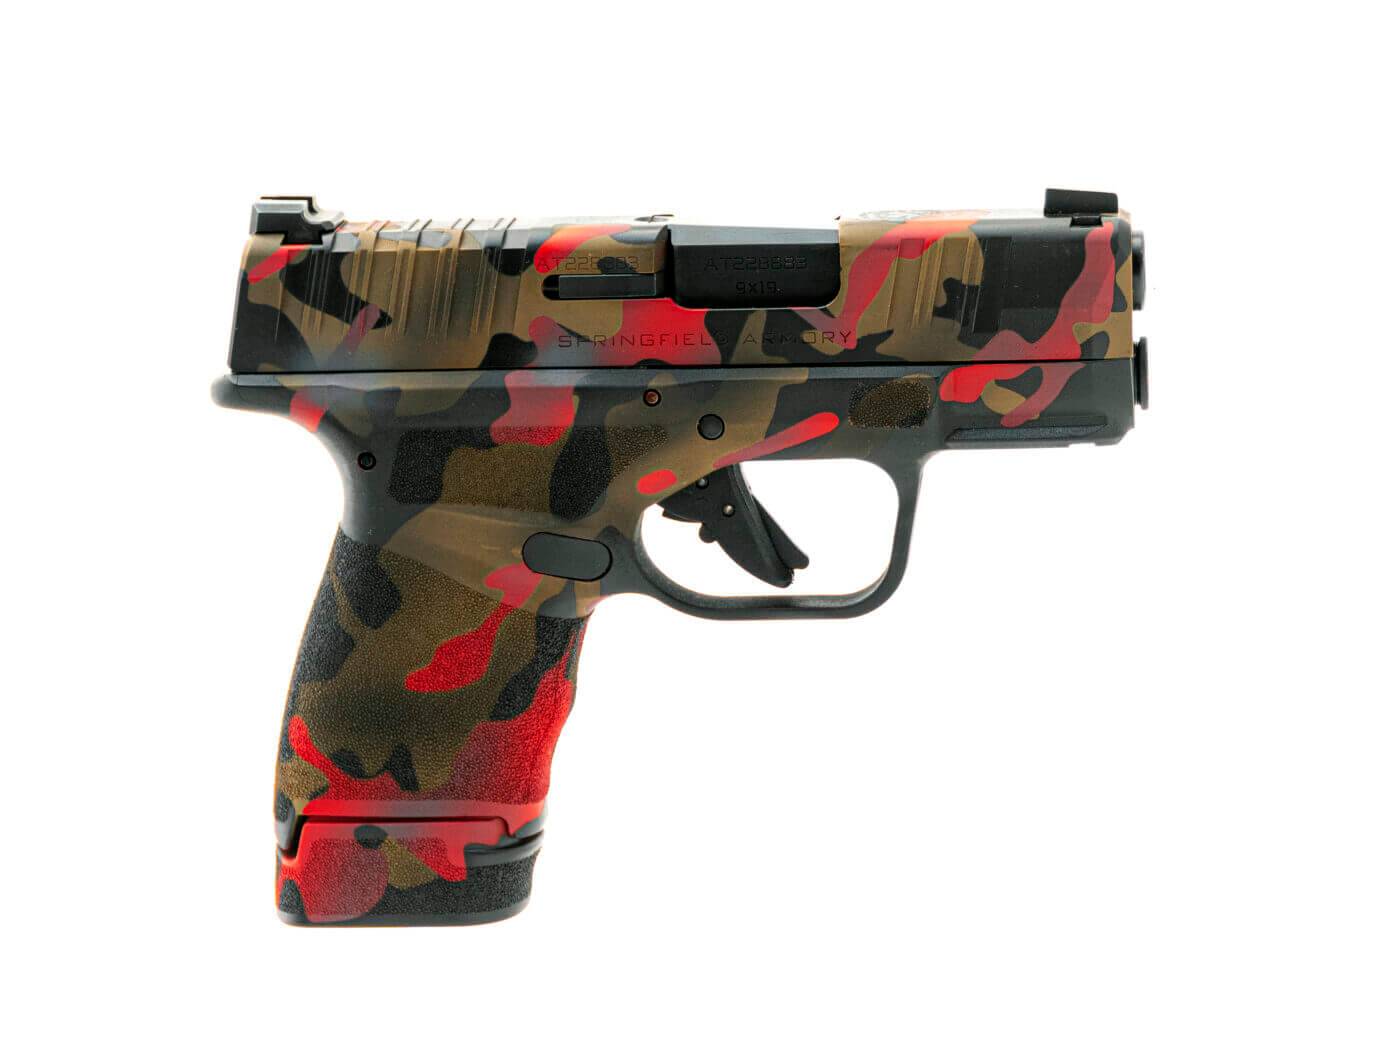
I’ll cut to the chase and state that I loved the work Brandon did on my Hellcat. It ended up being this crazy camo look I had never seen before, and I was thrilled. I’m already picking out colors for my other guns, so we will see what the future holds.
Brandon Kelley at Rayzor’s Edge Tactical is the real deal when it comes to custom paint jobs. You may be wondering how to tell if someone is good at doing this custom work or not, and here is a simple trick I’ve learned in my endeavor — take one of their paint jobs that has multiple colors like a camo for instance, and where the different colors meet there should be very, very minimal raised edges. This means that the painter took his time to make everything even.
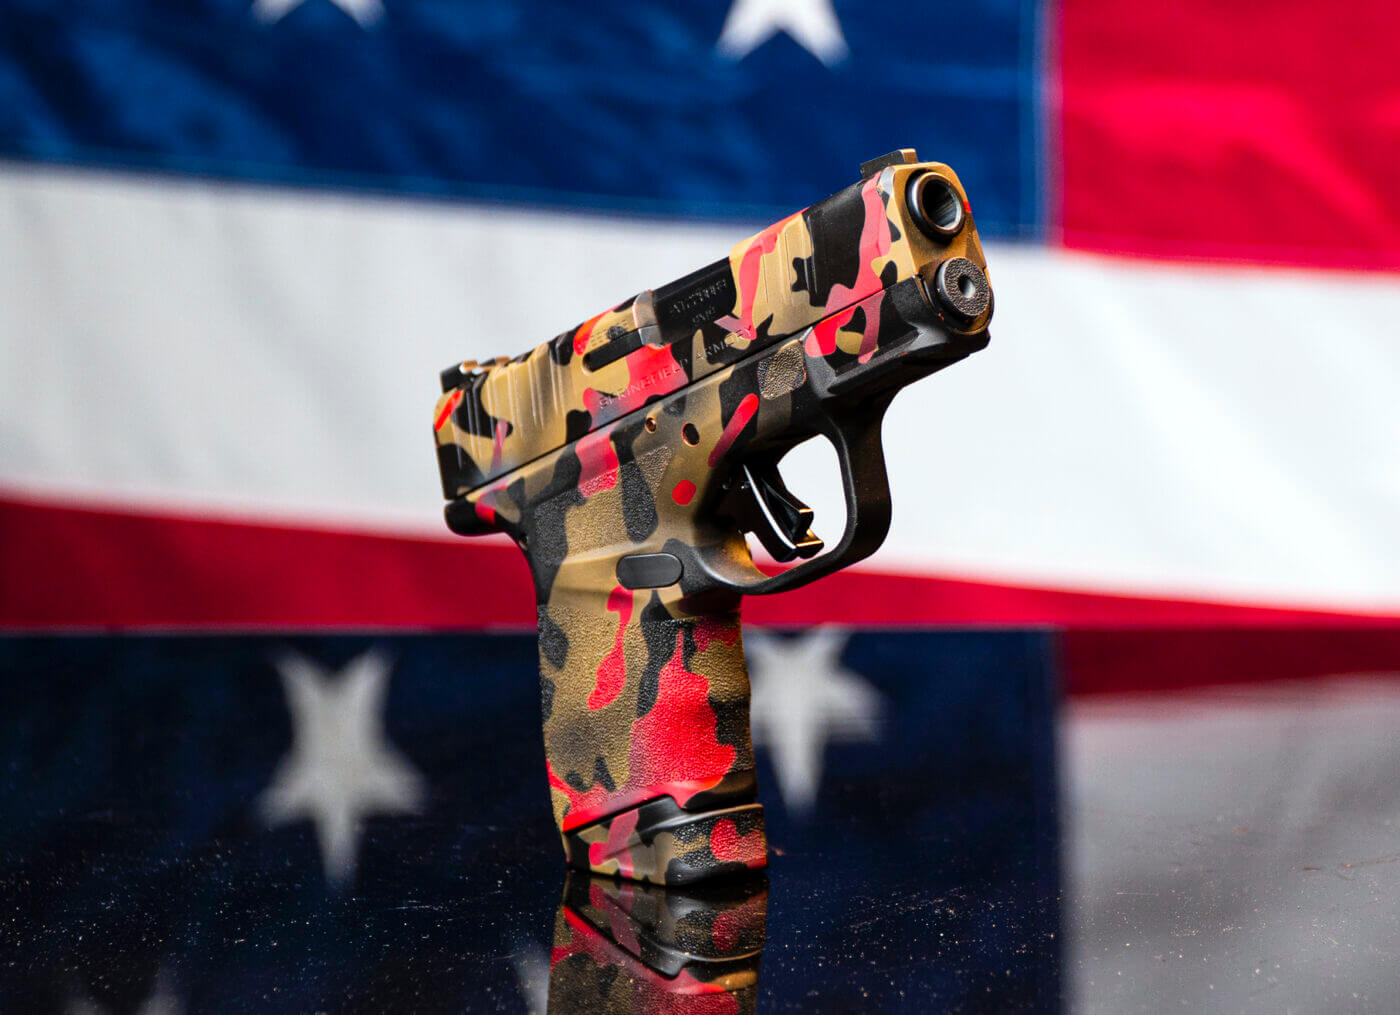
If the painter is not very experienced, usually these edges will be rough where the paint built up against the stencil. That rough edge will peel off quicker, where a smooth one will last a long time. I noticed Brandon’s work always feels smooth where the color changes are, and that’s one way you can tell it’s quality work.
He actually just painted a gun for David Nash, more commonly known as 22plinkster, and he has painted for our GunSpot sponsored shooter, Cheyenne Dalton, plus other big names out there. So, if you need an awesome paint job, I’d encourage you to hit up Brandon Kelley at Rayzor’s Edge Tactical!
Your Turn
If you have a custom gun, post some pics of it in the forum thread (linked below) so we can check it out. And let’s also hear your thoughts on having a custom EDC and share why you think it’s good or not. I’d like to hear your stories and thoughts on the subject. Also, be sure to read the Springfield Hellcat review if you’re not already an owner. This is an amazing gun.
Editor’s Note: Please be sure to check out The Armory Life Forum, where you can comment about our daily articles, as well as just talk guns and gear. Click the “Go To Forum Thread” link below to jump in and discuss this article and much more!
Join the Discussion
Featured in this video
Continue Reading
Did you enjoy this video?

 36
36


