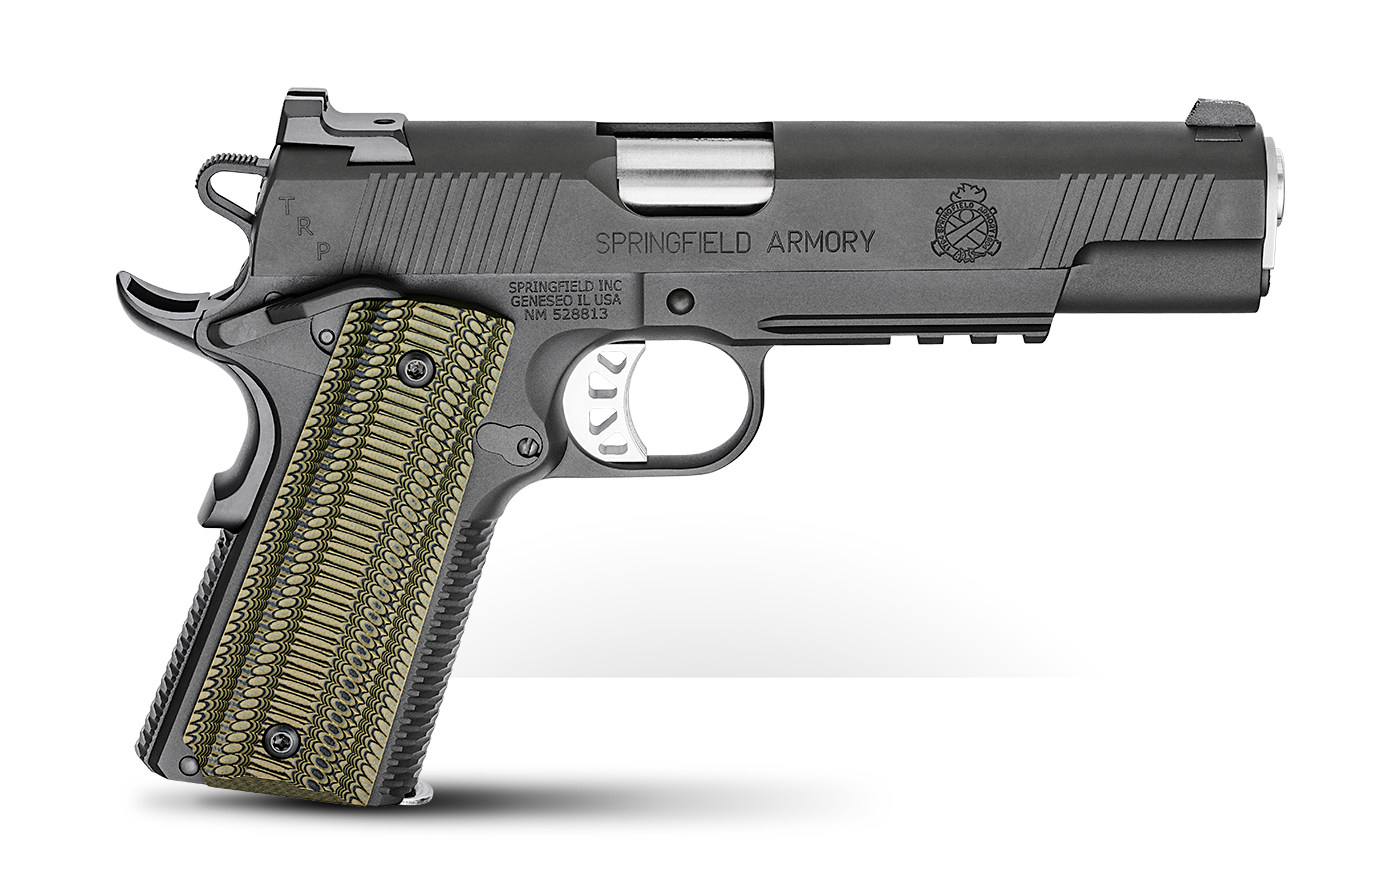
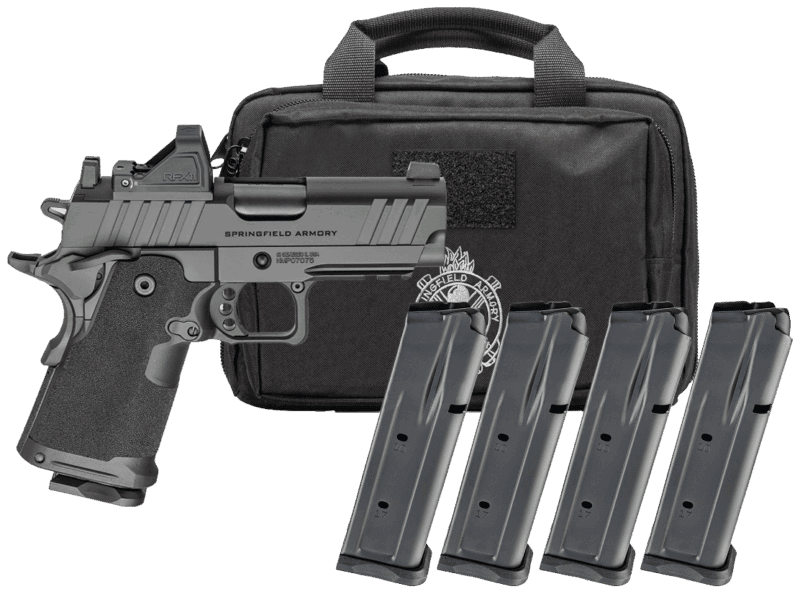
Isn’t it fascinating how a seemingly small component can greatly affect the performance of a M1911 handgun? Such is the case with the guide rod on the Springfield Armory TRP Operator. It comes with a full-length guide rod, but I prefer a GI guide rod in my 1911 pistols.
I’ve been in the firearms business for quite a while now, and I’ve got some valuable insights to share about replacing the factory full-length guide rod. The work is a little tedious, so I put together this video and guide to help you fit an original style spring guide in your personal gun without having to send it back to the manufacturer.
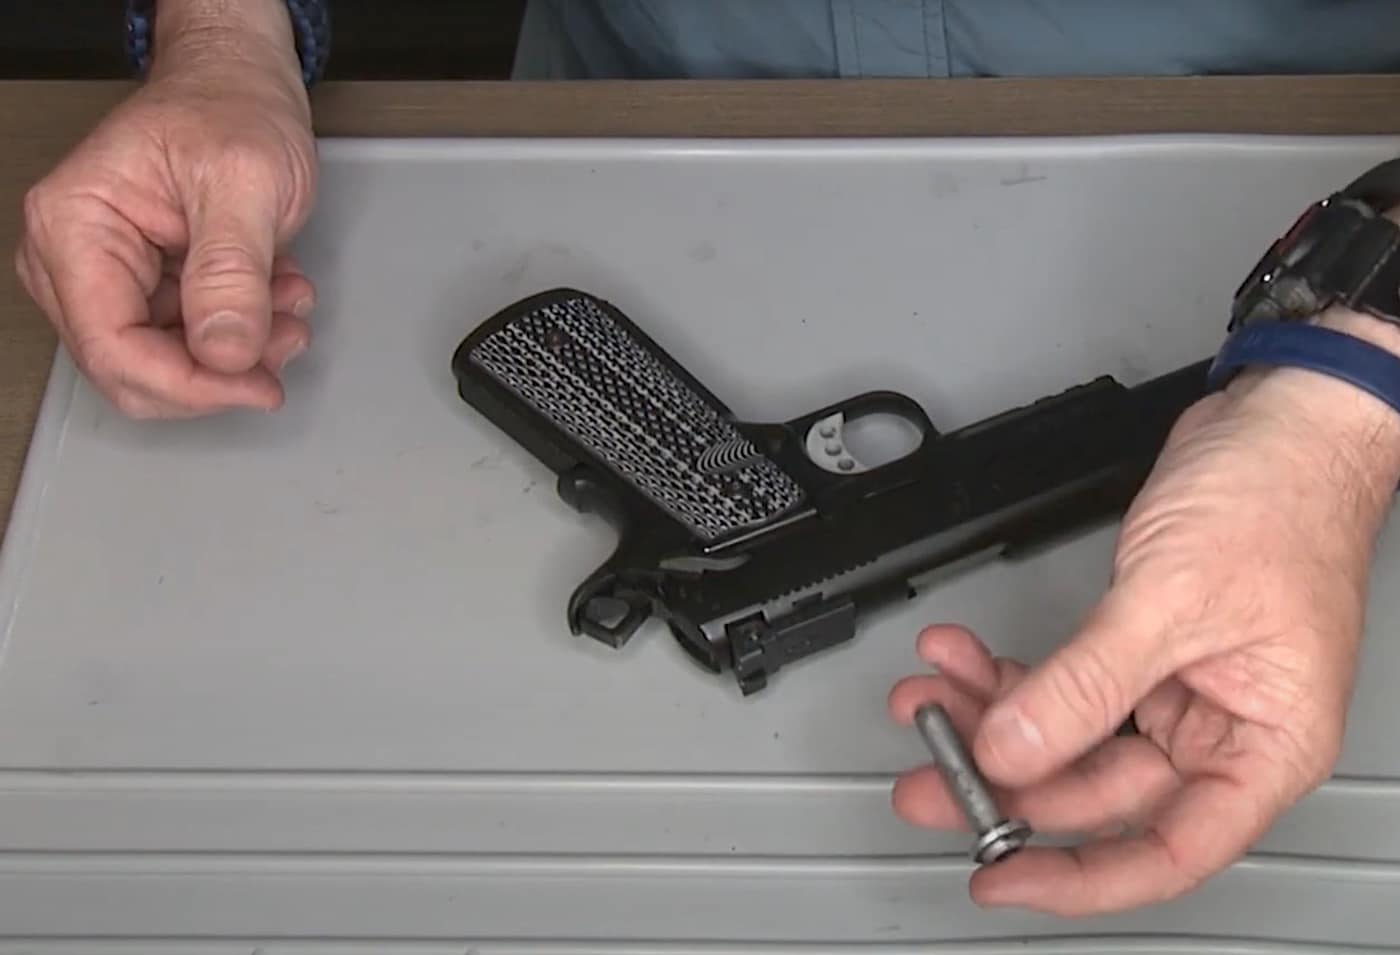
[Be sure to see all of the new TRP pistols.]
You might be wondering if swapping out the guide rods is easy or if you need to have a gunsmith do it for you. Well, if you can field strip a 1911 pistol, you can manage a guide rod replacement. There are few things easier to do on the Springfield TRP, or any gun for that matter.
Preparation
Before attempting to replace the guide rod, make certain your Springfield Armory TRP pistol is completely unloaded — both the magazine is removed and the chamber is empty with the slide locked back. This is a critical safety measure I can’t stress enough. An accidental discharge can be catastrophic.
You will need only one part for this: a new GI length guide rod. This standard length rod can be purchased virtually anywhere including the Springfield Armory store. You can also get nice aftermarket parts from places like Dawson Precision and Wilson Combat.
Now, let’s talk about tools. You won’t need a specialized kit for this job. Springfield Armory uses a solid, 1-piece guide rod instead of those janky designs that some companies prefer. Fortunately, Springfield uses the superior design. Please and thank you.
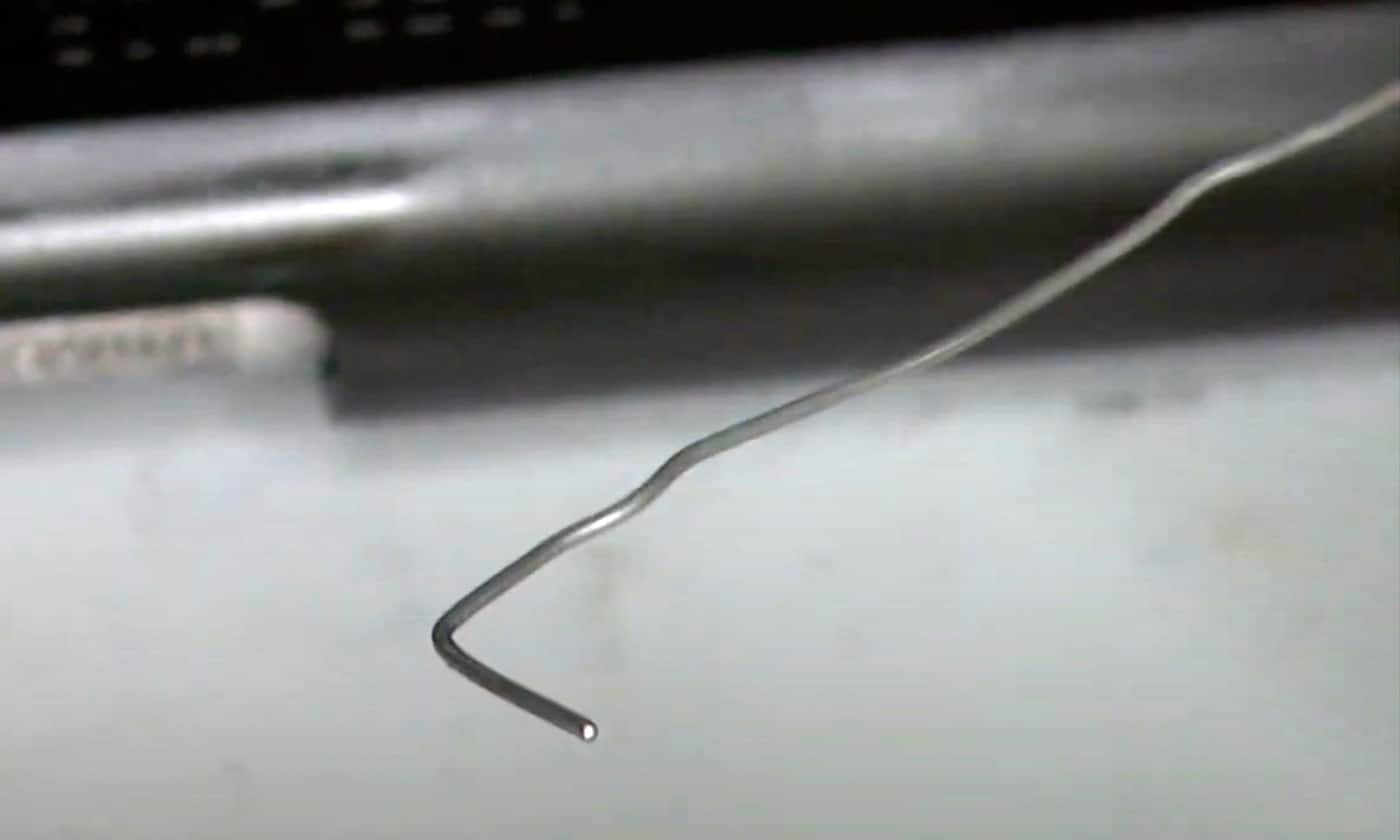
Believe it or not, a simple paper clip can be your best friend here. It’s used to hold the recoil spring in place during disassembly. Handy, right?
Straighten the paperclip and then put a 90˚ bend into one end with about 1/2″ exposed on the right angle. This is the only tool you need and will complete the setup. You can also buy a specialty tool, but the office supply version is a much cheaper deal.
I recommend wearing safety glasses during this process, as you will be working with metal parts under strong spring pressure.
Disassembly Process
With preparation out of the way, we can now roll up our sleeves and get down to the actual disassembly process. Double check to make sure your pistol is unloaded — safety first, always when handling firearms.
Lock the slide back on your Springfield Armory TRP.
This will expose a small hole in the guide rod just forward of the pistol frame’s dust cover. Slide the short end of the paper clip into the hole.
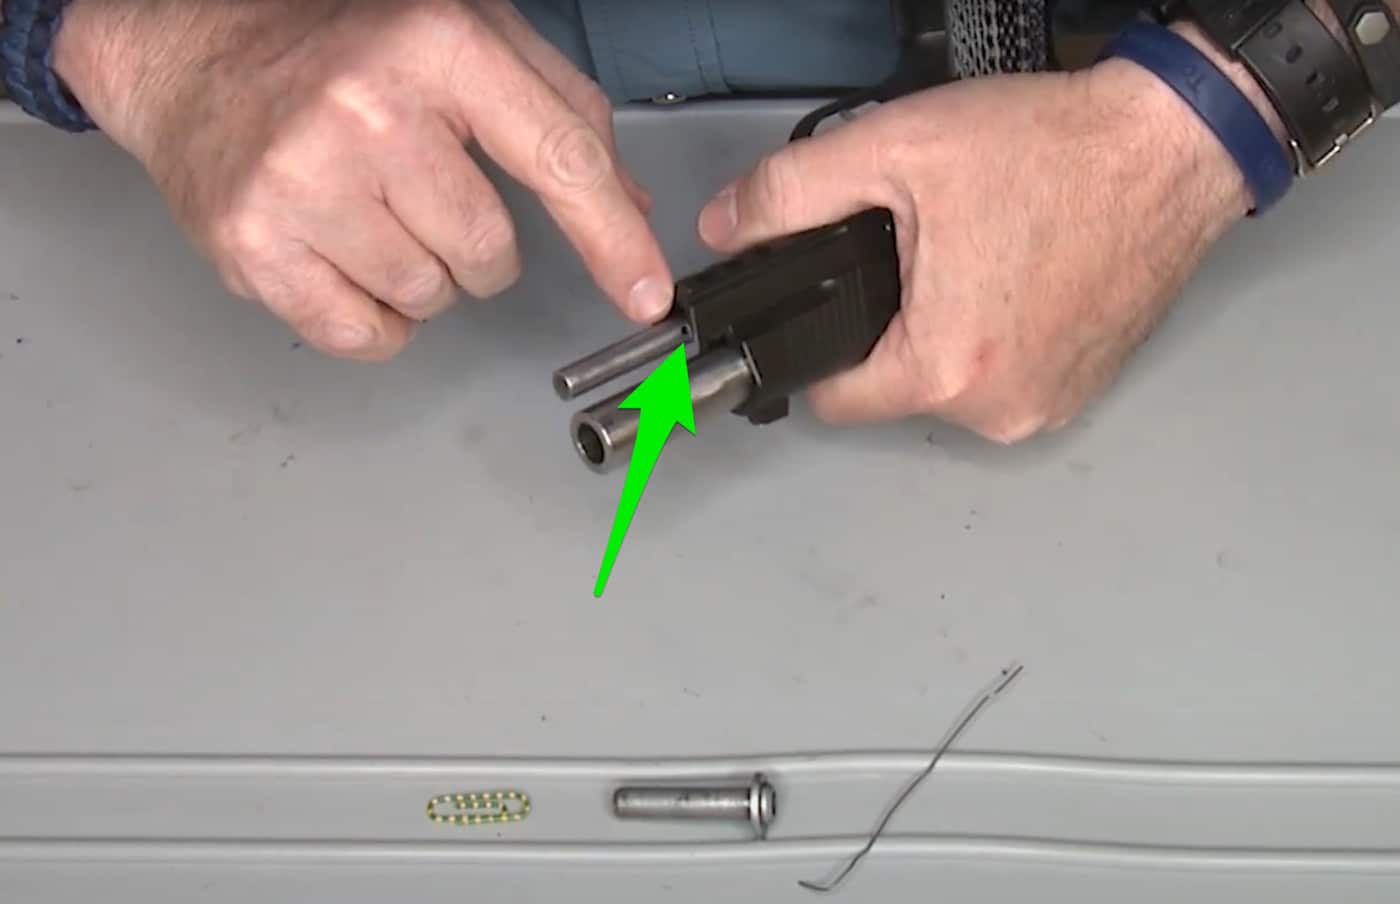
While the clip remains in the hole, allow the slide to ride forward and rest against the exposed part of the clip.
Now, match up and remove the slide stop. It should be aligned to do so with the slide resting against the paperclip.
With the slide stop removed, you should be able to move the entire slide assembly forward and off of the gun’s frame. It’s straightforward, but requires a bit of care.
Place the firearm frame to the side, and lay the slide assembly in front of you with the sights resting on the workbench.
Push the barrel back, but do not try to remove it. Gently push the guide rod assembly to the rear and out of the slide.
With a firm grip on the guide rod assembly, depress the plug. This is under spring pressure, so make sure you have a good grip. As you depress the plug, the tension on the paperclip should vanish and you can remove it. Then allow the plug to carefully move forward and release the spring pressure.
You can now set the full length guide rod to the side. However, keep the other parts handy, as you will use them when reassembling the 1911.
In the next section, we’ll discuss the reassembly process.
Reassembly
Now that we’ve disassembled the Springfield Armory TRP, let’s get it reassembled correctly. It’s important to point out that we’ll be using the GI guide rod and recoil spring this time.
First, insert the GI rod into one end of the recoil spring.
Now, take the factory plug and slide it into its forward position in the slide. Once there insert the free end of the spring into it.
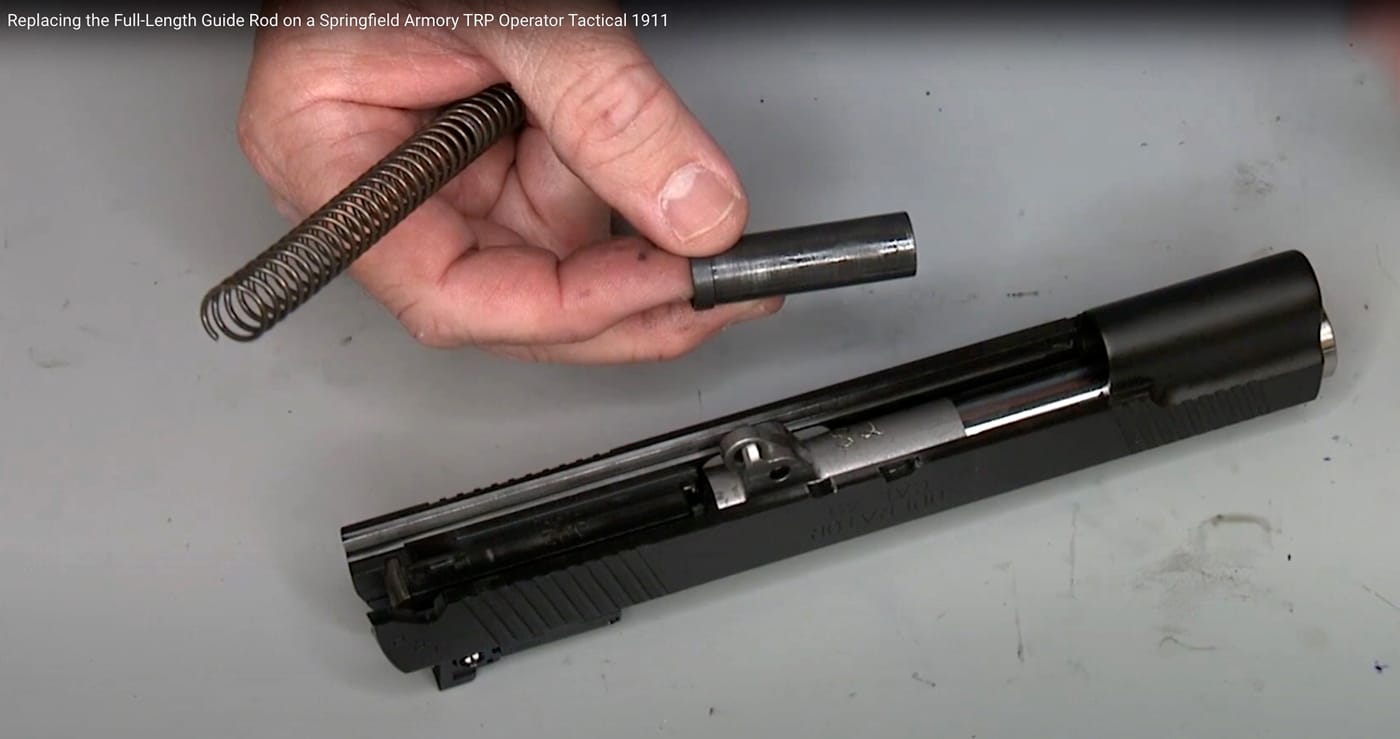
Carefully compress the spring with the GI rod until you can slide it home in position on the barrel. I find that I can control the wobble of the spring by keeping one hand curled over it while I compress the spring.
With the new guide rod is seated, keep one hand curled over the recoil spring to stabilize it.
Align the slide rails on the gun’s frame to the slide and gently push it into position. Insert the slide stop and lock the slide to the rear.
The assembly process is now complete.
One thing to note, though, is that you’ll still have a hole in the front of the plug. However, this doesn’t impact the function of the pistol in any way. You could potentially find a reverse plug without a hole if it bothers you aesthetically.
Final Considerations
When you’re swapping out the guide rod, you might notice the hole in the front of the plug. Don’t worry about it. It doesn’t impact the gun’s performance. In fact, the absence of the guide rod makes disassembly easier. If you’re a stickler for aesthetics, you can find a reverse plug without a hole.
Regarding shooting performance, I haven’t noticed any significant changes. Your TRP should be ready for normal shooting at the range.
Well, that’s about it, folks! With a bit of patience and the right tools, you can easily swap out the full length guide rod on your Springfield Armory TRP. Remember, these modifications can greatly enhance your firearm’s performance.
Always stay safe and adhere to all gun handling procedures. Don’t be afraid to tinker with your firearm — it’s all part of the thrilling journey of gun ownership.
Happy shooting, everyone!
Join the Discussion
Featured in this video
Continue Reading
Did you enjoy this video?

 37
37


