Let me take you back to a time when cellular phones were the size of a briefcase. Some of you may remember the battery packs attached to the first cell phone that your dad made you carry while he talked on the phone. Then, in what seemed like the blink of an eye, cell phones were the size of a stack of business cards.
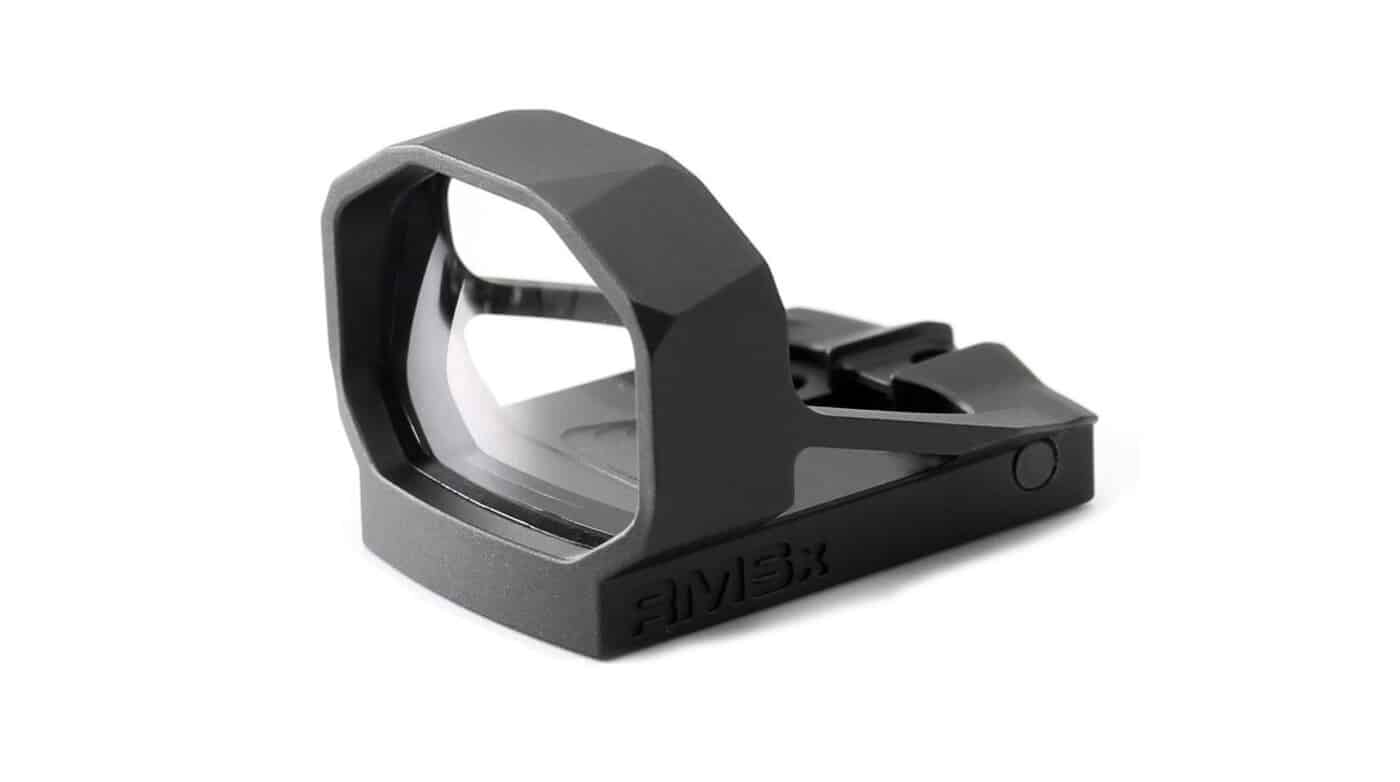
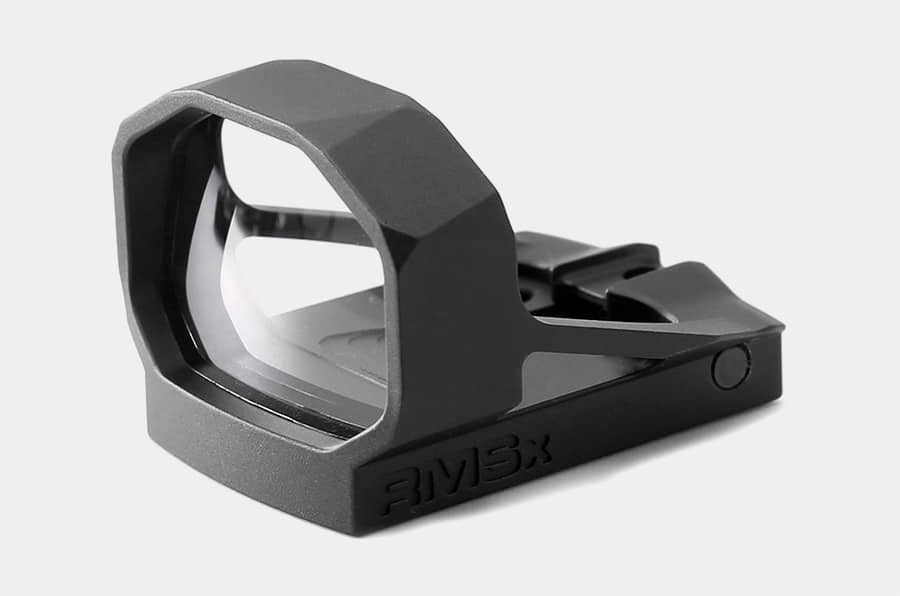
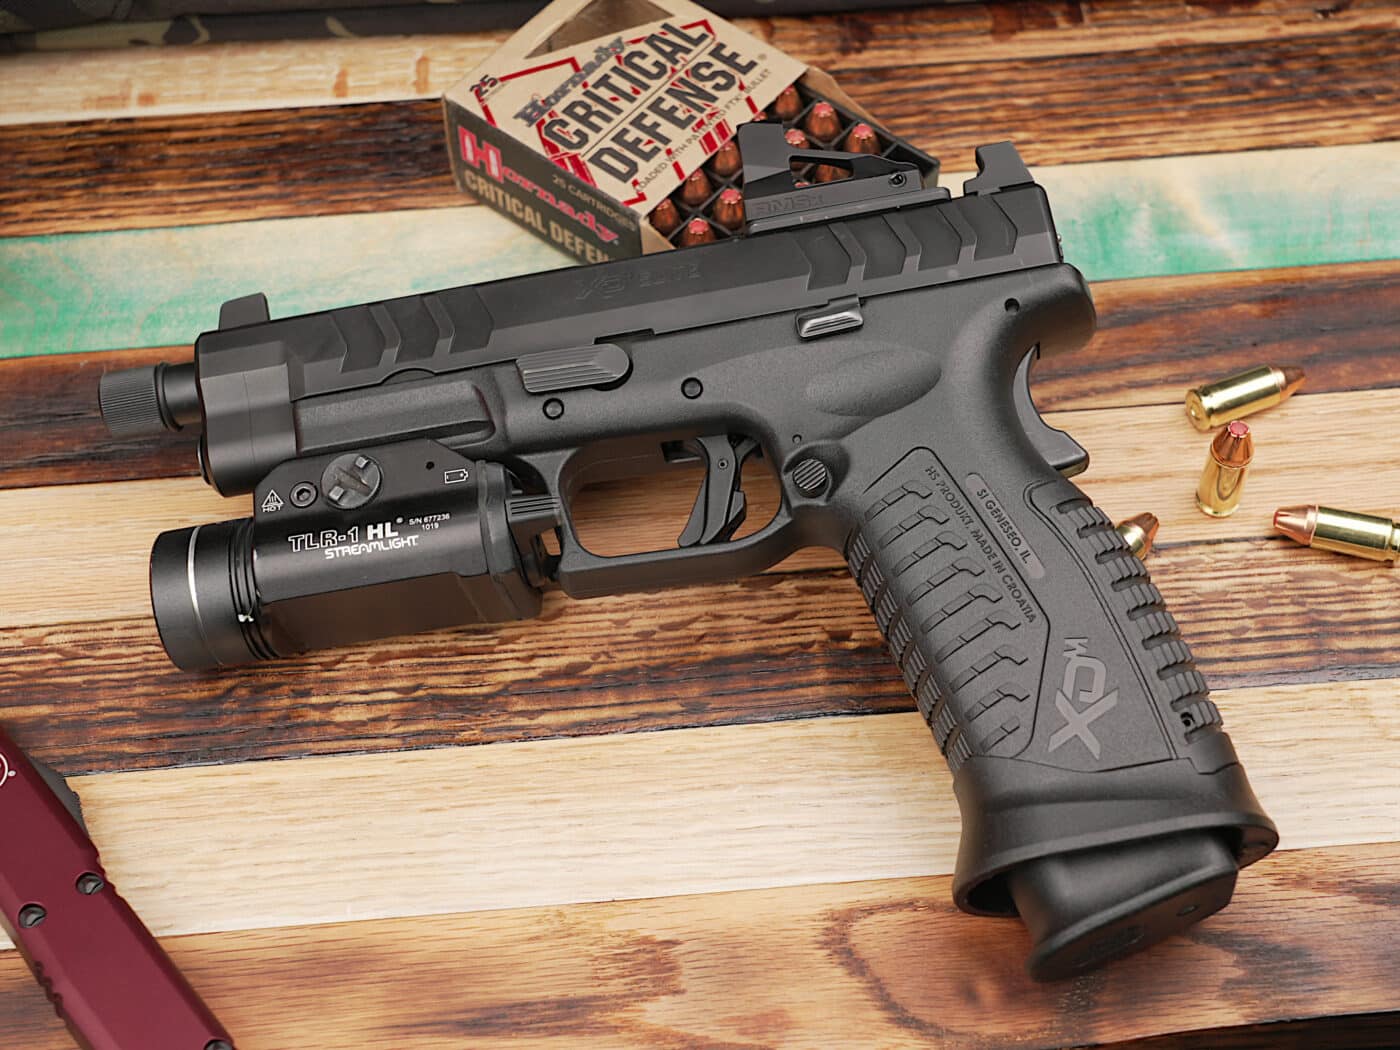
Now, in the modern era, cell phones have settled out to a certain size for the most part. This is the same with many modern optics. But the new Shield RMSx takes that principle and turns it on its head, by offering you a small footprint red dot with a king-sized window.
What’s the Big Difference?
Shield Sights has a line of miniature and micro red dots, from the ultra-small RMSc to the standard RMS. Much like its cellular phone counterparts, the smaller you go, the less window or screen you have. For this reason, Shield decided to bridge the gap and make competitive shooters really happy by offering a miniature-sized optic with a little more window. To be exact, this new design gives you an 80% more viewable window. At the same time, the Shield has given you better LED efficiency, providing clear dots and longer battery life.
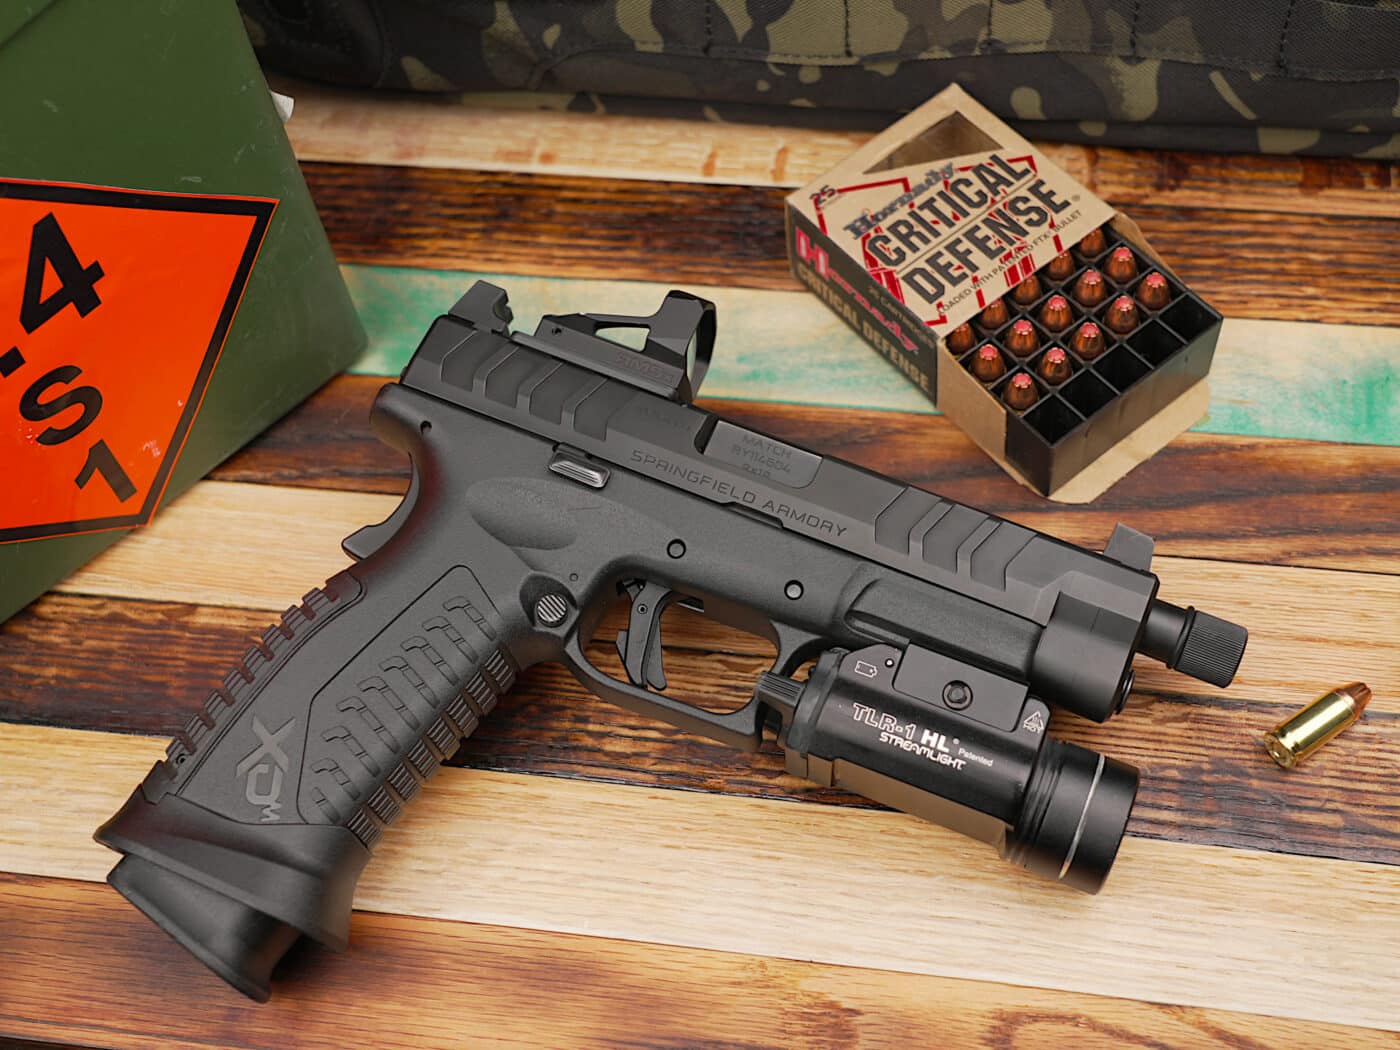
This optic was specifically designed for those connoisseurs of competition with options like a 4 or 8 MOA-sized dot for quick and easy target acquisition. With auto-brightness, there is no need to worry about not having the right setting when going from one lighting condition to the next. The housing is made of tough aluminum in your choice of nine different colors, ranging from black to purple. It comes in at a light 17.5 grams, making it very light to mount up and keeping your gun’s overall weight as minimal as possible. And the hard dip coating on the acrylic lens is going to give you great clarity and durability.
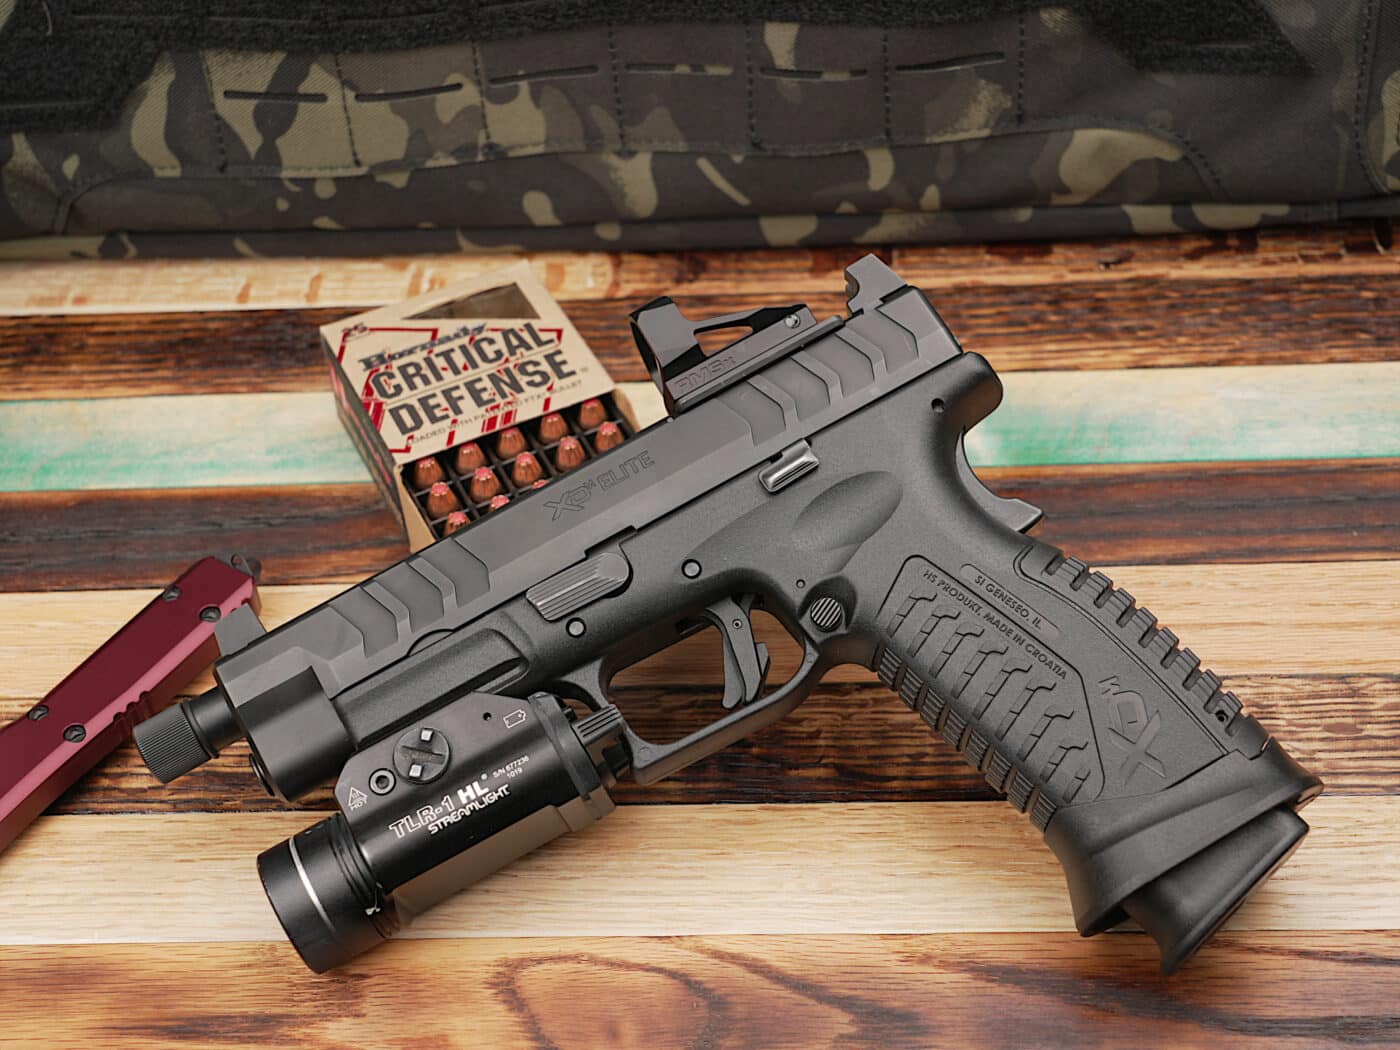
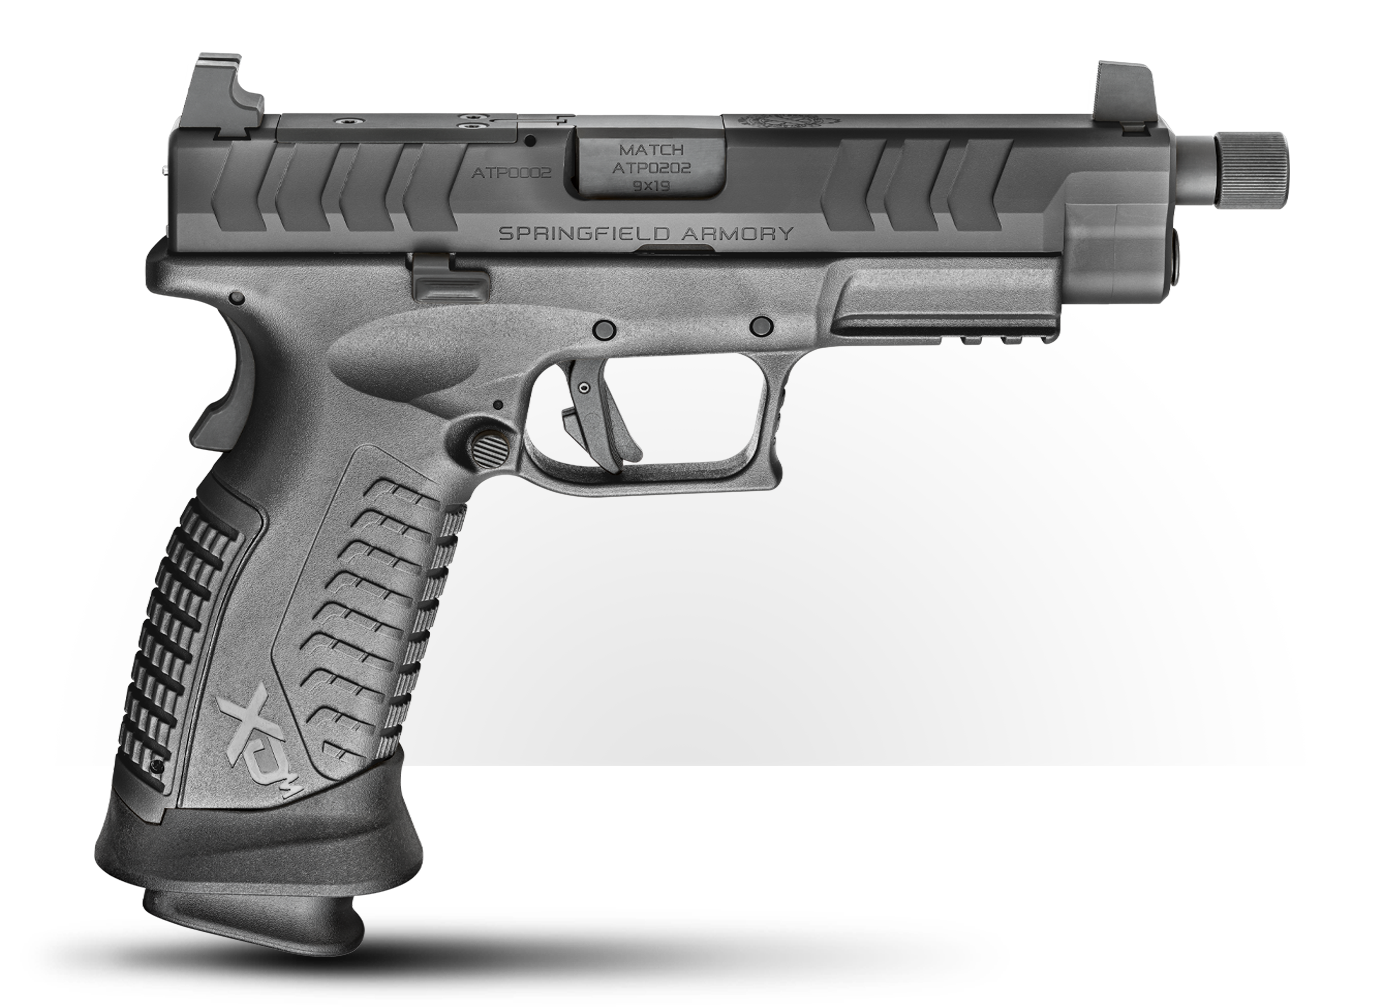
It follows the standard RMS mounting footprint, and I was able to mount it up to my XD-M Elite Tactical OSP and also the Hellcat Pro.
Range Performance
On the range, the extra window size is very noticeable and a nice change from its small counterparts. Even though this was mostly tested on my XD-M Elite, which is a tactical-style pistol, the clarity and size of the glass made target acquisition easy and the overall view very nice. Transitions from target to target were very easy, and even at closer distances the design of the housing gave the maximum view without blocking any of your target. I found the auto adjustment very quick and appropriate for the lighting conditions as the day went on or as I walked around the house from room to room to test the speed of the sensor.

I opted for the 4 MOA version, and I have to say it was the right choice for me. I like to do some longer ranges with pistols, say 50 yards and beyond, and the 4 MOA version gives me some wiggle room. However, up close that 8 MOA size is very tempting for ultra-fast engagements.
Out on the range, I did have a chance to test the dot in bright sunlight directly to the front. I do this when testing new optics because sometimes you get feedback onto the glass from the LED emitter cover, which was not the case here. Even in the blinding Arizona sun, the glass stayed clear and free from the dreaded red blob you see in some optics when the glass is reflecting the LED emitter surface.
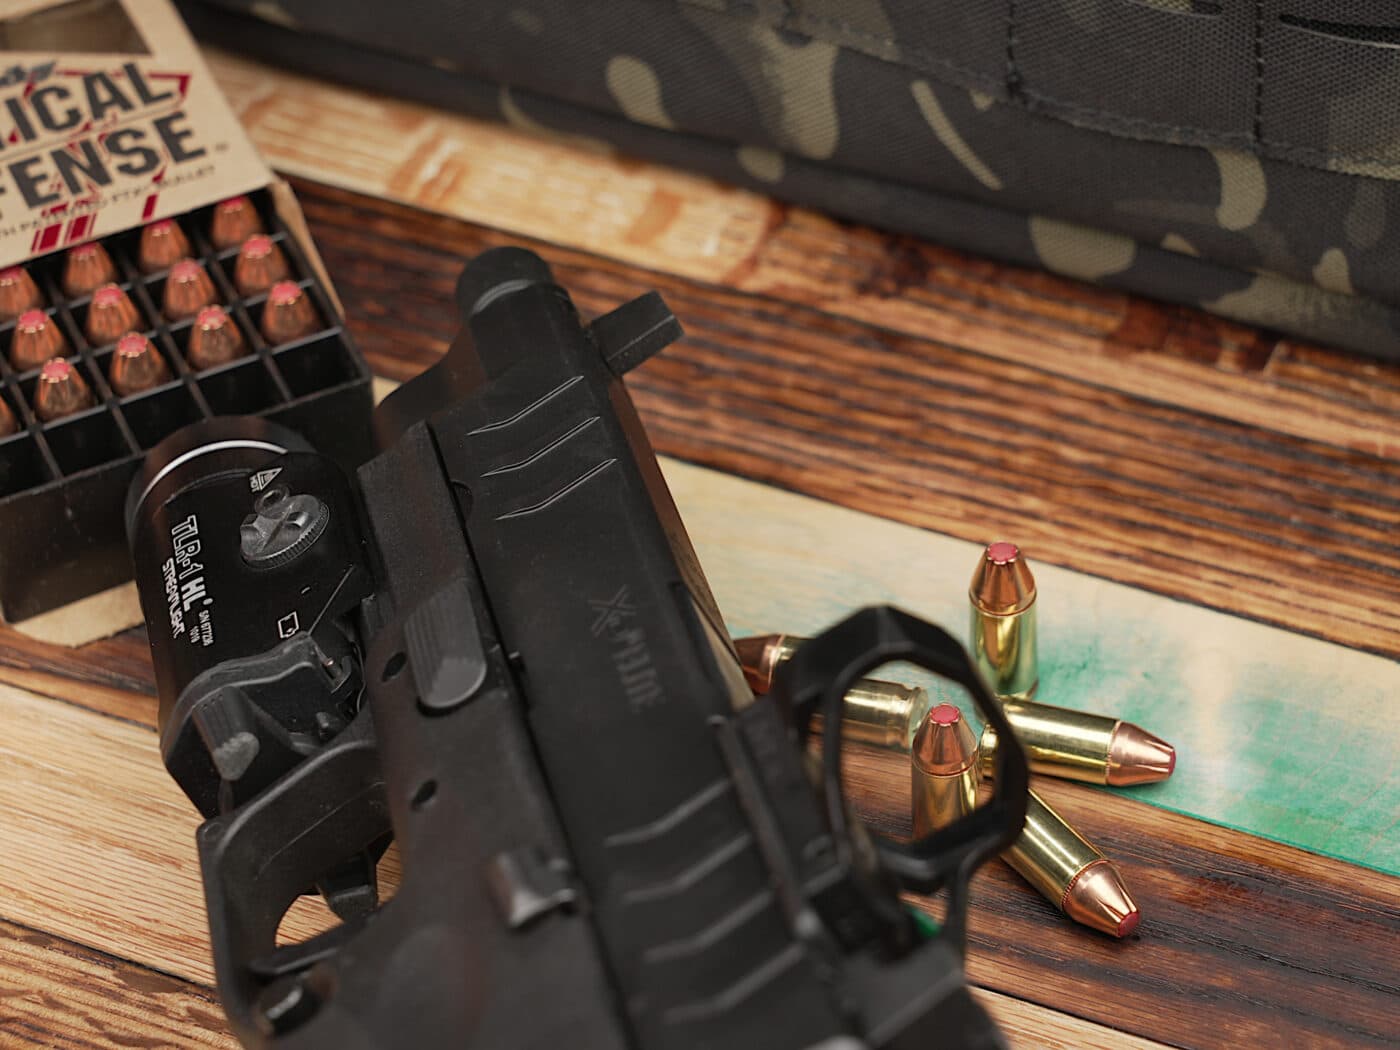
I found the overall design of the optic window to be quite nice for quick target alignment. On the sides, the window’s edges are straight up and down vertically with no angles until you get near the top. This is where it begins to angle toward the center. I like optic windows that are round across the top and more squared off on the sides since they seem to help me immediately center on a target a little more quickly. The lack of buttons also allows the optic to be a bit more skeletonized, keeping weight down and overall thickness of the sides to a minimum.
Mounting It Up, Zero In
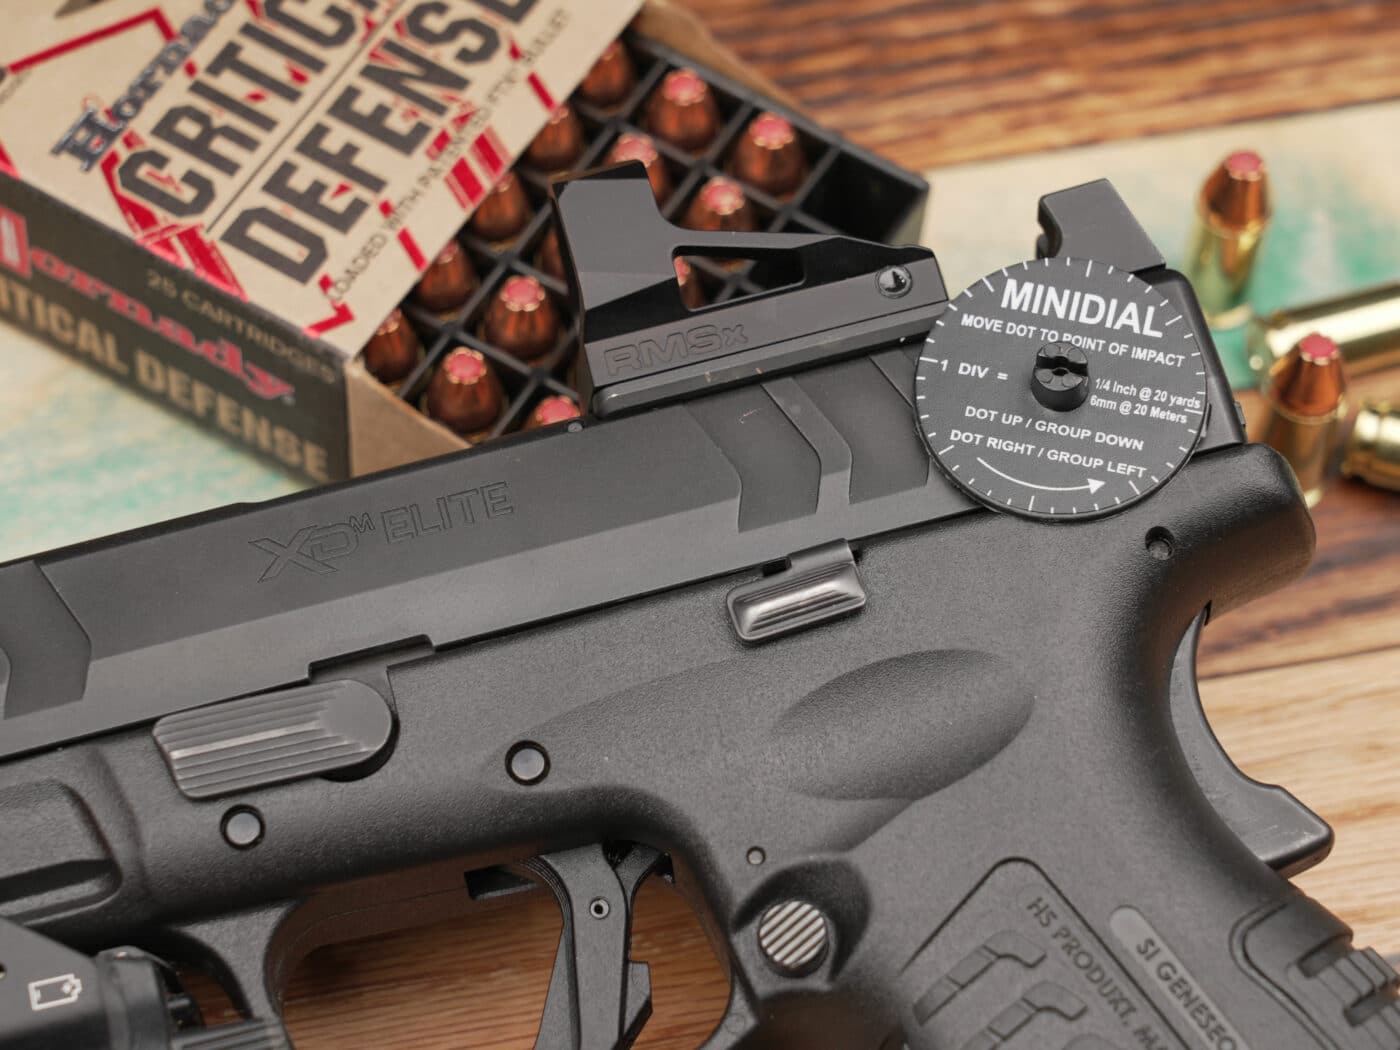
Installing with the RMSx is much like other Shield optics. For the XD-M, you will need to use the appropriate plate per the Shield footprint. When it came to mounting to the Hellcat Pro, it was a direct mount to slide. It will come with the screws you need, a battery, zeroing adjustment tools and an instructional manual via QR code.
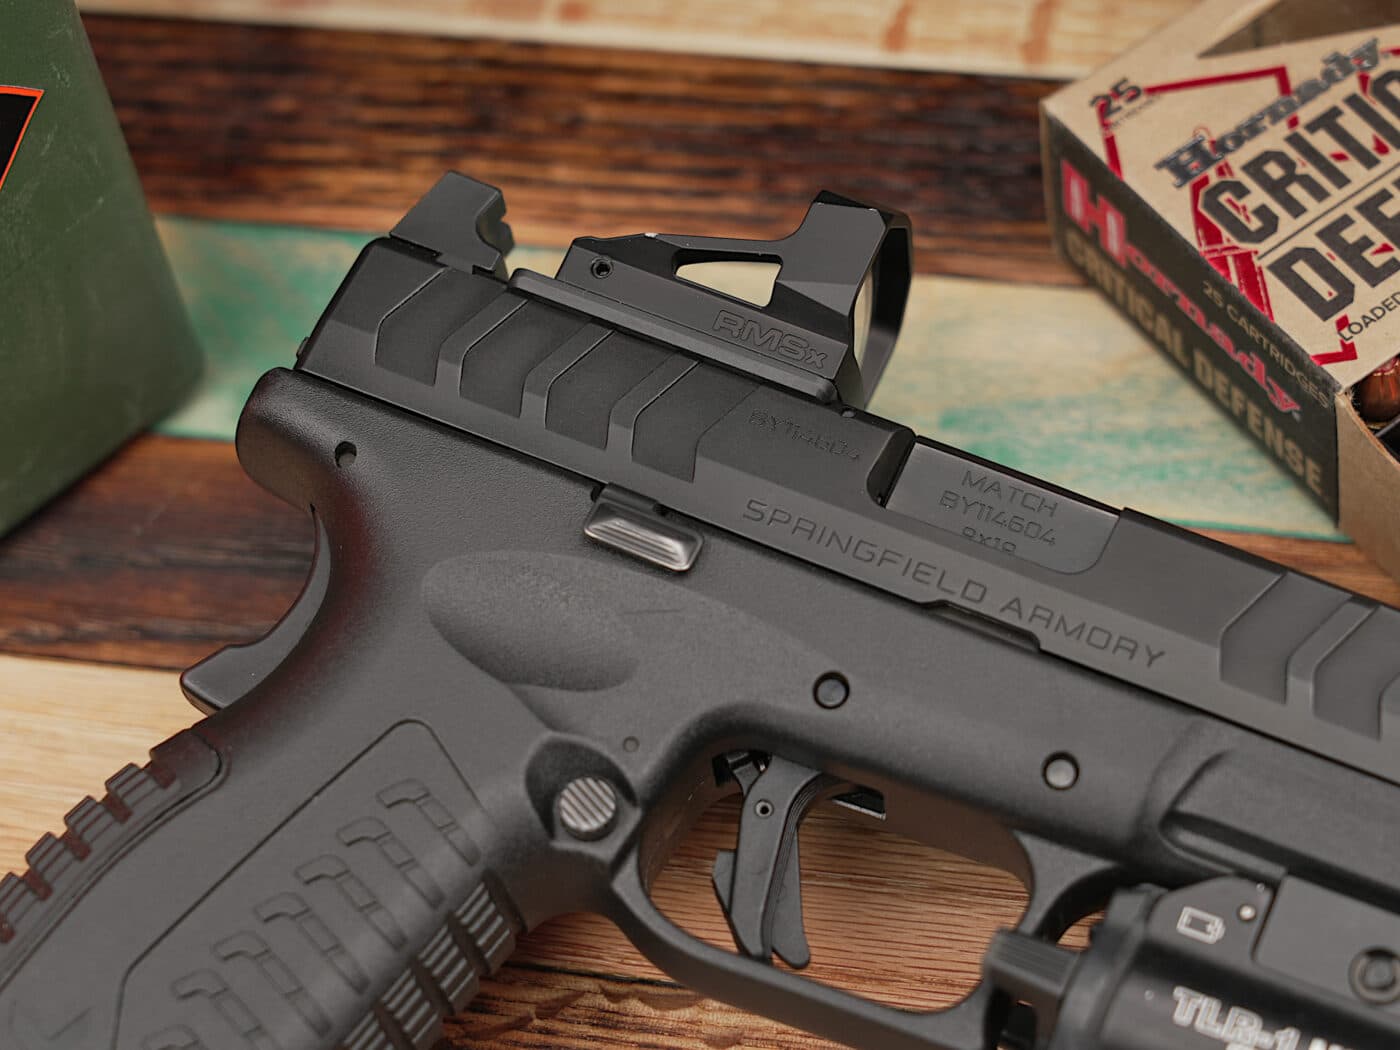
Remember, anytime you are mounting an optic, you must use proper torque and a small amount of thread-locking compound to ensure the optic stays put. After mounting, zeroing is quite easy. All you need to do is pick your zero distance, fire a three- to five-shot group and make your adjustment with the included dial and Allen wrench.
Final Thoughts
With a price point coming in under $500 and the options the optic provides, it is a very desirable package. Competitive shooters need every advantage they can get since time can literally be money in their line of work. But this optic is also a great choice for those looking for a quality, proven optic with automated functions that they use on the range. With the size of the glass and clarity of the red dot in the window, I think anyone looking for an optic would be very happy to have this new larger RMSx sitting on their slide.
Editor’s Note: Be sure to check out The Armory Life Forum, where you can comment about our daily articles, as well as just talk guns and gear. Click the “Go To Forum Thread” link below to jump in!
Join the Discussion
Featured in this video
Continue Reading
Did you enjoy this video?

 118
118


