Strong-Side Pistol Draw Tactics from Closed Front Garments
August 24th, 2022
7 minute read
Not long ago in this space, I did an article on drawing a concealed handgun from a strong-side hip holster under an open-front cover garment (you can see that article here).
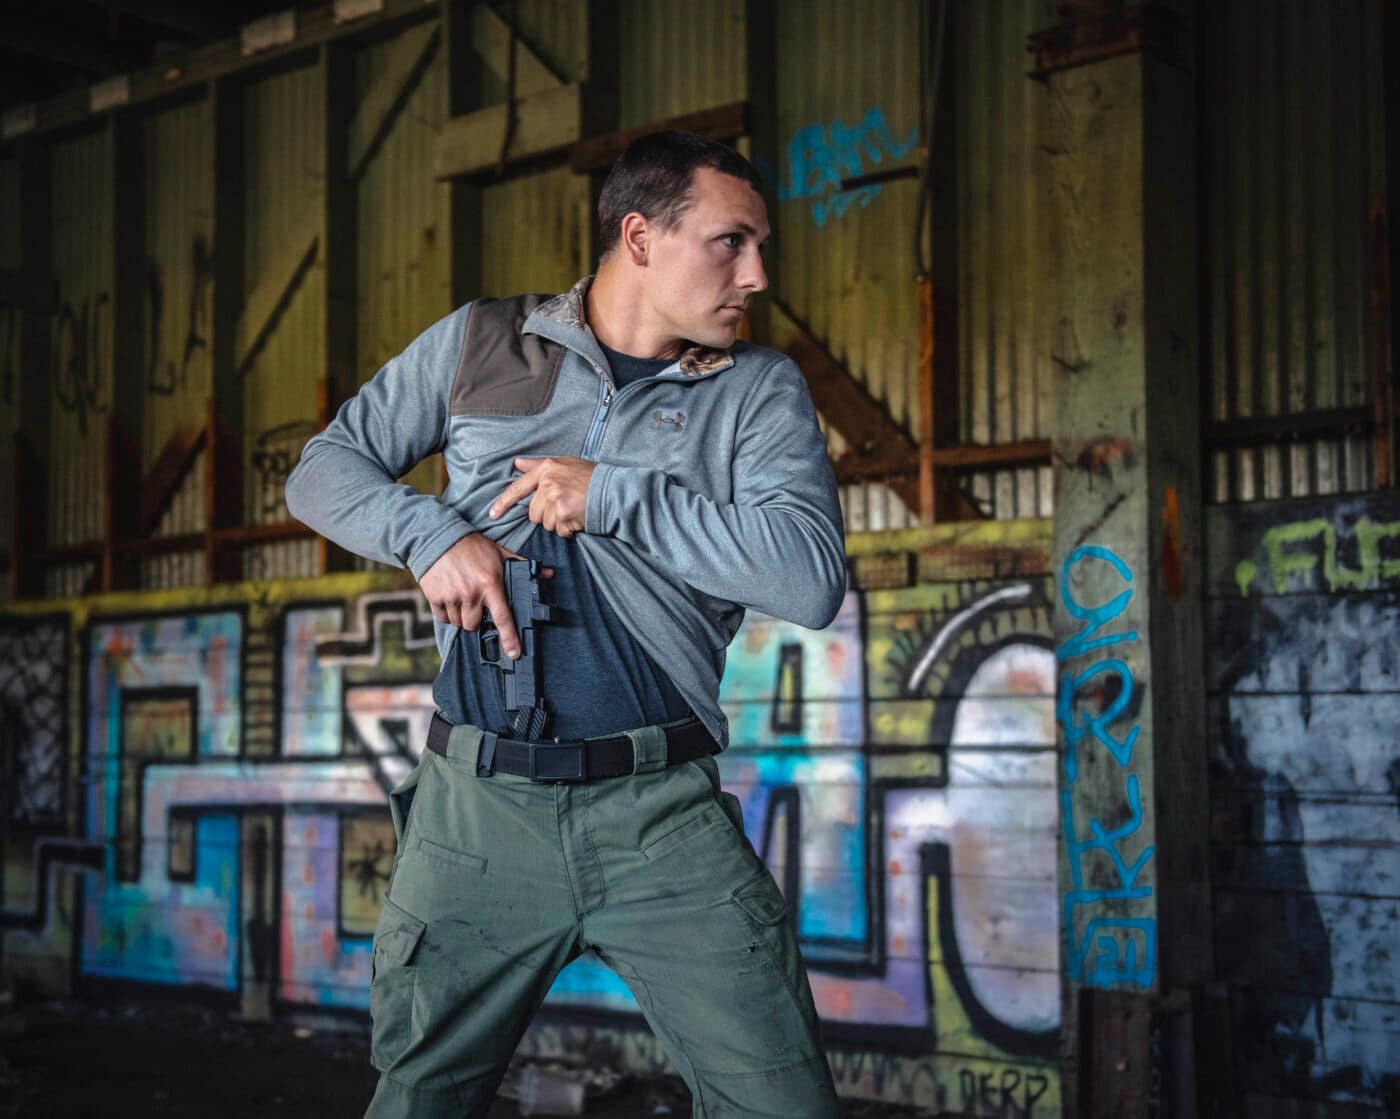
This time around, let’s look at drawing from the same location but from beneath a closed-front cover garment.
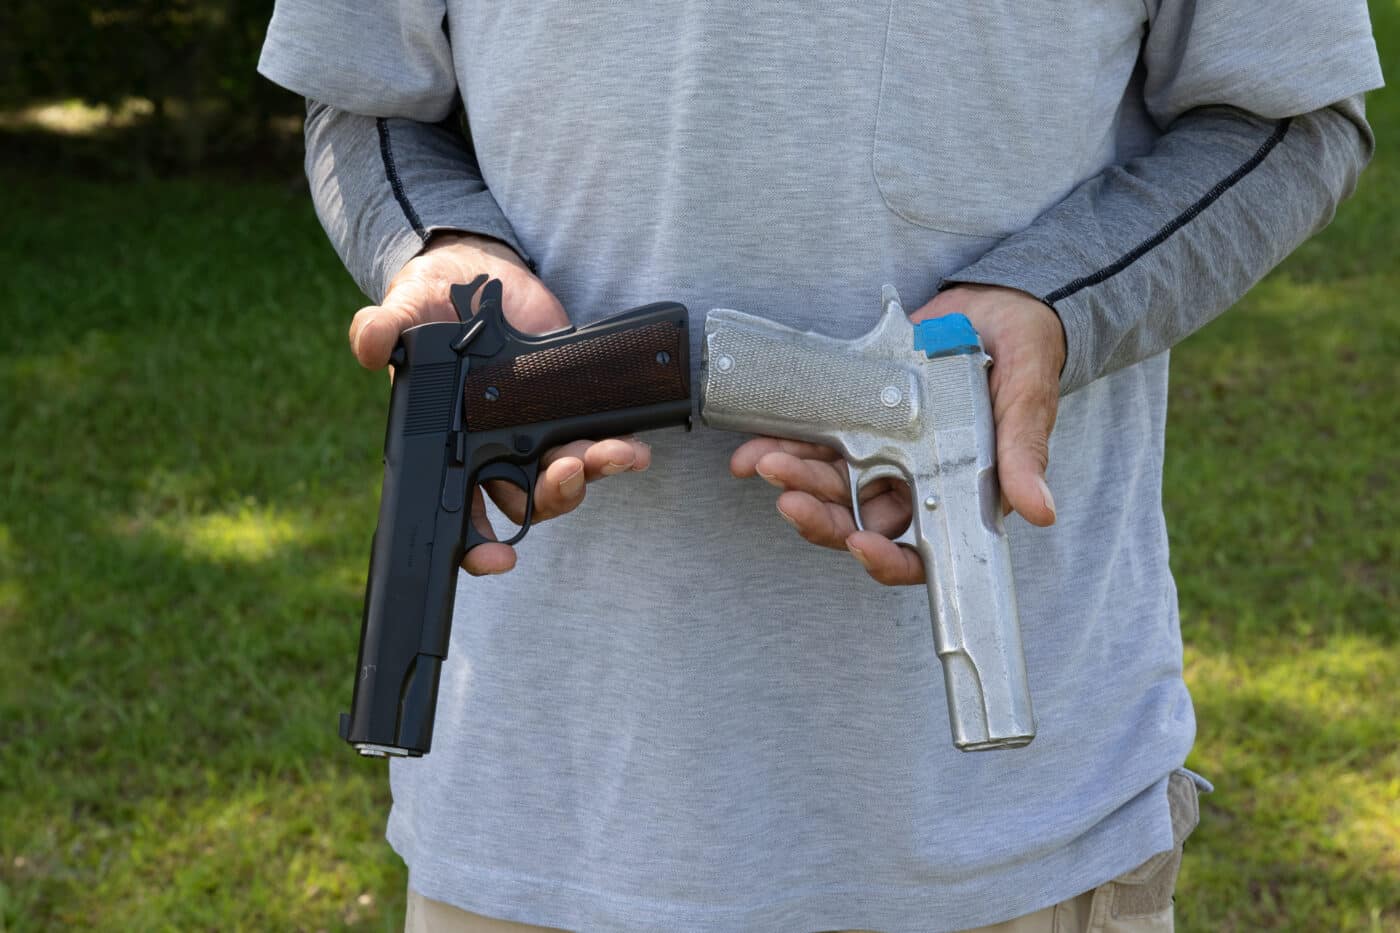
In hot weather, that garment might be a tee-shirt or polo, a guyebara or a bowling shirt, or a Hawaiian “aloha” shirt. In cooler weather it might be a hoodie, a heavy sweater, or an anorak or whatever.
The Difference
The first thing we have to face and accept is that if we’ve chosen this style of concealment, the draw is going to be slower and/or more complicated. The reason is, the open-front garment has by definition left an open pathway for the gun hand to get to the holstered sidearm, and that path is closed by a pullover-type garment.
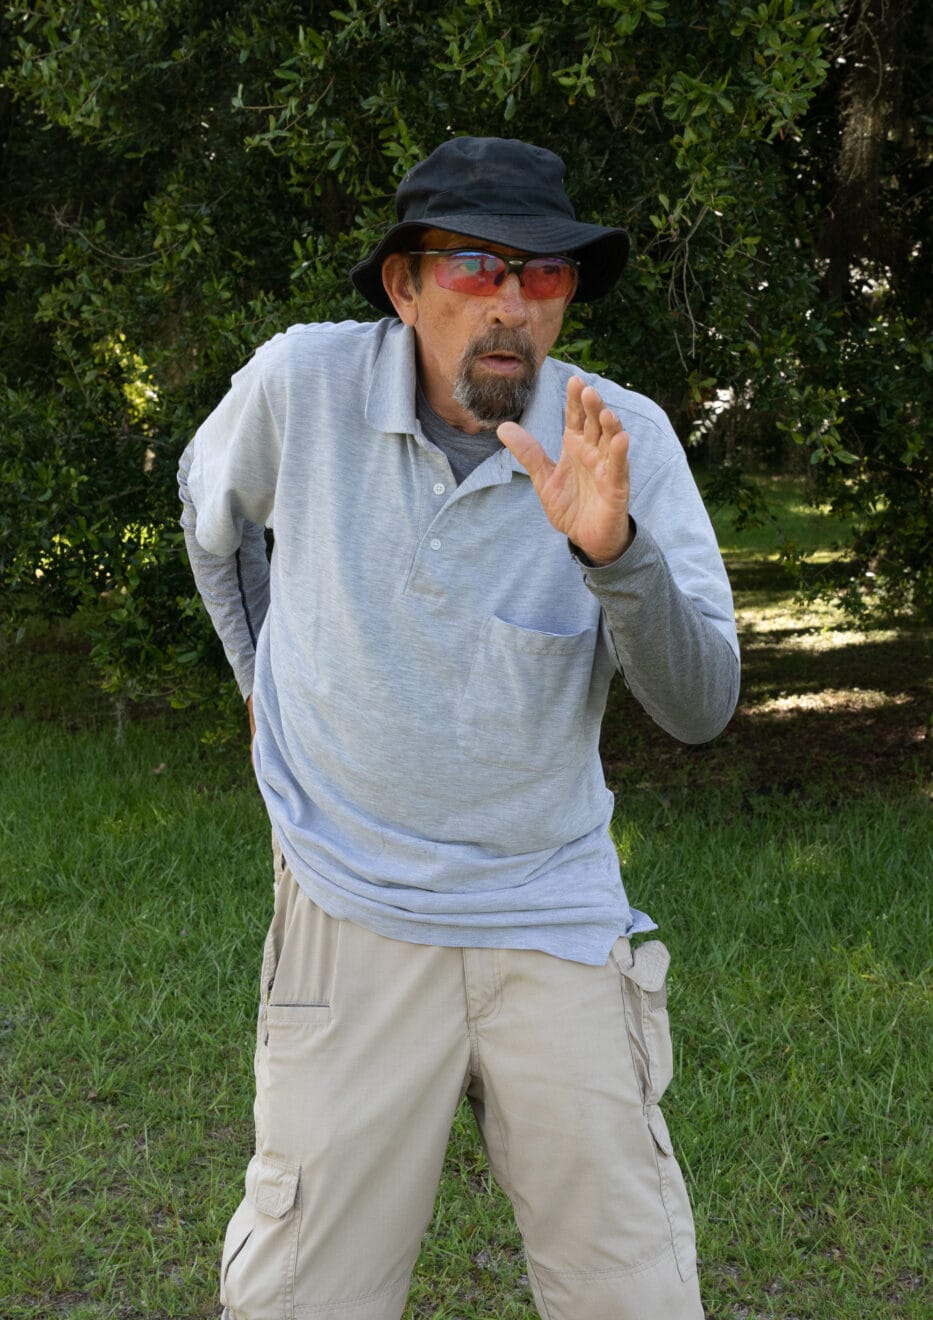
Compared to open-front concealment, we have a much more distinct delineation between a draw to one-handed index and a draw to two-handed.
With Both Hands
We have to accept that for maximum speed, we’re going to need the support hand to take a more active part in the draw: It will now have to get the hem of the garment pulled upward to clear a path for the reaching hand that, when it reaches its destination, will become the drawing hand.
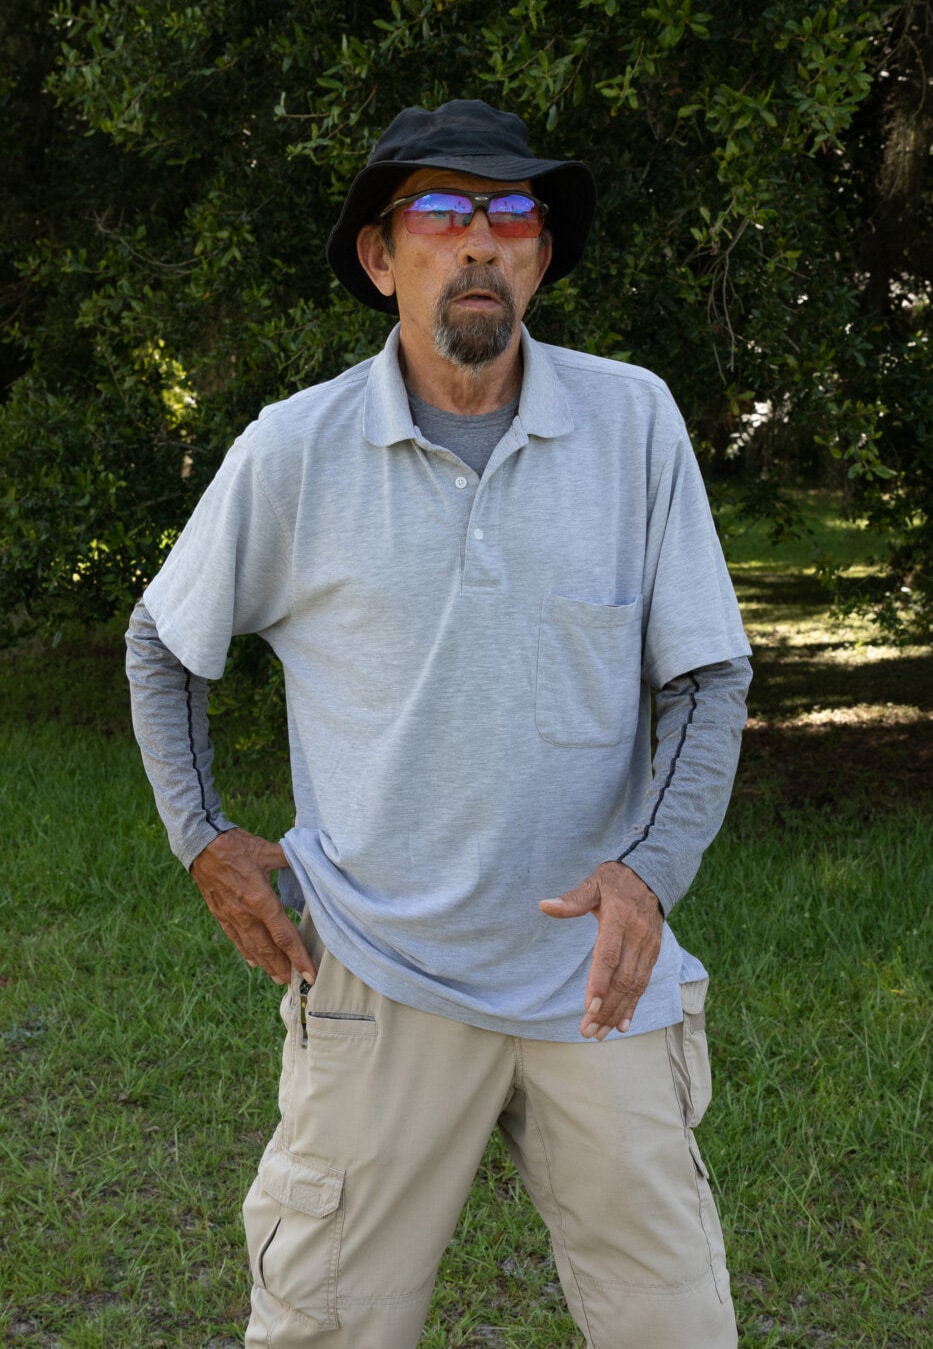
The general consensus is that your best bet is to use the “Hackathorn Rip” technique, named after one of the great modern pioneers in defensive handgun shooting, Ken Hackathorn. It should be noted here that Ken himself never called it that: he simply demonstrated the technique as “here’s what’s recommended.”
No one in the shooting game ever successfully named a technique after himself, and indeed, trying to do so is a fast route to being seen as an egotistical bozo. The “Hackathorn Rip” term came from Ken’s peers, who realized he was onto something and deserved recognition for creating and popularizing the technique.
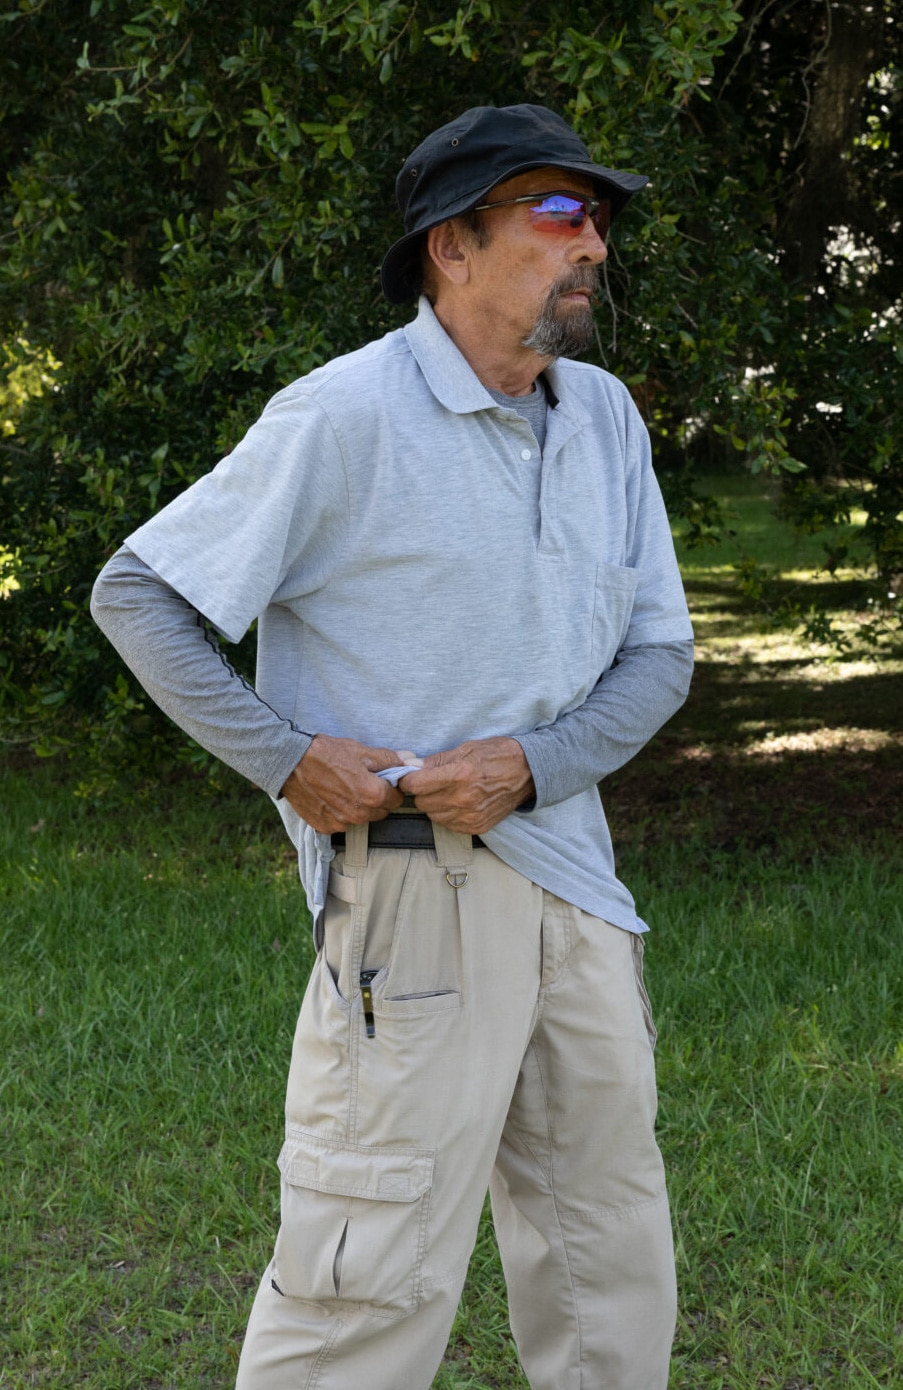
With Ken’s technique, the support hand grasps the bottom edge of the closed-front cover garment (the hem) in front of the holster, and rips it upward toward the pectoral muscle/shoulder area on the gun-hand side, as high as you can get it.
You may not get that high, but trying to do so gives you the best chance of getting it high enough to clear a path for both access (getting the hand to the gun) and presentation (getting the gun from holster to “on target”).
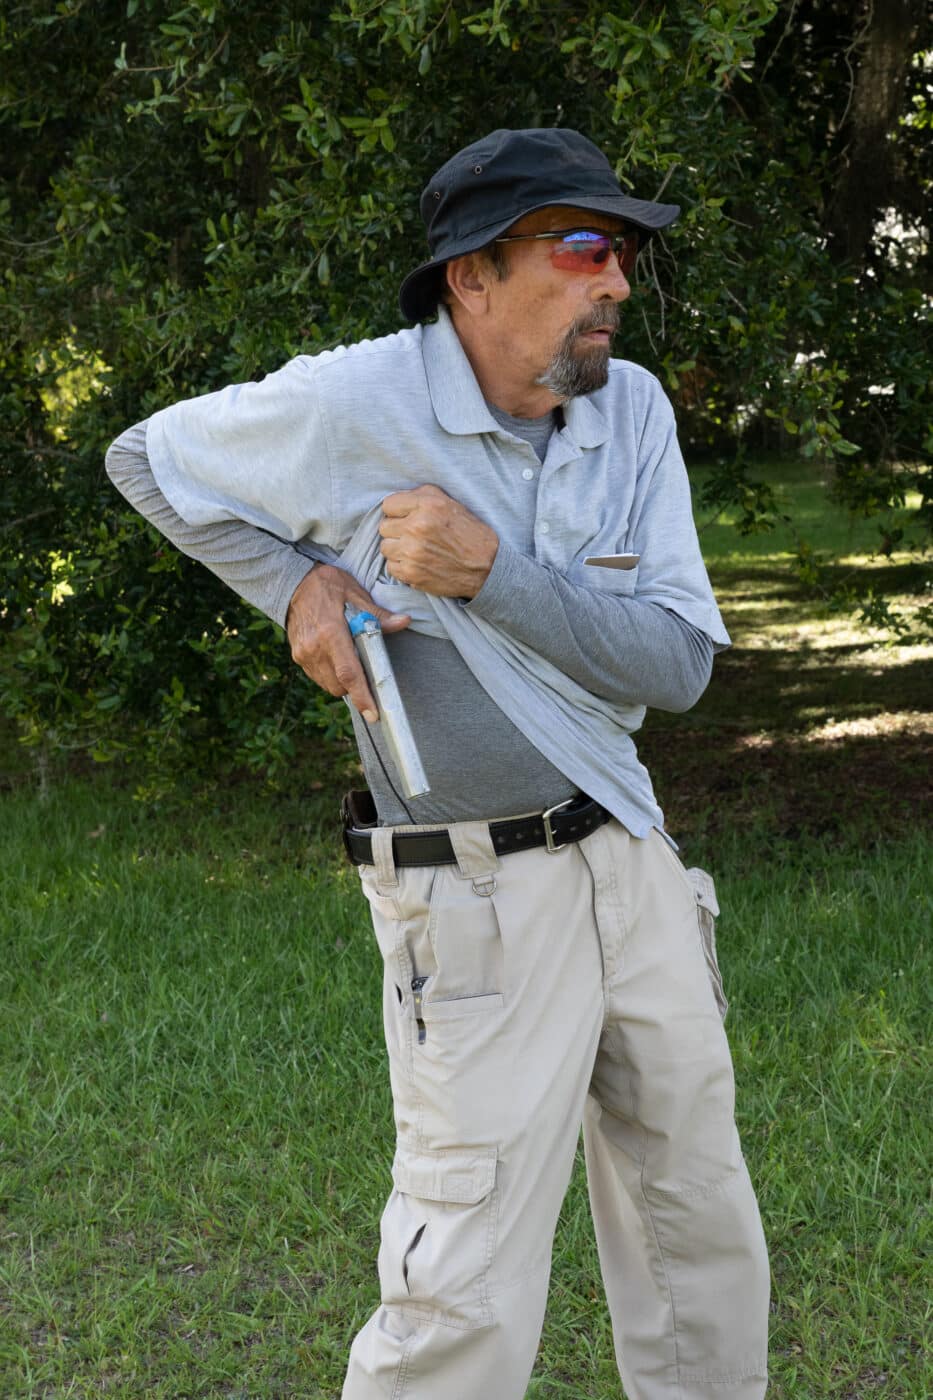
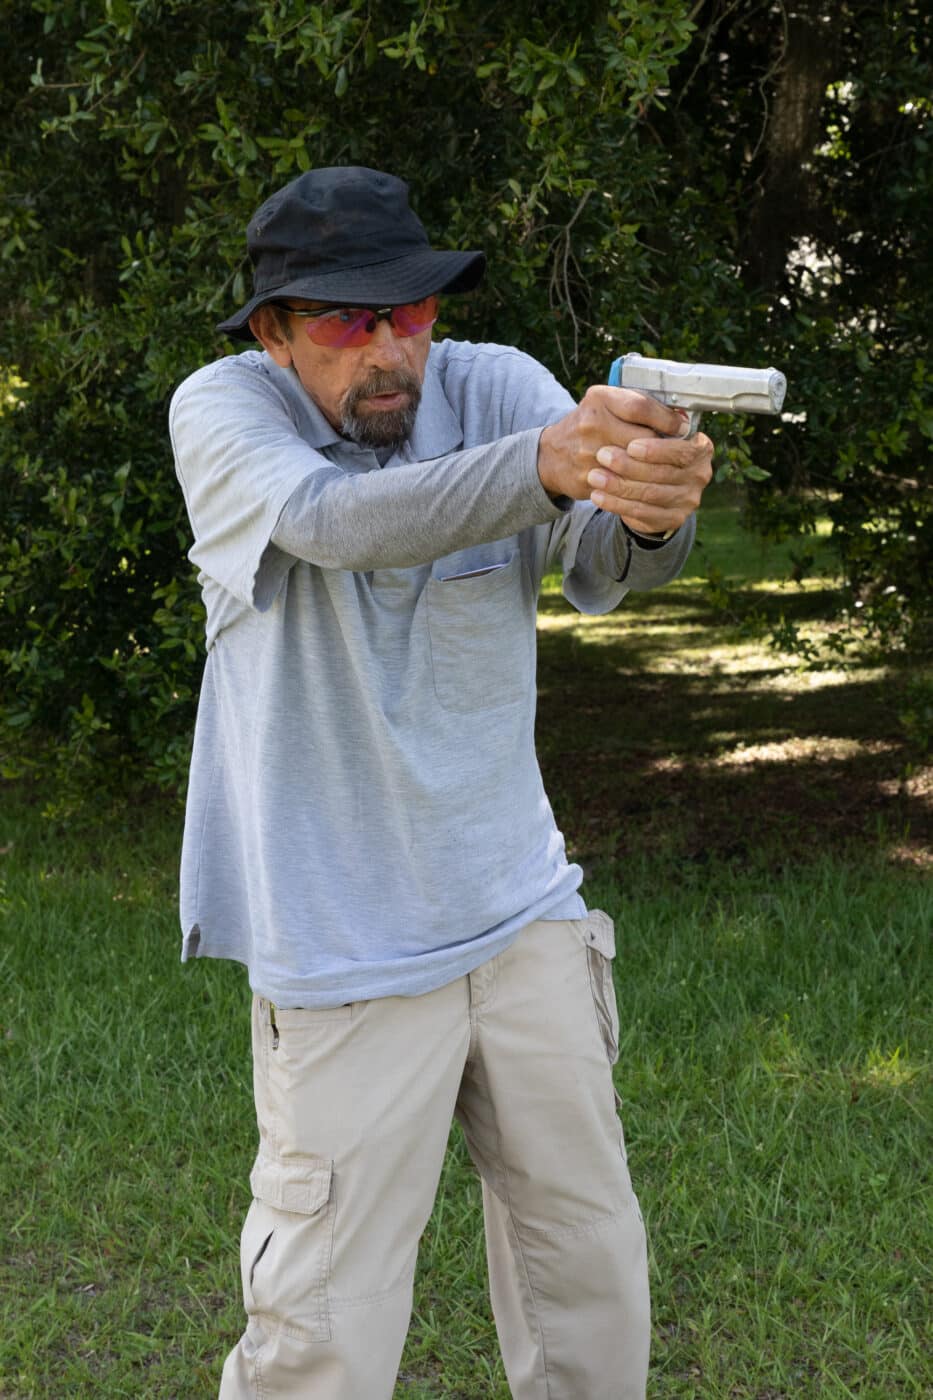
Once the draw is underway, the support hand has completed its garment-clearing job and is now free to move to complete the two-handed grasp, whether the situation demanded “draw to ready,” “draw to gunpoint,” or “draw to immediate defensive shot(s).”
With Gun Hand Only
In the real world, the situation which required us to draw may leave us with only one hand with which to do so. The support hand may be occupied with a communications device or illumination device. It may be pushing an innocent victim out of the line of fire, or holding off a vicious human or animal threat that is already within contact distance.
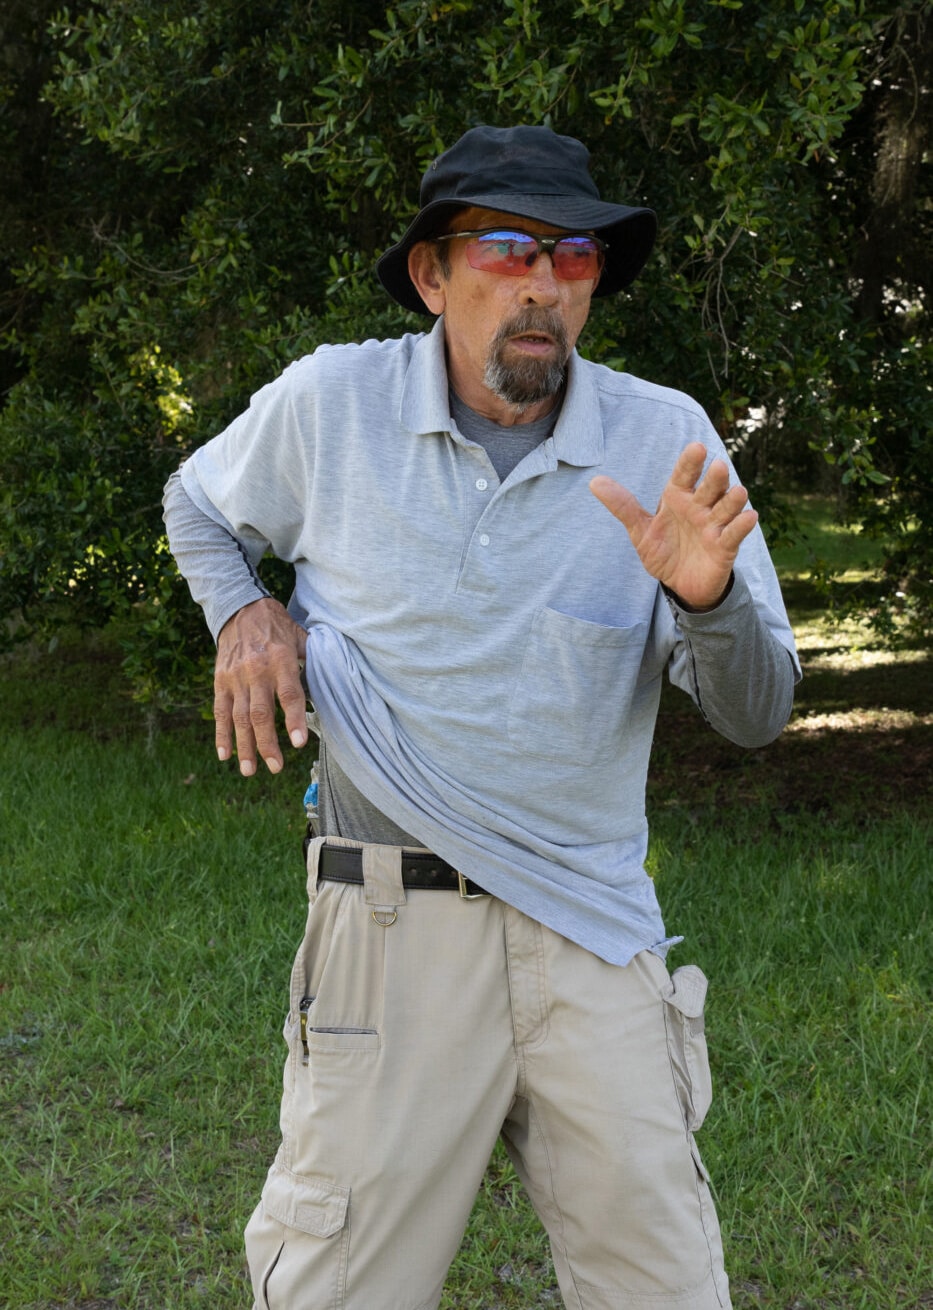
With a closed-front garment, that means you have only one hand with which to both raise the shirt/sweater/whatever to expose the gun and keep that fabric out of the way, while the same hand accesses and presents the firearm for its life-saving purpose.
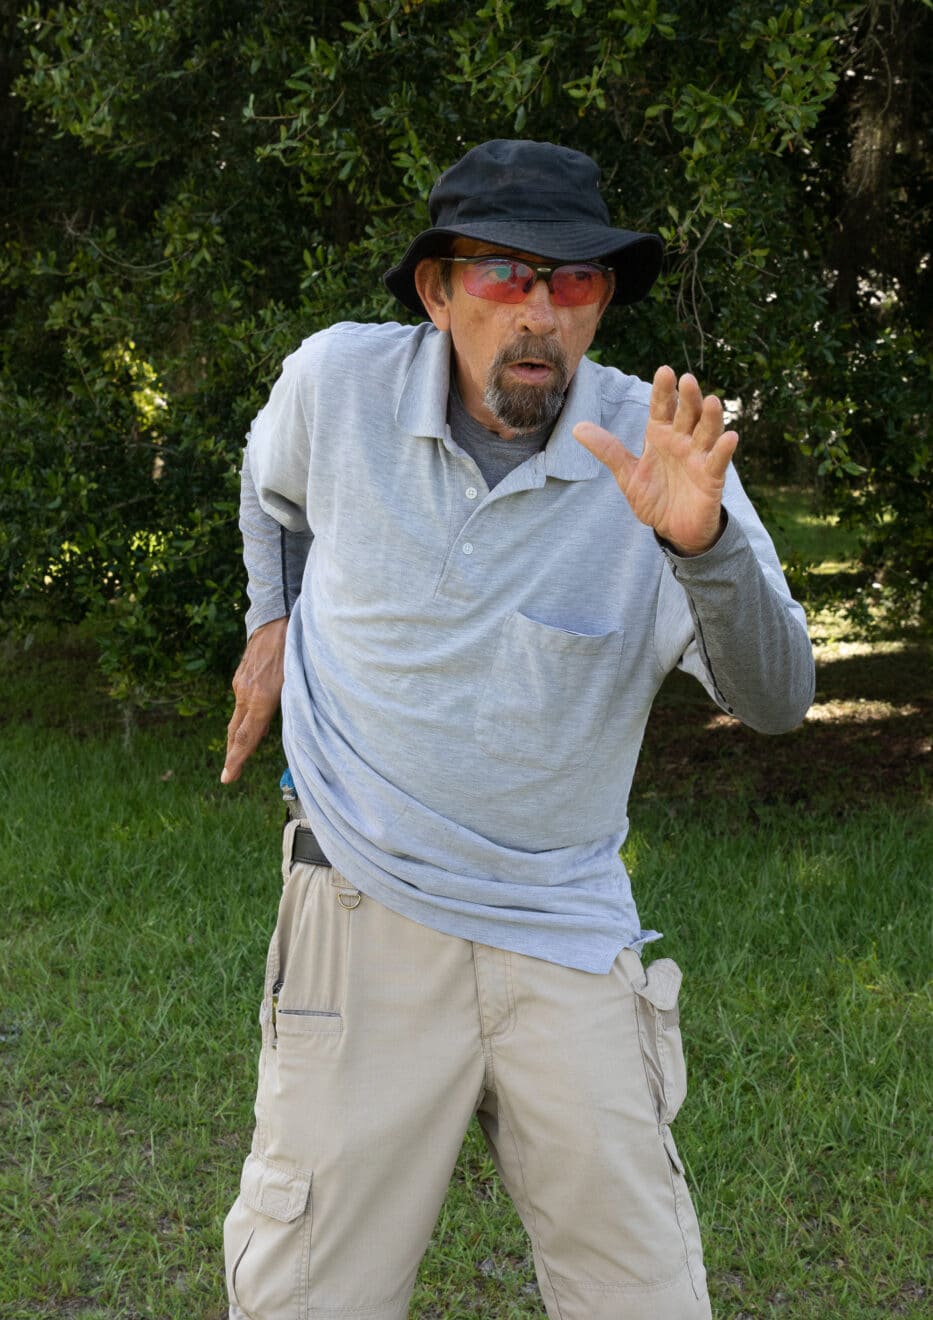
Ripping up on the “cover” then diving down onto the gun before Mr. Newton’s pesky “gravity thing” drops some clothing between hand and gun is now the problem. A “rip and grab” can work, but…ya gotta be quick! And, don’t forget, the problem will be compounded if you are moving to get offline of the attack, bending forward to duck a punch or knife slash, etc.
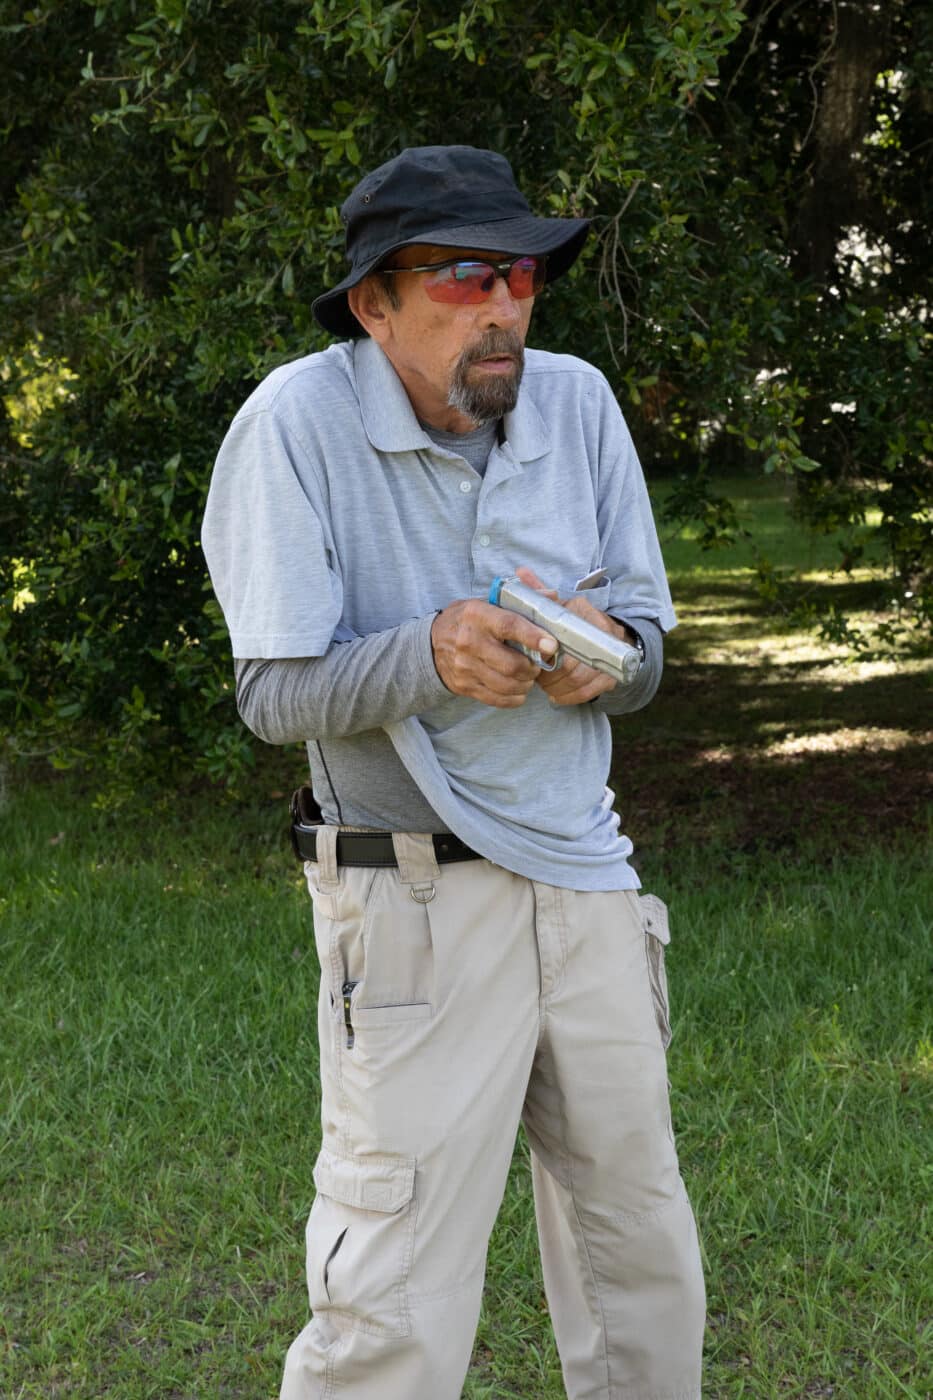
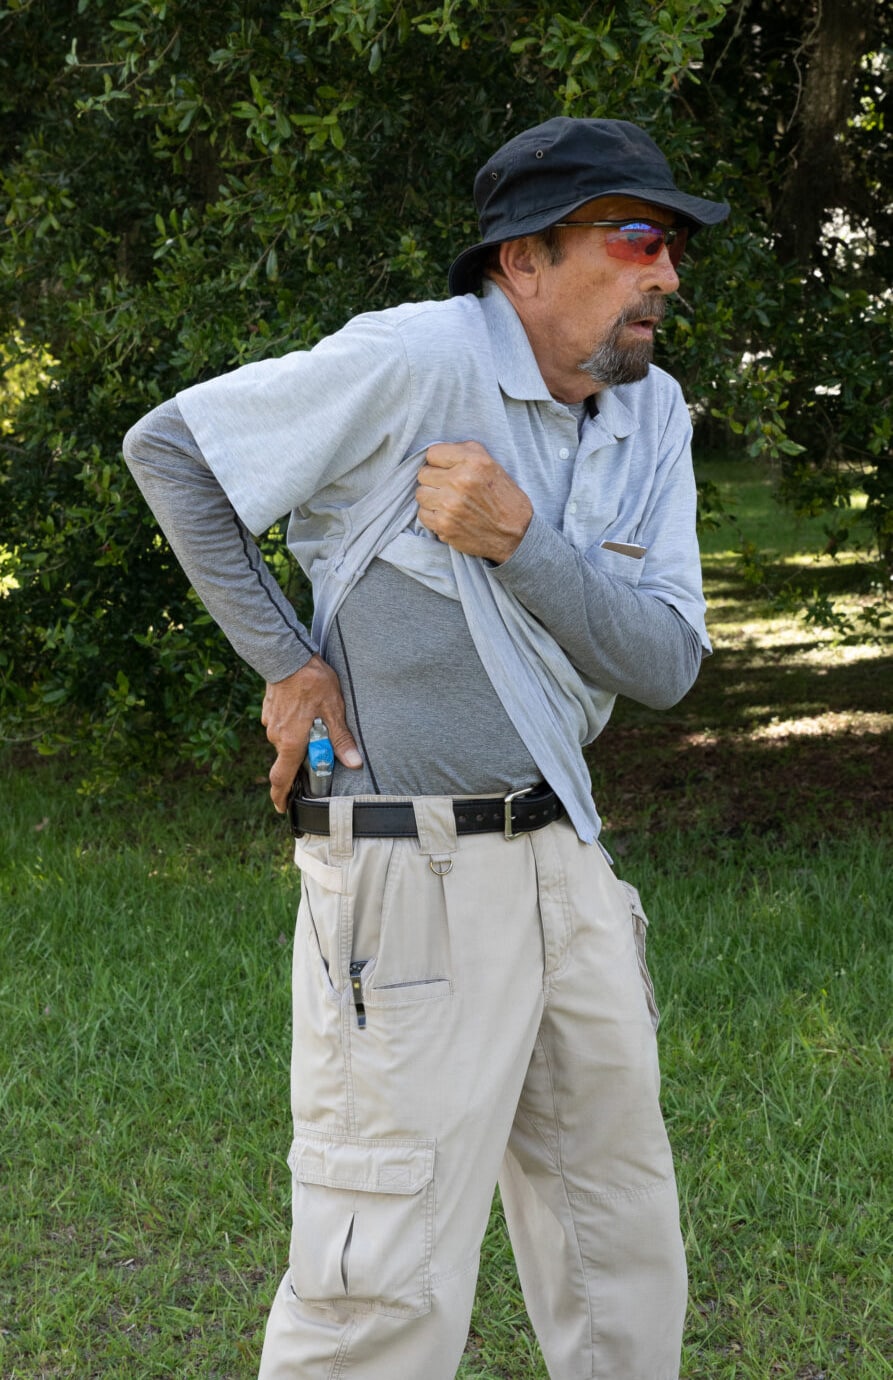
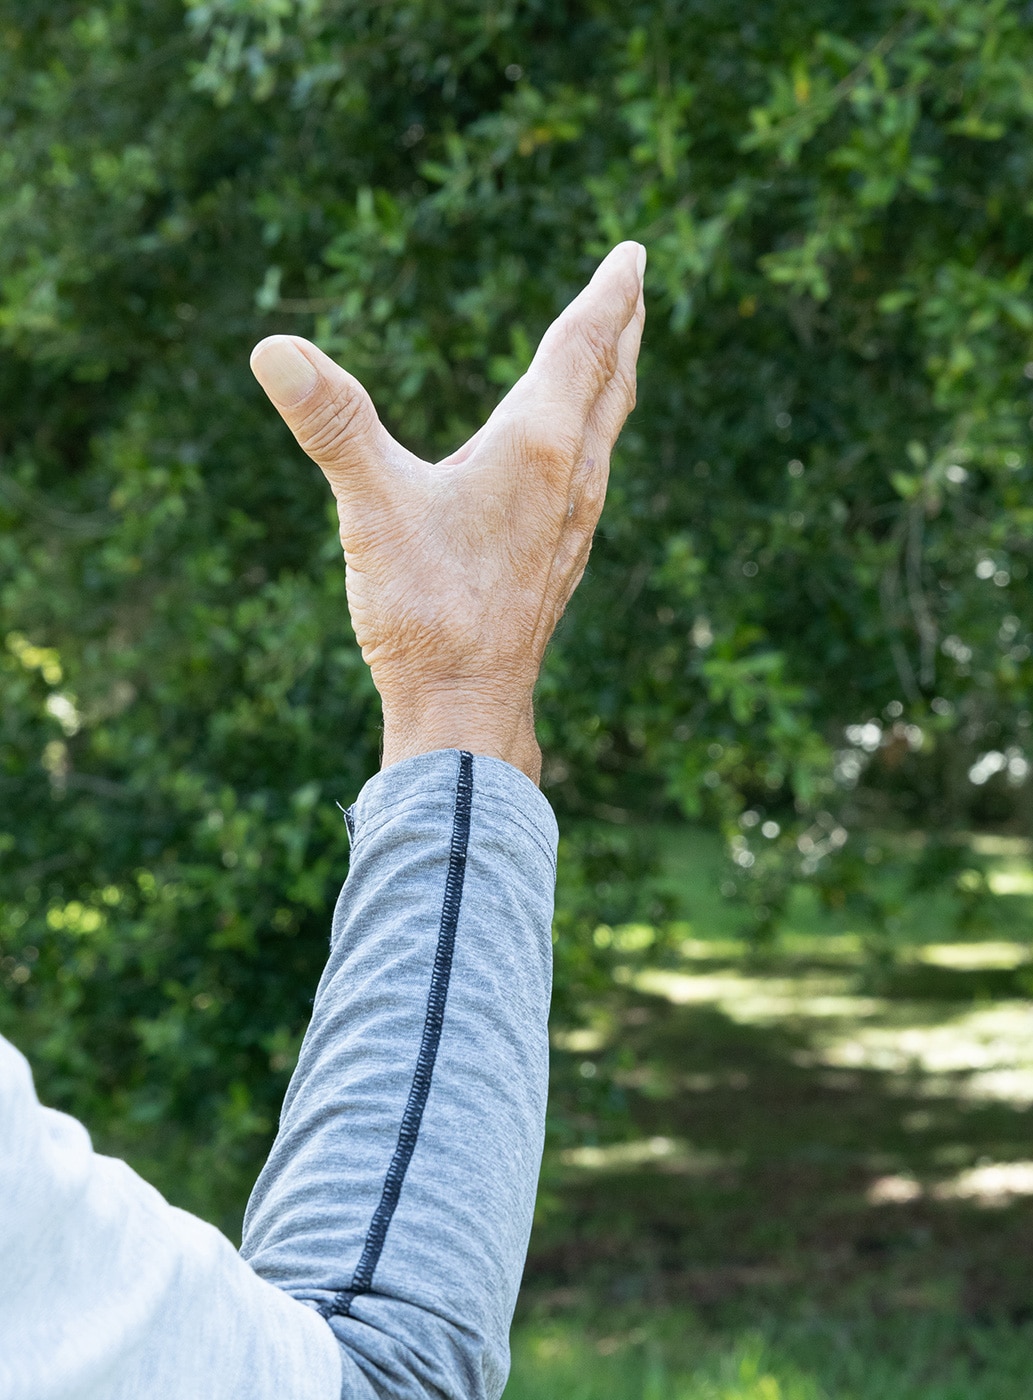
For that reason, I recommend the “Y-hand” and “pegged thumb” technique. The “Y-hand” has the thumb spread wide from the other four fingers, forming a letter “Y” with the forearm. Coming up from the seam of the trouser, the Y-hand catches the hem of the garment somewhere between thumb and index finger, guiding it to the center of the web of the hand. That hand sweeps up to as high on the rib cage as it can get.
Now comes the “peg.” Let the tip of the thumb press against the rib cage. Your palm, which will have been facing somewhat forward while lifting the garment, now points down toward the pistol — and dives down swiftly onto the grip tang, taking a firing grasp before fabric can fall and get between hand and gun. Because the bottom edge of the fabric is now above the thumb, you have minimized the chance of “fabric fouling firearm.”
Hip Throw
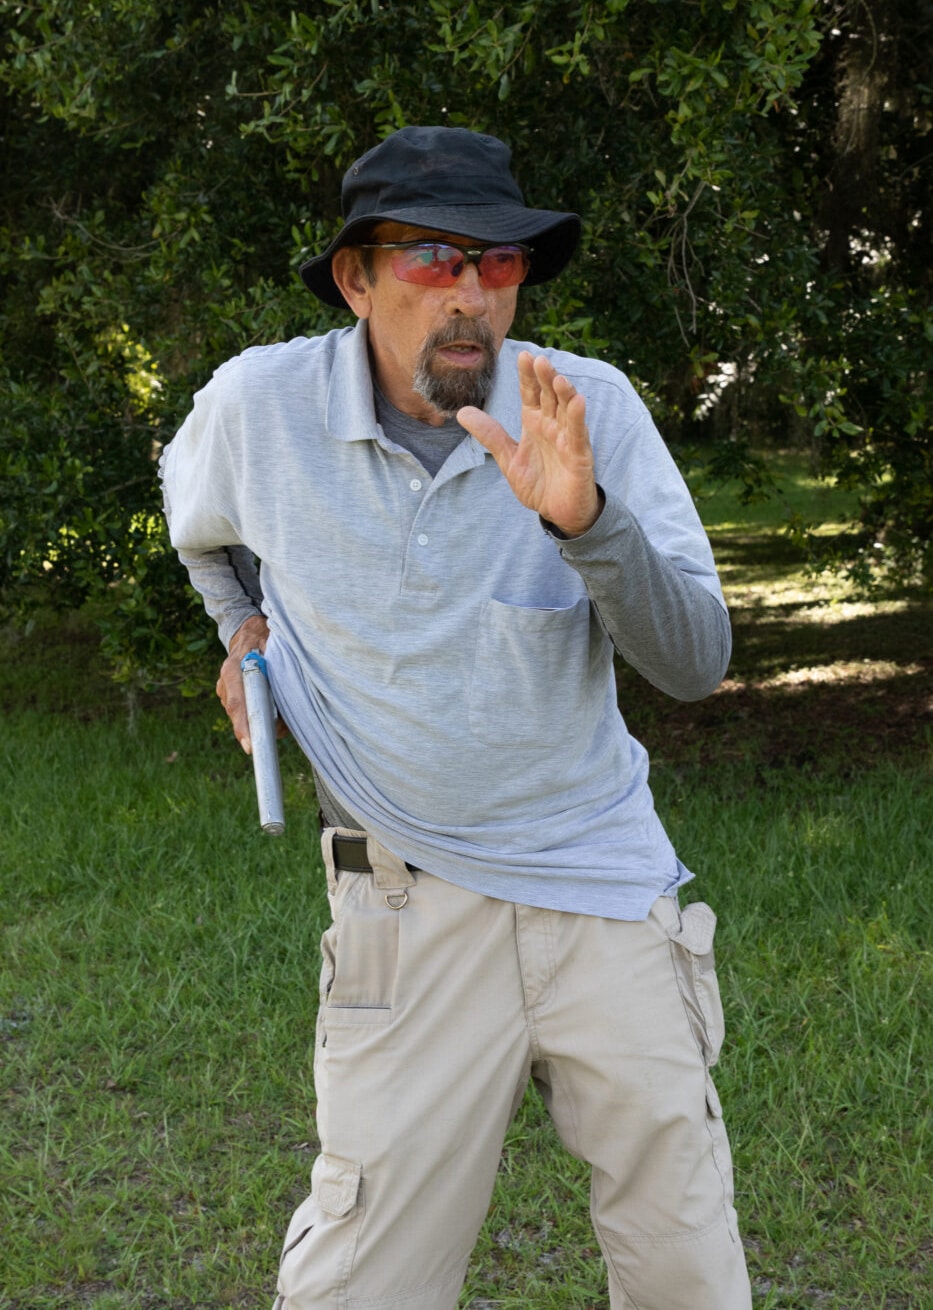
Because that garment is wanting to come back down during the draw, the potential for “fouling the draw” still exists, even if it is minimized. I found that as a right-handed shooter, dropping my hips down and to the left solved that problem.
In essence, the draw becomes partly the shooter’s hand withdrawing the pistol from the holster, and partly the hip movement pulling the holster down and to the side, out from around the gun.
This, by the way, is also helpful for speeding up concealed carry hip draw even with an open-front garment, if the shooter carries the gun very high on the hip.
That’s a particular concern for females, for whom their torso will generally be relatively shorter and their pelvis relatively higher and more pronounced, than her twin brother the same height. But it is most obviously useful when drawing from under a closed-front garment, all the more so with the one-handed draw.
The Cover Garment Itself
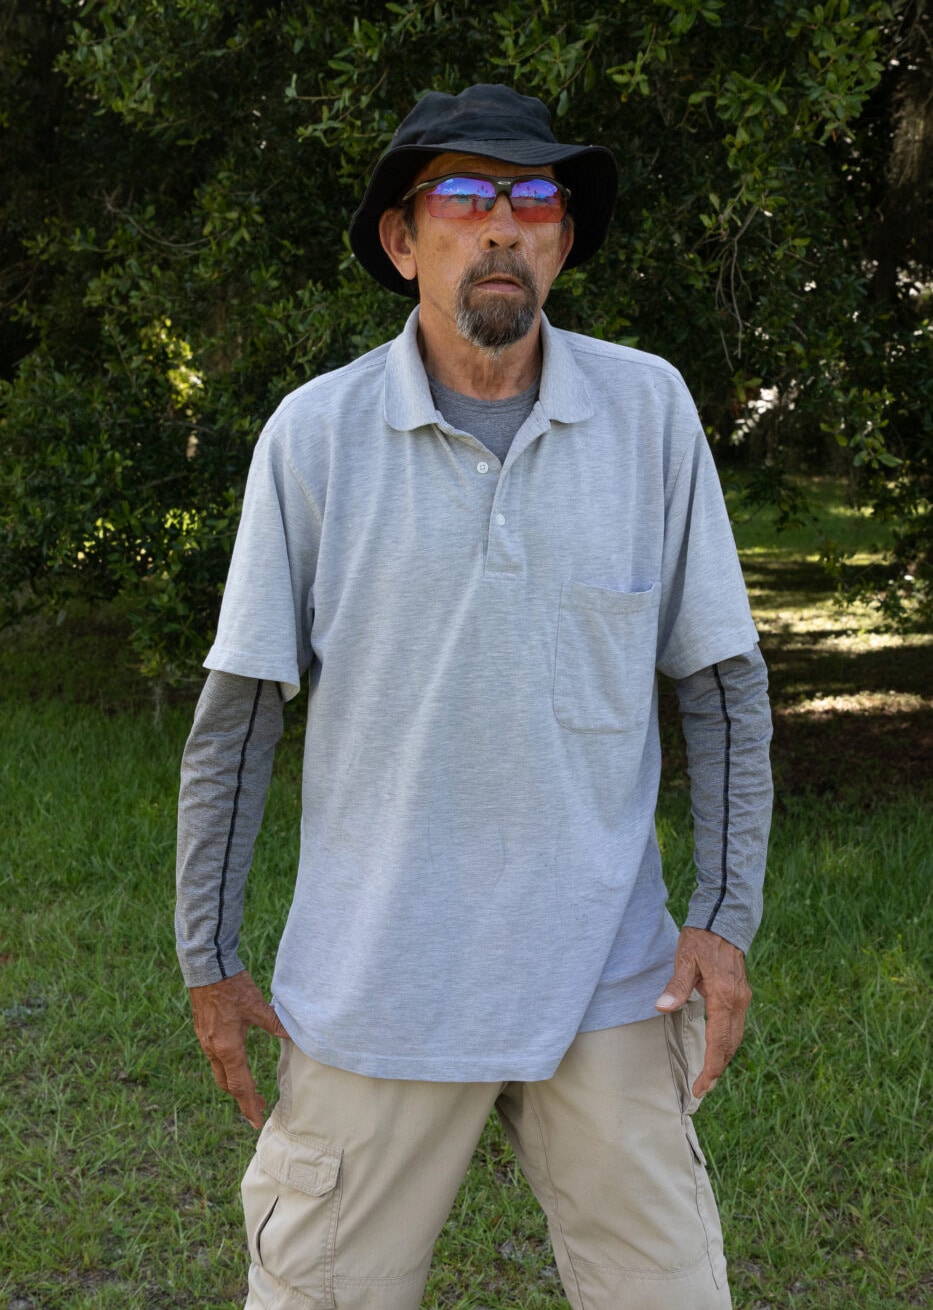
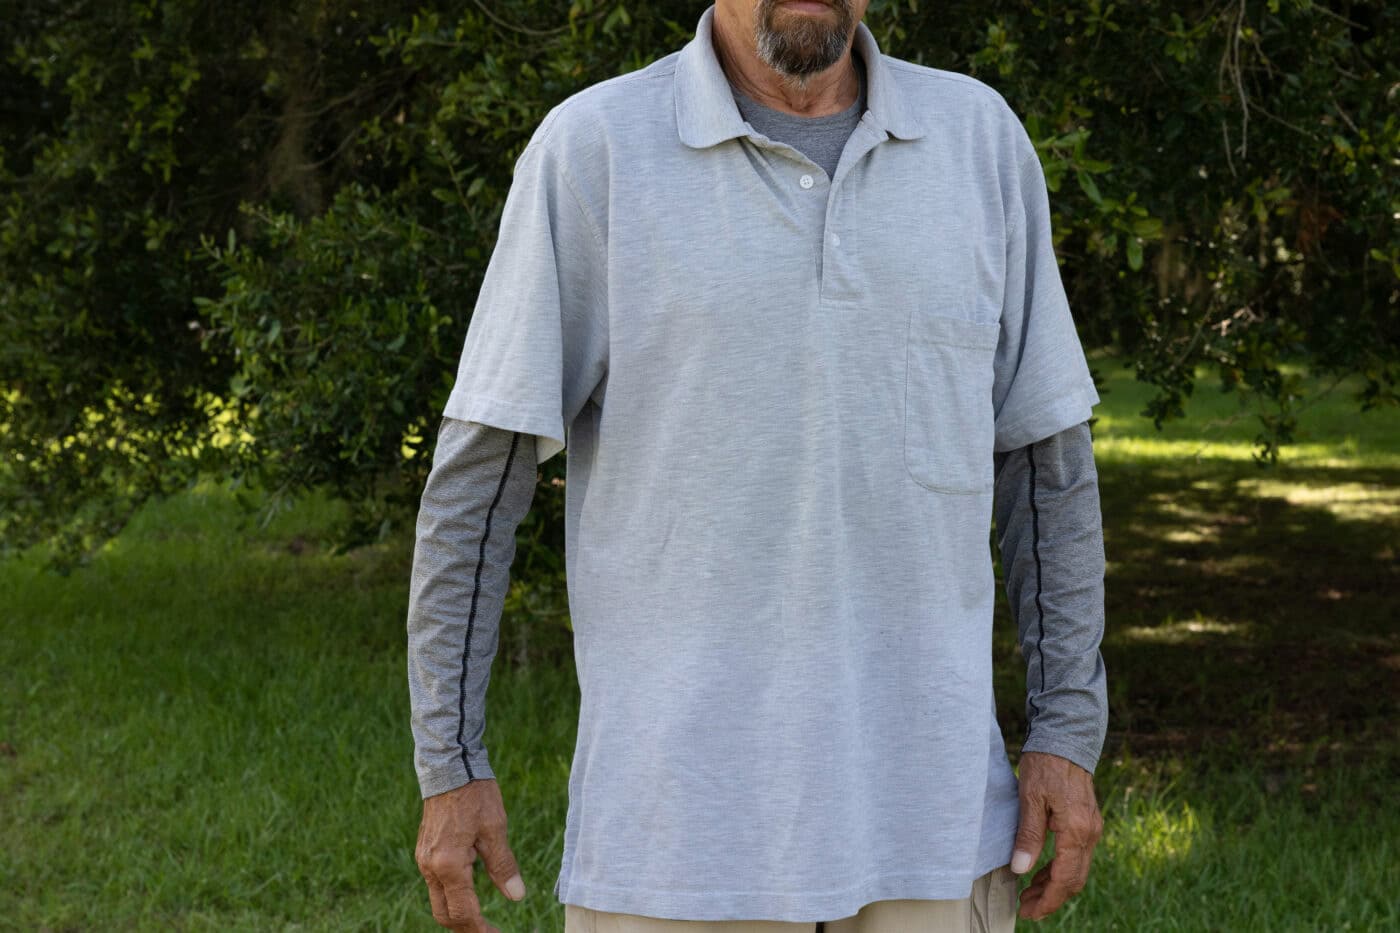
The closed front garment clings more closely to the wearer’s body than the open-front vest, jacket or unbuttoned shirt. It is imperative that the garment be at least one size larger than one would wear if not concealing a gun under it! In the accompanying photos, you see a “size medium” guy wearing a “size large” polo shirt for “cover.”
If the cover garment is a button-front and worn with the closures fastened, leave the bottom button or two unfastened. This will allow more “flex,” or more spread of the lower garment as the hand reaches to the firearm and extracts it from the holster.
Earlier I mentioned the guyebara shirt. I first encountered these in the 1980s with the Cuban-American community in Miami, and in Caracas, Venezuela when I taught there. In an armed society, this was one of the few pieces of clothing that seemed to have been built to encourage concealed carry. Worn with flat hem outside the pants, their buttons stopped at around navel level, allowing great flex at the hem for drawing concealed handguns. The American “bowling shirt” in some iterations has the same features.
Conclusion
If you’re going to carry this way, practice…practice…PRACTICE! I would suggest 50% of your practice be one-handed as demonstrated here, the other half with the two-handed “Hackathorn Rip.” You’ll find that with less drape than you’d have with an open-front garment, inside the waistband carry will be much friendlier for concealment.
Editor’s Note: Be sure to check out The Armory Life Forum, where you can comment about our daily articles, as well as just talk guns and gear. Click the “Go To Forum Thread” link below to jump in!
Join the Discussion
Continue Reading
Did you enjoy this article?

 73
73


