Take Aim: How to Zero in an AR-15
July 21st, 2019
4 minute read
One of my favorite things in this world is when I get a new gun. A very close second “good day” is when I buy a new optic for one of my rifles, because that means I get to mount it and zero the gun in.
Optic Options
When selecting an optic for an AR pattern rifle, I first decide what I will be using the rifle for (i.e., competition, plinking, hunting, or self- or home-defense). This “purpose” usually dictates which type of optic I put on the rifle.
The choice pretty much comes down to a variable-power scope or a red-dot optic of some type. Over the last few years, I have preferred and mounted small, one-power red dots or low-power variable scopes, such as a 1-4x or 1-6x.
(That specification, 1 to 4x/6x refers to the magnification of the scope, if you were wondering.)
A quick detour: I won’t go into the minutia of mounting an optic, as there are so many different types of mounts and rings on the market. I’ll just advise you to follow the manufacturer’s instructions. (And, yes, you should actually read the instructions first.)
A Great Day
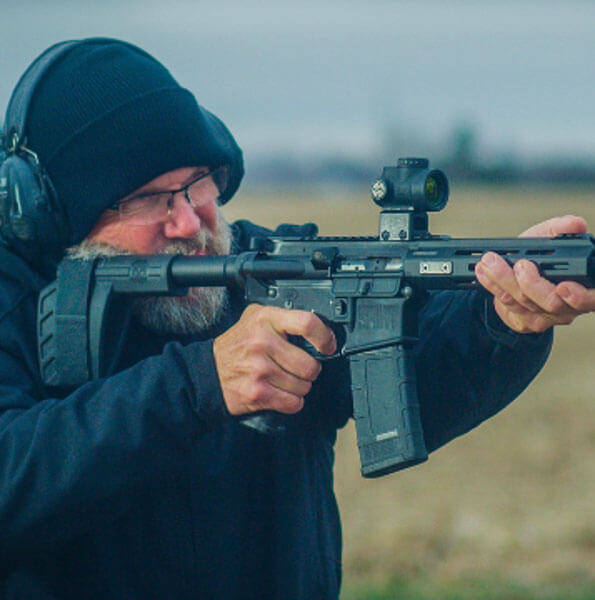
When my FedEx driver recently delivered my SAINT rifle with the free-float handguard, I could not get it out of the box fast enough, because it’s an even better day when I get a Springfield Armory gun to test!
I must say that I am very impressed with the factory fit and finish. And though there are only a few enhancements as compared to the original SAINT, they are good ones. The most obvious additions are the free-float handguard and the A2-style front sight being replaced by much-preferred (IMO) low-profile, flip-up (front) dual-aperture sights.
(Stay tuned for more from me on this topic in a future article!)
Range Time
As with any new rifle, the first thing I did after installing the red-dot sight, and then disassembling and lubricating my new SAINT, was to take it out to my backyard (don’t be jealous, Rob) and shoot it.
Living off the grid and having a shooting range on my property makes it super easy and enjoyable to sight in/zero my guns. I’m pretty spoiled, and I love the fact that I can quickly set up and shoot targets at any distance as far as 200 yards. I sure don’t miss having to do this at public ranges.
So, after putting a few rounds through the rifle as a function check — ting, ting, ting, ting, ting, I then moved right into zeroing.
Zero Hero
My process for zeroing any semi-automatic rifle for 100 yards is pretty simple:
Set up a target at 25 yards. (I just use a piece of cardboard with a small, 1-to-2-inch piece of black tape on it.) If you don’t have a target with pre-marked sighting areas, I recommend putting something of a contrasting color (i.e., marker, tape, sticker, etc.) on the target as a visual reference and aiming point.
- Shoot a three-round group from the prone position. I fire all my groups for zeroing in the prone position, as this is the most stable shooting platform. If you choose, you can also use rests, sandbags or similar items to stabilize your rifle.
- Unload the gun and then go down-range to check the group. My goal at 25 yards is to fire a very small group. I want my three rounds to be inside the black tape, preferably also touching each other.
- If needed, make necessary adjustments to the optic to hit the tape. If my shots are high, I make adjustments to lower the impact of the bullet. If the shots are to the right of the tape, I make adjustments to move the impact to the left, etc.
- Repeat step two — shoot another three-round group. Usually, shots four, five and six will be close to the tape, but I will repeat this process of shooting, checking and adjusting until I am shooting all three rounds on the small piece of tape.
- Once satisfied at 25 yards, I move the target to 50 yards and repeat steps two through five. Typically, six to nine rounds will get me on target, inside the small tape or paster.
- Once satisfied with where my rifle is hitting at 50 yards, I move the target out to 100 yards. I repeat my three-round group process and make adjustments until I am hitting dead center on my mark. I can usually do this within nine rounds of ammo, but, depending on your experience, you may require more.
Other Considerations
- For the sake of not wasting ammo, find out what the angular measurement system is on your optic — MIL (Milliradian) vs. MOA (Minute of Angle). Knowing this specification and what it means will help you zero your rifle much more proficiently.
- MOA may be adjusted at 1/4 MOA or 1/2 MOA. Many new optics are also available with MILS for adjustments — again, consult the instructions that came with your optic.
- Depending on your rifle and load combination, you may have to fire more or less rounds. I can tell you that different bullet weights and profiles will make a difference in where your shots are on target, even as close as 100 yards.
- When I zero a red-dot optic, I use a larger aiming point when I move the target beyond 50 yards, as the red dots that I use have no magnification.
- Many ballistic tables and charts show and are based on a 100-yard zero, and many BDCs (Bullet Drop Compensators) on variable scopes are based on a 100-yard zero. Again, I hate to sound a broken record, but check your optic’s instructions for this information.
100 & Done
Sighting in and zeroing a rifle is challenging and takes practice, but it can also be very rewarding. If you use the simple method I have outlined above, you should be able to get your SAINT (AR) rifle zeroed at 100 yards in no time at all.
Join the Discussion
Featured in this article
Continue Reading
Did you enjoy this article?

 177
177


