The No. 4 MK I (T) Sniper: At the Range
December 19th, 2020
7 minute read
Editor’s Note: Following is an excerpt from The Matchless Enfield .303 No. 4 MK I (T) Sniper by Jeff John, and is part three of a three-part series. If you would like to pick up a copy for yourself, it is available at Amazon.com. To learn more, visit Jeff-John.com.
Read part one of this series at “The No. 4 MK I (T) Sniper: A Solid Foundation” and part two at “The No. 4 MK I (T) Sniper: Battle-Ready Accuracy.”
Should you even shoot an original No. 4 (T)? Yes, of course! But like any major investment in a collectible, a wise man takes precautions and doesn’t treat his prize in a cavalier fashion. Think about something that Major Hesketh-Prichard said regarding the telescopic-sighted rifle during WWI. “Training in shooting should be carried out with an Open and not a Telescopic sighted rifle, which should be kept for (a) Snapping practice; (b) Shooting in order to zero; (c) Killing the enemy. It is important that the barrels of these rifles should not be worn out in practice shooting.”
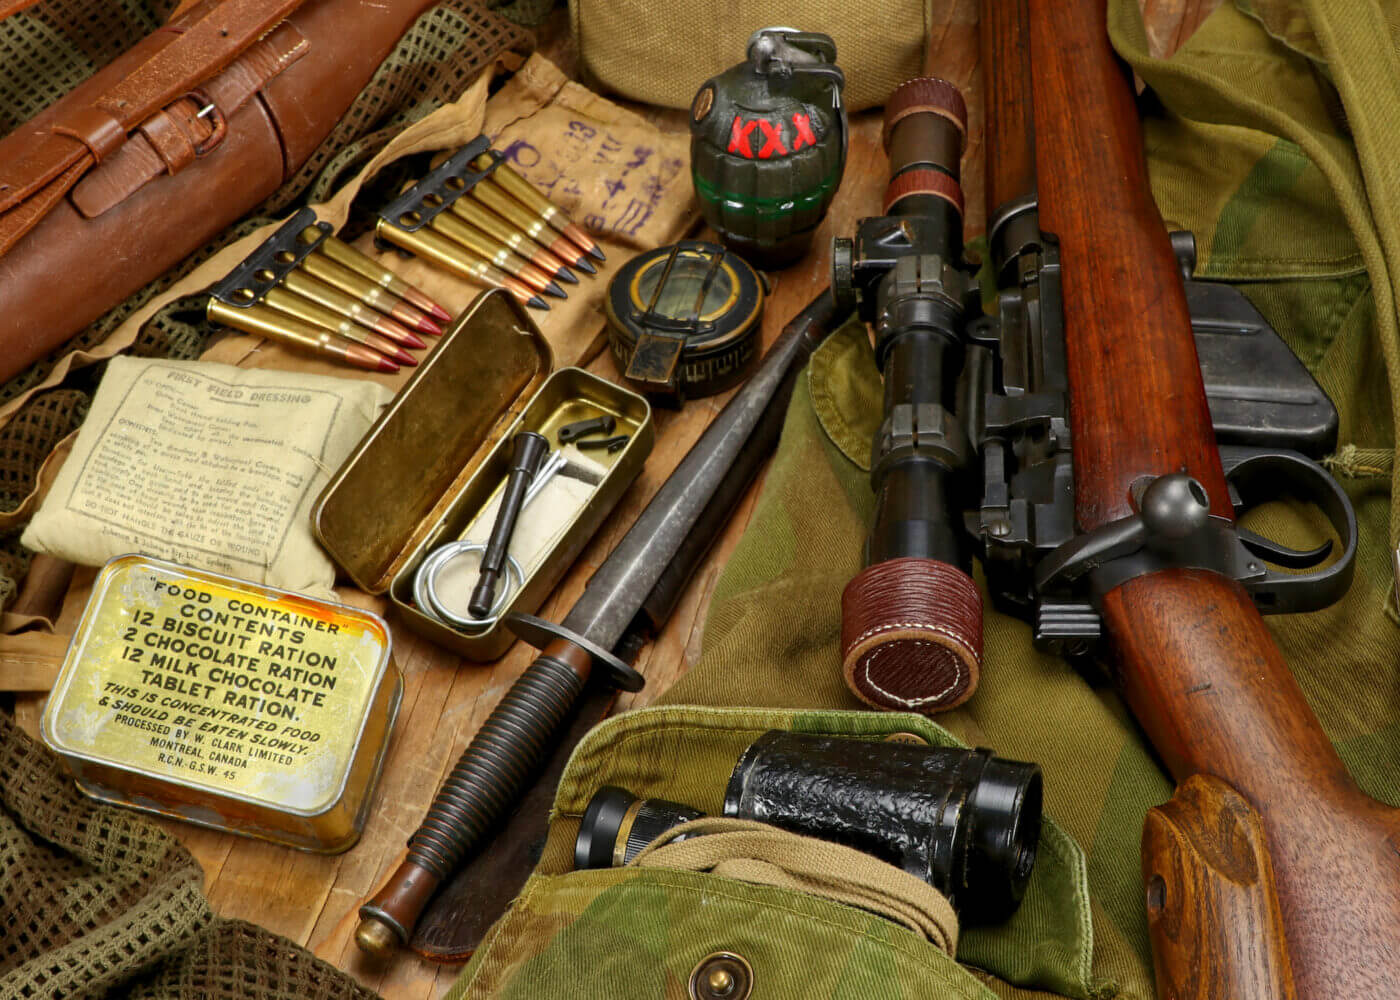
Scope-sighted rifles were pretty scarce in WWI, the optics fragile and repair of either difficult. Collectible WWII rifles, especially ones with optics, don’t get any better with use, and parts and the people able to properly repair them are few in number. Oddly enough, adopting such an attitude enhances my range sessions, since I now try to make every shot count and have limited my firing of the rifle. With proper care, the rifle will hold its value well and continue to be a shooting investment for years to come, especially now that I’ve found a good handload.
Setting Your Sights
There are many reasons I enjoy shooting the No. 4. The sound it makes cycling is unique (I’ve always liked it!). It’s much more quiet than any of its contemporaries and operates more smoothly. Sometimes I even wonder if a cartridge is in the chamber after cycling. When new from the assembly line though, the No. 4 is rough and coarse, one reason experienced troops grumbled when issued them instead of the slick, smooth No. 1 Mk III.
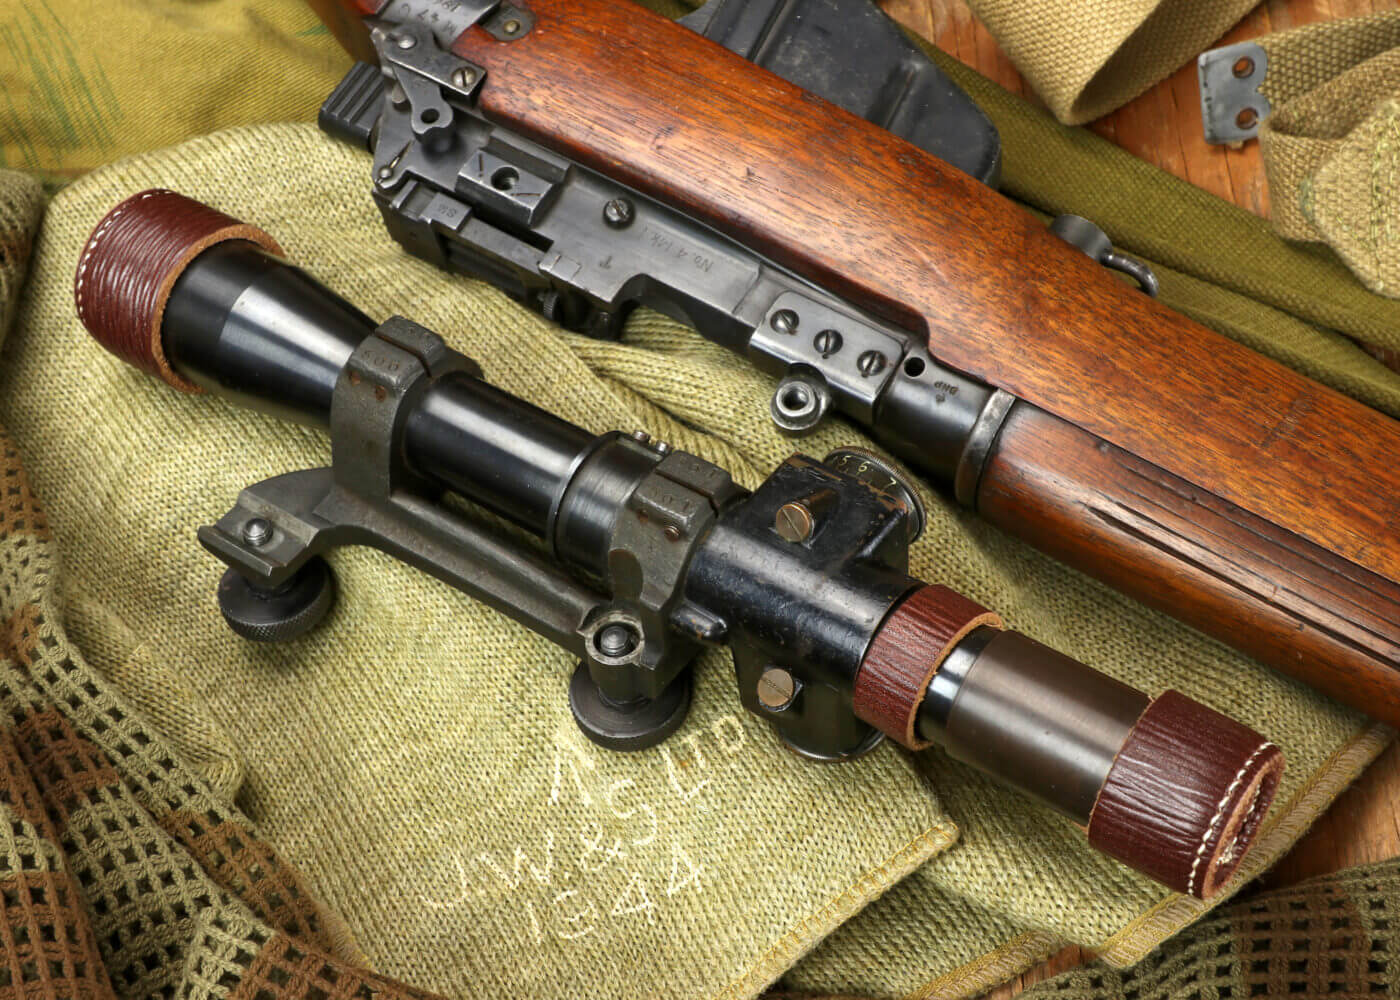
First step in shooting the No. 4 (T) is mounting the scope of course, and there is a method to it. Ensure the front ring fits into its spigot on the base before tightening. It is best to start both, then tighten the front thumb screw first and the rear one last. This gives the scope the best chance of returning to its original zero within 1 Minute of Angle. The test rifle did better returning to within 1/2 MOA. That’s still
3 inches at 600 yards.
If you’re shooting the gun in today’s military match competitions, it may seem easier if the drums were set to “0” at 100 yards with the little tool thing, and you never remove the scope, but you’ll likely need to assemble your own Scope Adjustment Platoon to zero the turrets. A 3×5 card with your “0” points marked will do and won’t require supplying sandwiches and beer to your crew afterwards. If you don’t remove the scope, there’s still the matter of cleaning to consider.
Range Time
Enfield rifles as a class have an unusually slippery buttplate. The shape is such it is hard to get into your shoulder socket the same way each time when shooting for group, especially from field positions. A quality rifle rest and solid rear bag helps, yet sniper matches call for shooting from a field rest. So you still need to put the butt onto your shoulder and your face on the cheekpiece the same way for each shot. That and a good handload helped this rifle deliver some decent 3-shot groups well below the 2 MOA the gun was designed to deliver. I also found holding the fore-end helped. All my 5-shot groups had a great 3-shot cluster inside.
This rifle shoots best for three shots. Try as I might, shooting slowly and carefully, my 5-shot groups were invariably bigger. Of course, the rifle is supposed to shoot accurately for a single shot. Snipers often don’t get two, and it was usually unhealthy to stay in the same spot after taking one, so I shouldn’t complain.
The added comb, one of the well thought-out additions to the No. 4 (T), raises the comb height almost enough. It is far superior to the competition on all sides, which don’t have one at all. It’s perfect for using the iron sights, though, and works well otherwise, since it is wide enough so that a consistent cheekweld is assured. The scope is far forward, too far in fact to easily get a full picture from the bench. It is set perfectly for prone shooting, since your head is a little more forward in that position. Once again, the rifle was thoroughly well thought-out.
Handloads
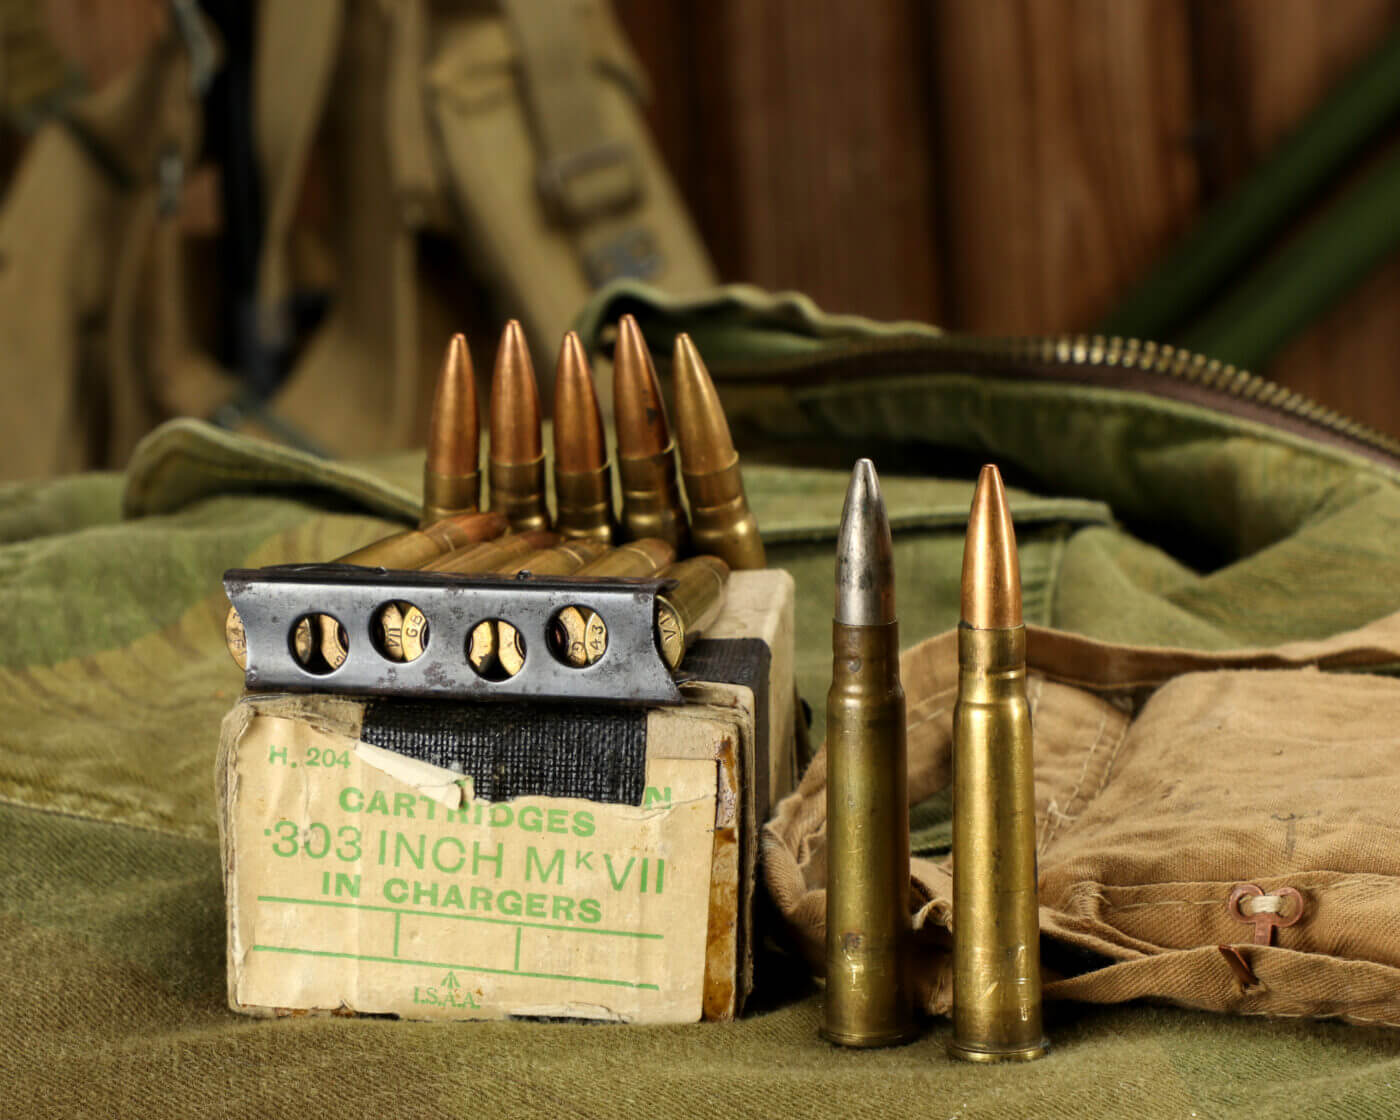
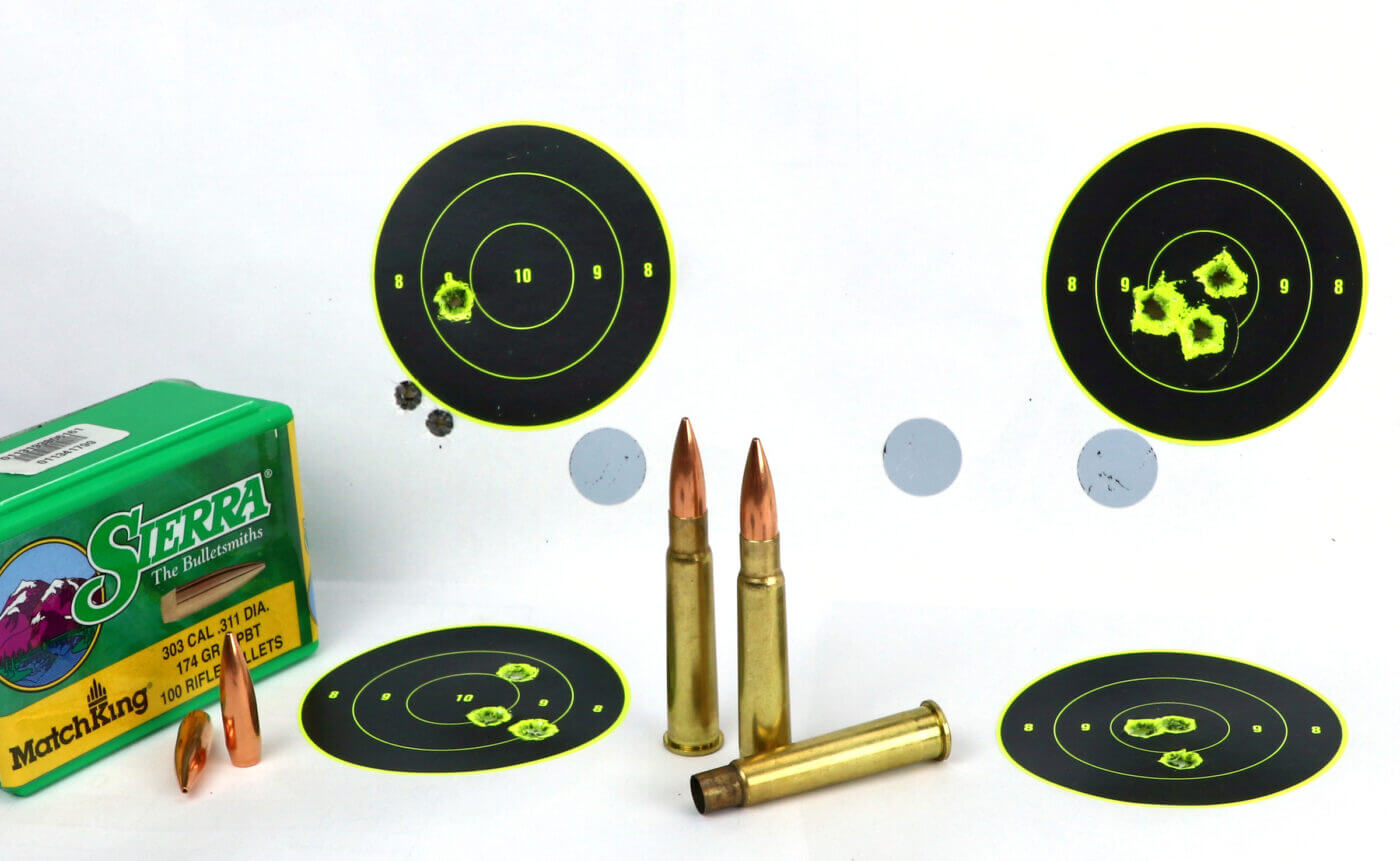
I was finally able to acquire sufficient Varget powder and Sierra 174-grain BTHP bullets. The work-up handloads were tested on the Mountain Plains targets featuring a blue diamond, which gave an easy aiming mark. I shot 5-shot groups over the chronograph and into the targets and got some respectable groups with very good “interior” 3-shot clusters.
While 39 grains of Varget gave a very good 100-yard group of 13/4 inches, the best 3-shot group came from 38 grains, so I chose that one for my next test. Loading 100 rounds of this combination, I switched targets to Birchwood Casey Shoot-N-C bull’s-eye targets with 3-inch bulls and 2-inch bulls for a session of just 3-shot groups. This time I did some credible shooting getting two groups of 3/4 inch and several more just over 1 inch.
Up to Snuff?
For post-and-crosswire reticles, I think I’ll stick with the 3-inch bulls in the future. Through the 3X-power scope the 3-inch bull is easy to float over the point of post reticle. The 2-inch bull looks better through the scope, but I need to concentrate harder to shoot well on them for some reason. The trigger breaks very cleanly, and the 12+ pound weight of the gun mitigates recoil.
A test of the return to zero showed the rifle returned to within 1/2 MOA each of three times, delivering a 3-shot group of about 1-inch or so. The rifle would remain deadly out to normal sniping ranges, and is well within spec.
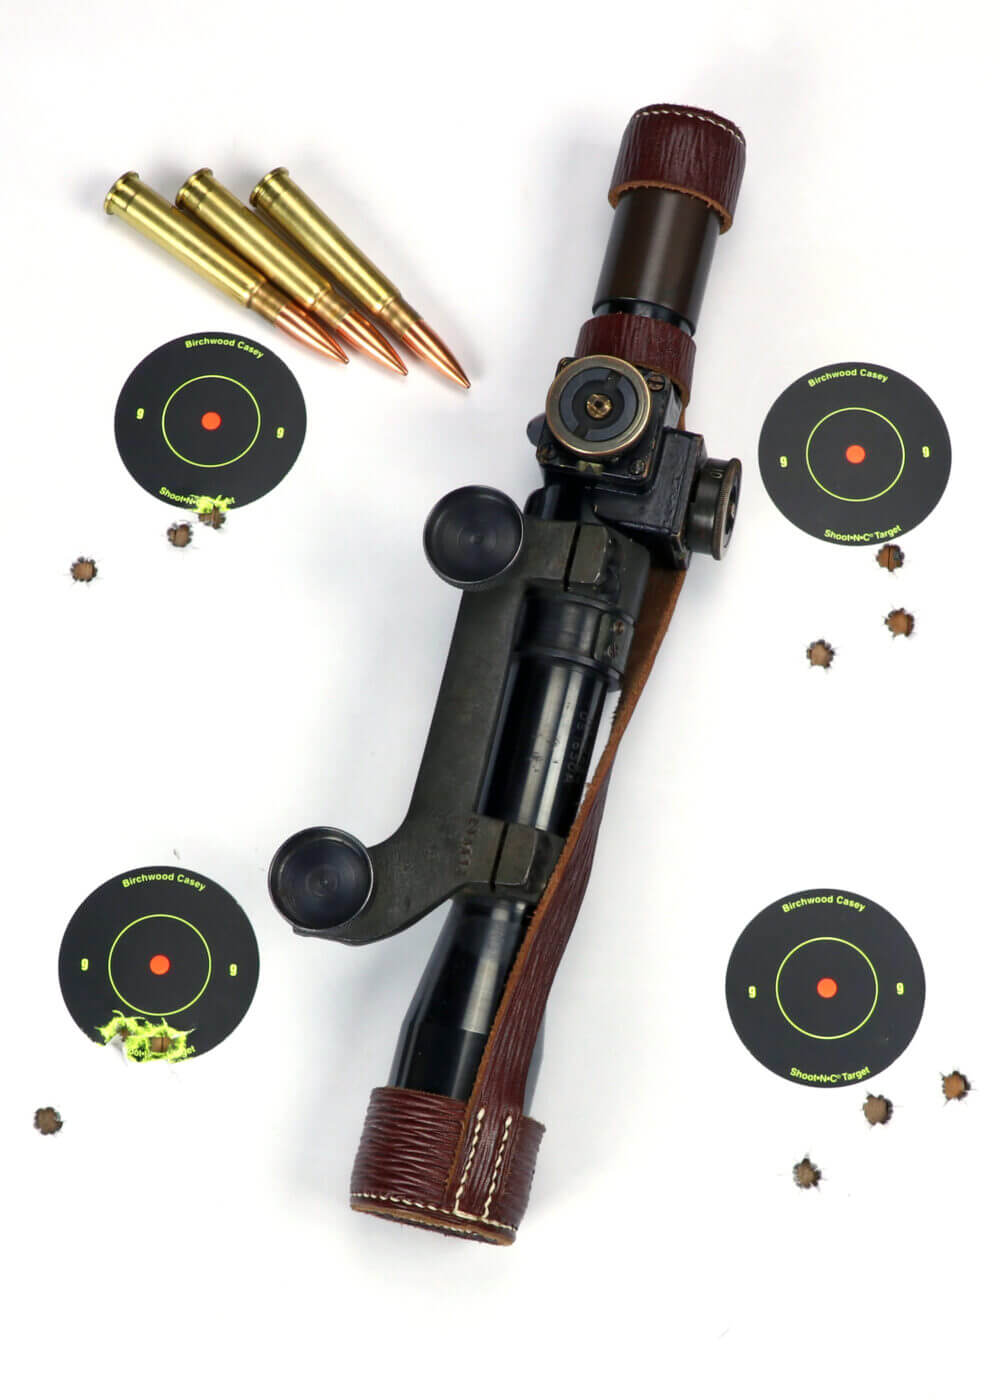
Then I tested the reproduction scope to see if it was even close to collimation. It wasn’t, of course, and I used up all the scope’s movement to get the group closer to the bull, but it was still so far off I wasted no more time with it. I returned the original scope to the gun. I switched to the Hornady 150-grain hunting load and shot a very nice group. Moving to a new bull, the first shot went into the same area, and the second and third 6 inches below.
I stopped shooting then and there, thinking the scope had failed. Wind arose precluding any diagnostic shooting, and I went home as a storm front moved in. A couple of weeks later, I returned to the range. In removing the scope, the culprit appeared to be the way the front thumb screw had been tightened—something I was sure I had done correctly after switching scopes. I shot several 100-yard groups with the iron sights proving the gun had no issues. Groups were in the 21/2-inch range. Remounting the scope, I carefully ensured the parts were in alignment before tightening the thumb screws. The rifle then delivered three shots into an inch right where it was supposed to.
I’m not sure how, but somehow I’d managed to tighten the scope improperly. I was lucky recoil didn’t break something. For a minute, I was afraid the rifle was angry with me for mounting an imposter scope. There’s another good reason to leave everything together, but not if you want to clean from the breech. Just be sure you start the screws properly when mounting the scope.
Conclusion
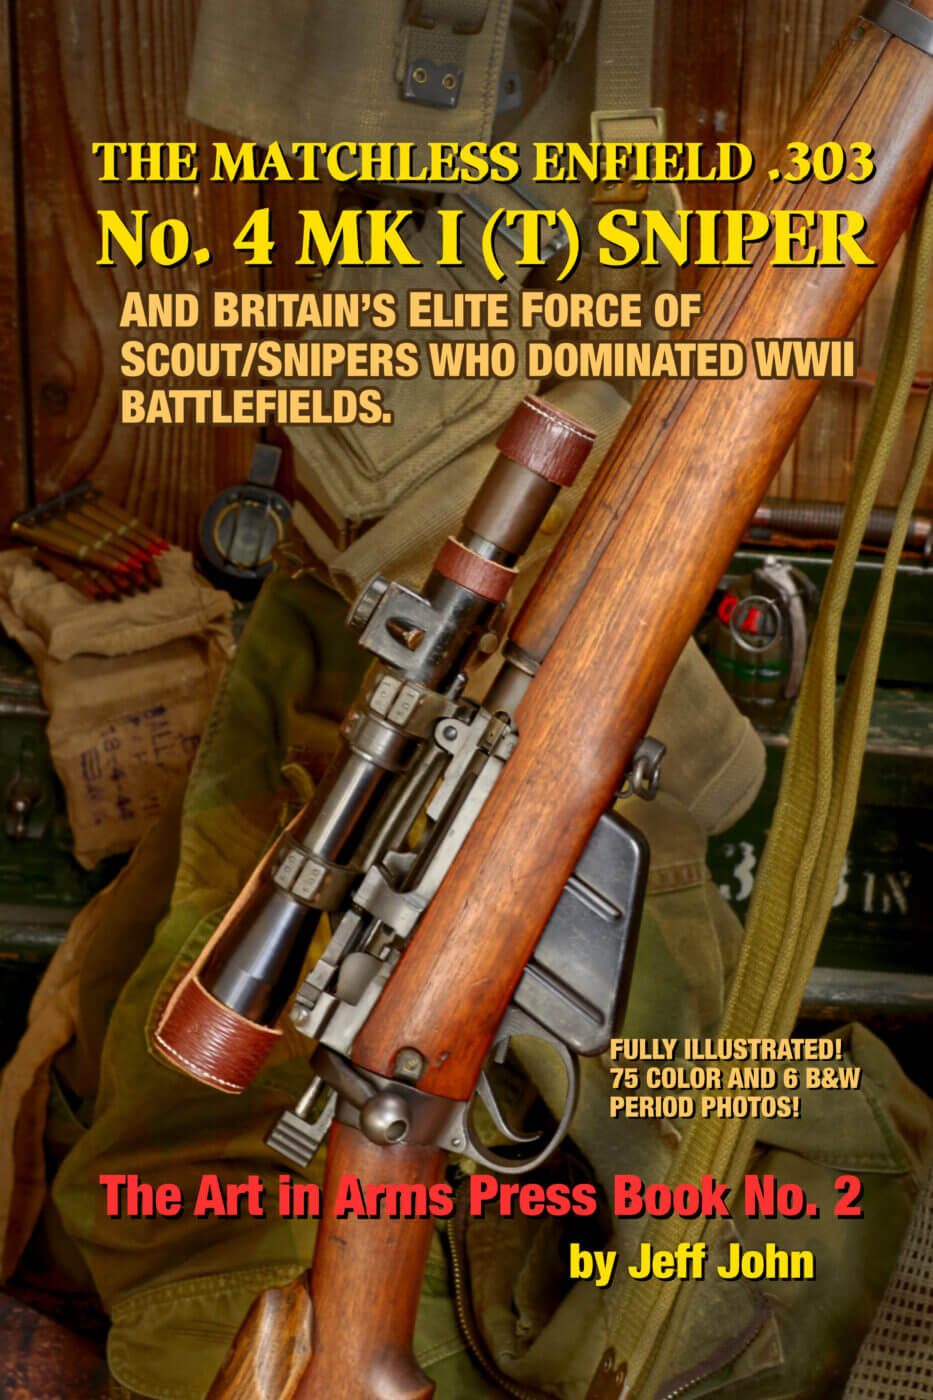
Britain created World War II’s most effective sniper rifle starting with the war’s best bolt-action battle rifle. Elite marksmen used the No. 4 Mk I (T) sniper with skill and cunning and quickly dominated the battlefield. We hope you enjoyed this three-part series excerpted from “The Matchless Enfield”, which tells the story of the No. 4 sniper rifle and how it was developed and used.
Editor’s Note: Be sure to check out The Armory Life Forum, where you can comment about our daily articles, as well as just talk guns and gear. Click the “Go To Forum Thread” link below to jump in and discuss this article and much more!
Join the Discussion
Featured in this article
Continue Reading
Did you enjoy this article?

 38
38


