If you were looking for a drill to test your skill level and possibly prove that you can’t shoot, or at least that you’re not as good as you thought, I’ve got one for you. The Phase 5 Drill, as shown in the video above, is a drill created by Grant LaVelle.
Grant is our chief instructor at GunSpot as well as owner and chief instructor of Maximum Life Expectancy training group. He has served in the United States Marine Corps and as a SWAT police officer. Over the course of a 30 year career, he has trained Marines, law enforcement officers and agencies, and civilians. He created this drill to challenge shooters to grow, learn and gauge what skill level they are at.
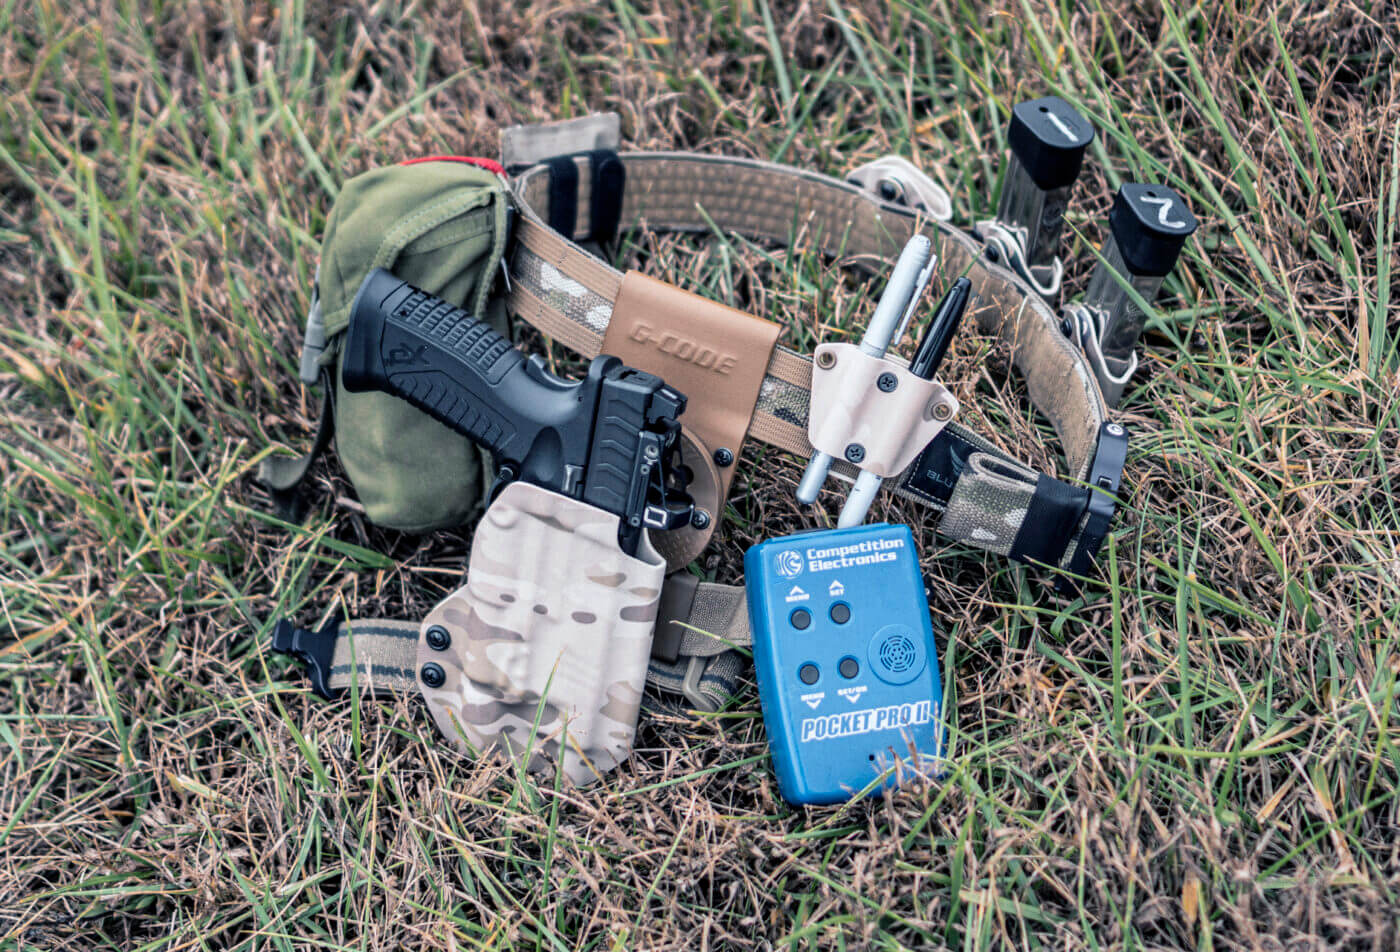
The Gear You Need
So, if you’re ready to take on the Phase 5 drill, let’s jump into what gear you will need. Here is the list:
- A pistol and holster
- A shot timer
- 50 rounds of ammunition
- The Phase 5 Target (download here)
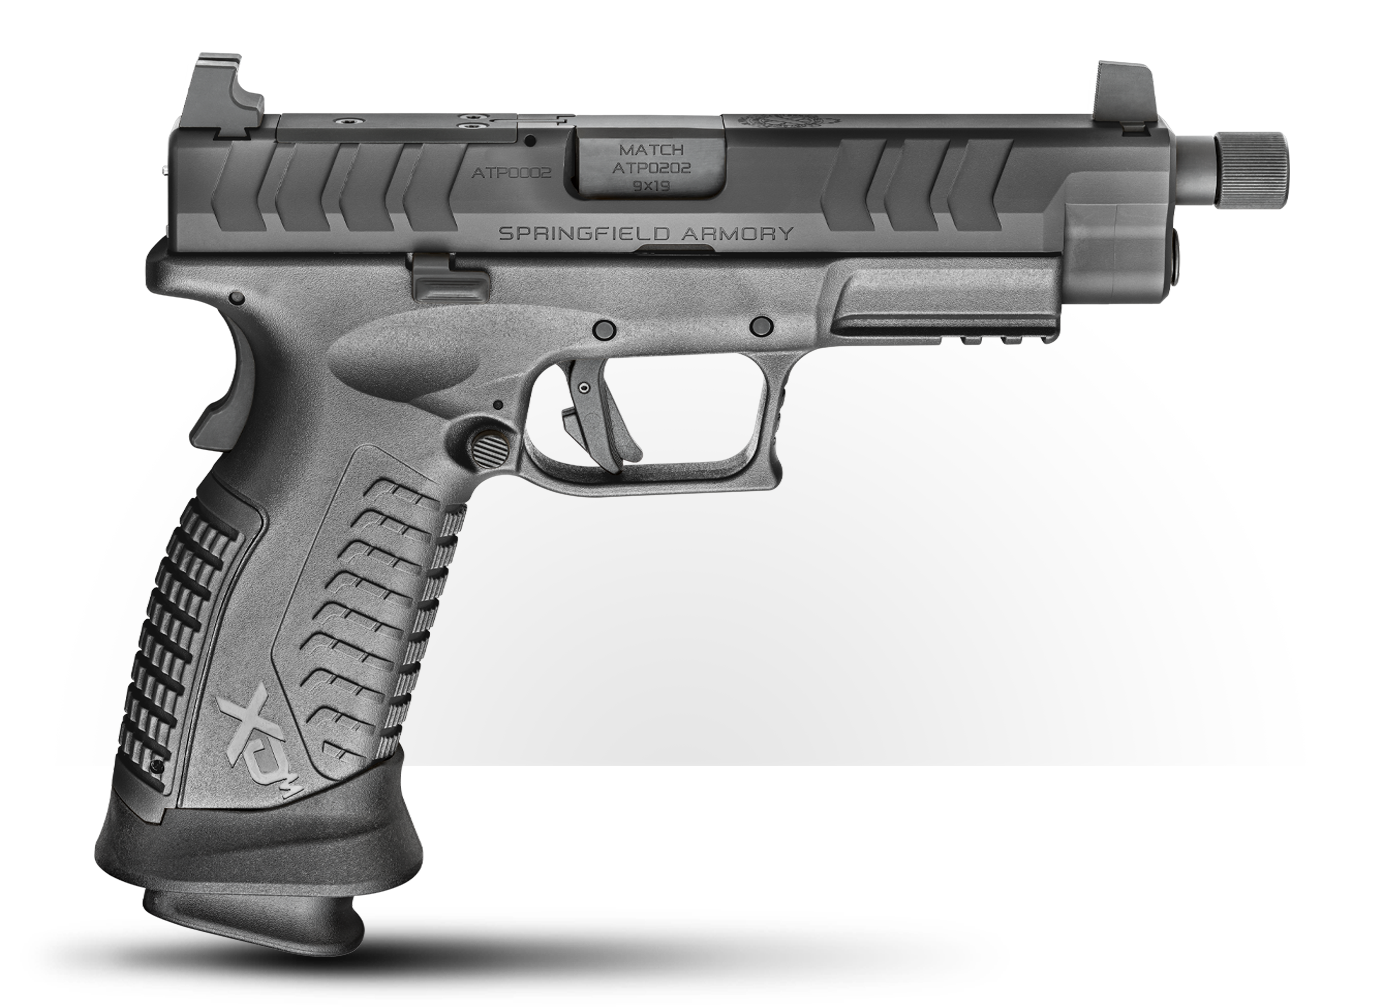
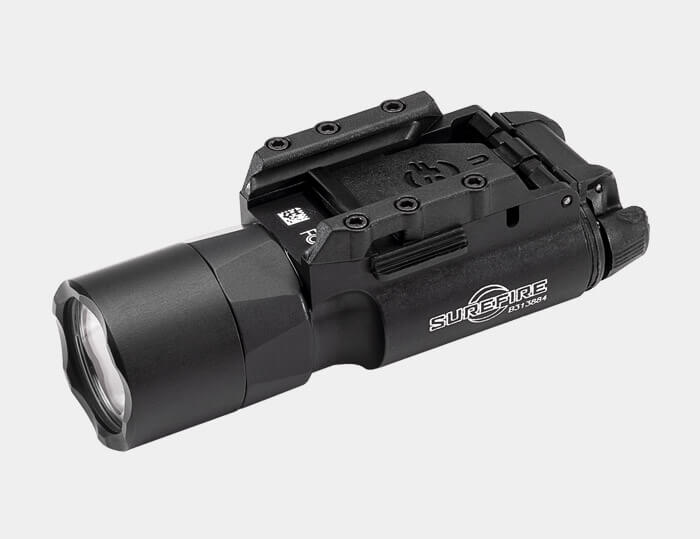
Make sure you use quality gear that won’t fail you. Grant chose to use the Springfield Armory XD-M Elite Tactical OSP 9mm as well as a Surefire X300 Weaponlight in the video at top.
The Drill
The drill consists of five targets (or “phases”), and in total there will be 50 draws from your holster and 50 shots fired. The drill fits on two 8.5″x11″ sheets of paper, so you can print it off at home on any standard letter-sized paper.
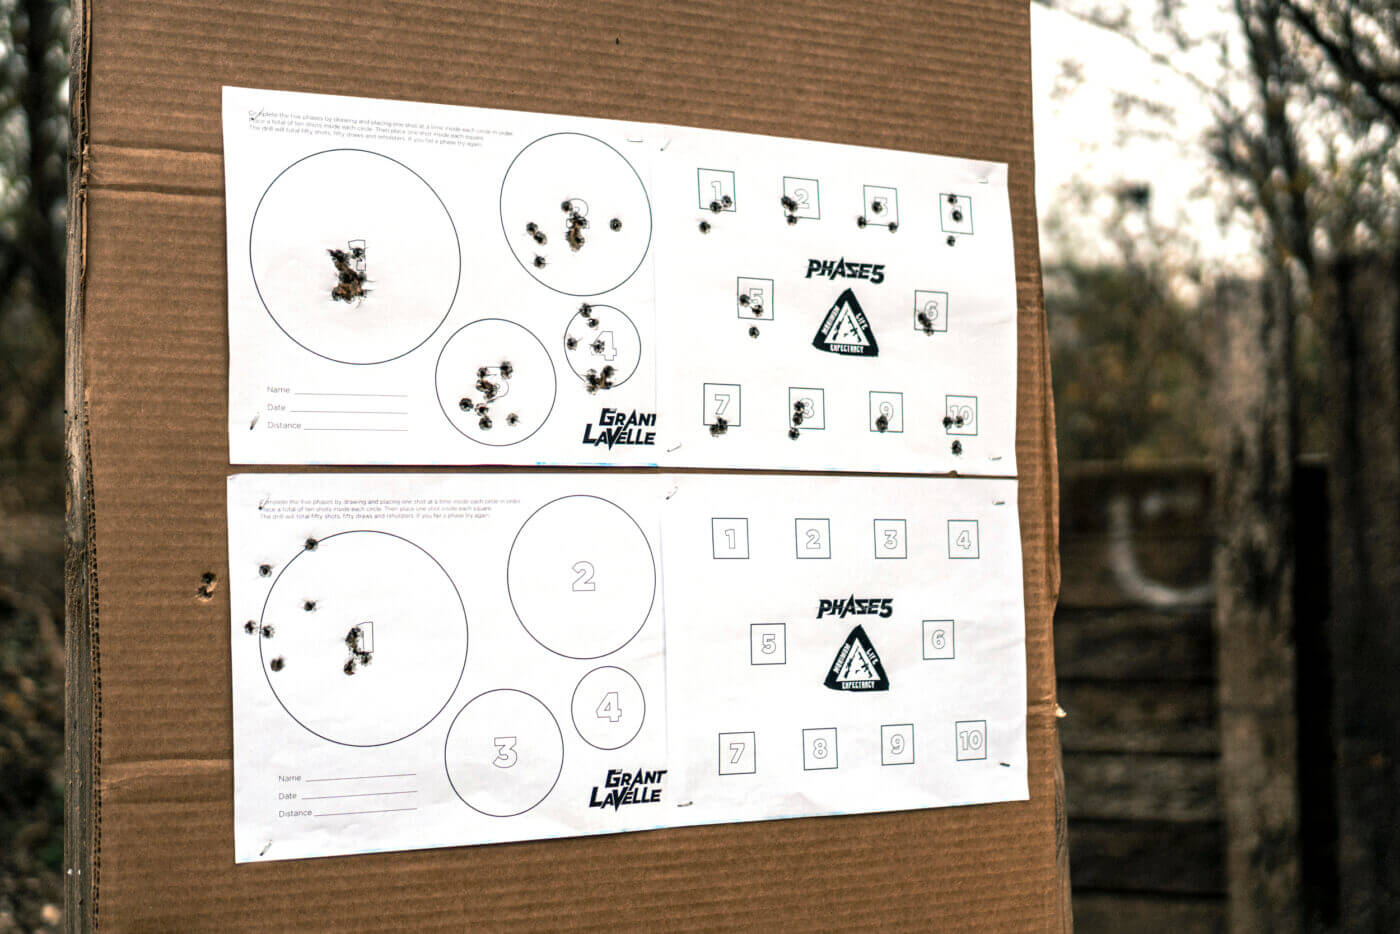
Now, let’s go over how the drill works. Start out at only three yards away from the target. As you complete the drill to perfection, you can move back from there. You will set your shot timer to a par time of 2.5 seconds. When the shot timer rings, you will draw your gun from the holster and fire one shot onto the target and then reholster.
For each phase you will fire 10 shots. The first target is the #1 circle. On this circle, all shots must be inside the circle without breaking the line. This is how you will shoot targets #1, #2 and #3. Each time, you will draw and fire one shot 10 times per target. On target #4, you will be all the way down to a 2” circle, so breaking the line is an acceptable shot for both this target and also the last phase, Phase 5.
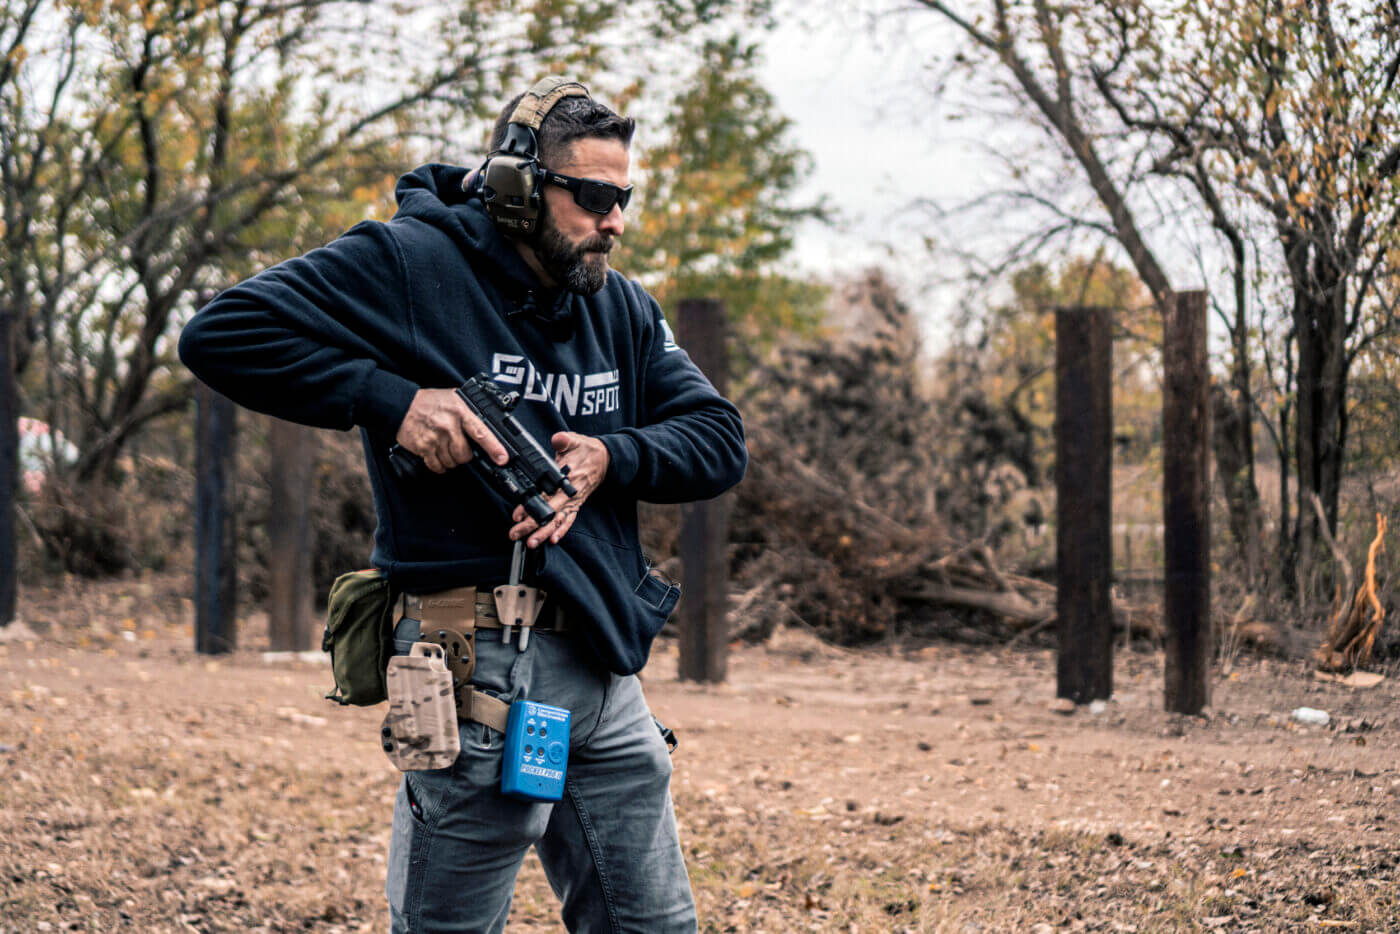
Phase 5 is the hardest phase. It is made up of 10 individual 1” square targets that still have to be shot in under that 2.5 second par time. In this phase it’s still okay to break the line with your shot. If you fail a phase by not performing on the target as it’s intended, you are supposed to repeat the phase you’re on before advancing. Grant’s advice for beginners is to set no par time at all, but rather to just to run the drill and focus on safety and accuracy before incorporating a rush.
What Will You Learn?
This drill will build muscle memory for a good draw stroke, a good presentation and on-demand accuracy with that first shot. In a confrontation with a threat, these are all live-saving skills. The draw and the first shot are vital to your survival. If you take the time to practice this drill with good technique, it will turn you into a better shooter.
The last important thing to talk about is safety. In this drill you will draw 50 times, which means you will reholster 50 times. So, make sure that your holster stays clear of debris and make sure you practice good trigger discipline.
Conclusion
Download the free Phase 5 targets and upload your photos so we can see how you do on Phase 5 yourself! Are you up to the challenge? Can you prove to us that you can shoot?
Editor’s Note: Please be sure to check out The Armory Life Forum, where you can comment about our daily articles, as well as just talk guns and gear. Click the “Go To Forum Thread” link below to jump in!
Join the Discussion
Featured in this video
Continue Reading
Did you enjoy this video?

 119
119


