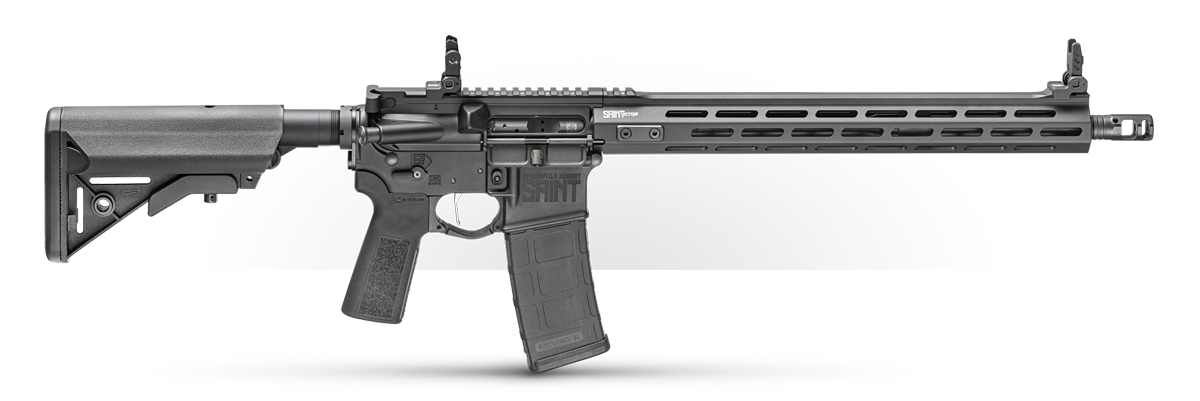
Learning to move and shoot is an important skill set. Soldiers and law enforcement officers likely could fill weeks on end with stories of what real-life engagement with an armed enemy is like. I’d be willing to bet almost all of them will not have many if any stories of firefights playing out like they happened on a flat range, as each opposing side stood in comfort and fired their rounds at the other. That is because that’s not a real situation.
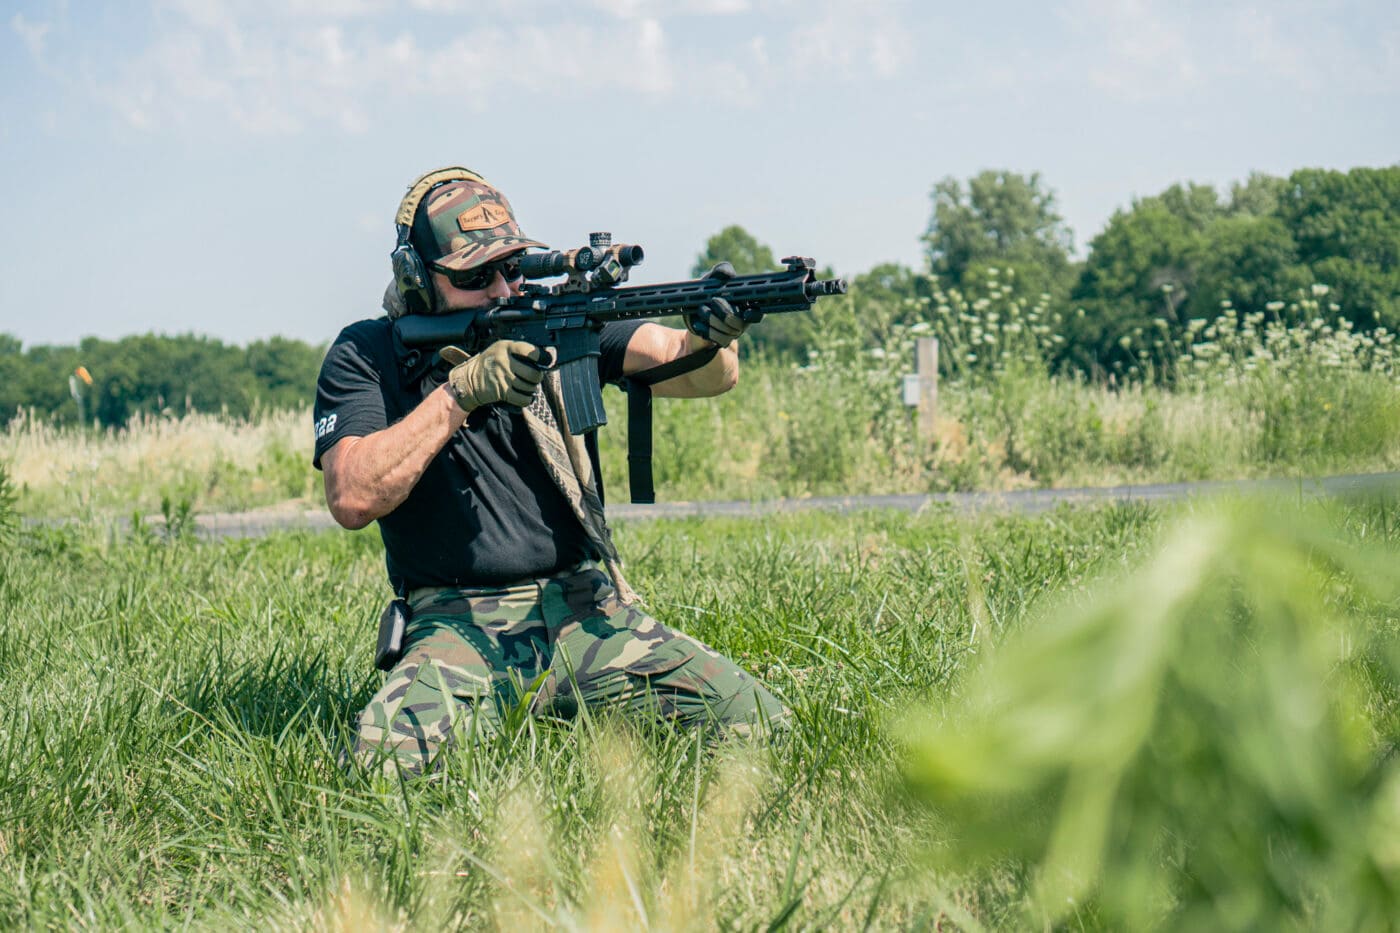
Grant LaVelle from Maximum Life Expectancy devised a simple drill that will force you to think and move without having some sort of complicated set-up. The drill is appropriately titled the
“Time 4 Position Drill”. The Time 4 Position Drill gets its name because in the drill you will do four different positions taking four shots, and you can do it with a time constraint using a shot timer.
How to Run the Time 4 Position Drill
Here is the layout you need to make the drill work best. We prefer to do this drill with a steel target downrange. That means if you are doing this with your rifle, which makes the most sense, then you want to be at least 40-50 yards away from your steel target to train safely. Use your own judgment when deciding how far away to be; if your steel target has deep pitting it could be unsafe to shoot. For our practice, we had an AR500 steel torso plate in great condition positioned at 45 yards away from the shooter.
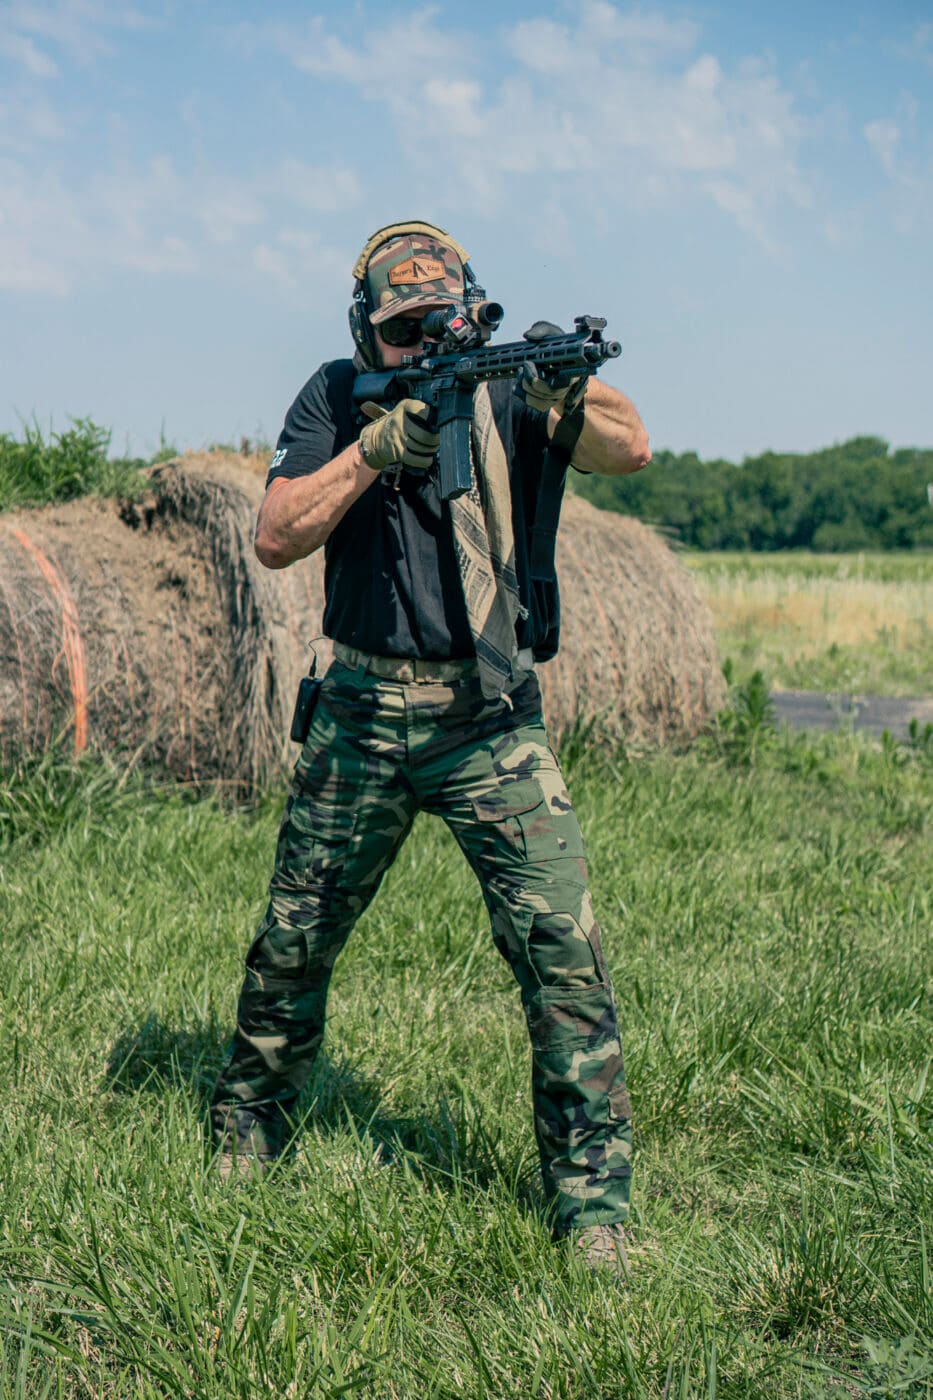
From there you want to have a lateral shooting line marked out. We opted to run this drill with our SAINT Victor rifle since most shooting positions make more sense when using a rifle. Also, it can take more effort to maneuver around when you have a rifle slung to your body, so it is good training to overcome this.
This is how the drill is performed. You begin with your back turned toward the target. If you are using a shot timer, at the sound of the beep you will be able to start the drill. If you don’t have a shot timer, you can have a training partner signal your start, or you can just start on your own if you have neither a training partner nor a shot timer.
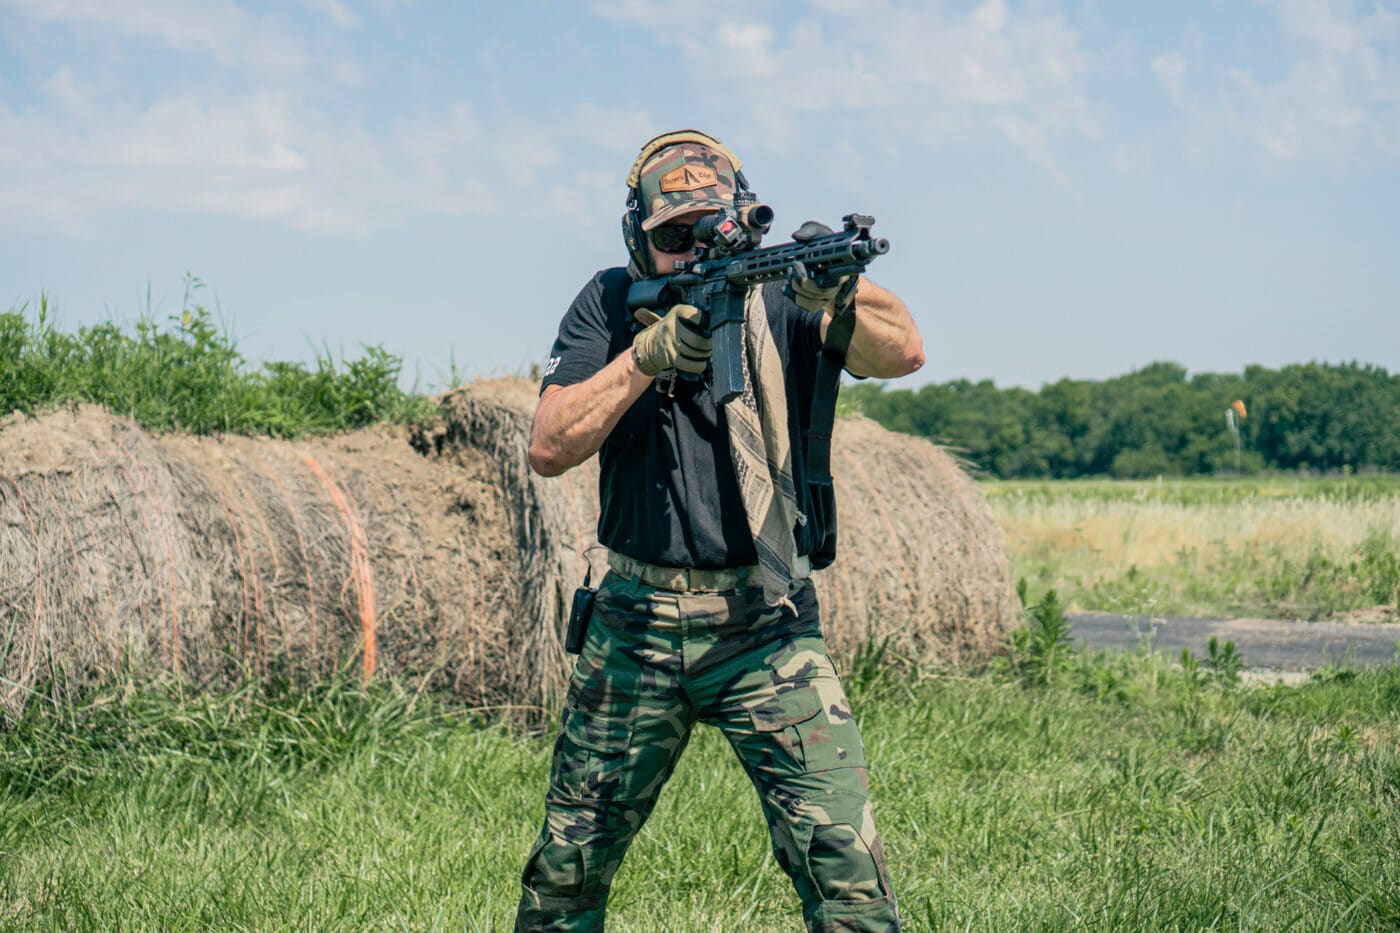
After making the 180-degree turn to face your target, you will then proceed to fire from a position. We started with a simple standing position as it makes the most sense. If you hit the target you will move to the next position.
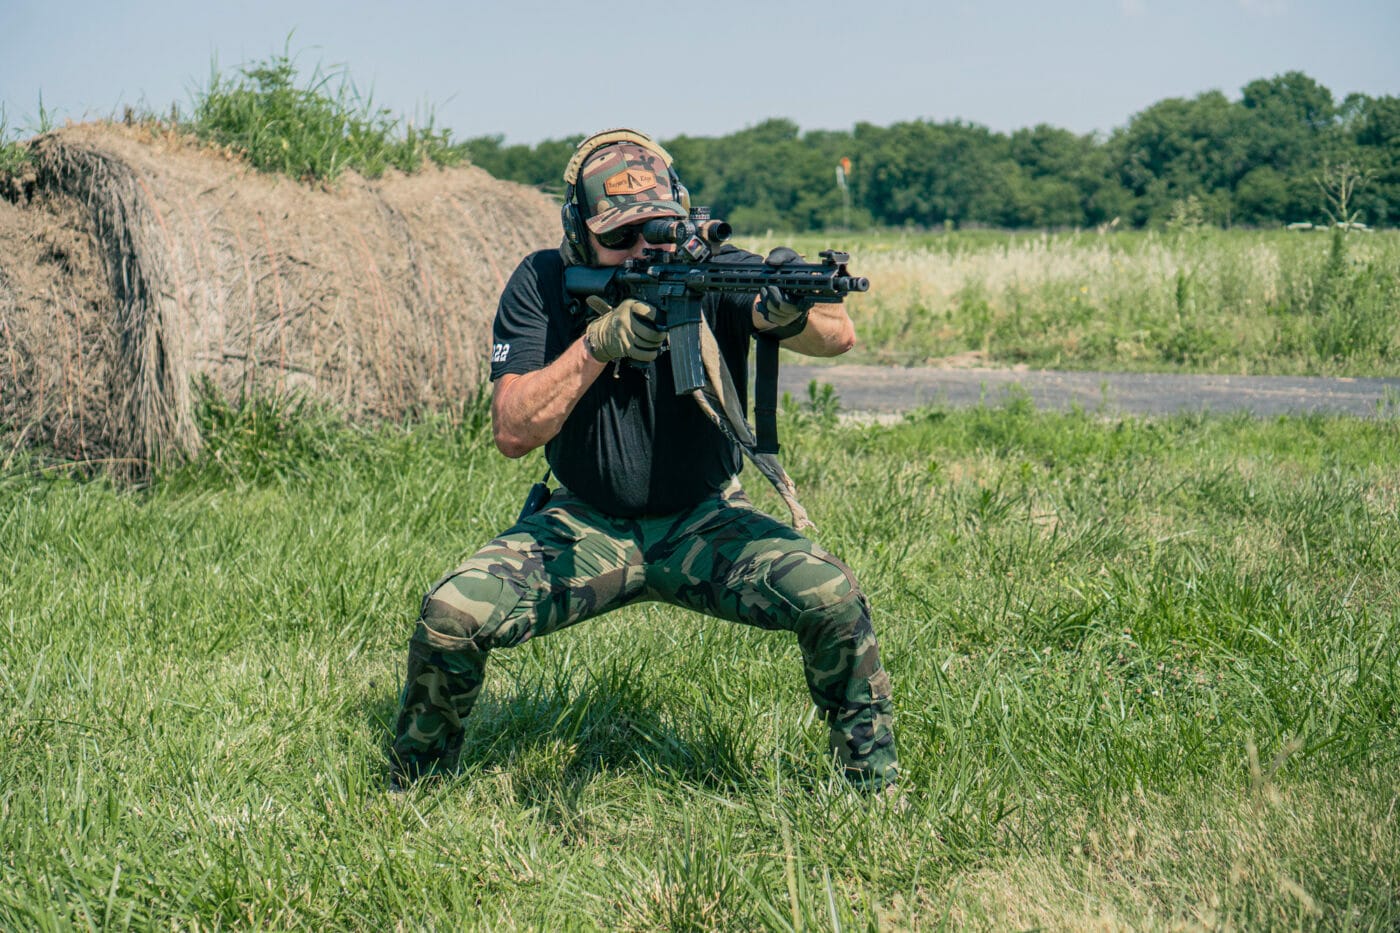
After striking the steel, Grant prefers to take a lateral step to either the right or the left, moving down the firing line and then changing into a new position. The lateral movement is not essential but will add another challenge to the mix. Something that might make sense is to keep dropping lower in your positions. So, for his second position, Grant chose to drop into a squat. From there fire one round on steel and if you hit the target you will move on. If you miss, then fire again until you get that hit.
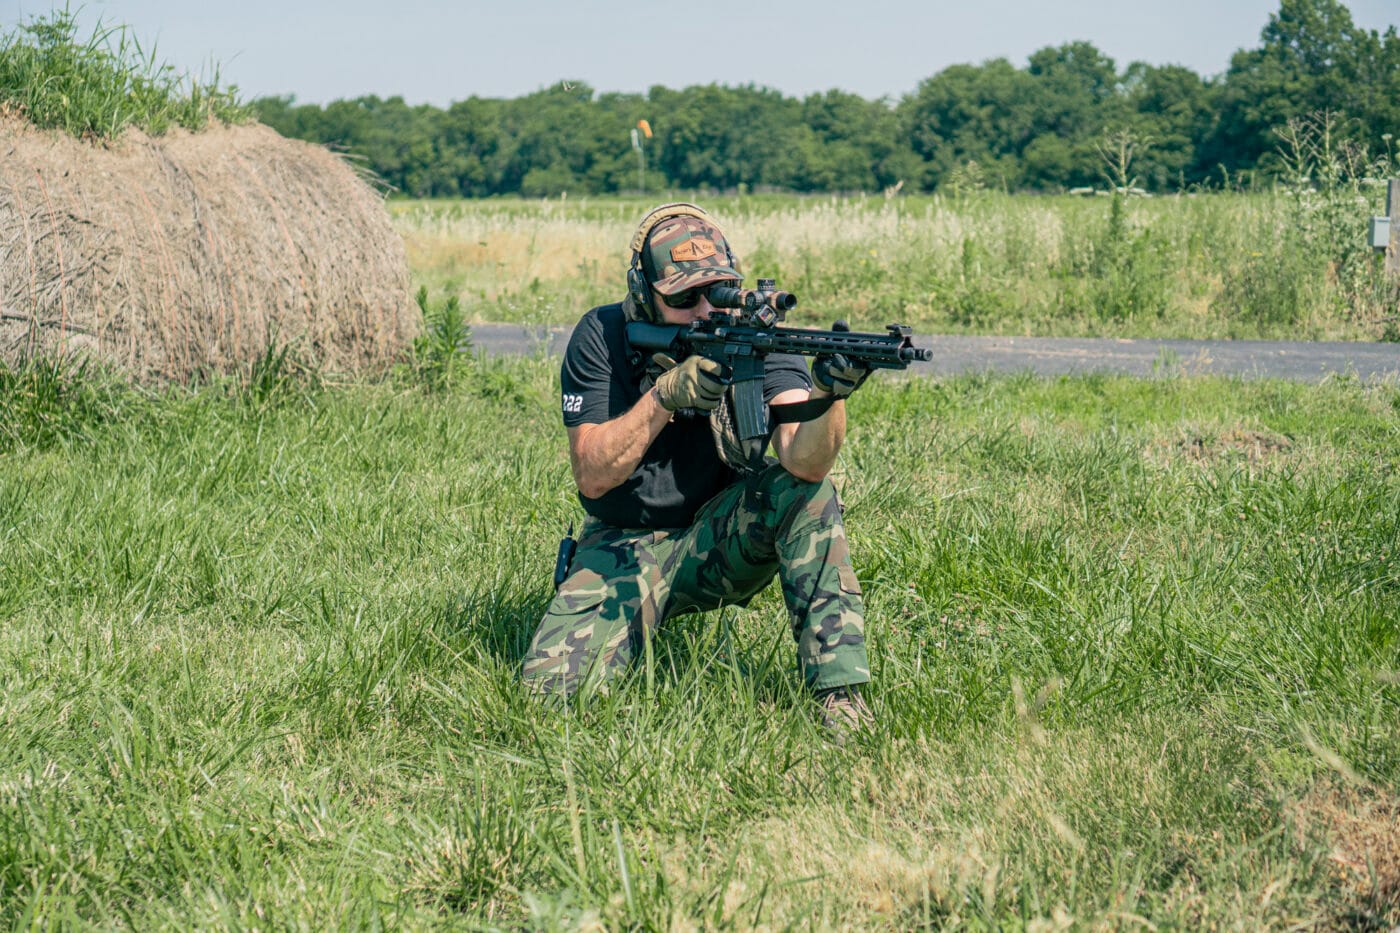
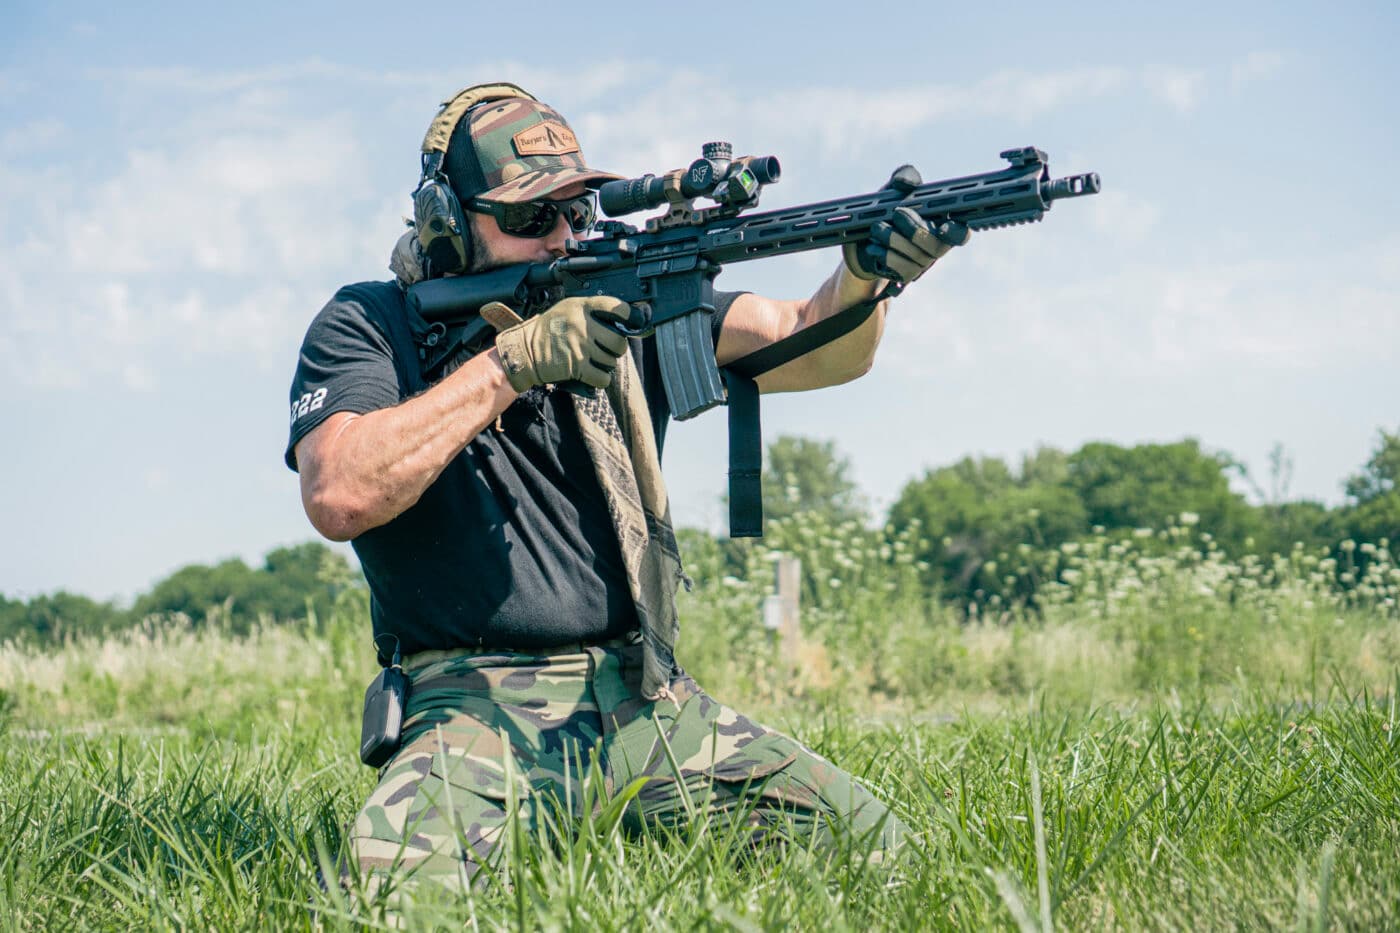
Next, take a lateral step again in the same direction. Then change your position. Here Grant chose to drop to a kneeling position to achieve his third hit. Then he moved to the left again and dropped to a double kneeling position with both knees on the ground. Another good option would be to drop into the prone position for the last one.
This drill practices many things the biggest of which is you getting in and out of positions quickly that might make you less comfortable while shooting. Grant chose to add in some positions that are not typical “marksman” positions such as a squat and double kneeling. Those two positions don’t offer good bone support that is needed for the sake of pure accuracy, but they are real-world firing positions Grant has used in both his Marine Corps and SWAT career to peer over cover with a rifle while still trying to conceal his body.
Objects found in reality are not always the perfect height to accommodate for a standard kneeling position or the stable paddy squat shooting position. Sometimes, we will have to improvise so that we can get the rifle into a better position. So, use this drill to add in some not-so-stable but real-world positions.
Final Thoughts About the Time 4
This drill is fantastic because it works on our cardiovascular health a bit, not an exorbitant amount, but it still gets in some athletic movement. Of course, it works our aim, trigger control, etc. but it also lets us practice just moving our rifle and defeating that sling. Some positions may require you to swim out of your sling. The prone position for example is certainly easier to get in and out of if you swim out of your sling first.
This drill practices all of these essential skills and it can be done with a minimum of four rounds. In the days of ammo prices still being rather high, this can be a great drill to work on the range and not have a high ammo count but still get quality practice.
Take this drill and modify it for your type of shooting. For example, if you do PRS-style shooting competitions, it helps your marksmanship positions. If you are a hunter, have a set of shooting sticks out there and practice incorporating the sticks quickly or practice getting the rifle into your hog saddle under stress. You could even transition firearms if you want.
This will no doubt be a drill I will incorporate into my next trip to the range. Being able to practice tactical movement, critical thinking, shooting, and get some cardio, all while only shooting four rounds at a time, sounds like a heck of a drill to me.
Editor’s Note: Please be sure to check out The Armory Life Forum, where you can comment about our daily articles, as well as just talk guns and gear. Click the “Go To Forum Thread” link below to jump in and discuss this article and much more!
Join the Discussion
Featured in this video
Continue Reading
Did you enjoy this video?

 50
50


